It just so happens, that each summer my Wife and I dabble in a new hobby 😉
This time, we started going to shooting ranges 🎯🔫
We’ve tried few indoor ranges, which are often located at the same location as a gun store, and offer membership plans and gun rentals. It’s a great way to try different firearms, and of course you can purchase ammunition on the spot as well.
But best places we’ve found so far are outdoors – providing longer distances, usually also less crowded because of larger space. And there’s something relaxing about spending few hours outdoors on a sunny day, while practicing the precision and speed of shooting different calibers. It’s also a fun way to meet new people and chat.
But some of those places do not provide target stands, and this is where this project was born 🙂
Let’s get to building!
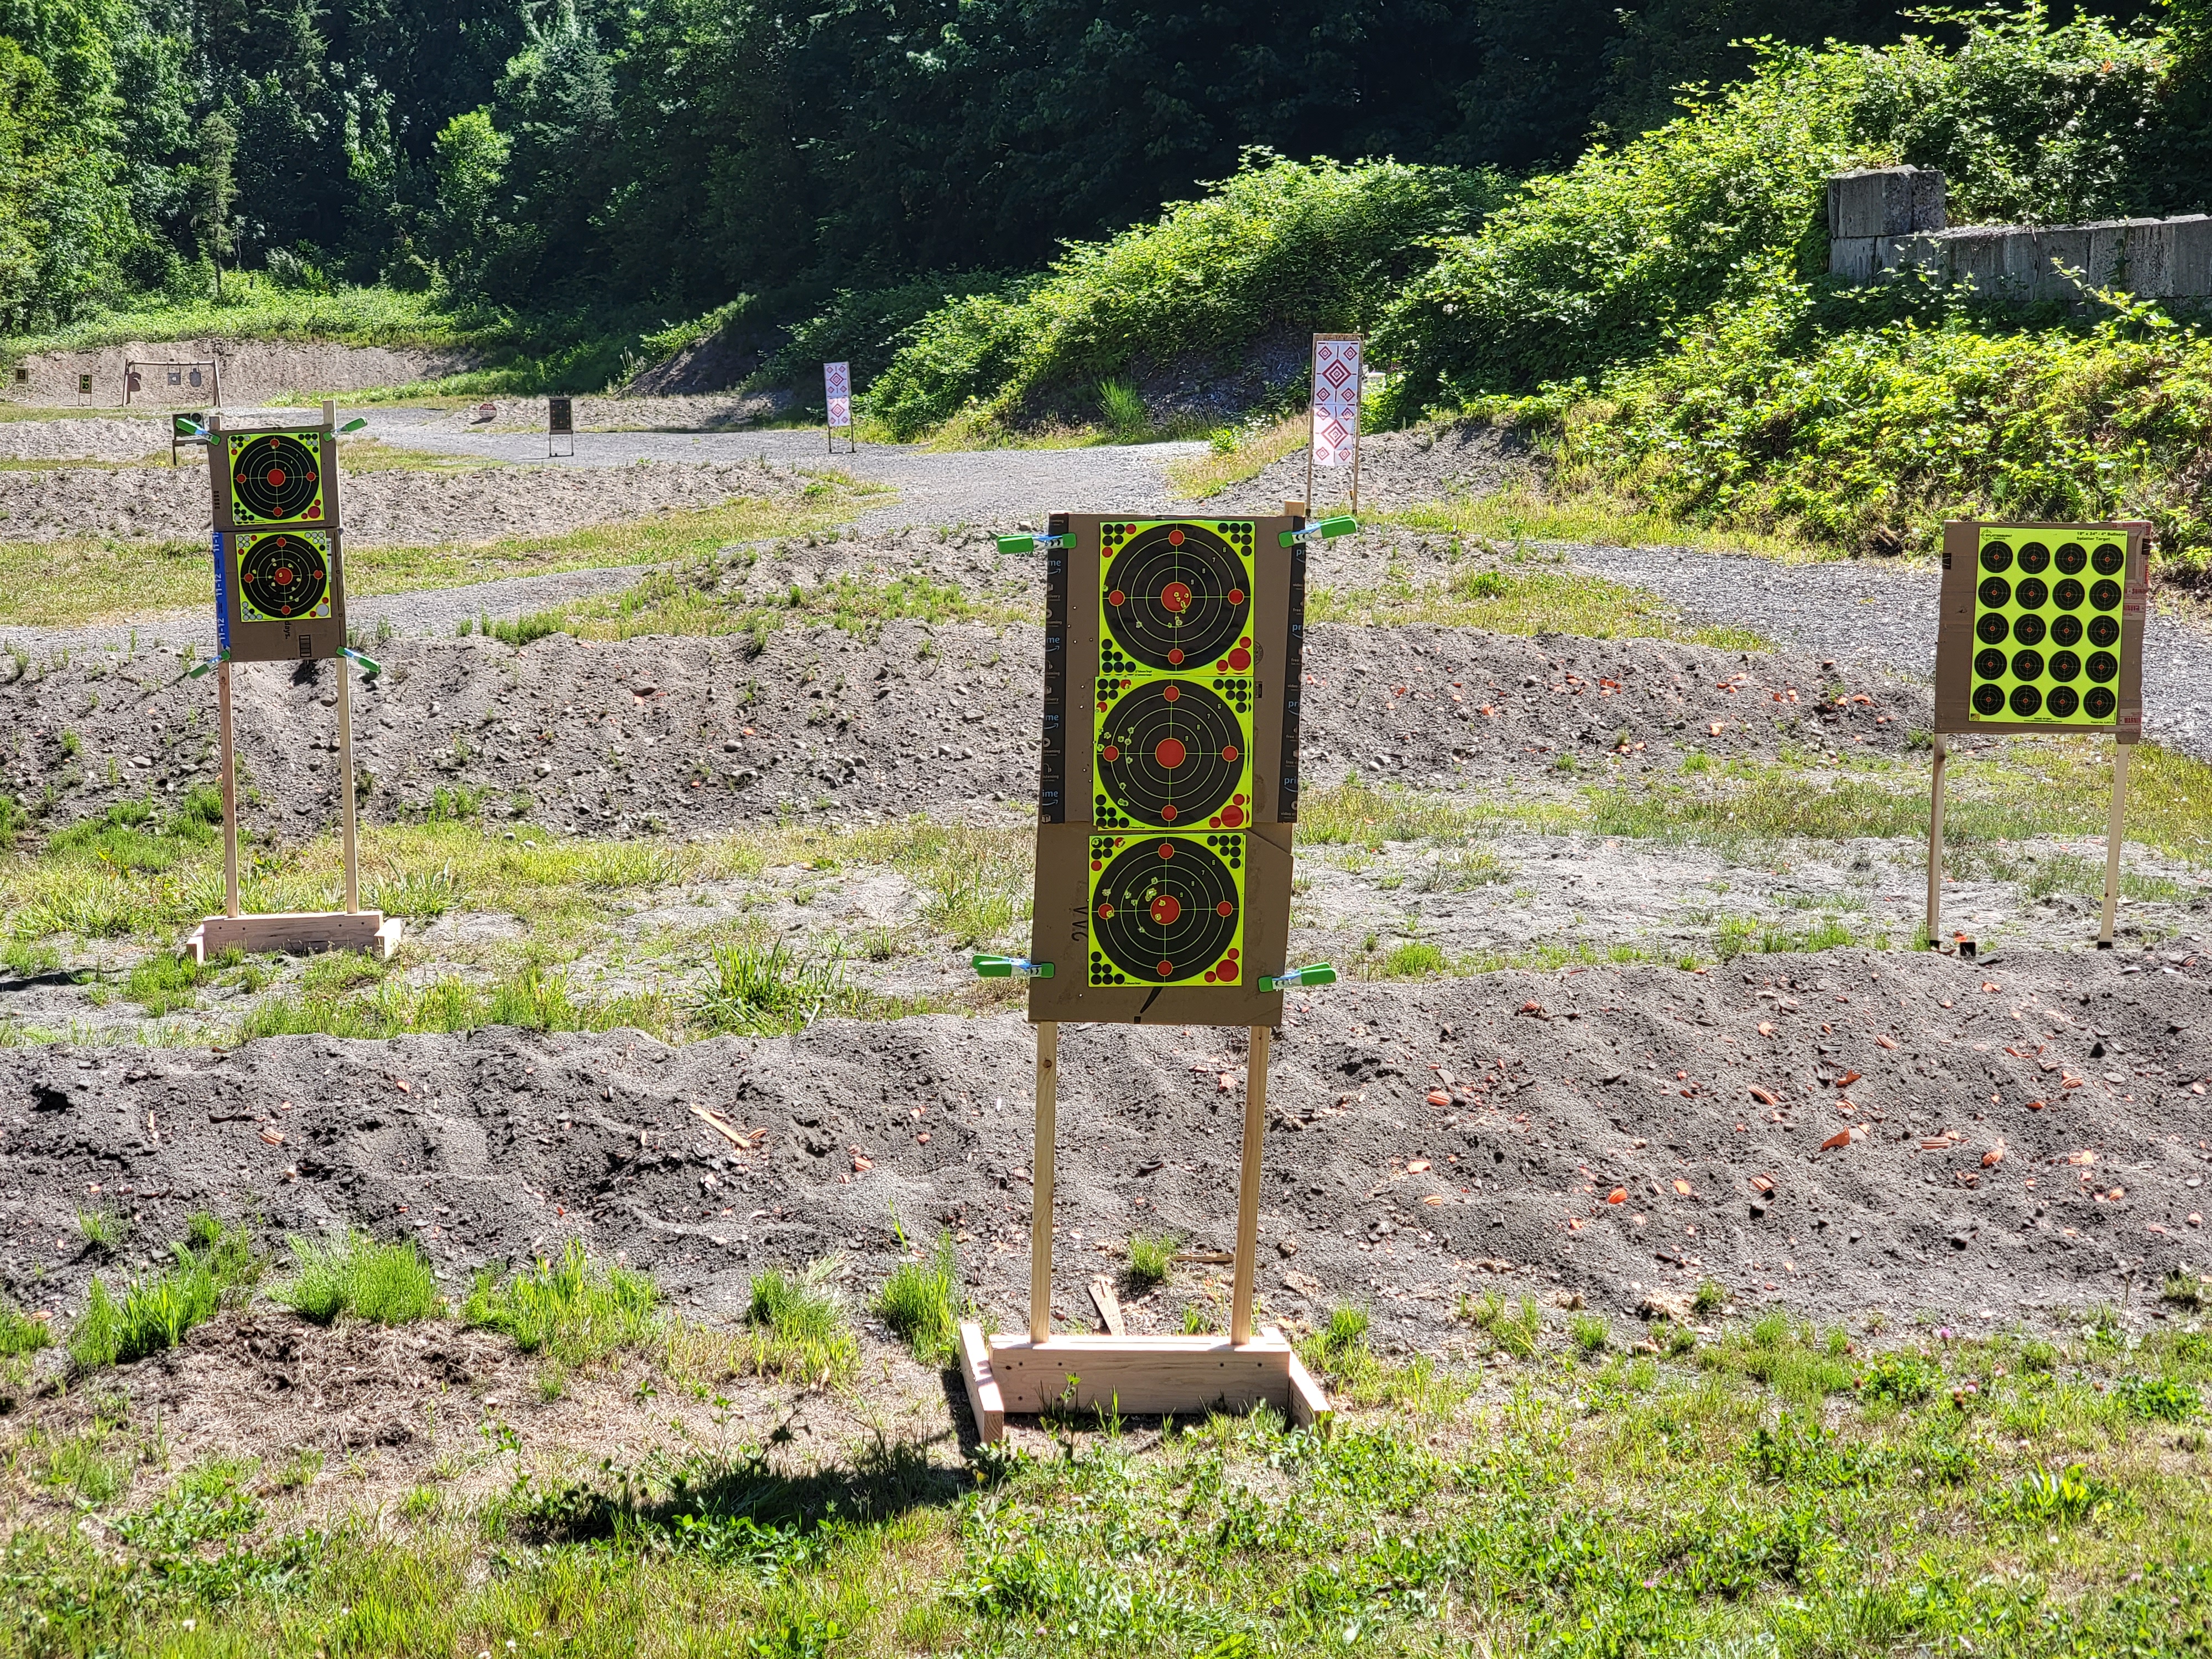
Table of contents
- Rules of safe firearm handling
- Bill of materials and cost
- Making the target stands – cutting and assembling it from wood pieces
- Gallery of completed project
- BONUS: Building archery targets
- Are there any alternatives?
Rules of safe firearms handling
Firearms require attention to safety, self-discipline, and should be approached with caution and respect.
Always remember the 4 rules of safe firearms handling:
- Always treat each weapons as if it is loaded.
- Don’t point the muzzle at anything you don’t intend to shoot.
- Keep your finger off the trigger until you’re ready to shoot.
- Be mindful of your target and what’s around/behind it.
Alright, with that important reminder out of the way, let’s take a look at the target stands.
Bill of materials and cost
Here’s all you’ll need:
- 2″ x 6″ – we’ll need 4ft for a single target stand, thus a single 8ft length will suffice for 2 target stands, see in Home Depot,
- 2″ x 4″- same here, 4ft needed for a single target stand, see in Home Depot,
- 1″ x 2″ – furring strips, we’ll need 2 of the 8ft long ones for single stand, and they’re also available in your lumber supply store, see in Home Depot
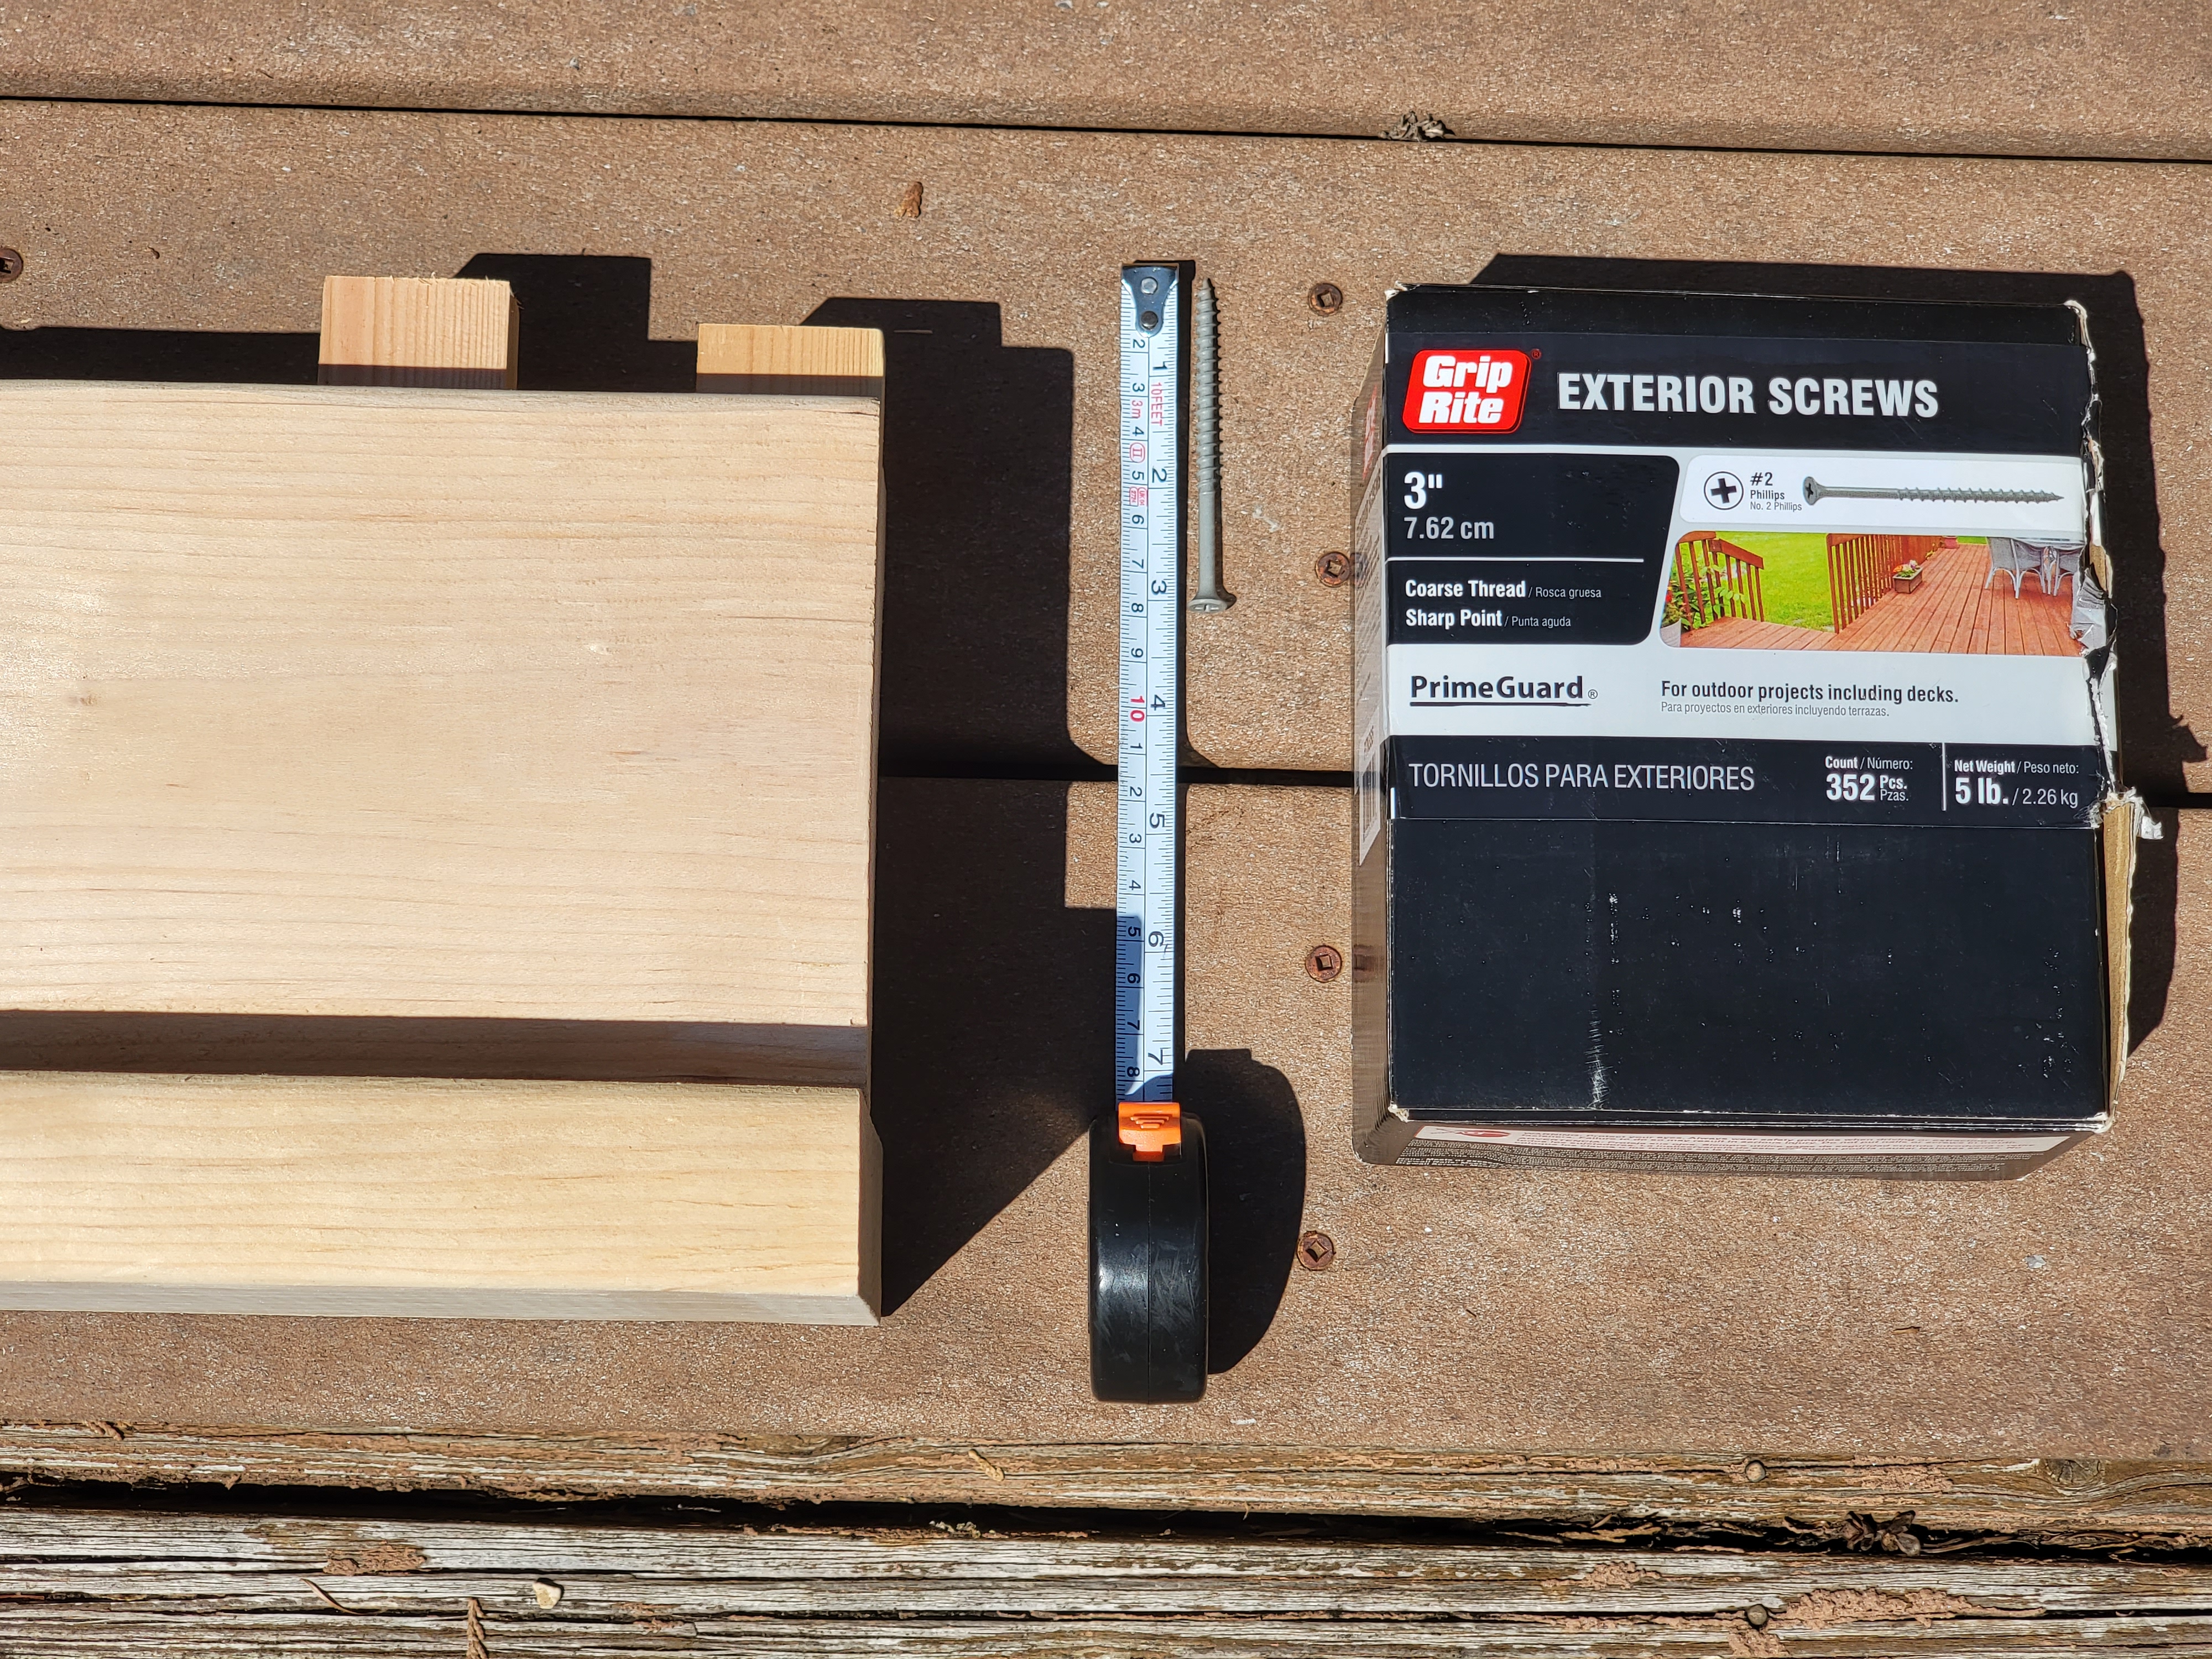
- decking screws – 3″ long, for outdoor use, we’ll use 12 screws for a single target stand, but I find those quite handy to have and would recommend buying a bigger box, see in Home Depot,
Note: All above dimensions are referring to the “dimensional lumber” used in US. Real dimensions of those boards are in fact smaller (e.g. 2″ x 4″ is actually 1.75″ x 3.75″).
And while I considered that the target stands will be used outdoors, I decided against using treated lumber, as they should be plenty durable, and I didn’t want to have to deal with the extra chemicals on my hands/in the car.
All up it should come down to about $32 for building first 2 target stands, with additional ones coming in at around $11 a piece (approx. cost of the half-lengths of the 2″ x 6″ needed for a single stand, and the box of screws should last you for 6 targets).
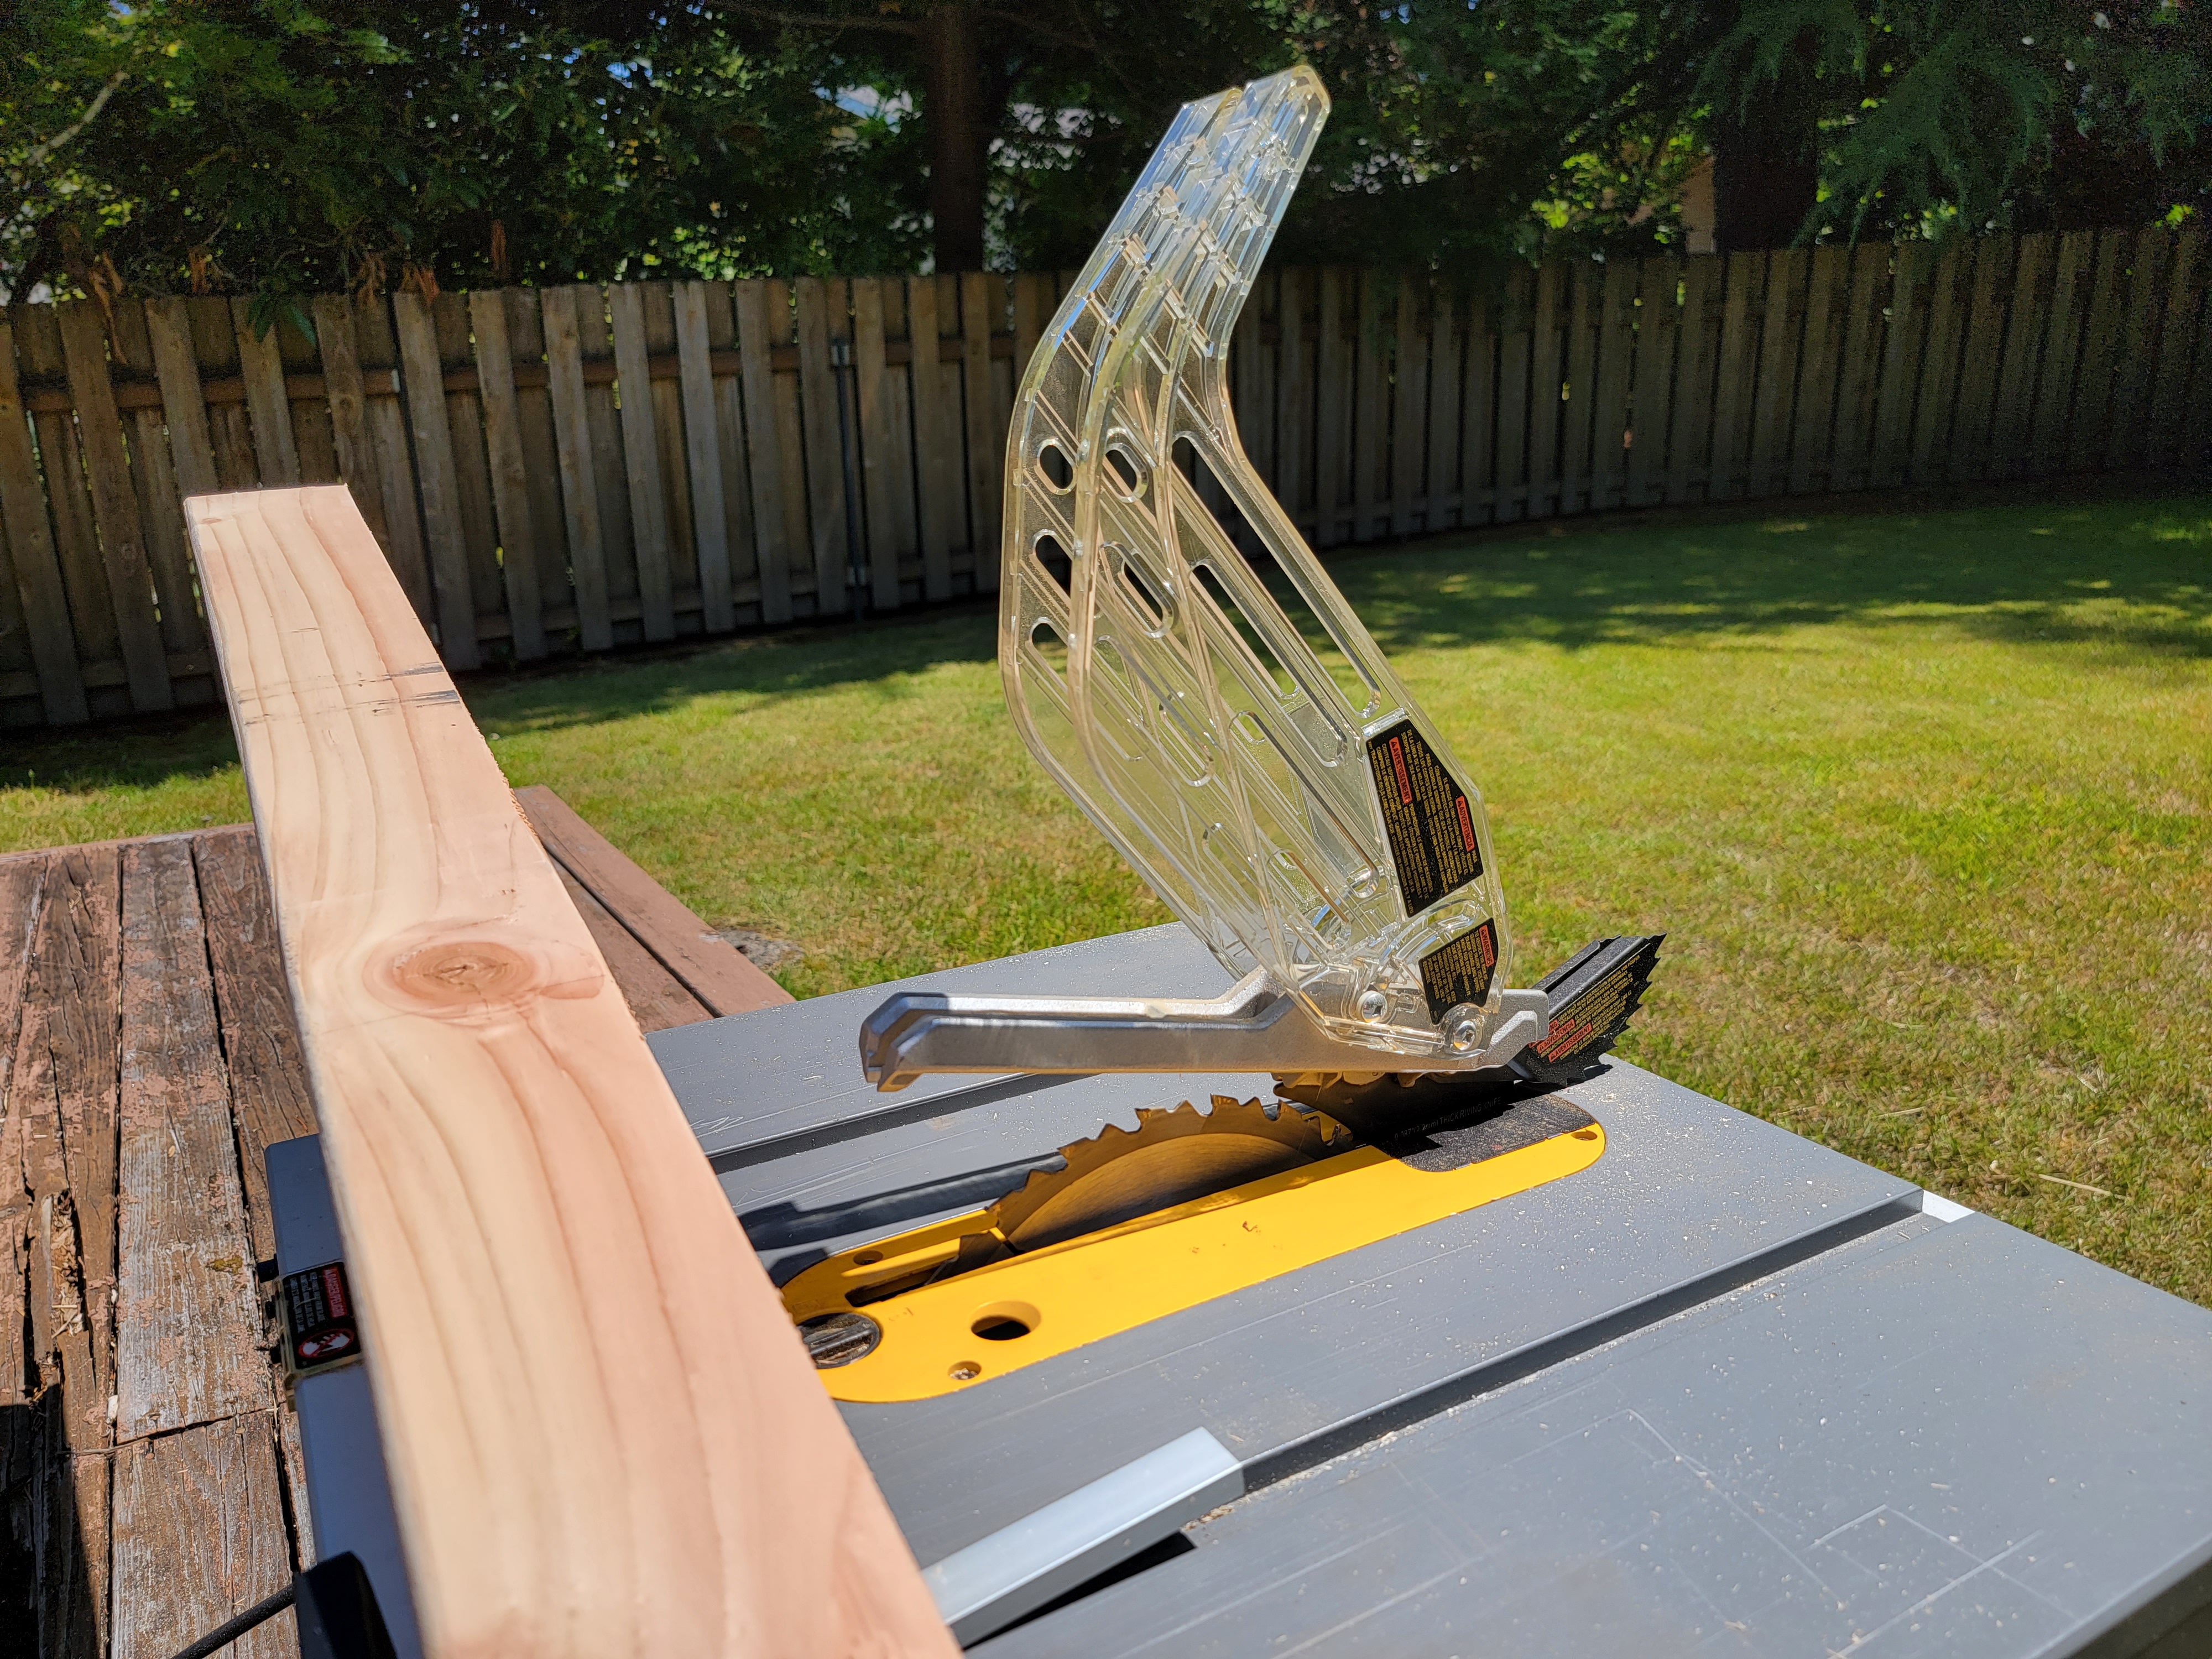
Tools needed:
- a saw – this can be table saw, circular saw, miter saw – anything sufficient to cut through 4″ x 6″ board,
- you could ask to have most of the pieces cut to desired length in the store too!
- cordless drill/driver – preferably 2 of them, for convenience of having 1 with drill-bit to pre-drill holes that you will then screw into,
Building process
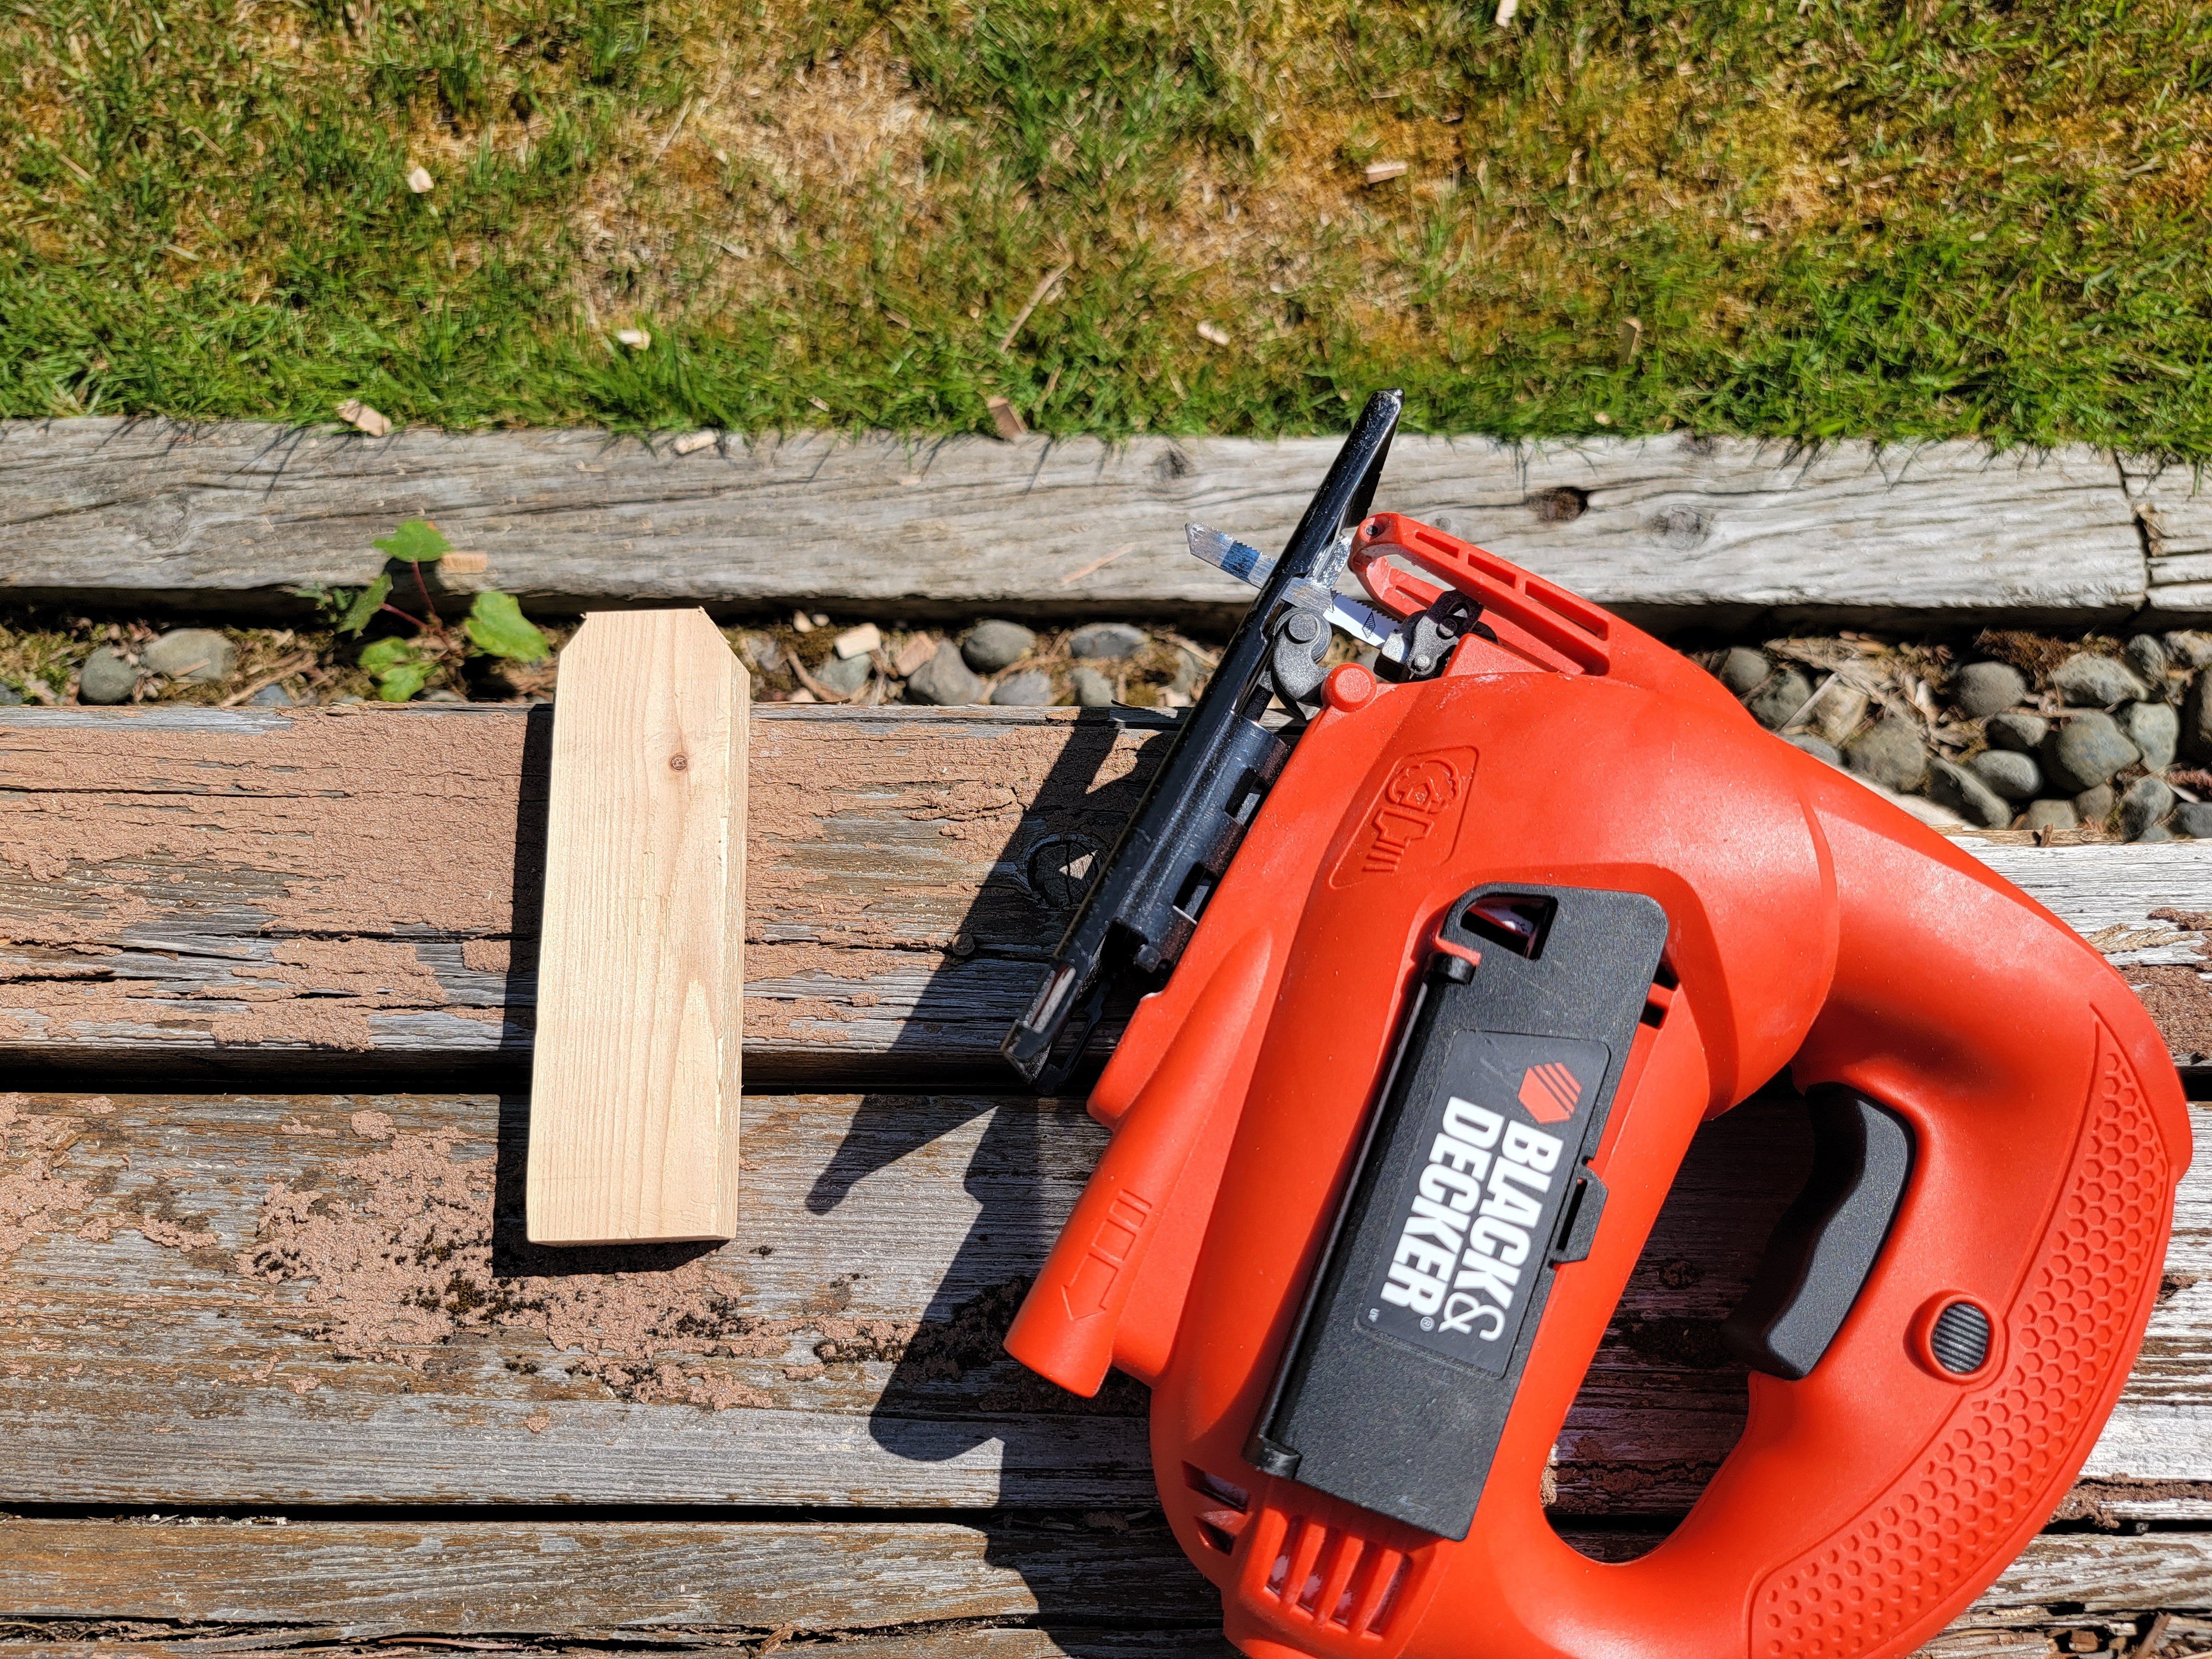
Before we start, let’s get the tools ready.
I highly recommend having 2 cordless drills, to both easily pre-drill holes and then quickly swap to the one with a screwdriver bit. Makes the process a breeze – you have to pre-drill holes to avoid splitting the wood, and not having to switch between the drill bit and phillips bit all the time is a big time-saver. Oh, and be sure to fully charge all power tool batteries 🙂
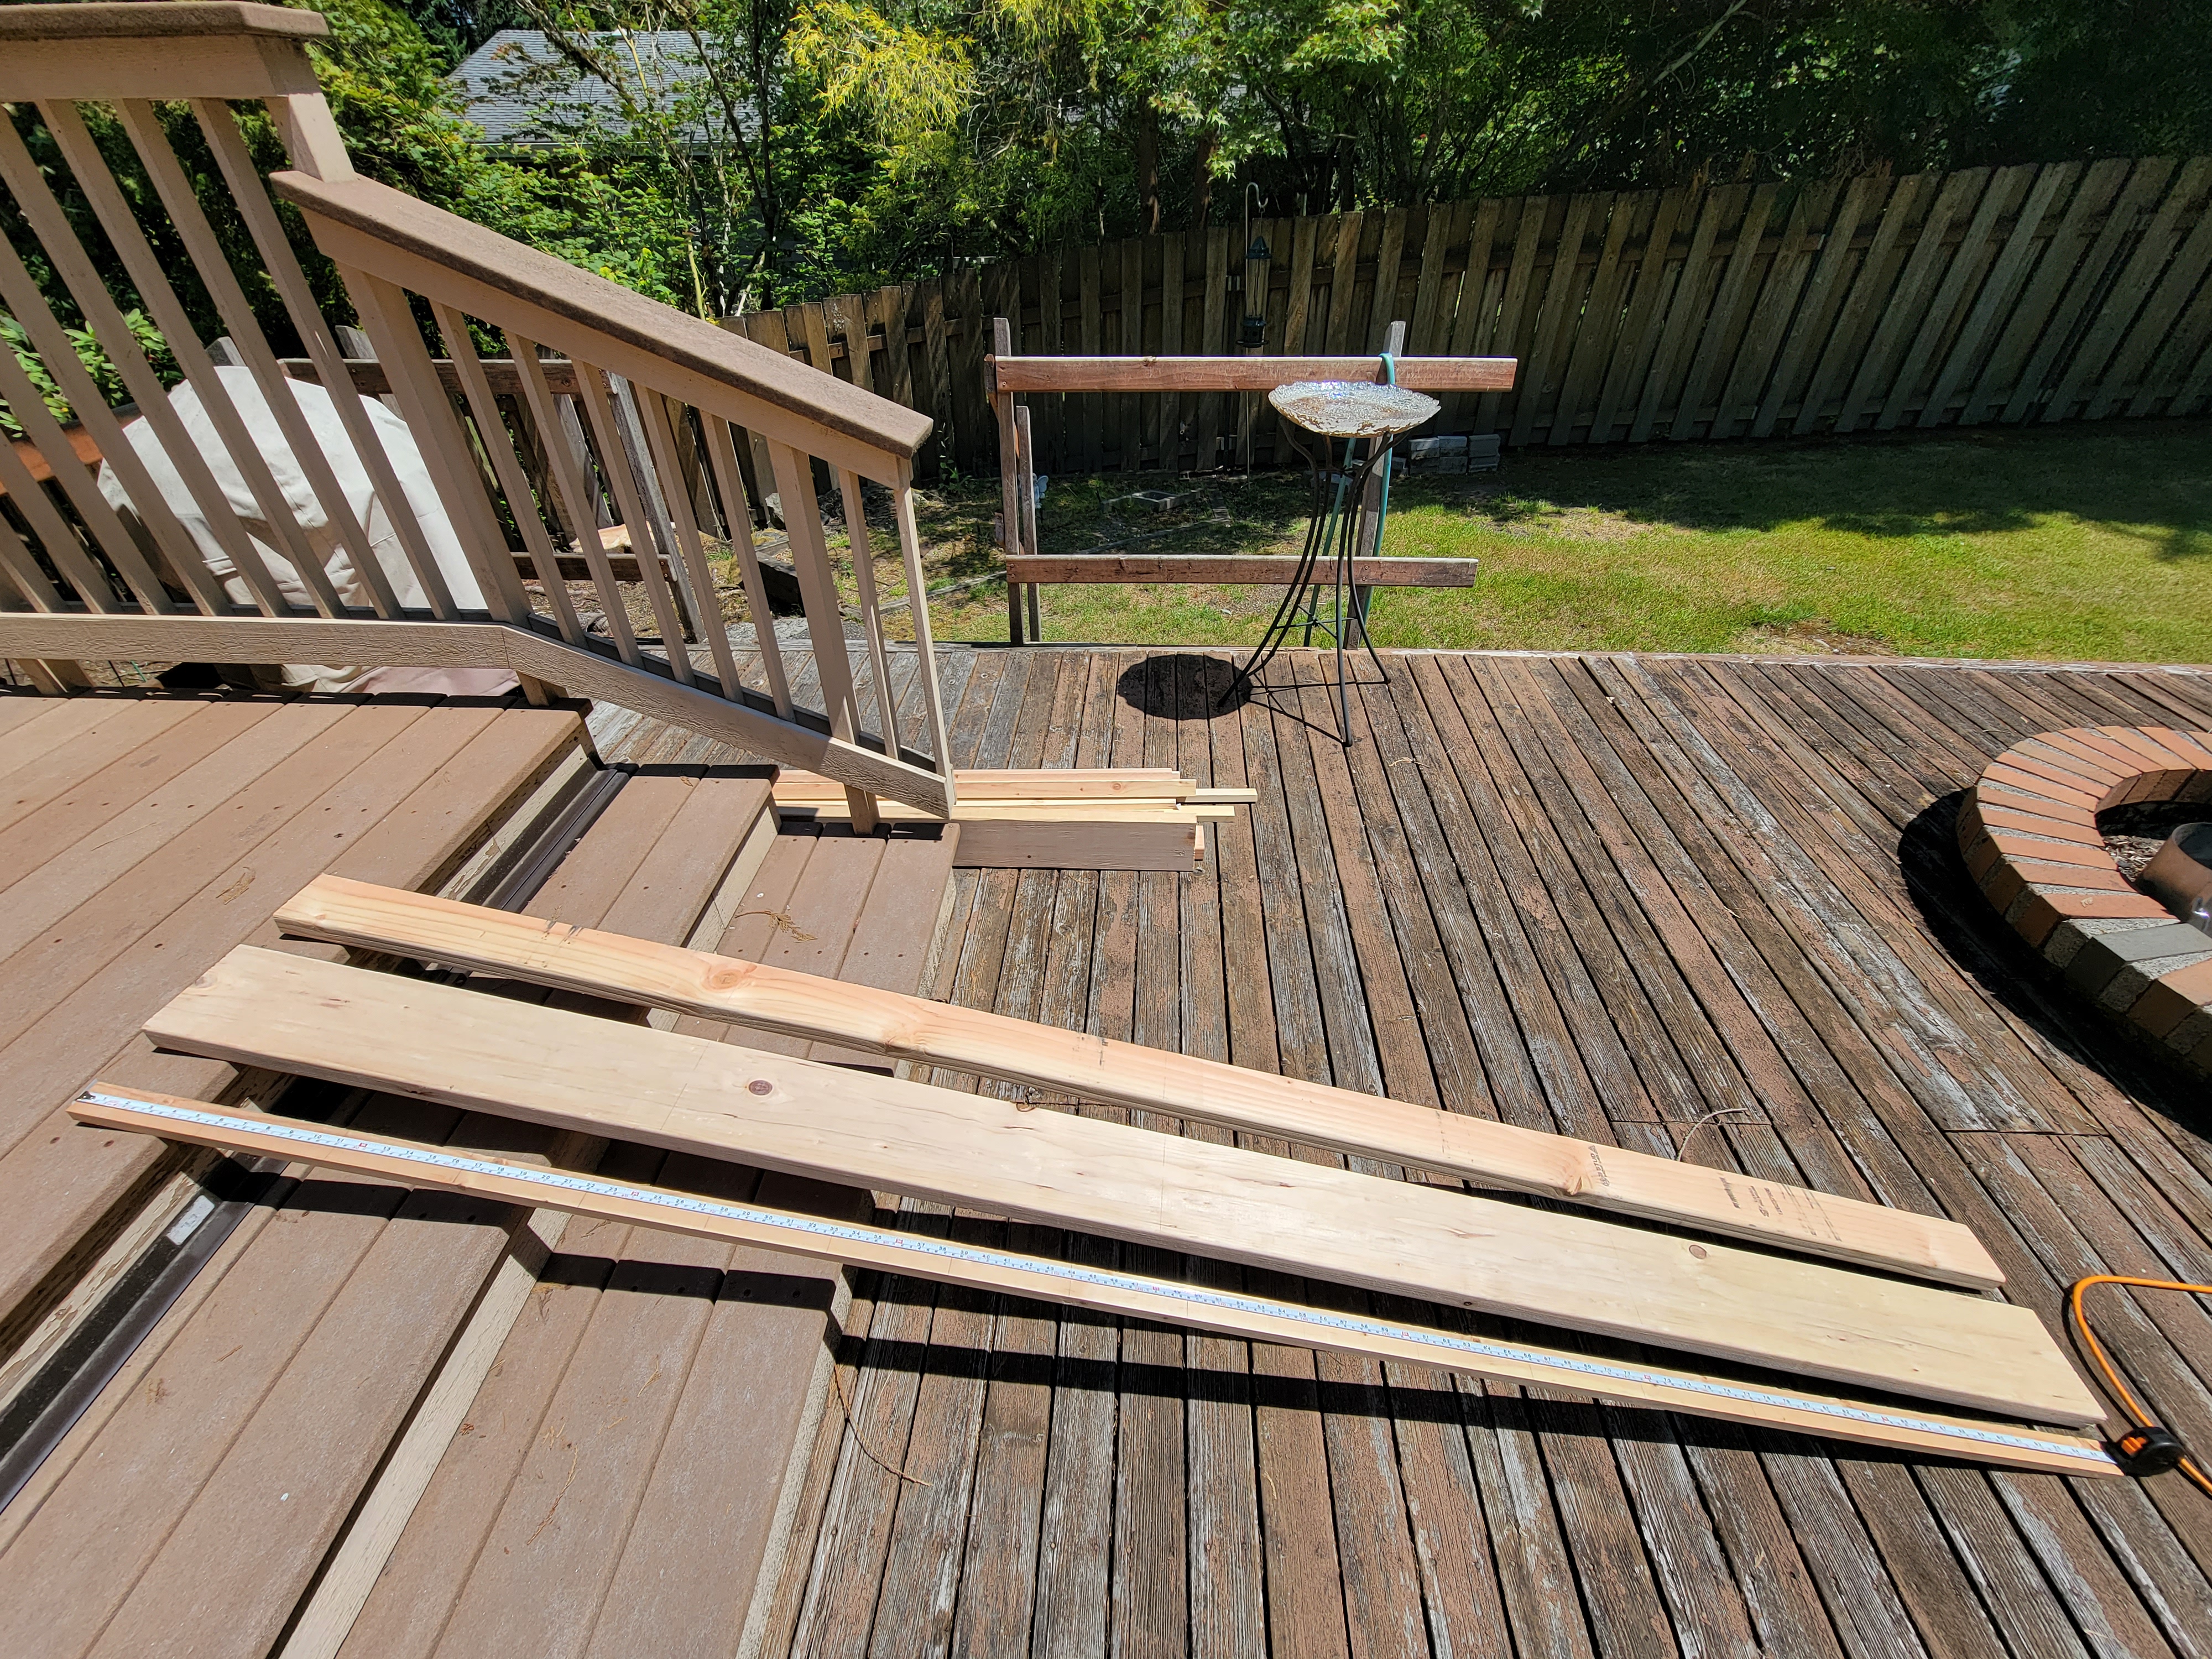
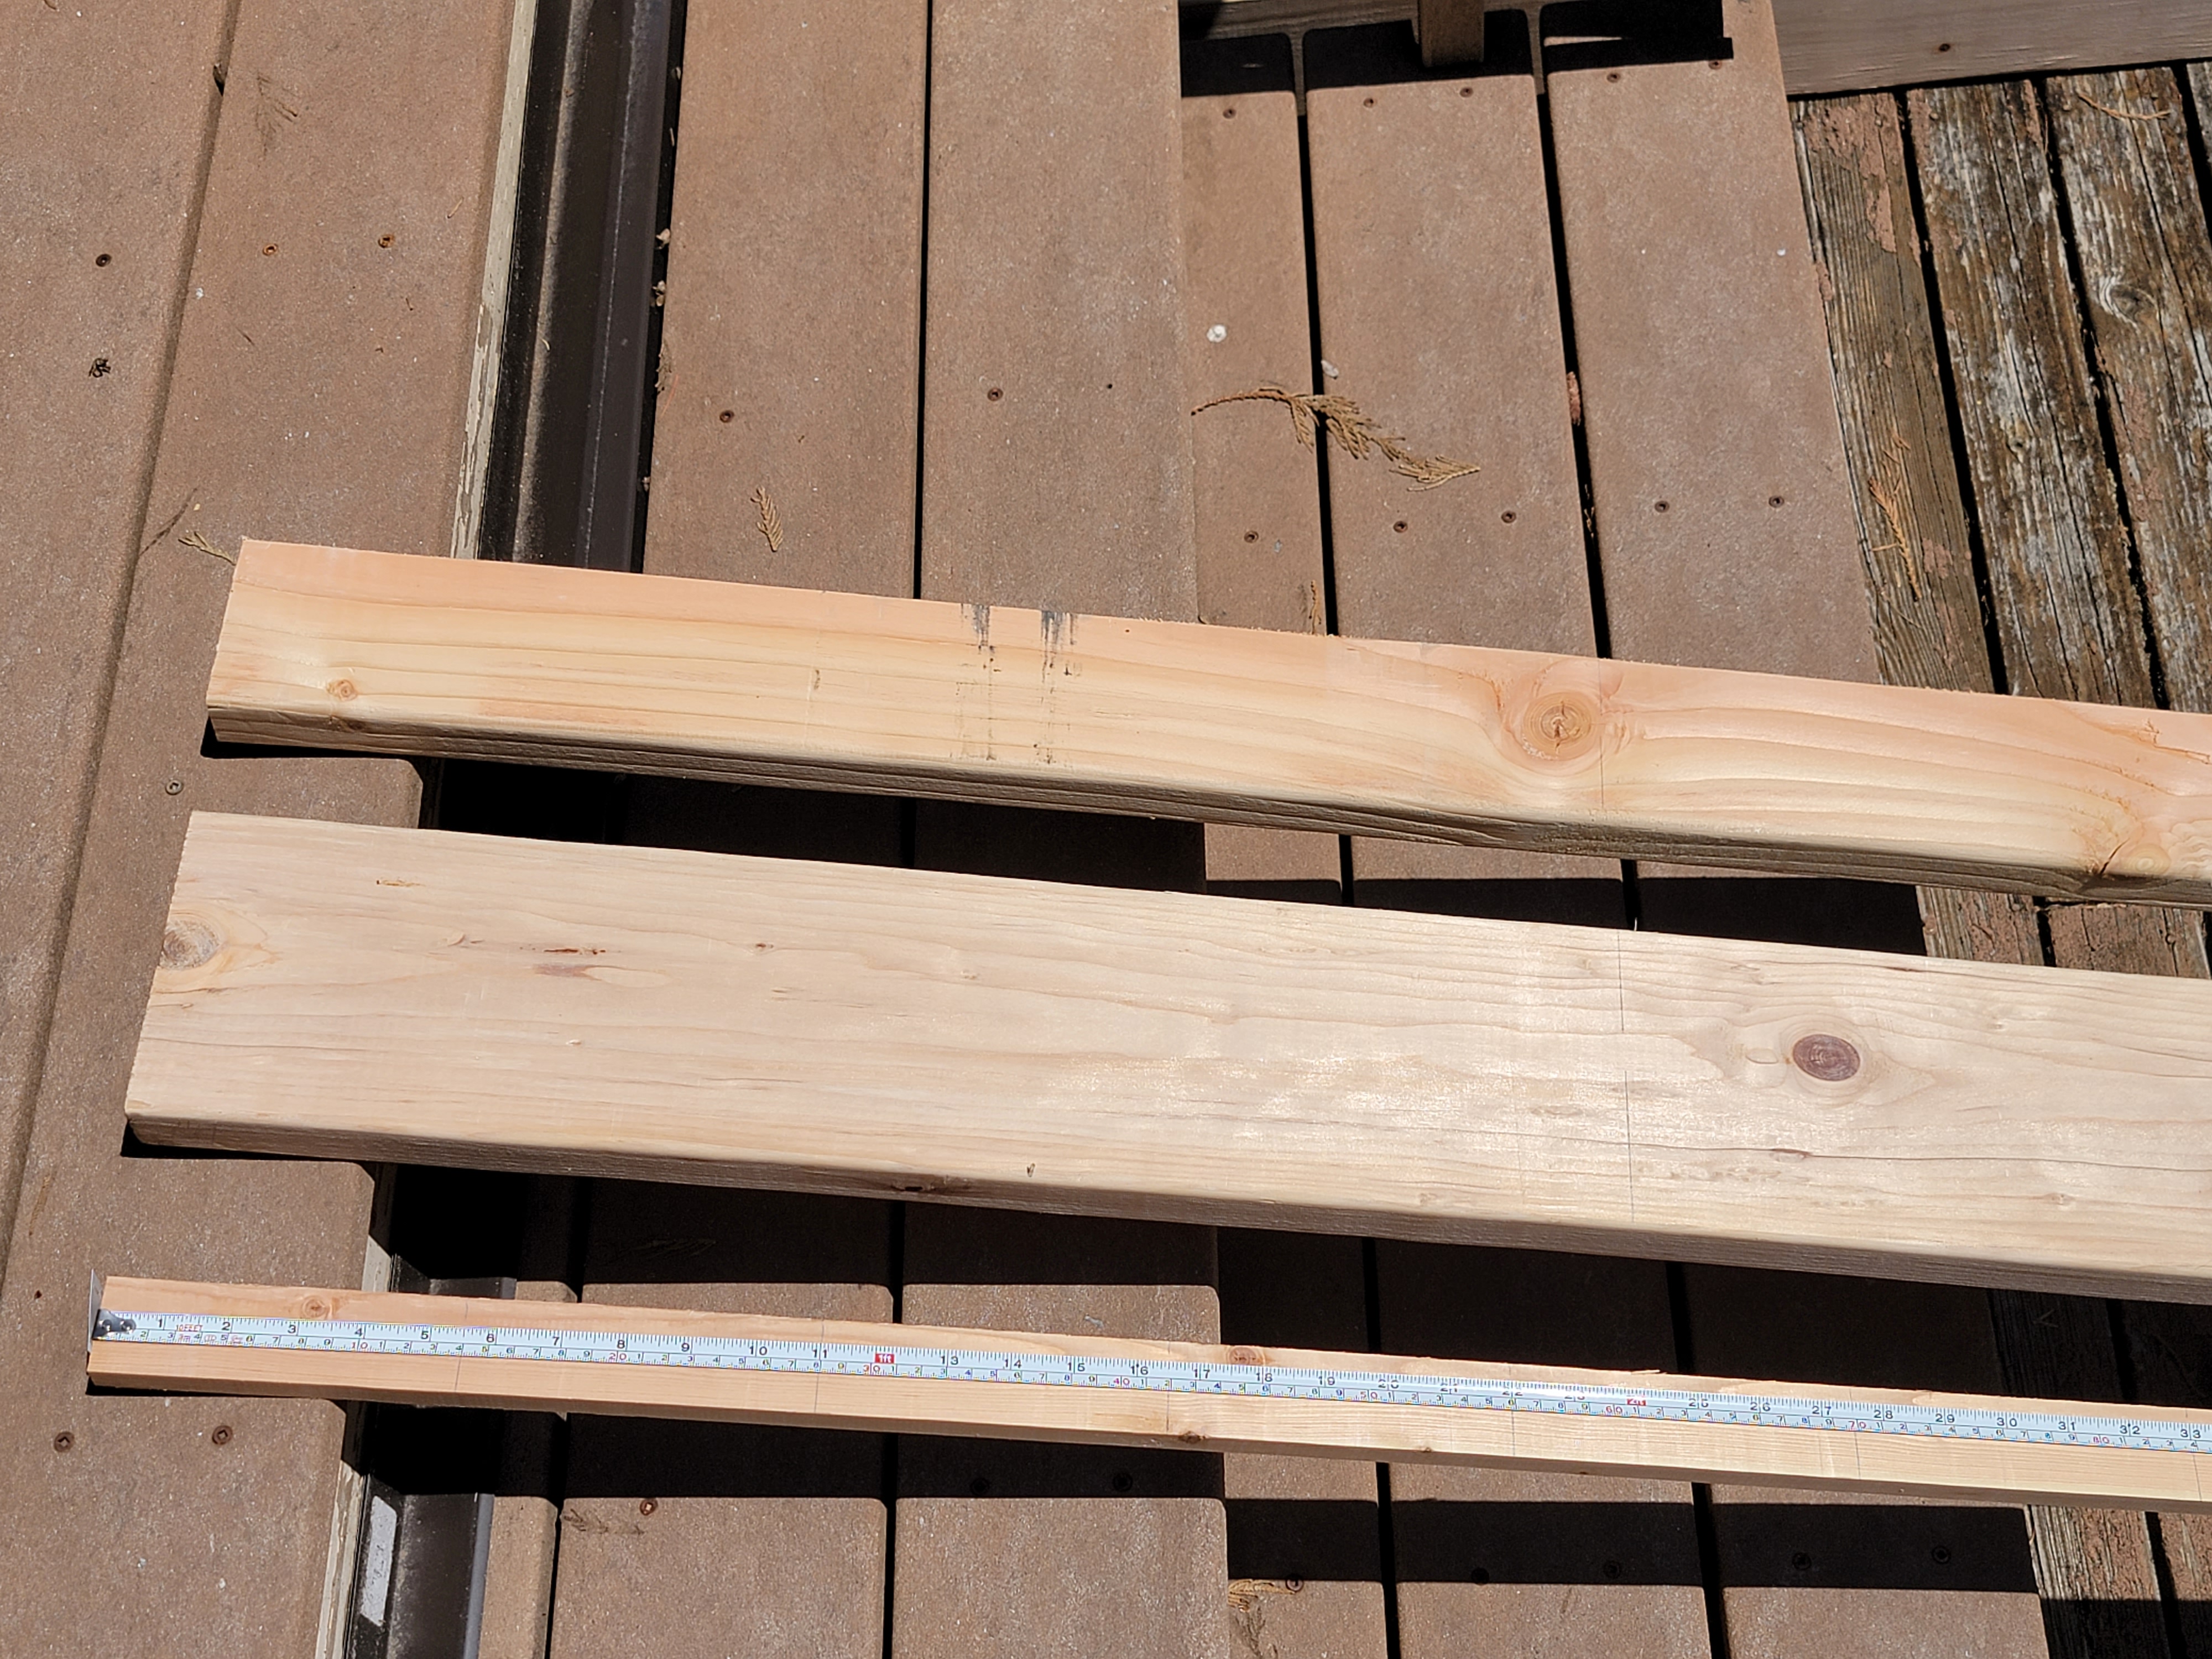
Here’s quick look at the lumber I bought:
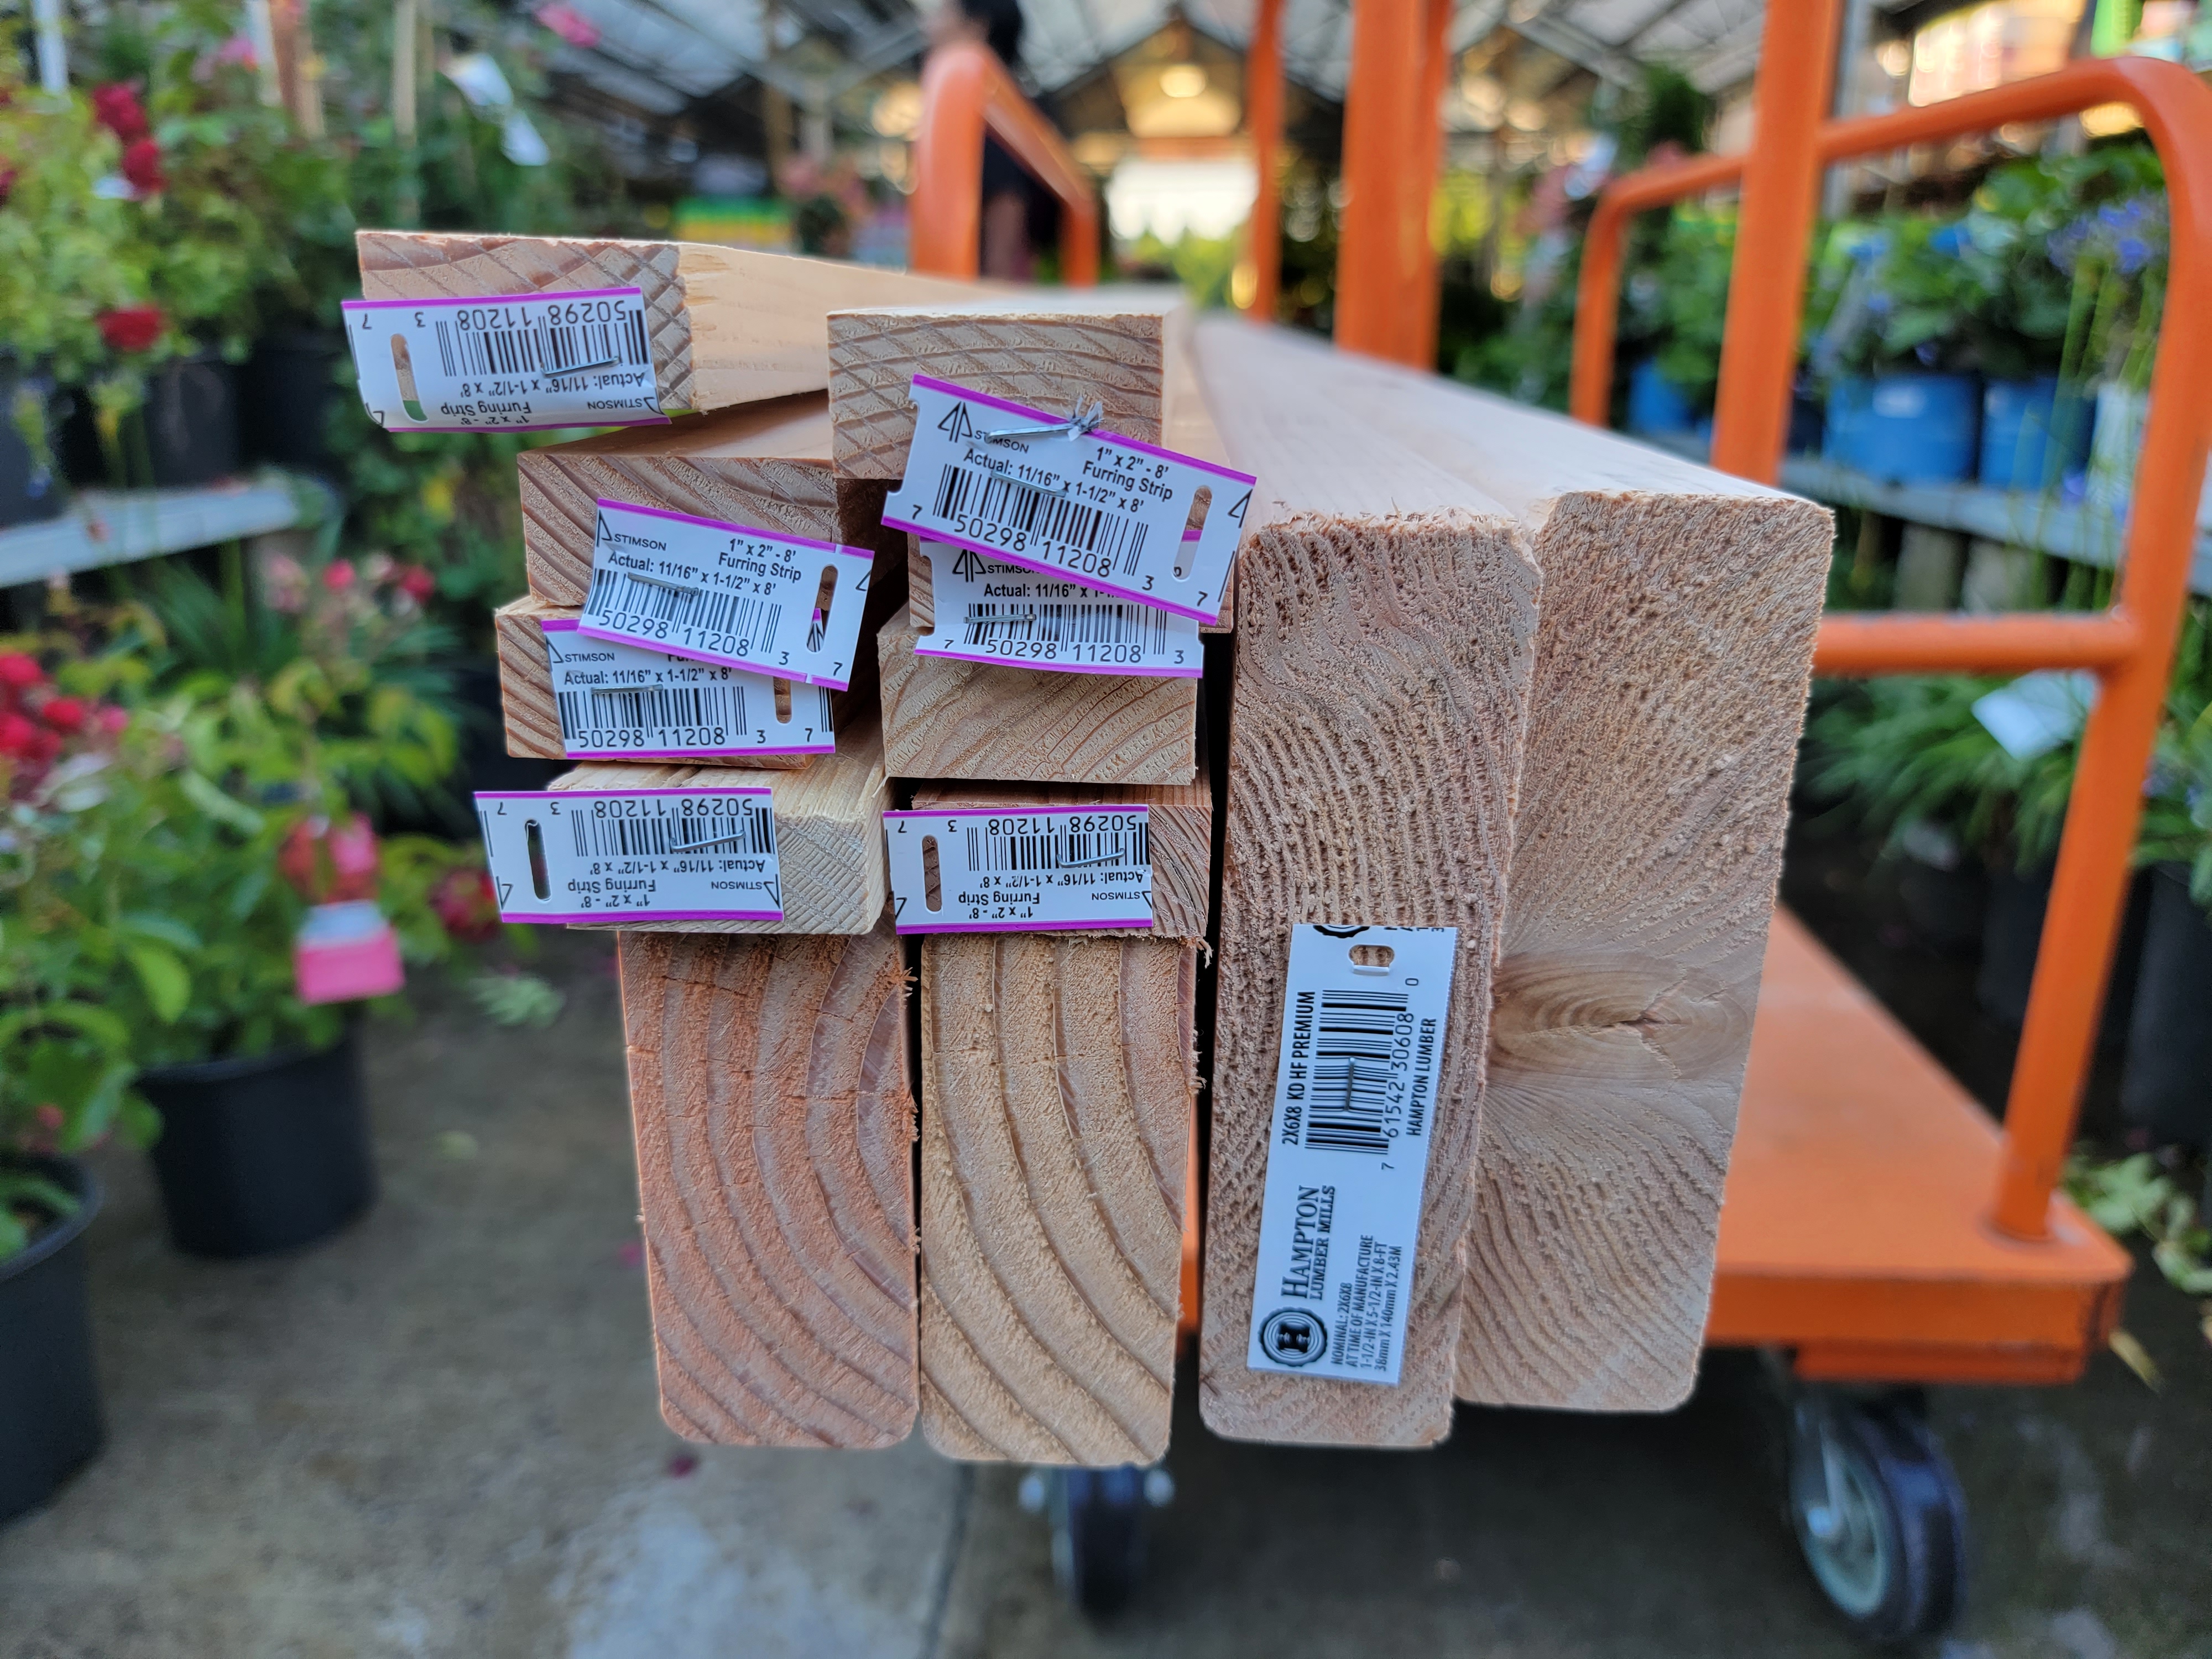
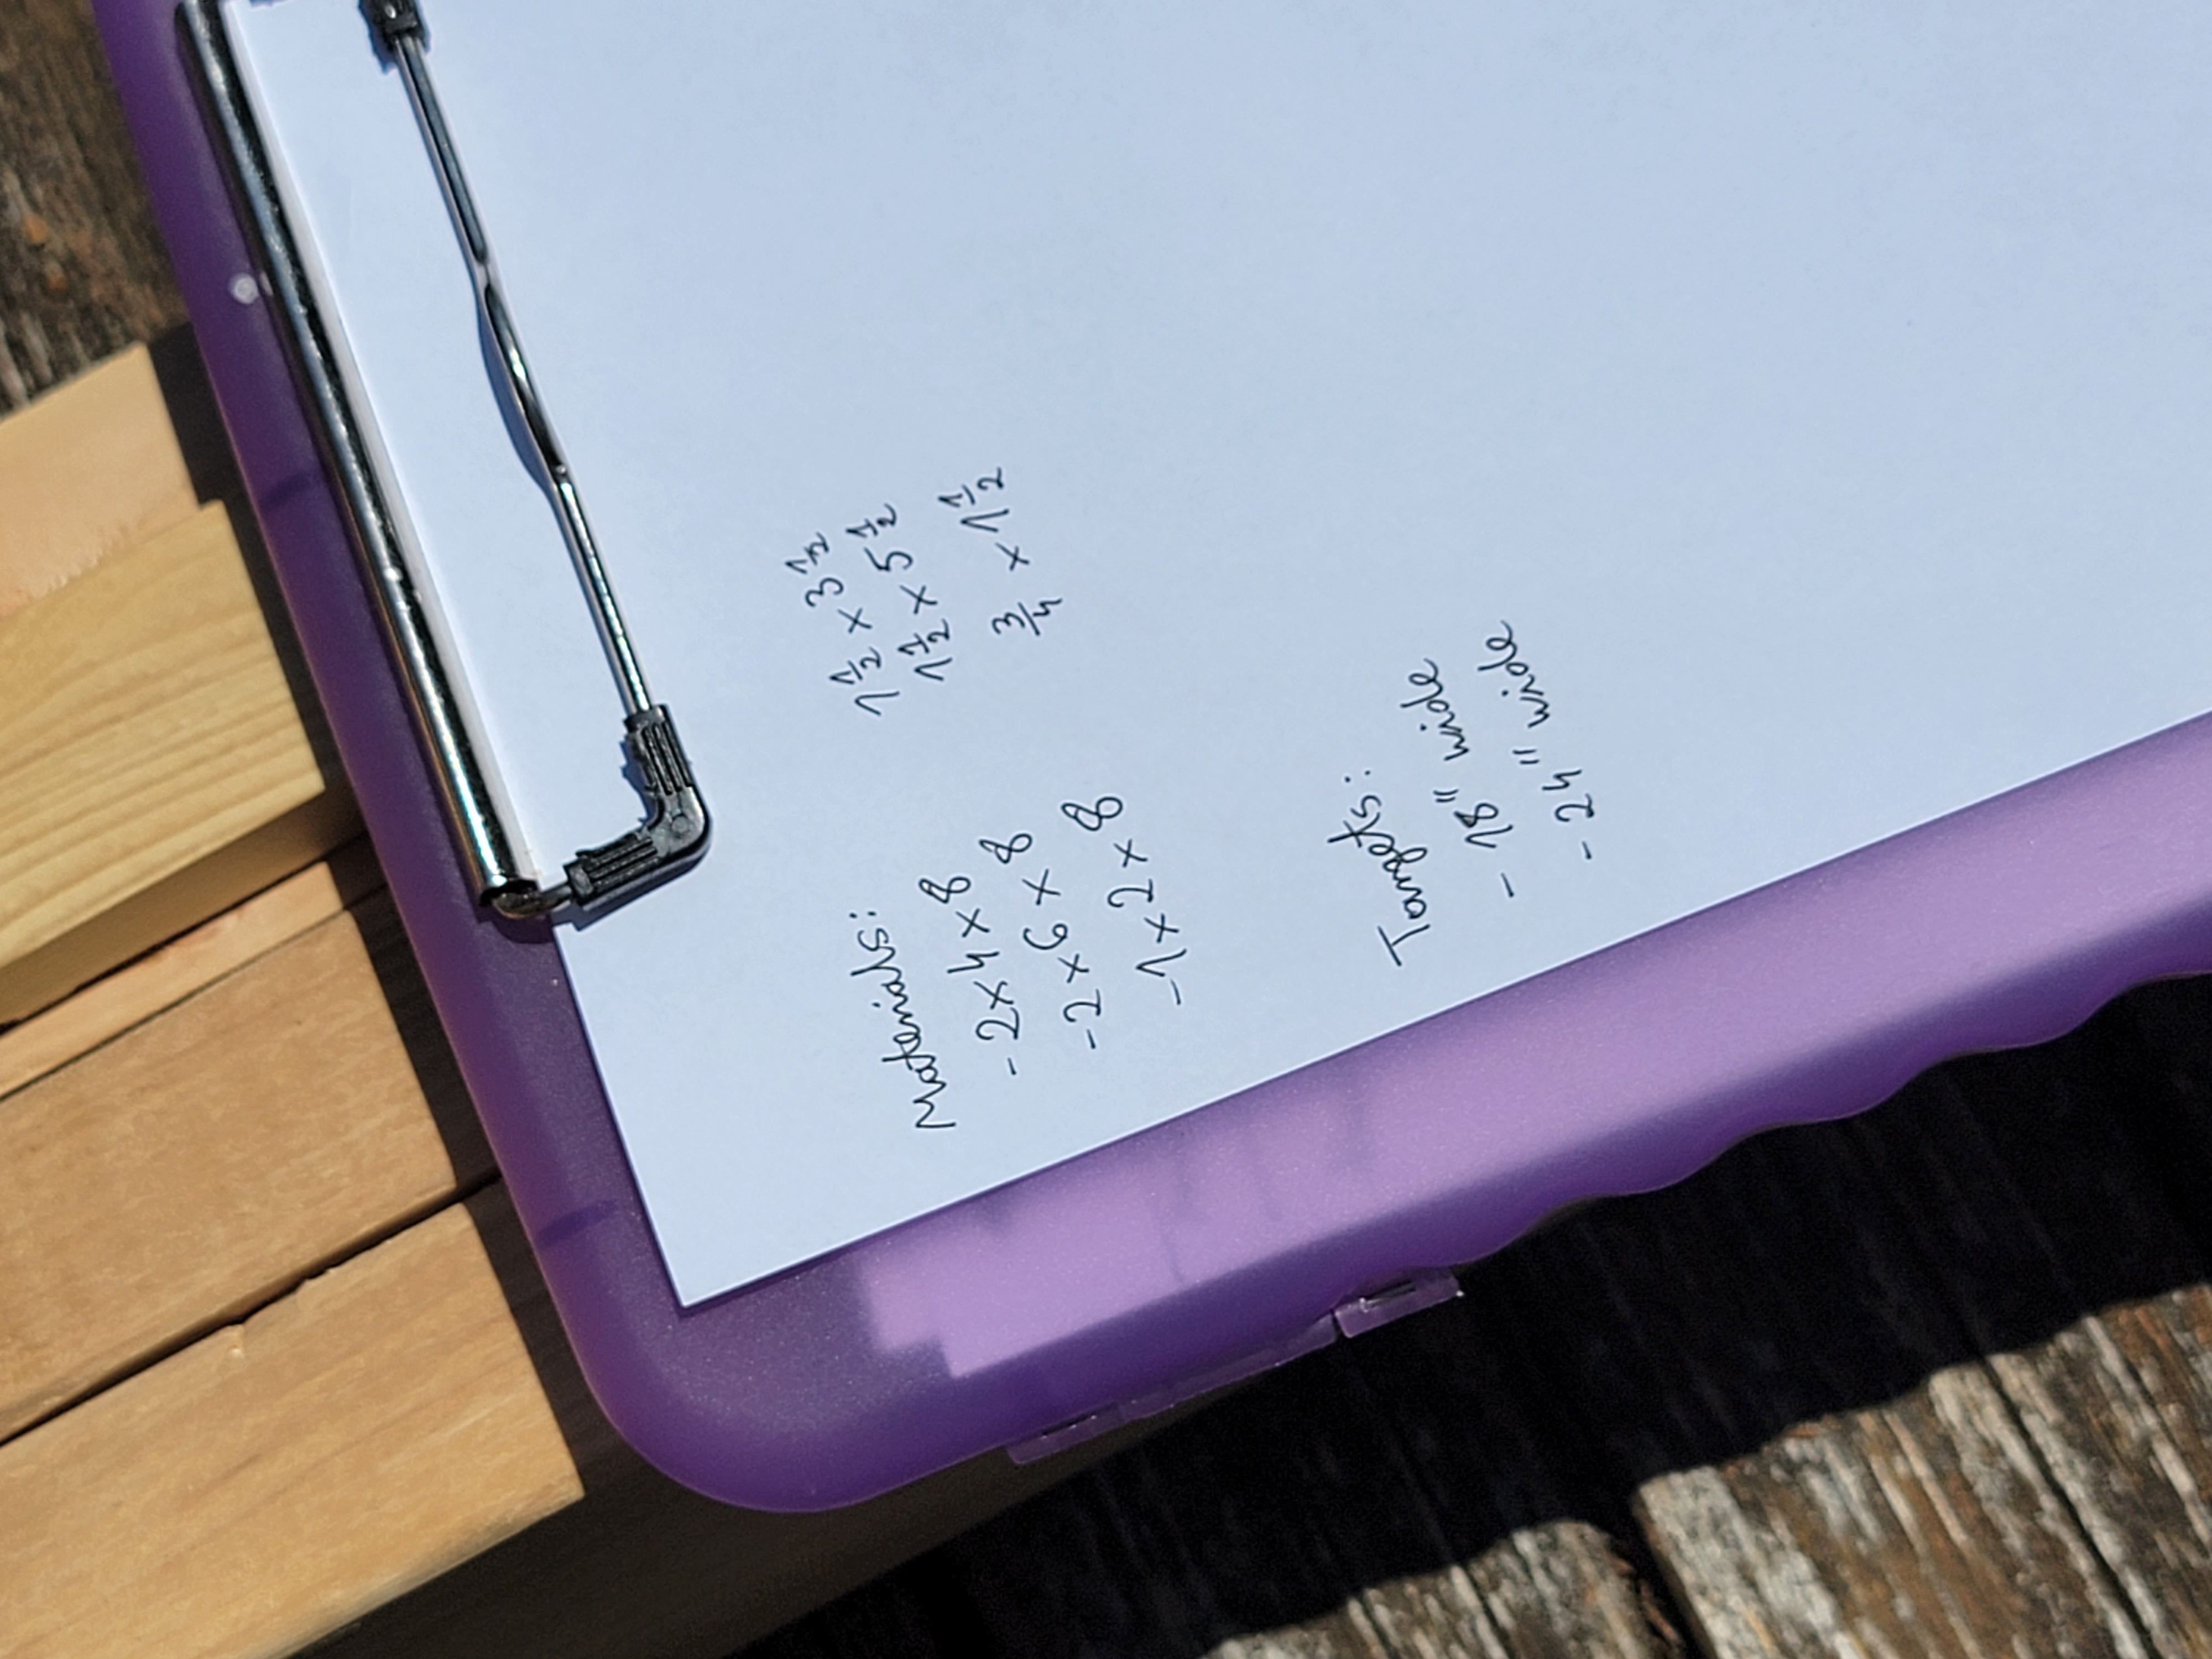
And a quick handwritten notes on what I have in mind:
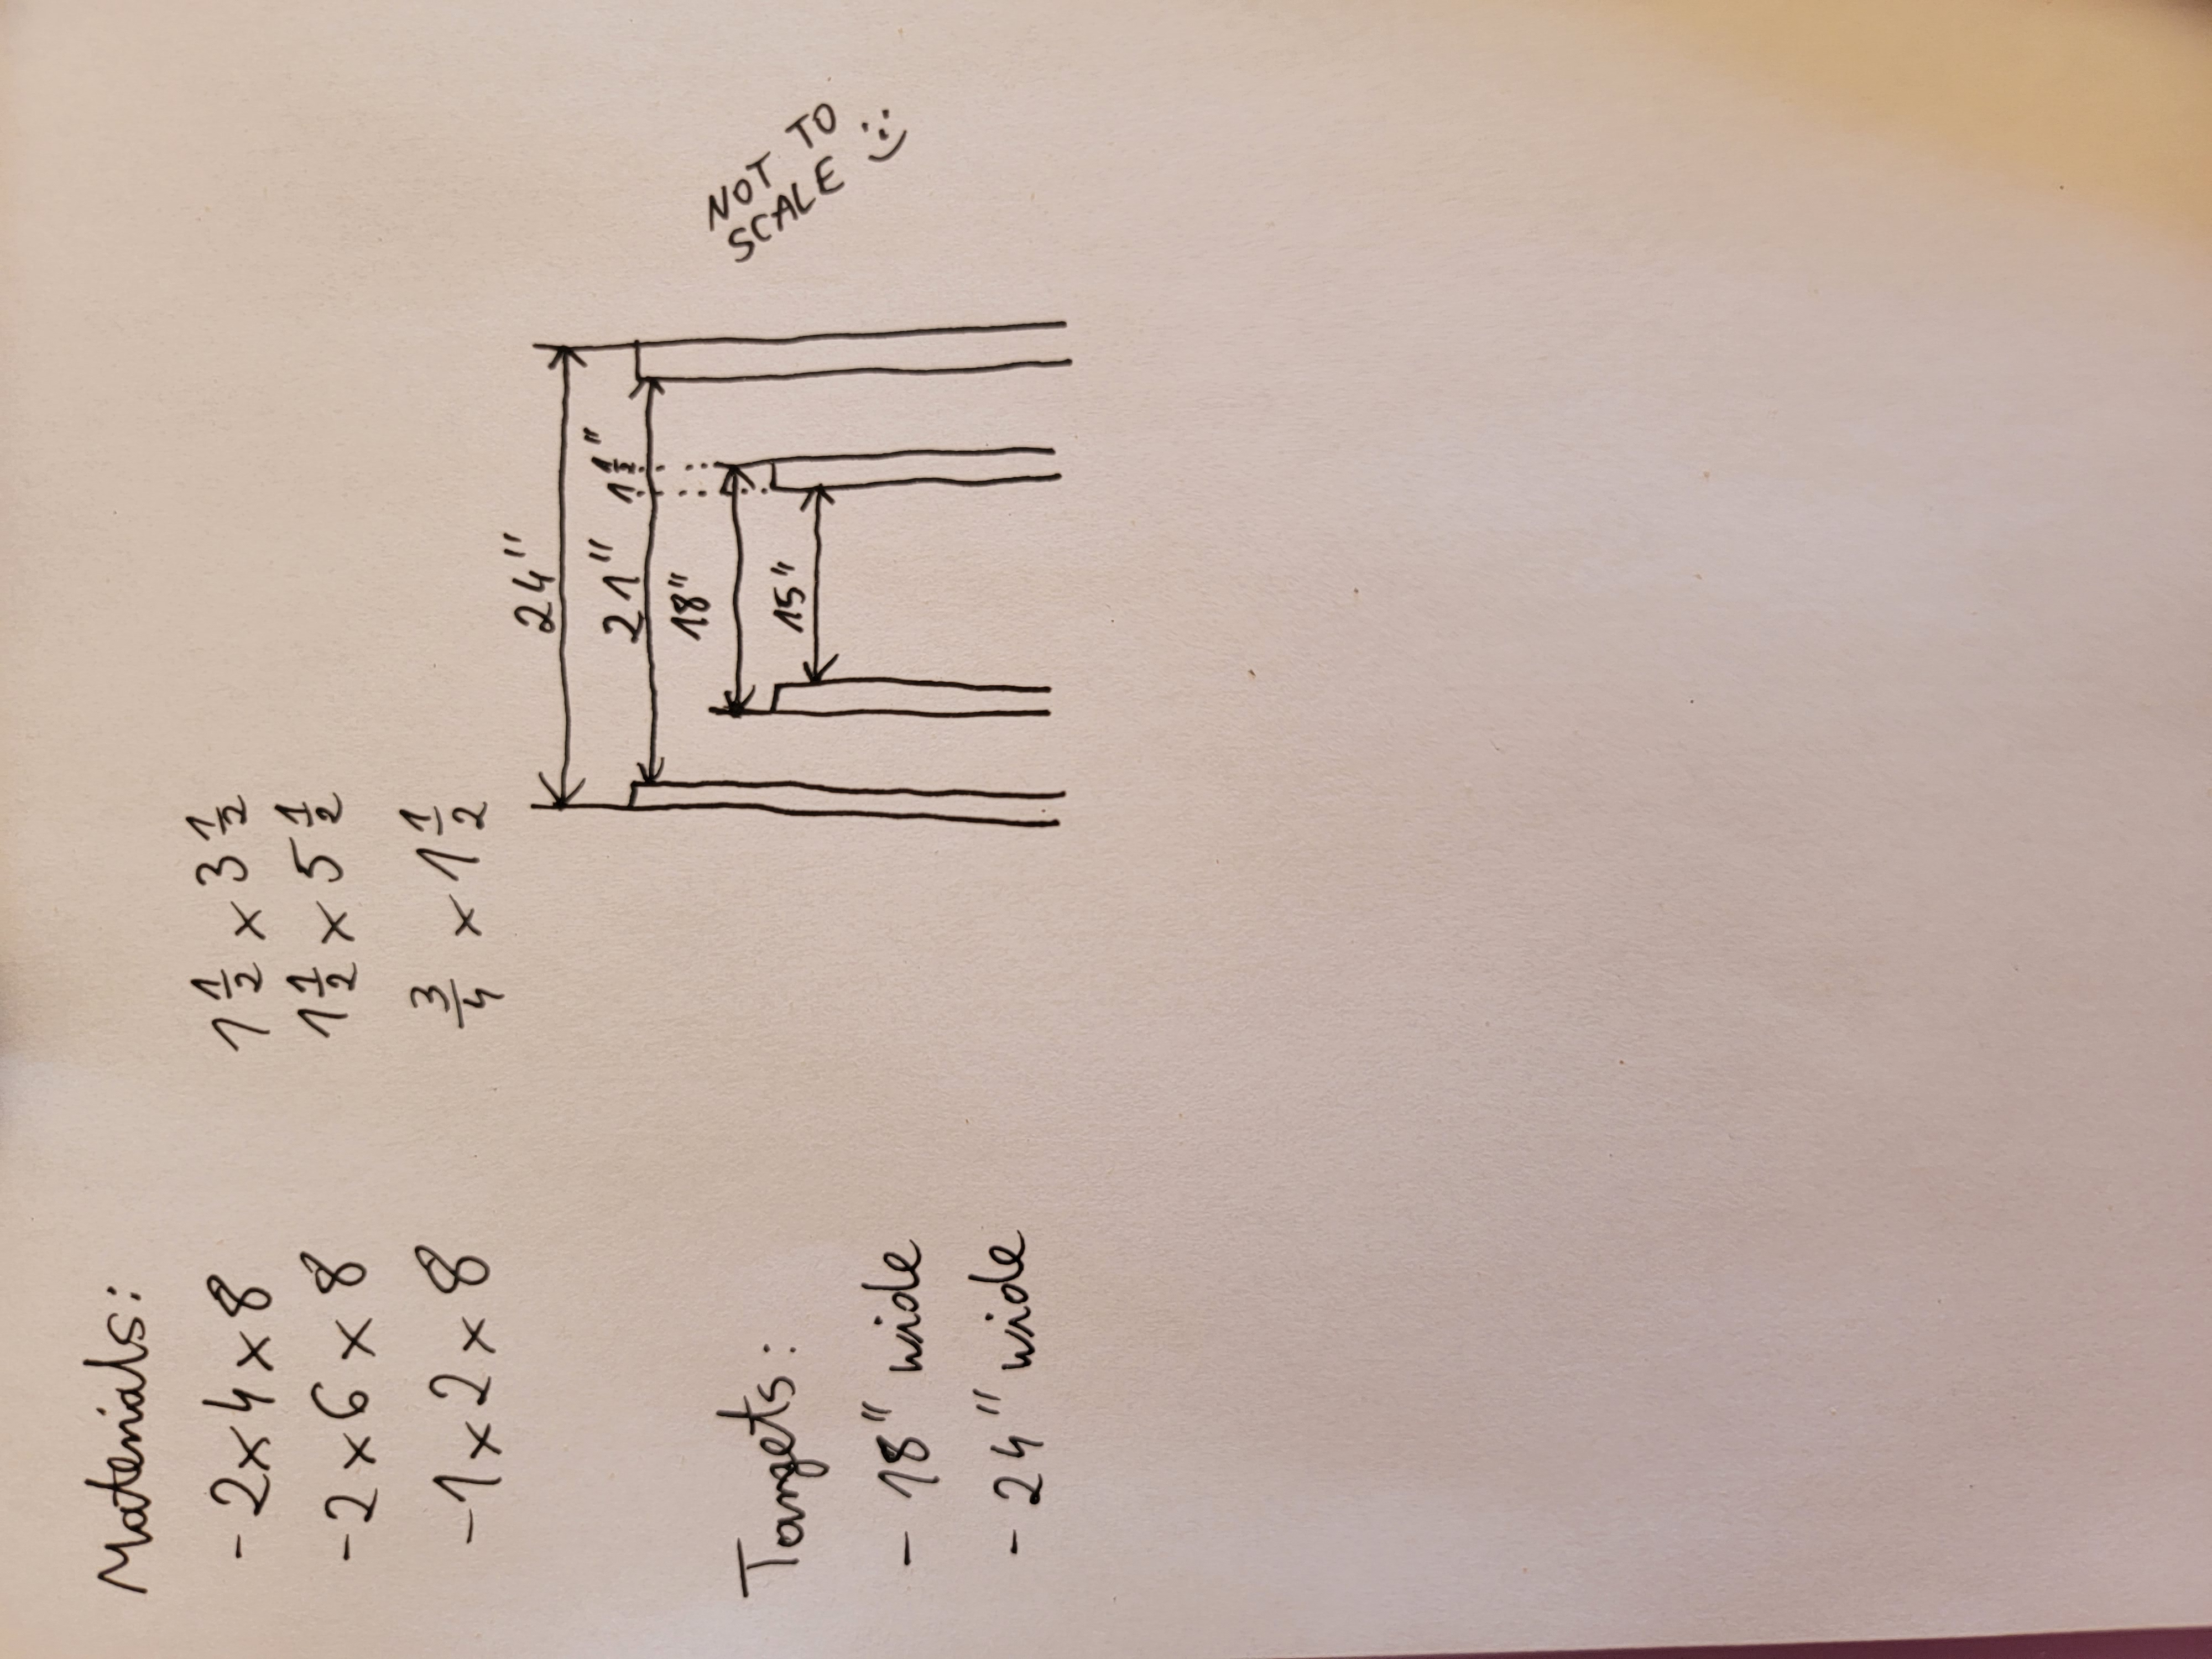
As you see, I’d like to be able to use both 18″ wide and 24″ wide targets.
This will make it easier to find cardboard backing, as I noticed that I don’t get all that many Amazon packages in boxes that will span 24″ 😉
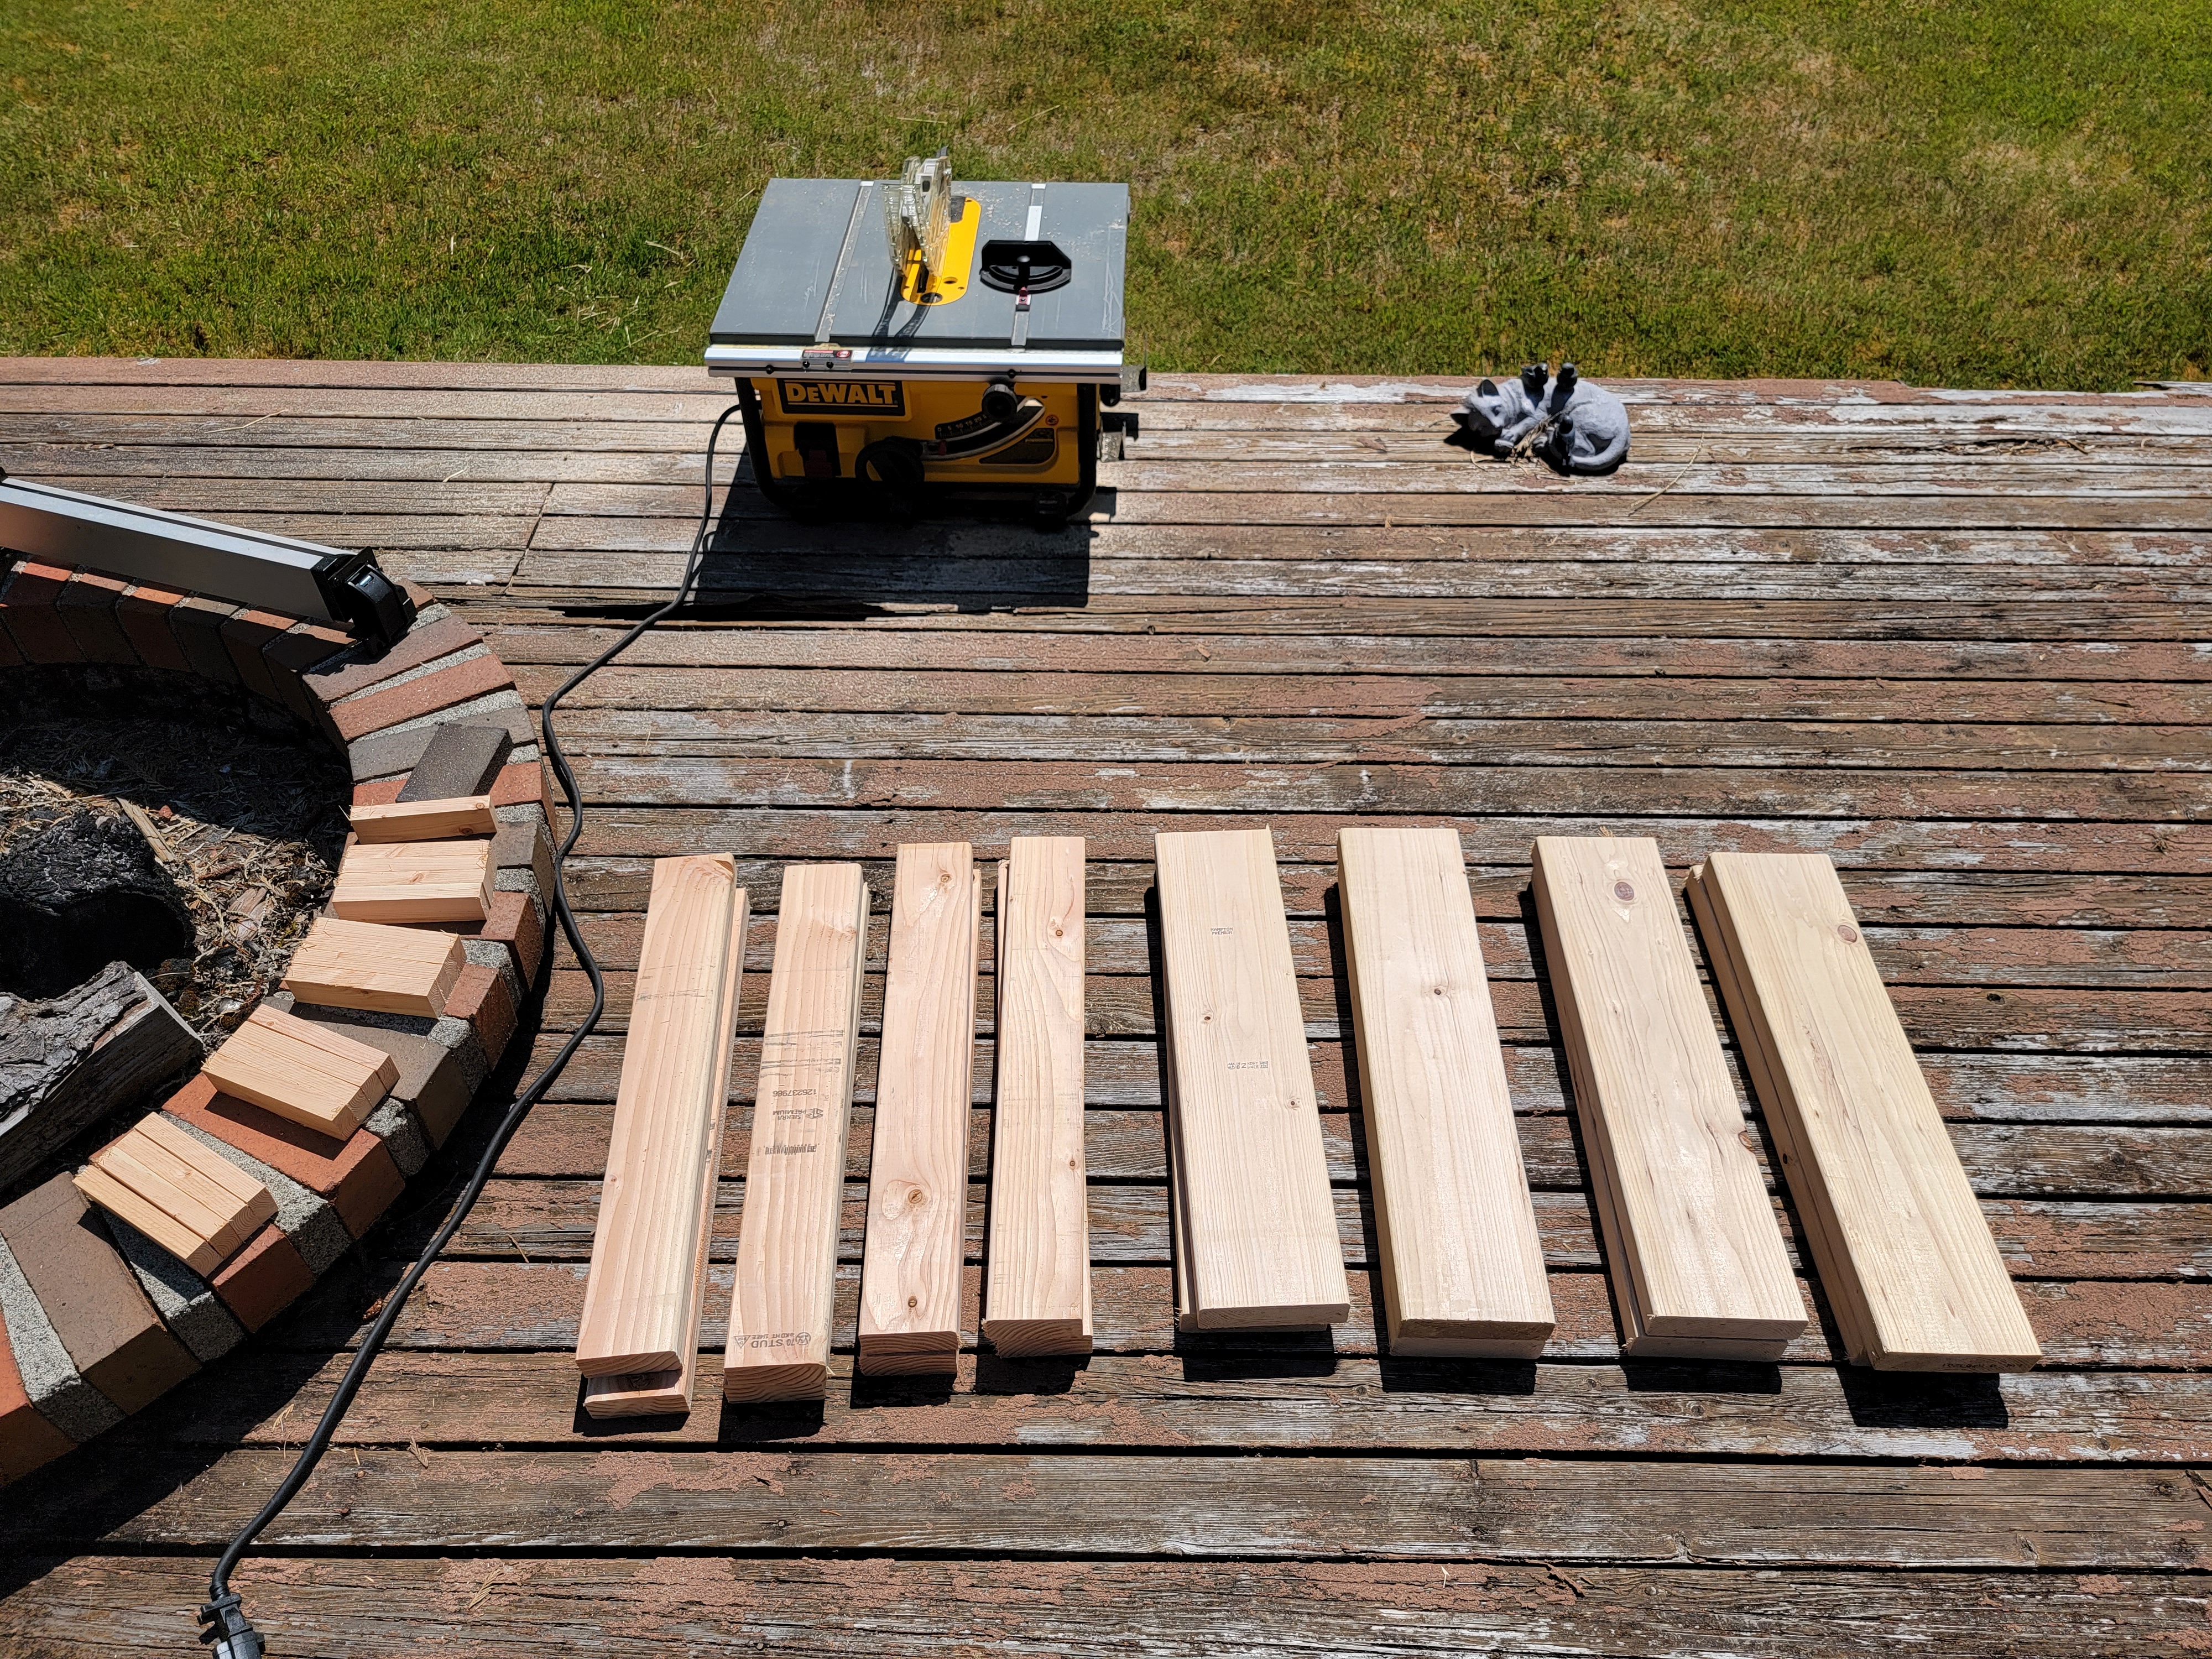
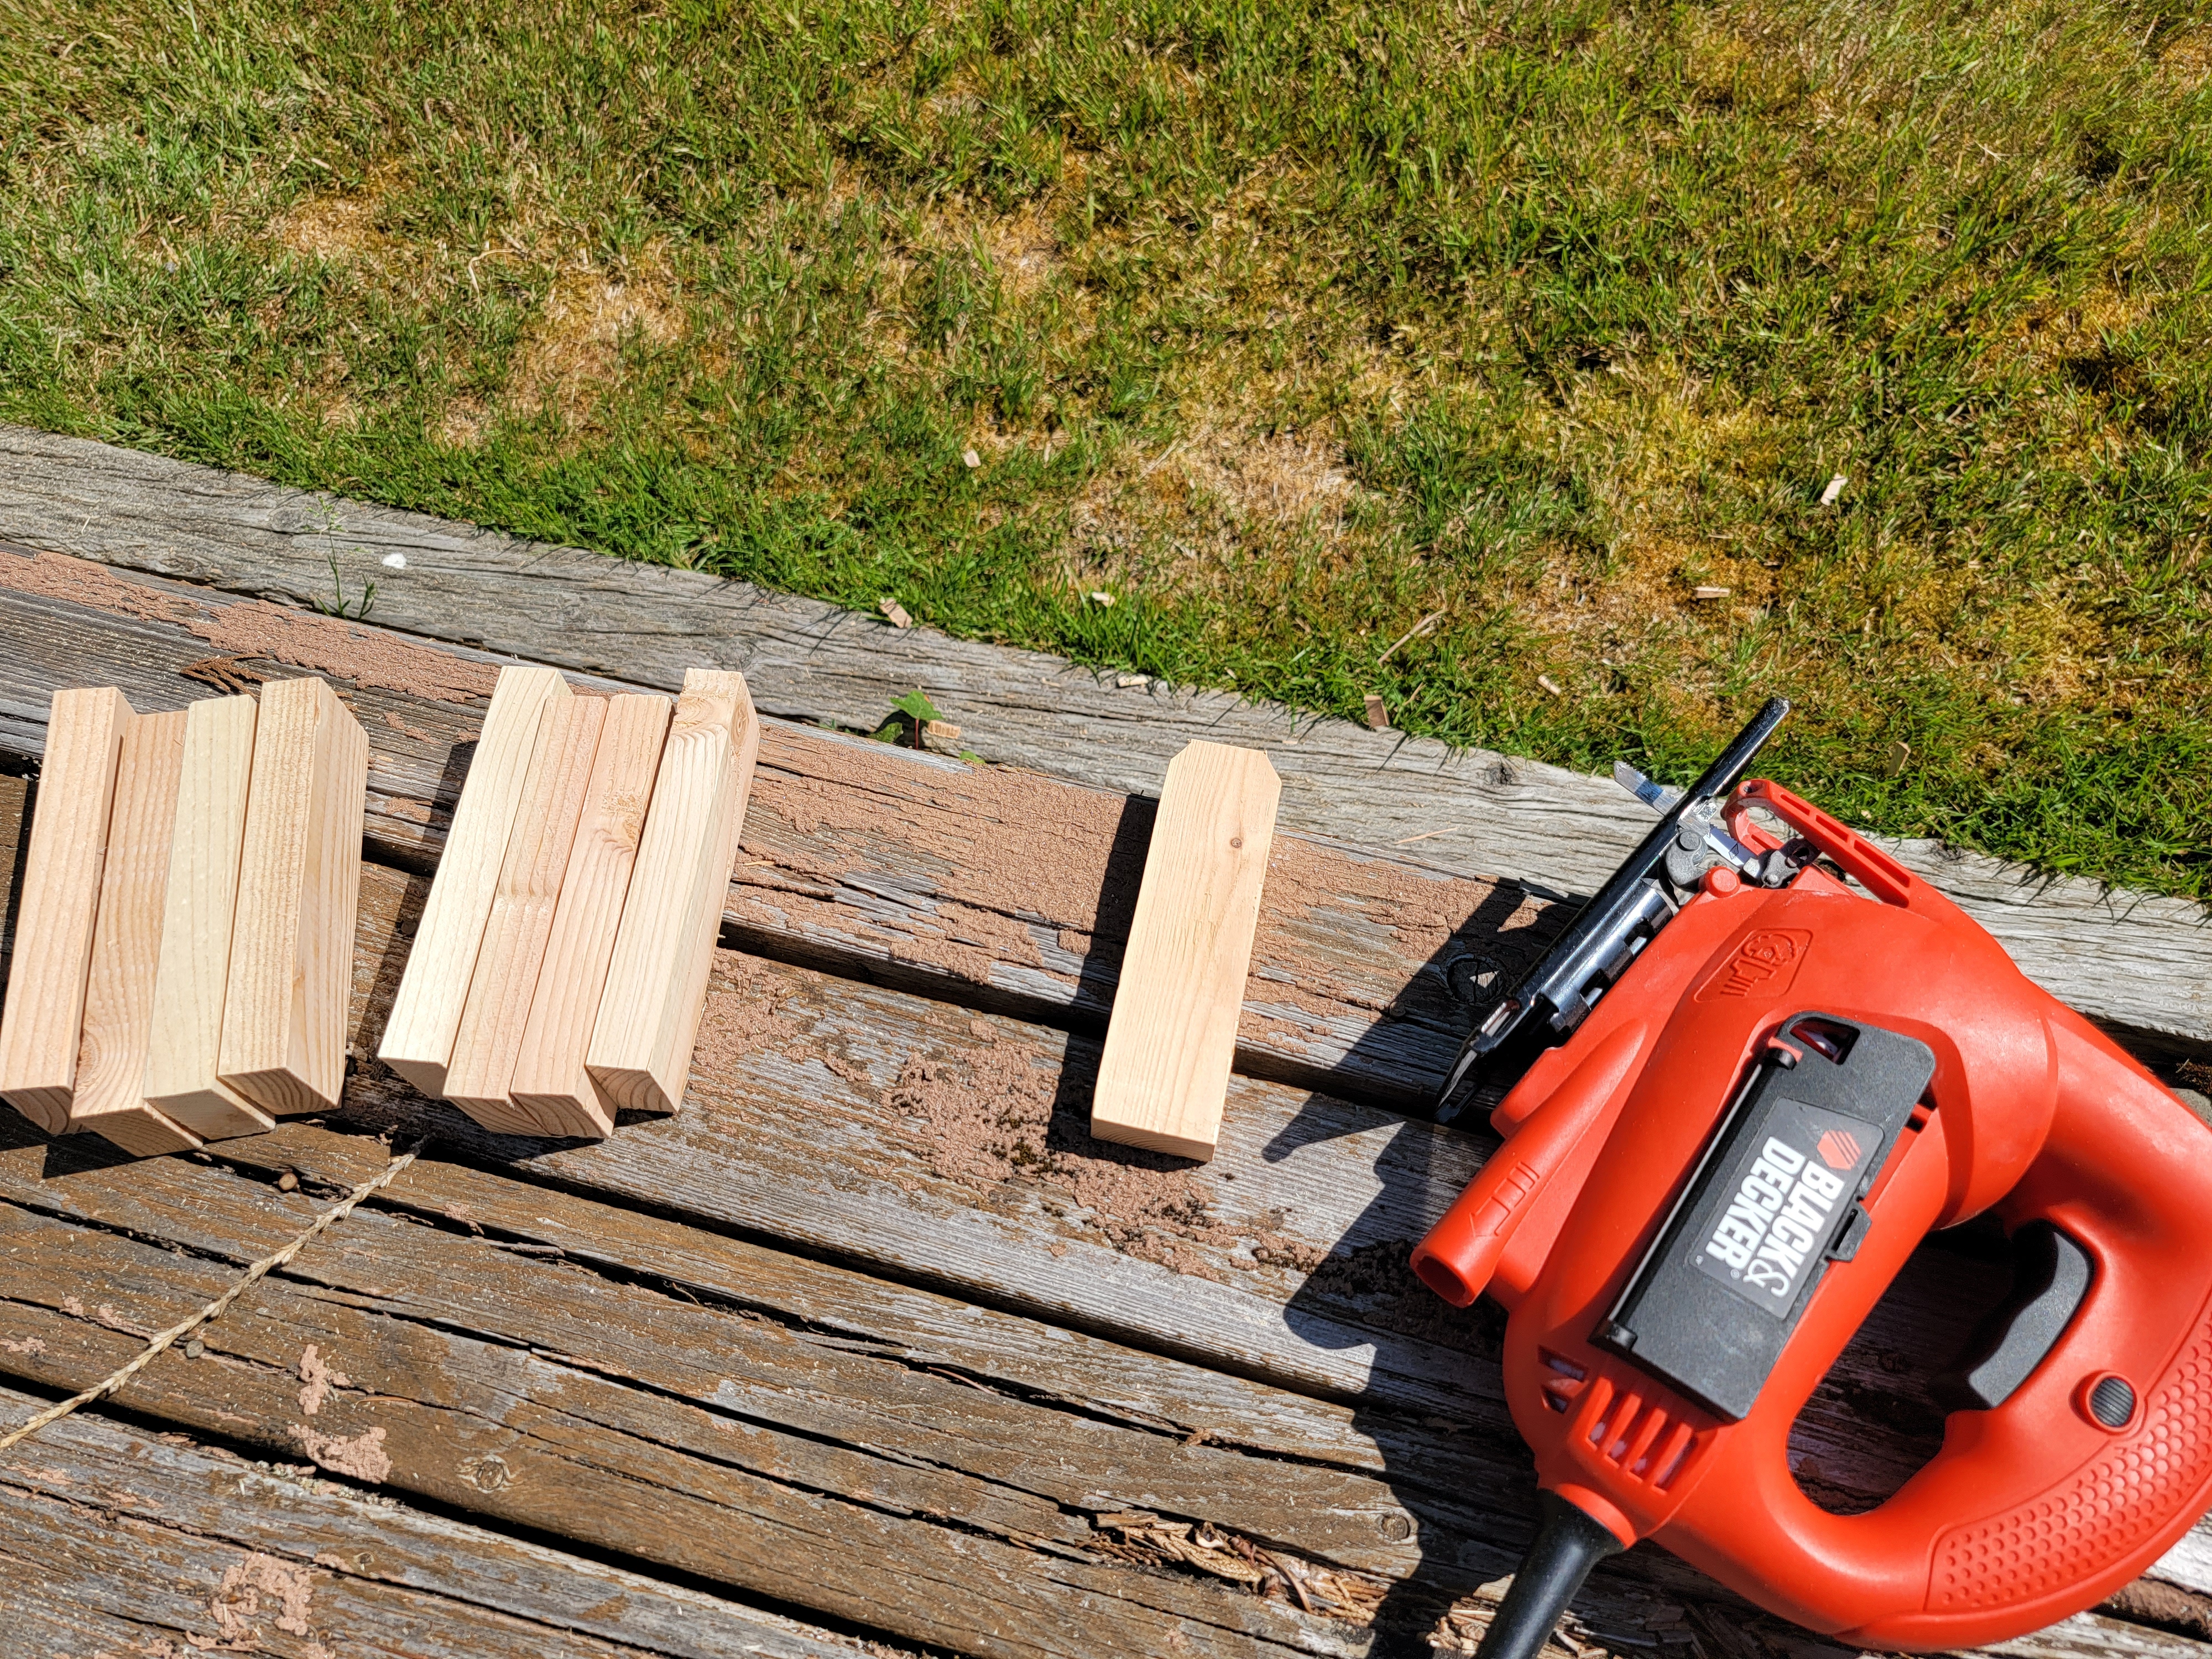
Here are the cuts we’ll be making:
- 2″ x 6″ – cut into 2ft long pieces,
- 2″ x 4″ – cut into 2ft long pieces,
- 1″ x 2″ – cut into 6ft long pieces, then cut the remaining 2ft of length into 5.5″ pieces to be used as spaces in the base

I also wanted to make it a bit easier to quickly insert the uprights into the base, so I grabbed a jigsaw and cut the corners on the short pieces of 1″ x 2″ to help guide the uprights:
Time to assemble the base.
I arranged the short pieces of furring strip on the 2ft piece of 2″ x 6″, offsetting the pieces that are used as spacing for uprights so I don’t make mistake when screwing both sides of the center of the base together:
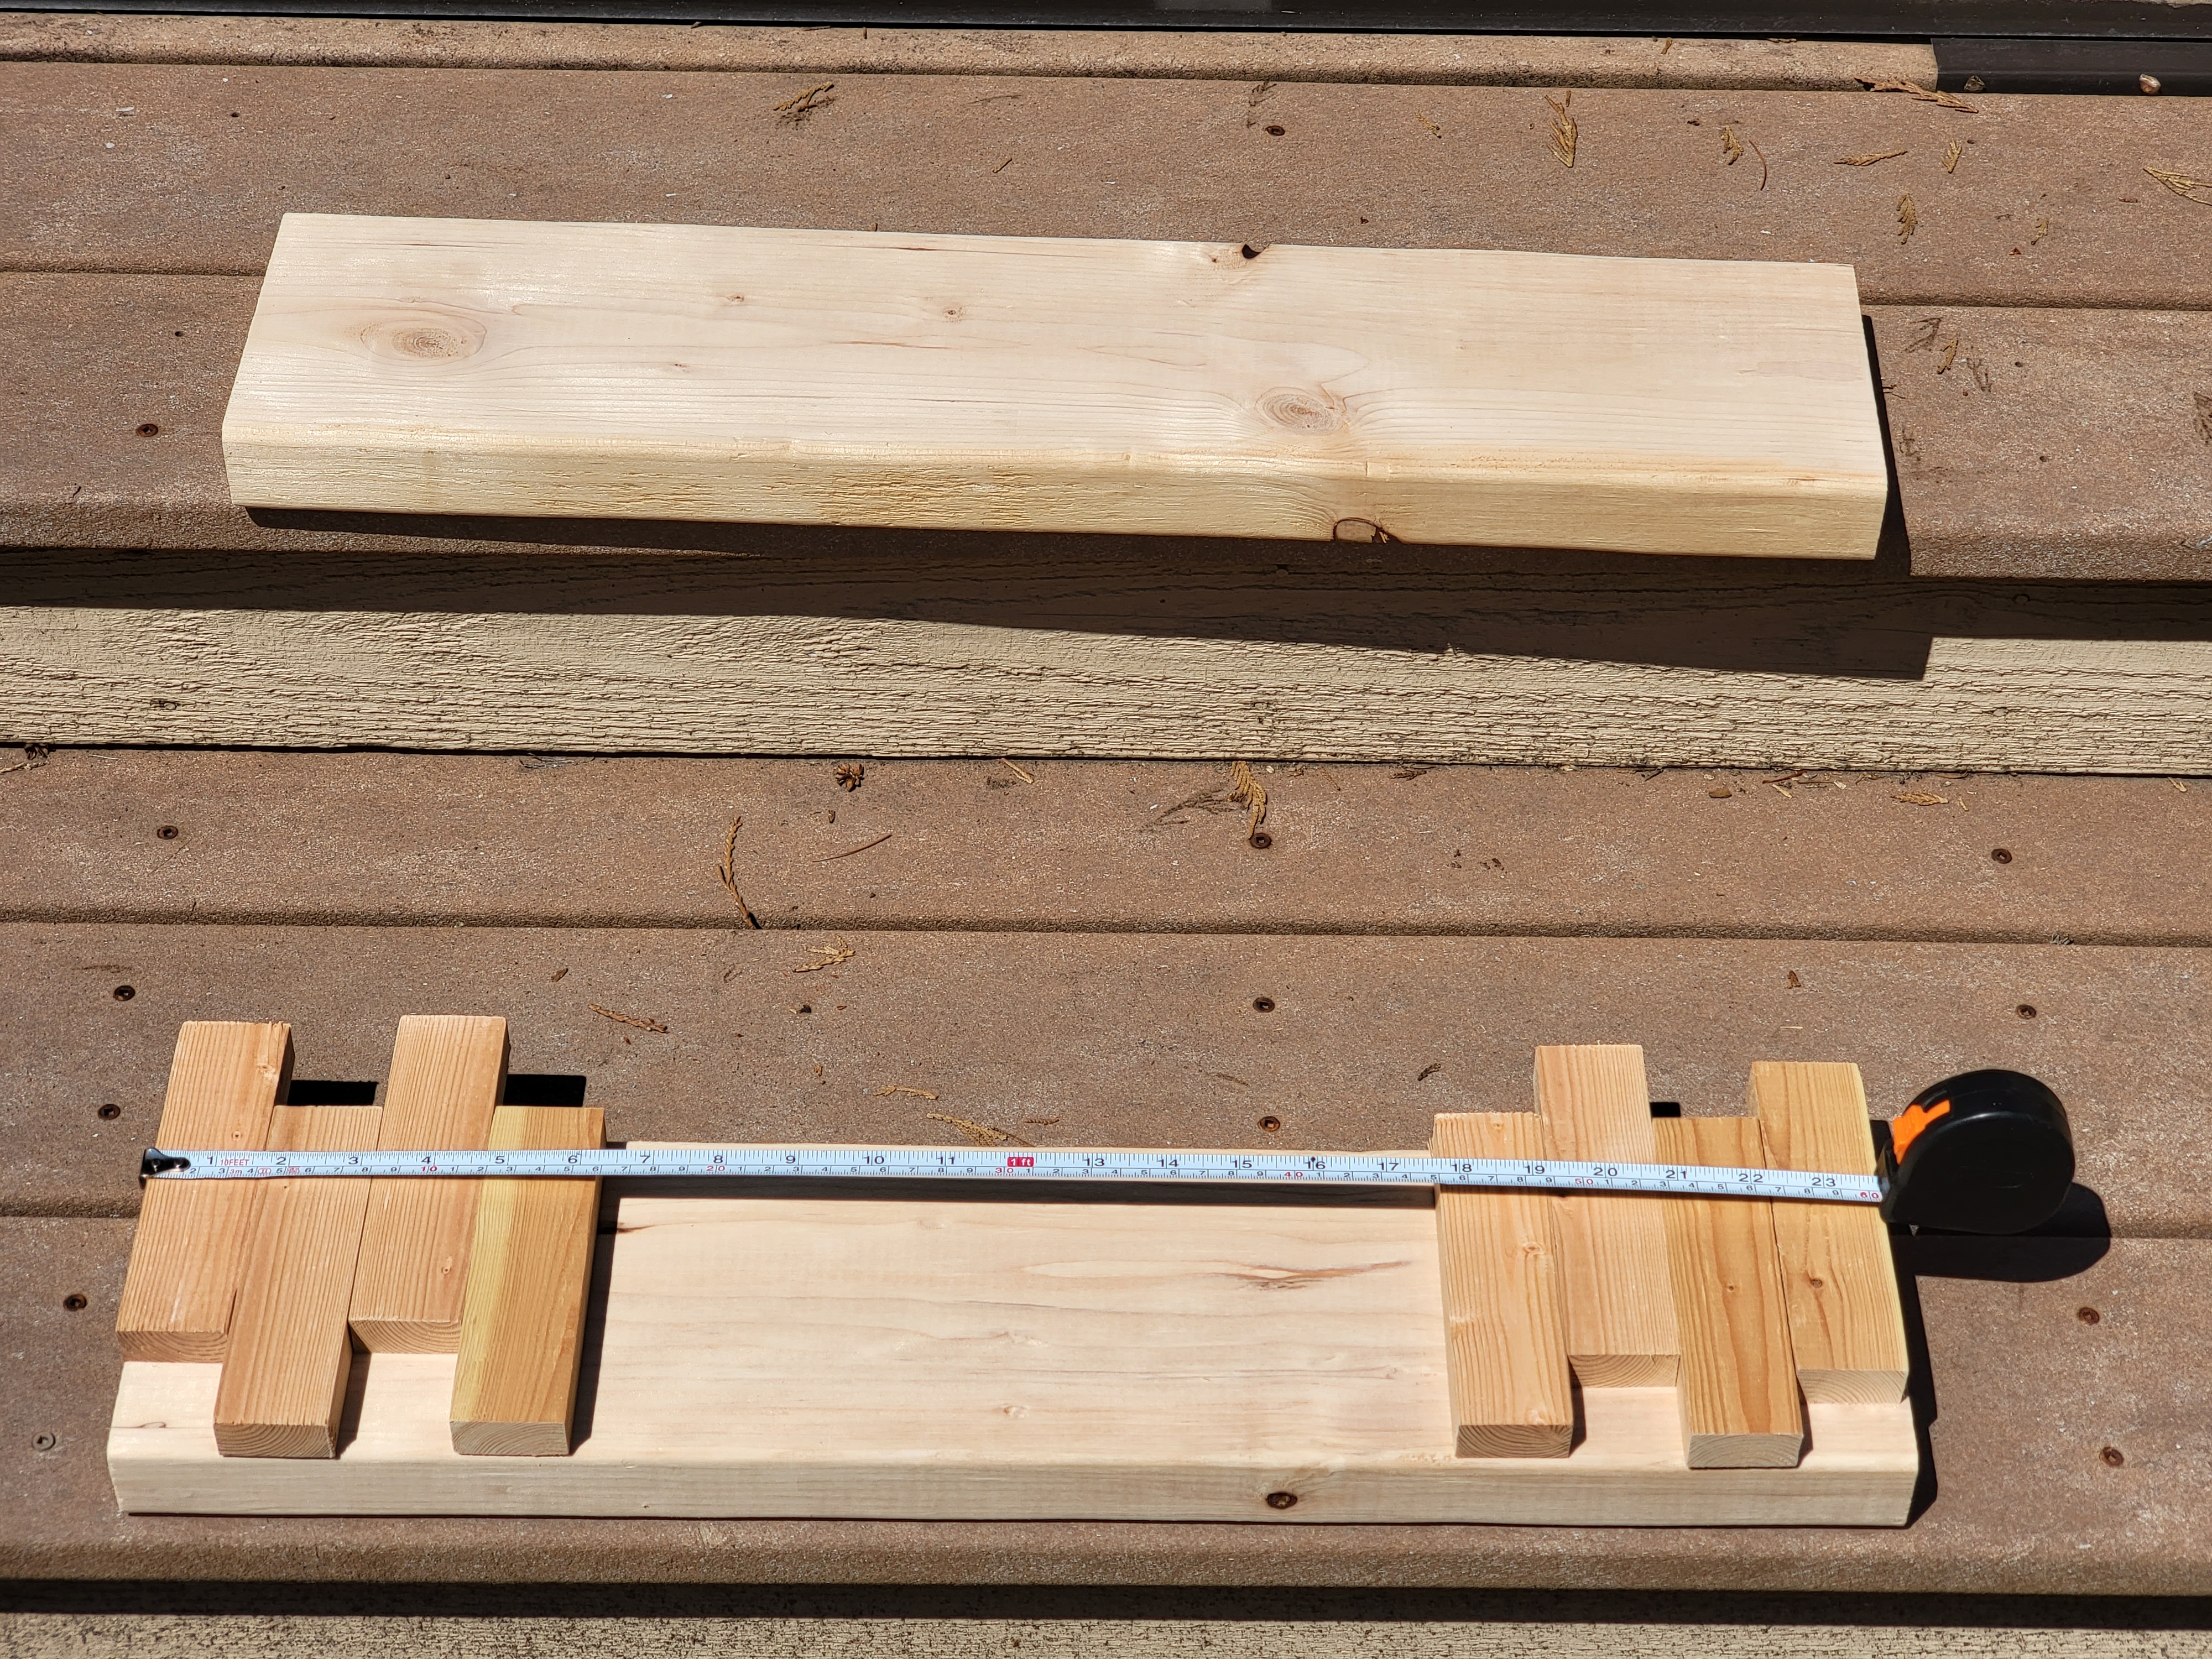
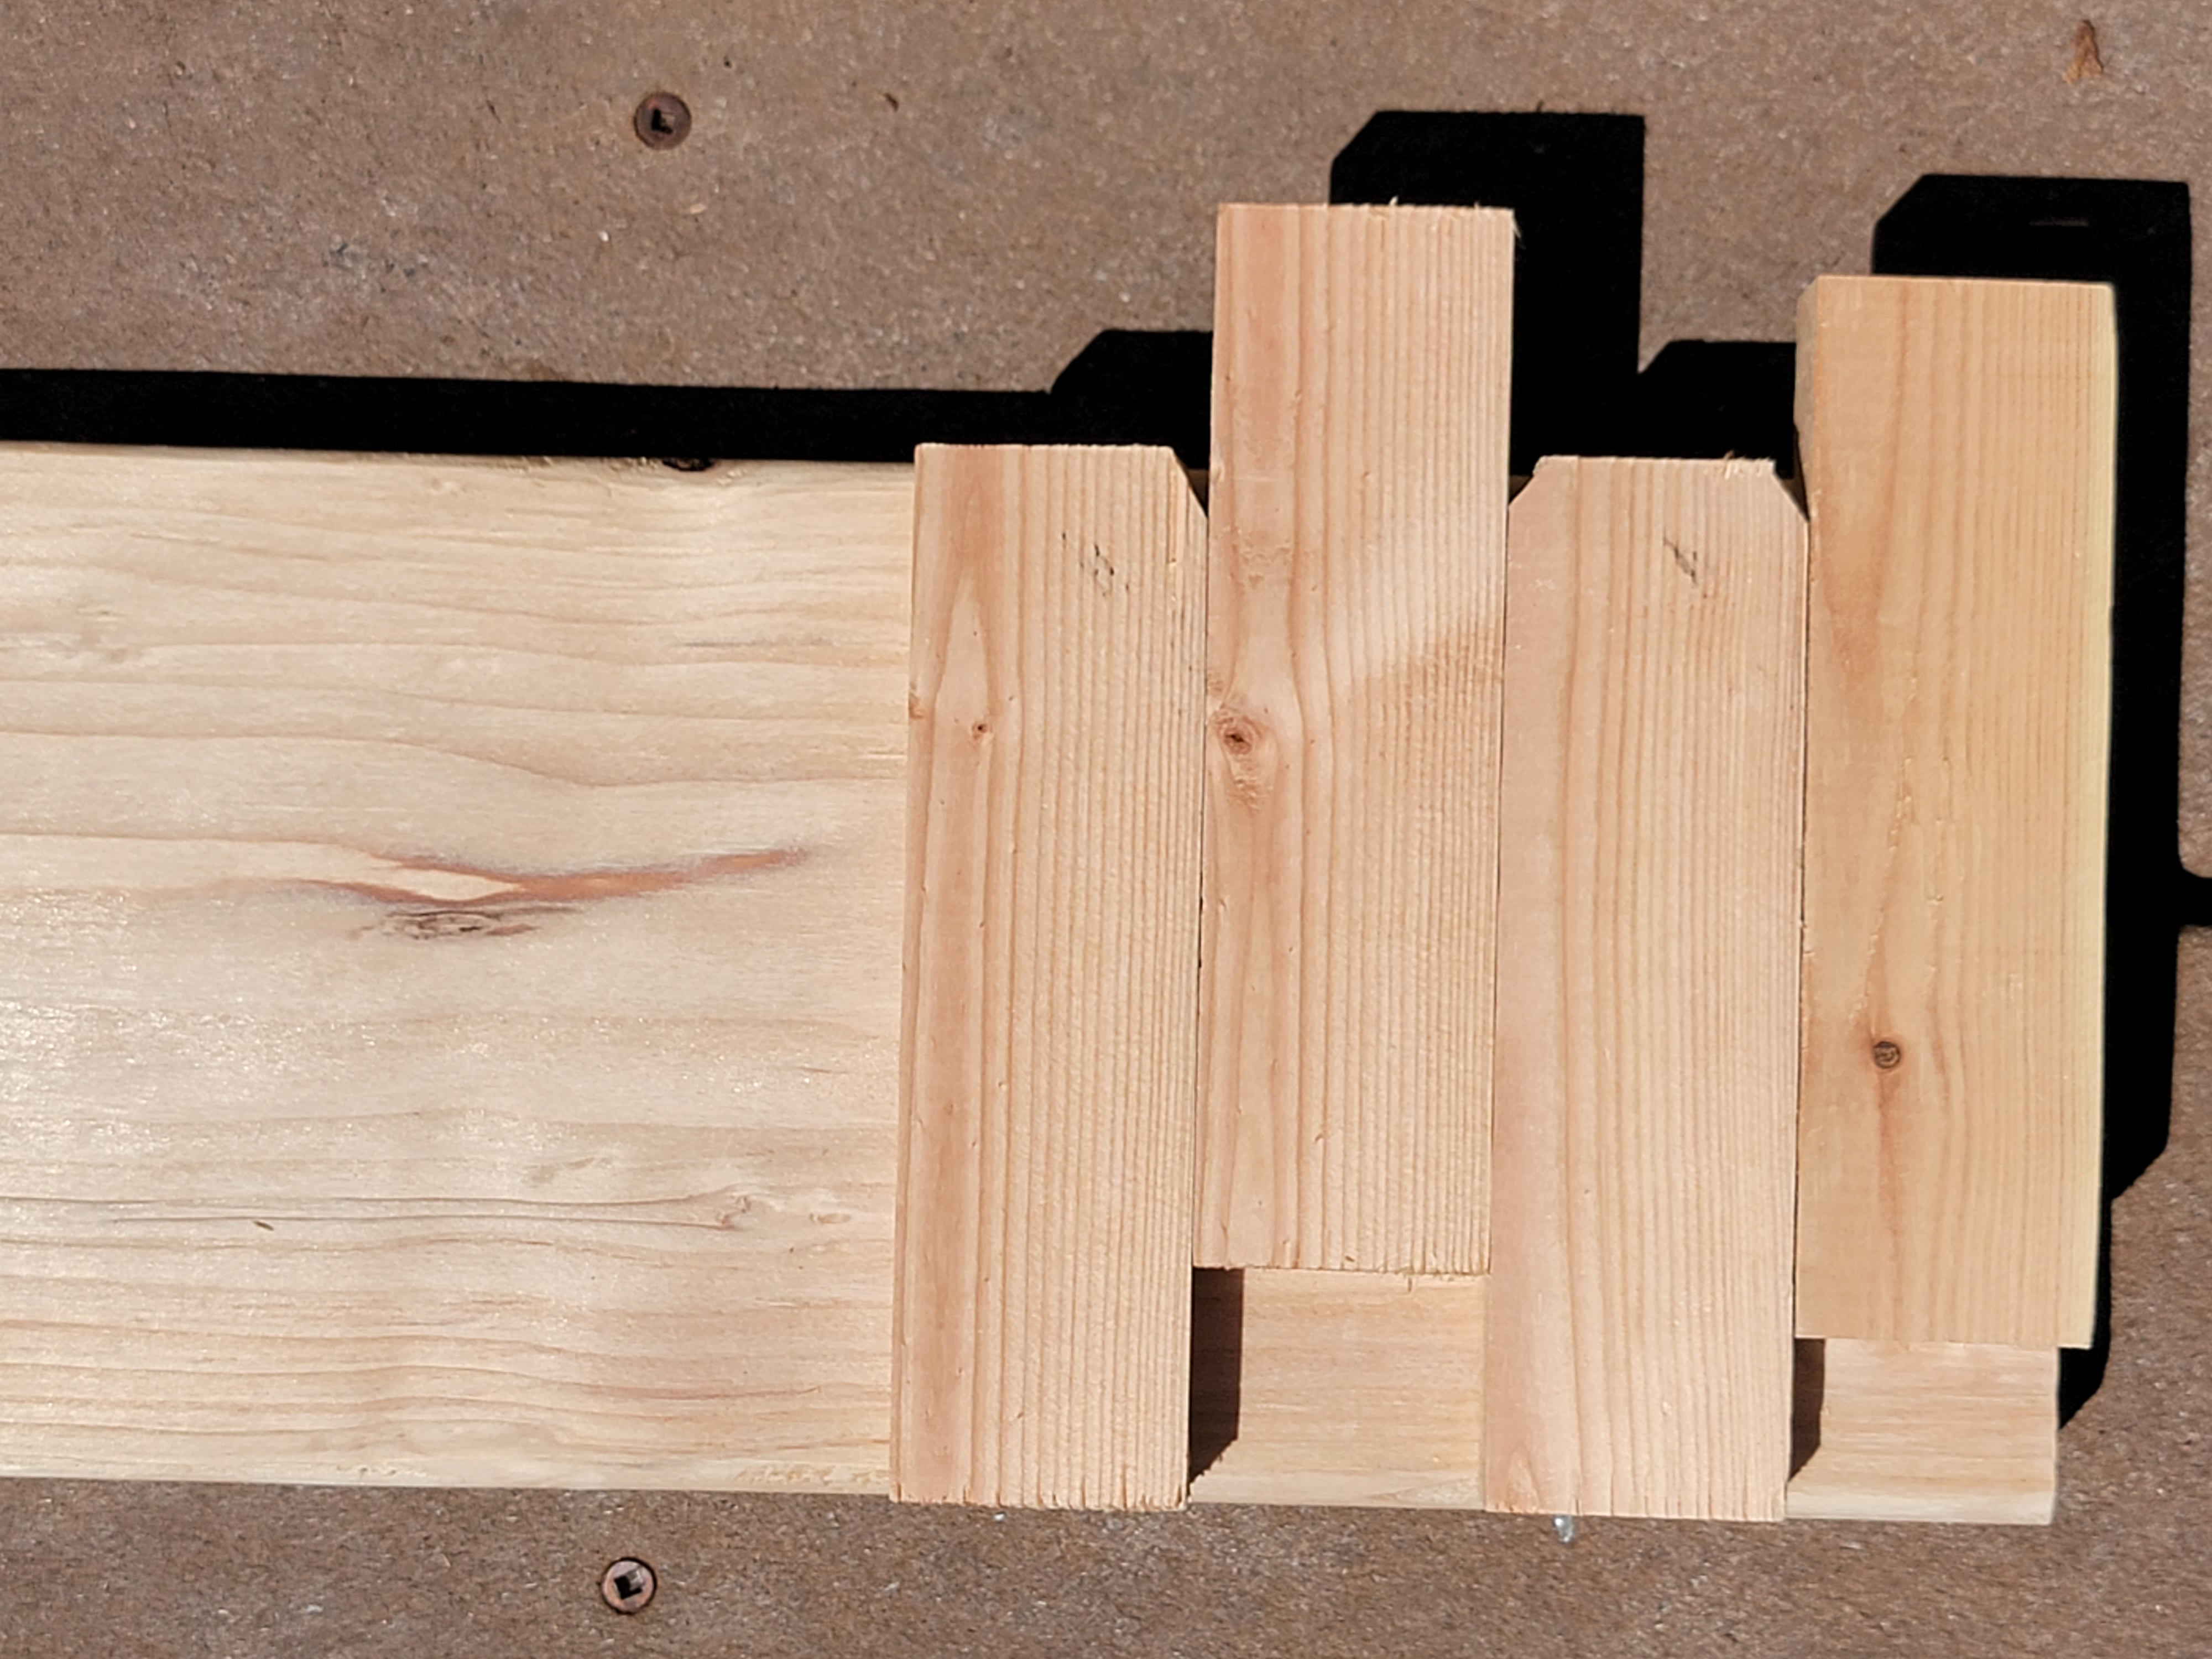
There’s no need to keep a tight fit between the “guide pieces” in the base and the stand uprights – in fact, a bit of wiggle-room is desired to ensure it doesn’t take too much force to put the uprights in/out.
Note: I’m still evaluating the decision on not adding spacers that would make it easier to slide the uprights in and out. While I like the tight fit (which also makes it easier to move the targets between distances while just grabbing anywhere), it does require some force to assemble/disassemble the stands, so I may decide to add tiny spacers at some point, especially if I notice that the handling of them poses an inconvenience for my wife (although I try to make sure I’m the one handling them and she can focus on the shooting 🙂).
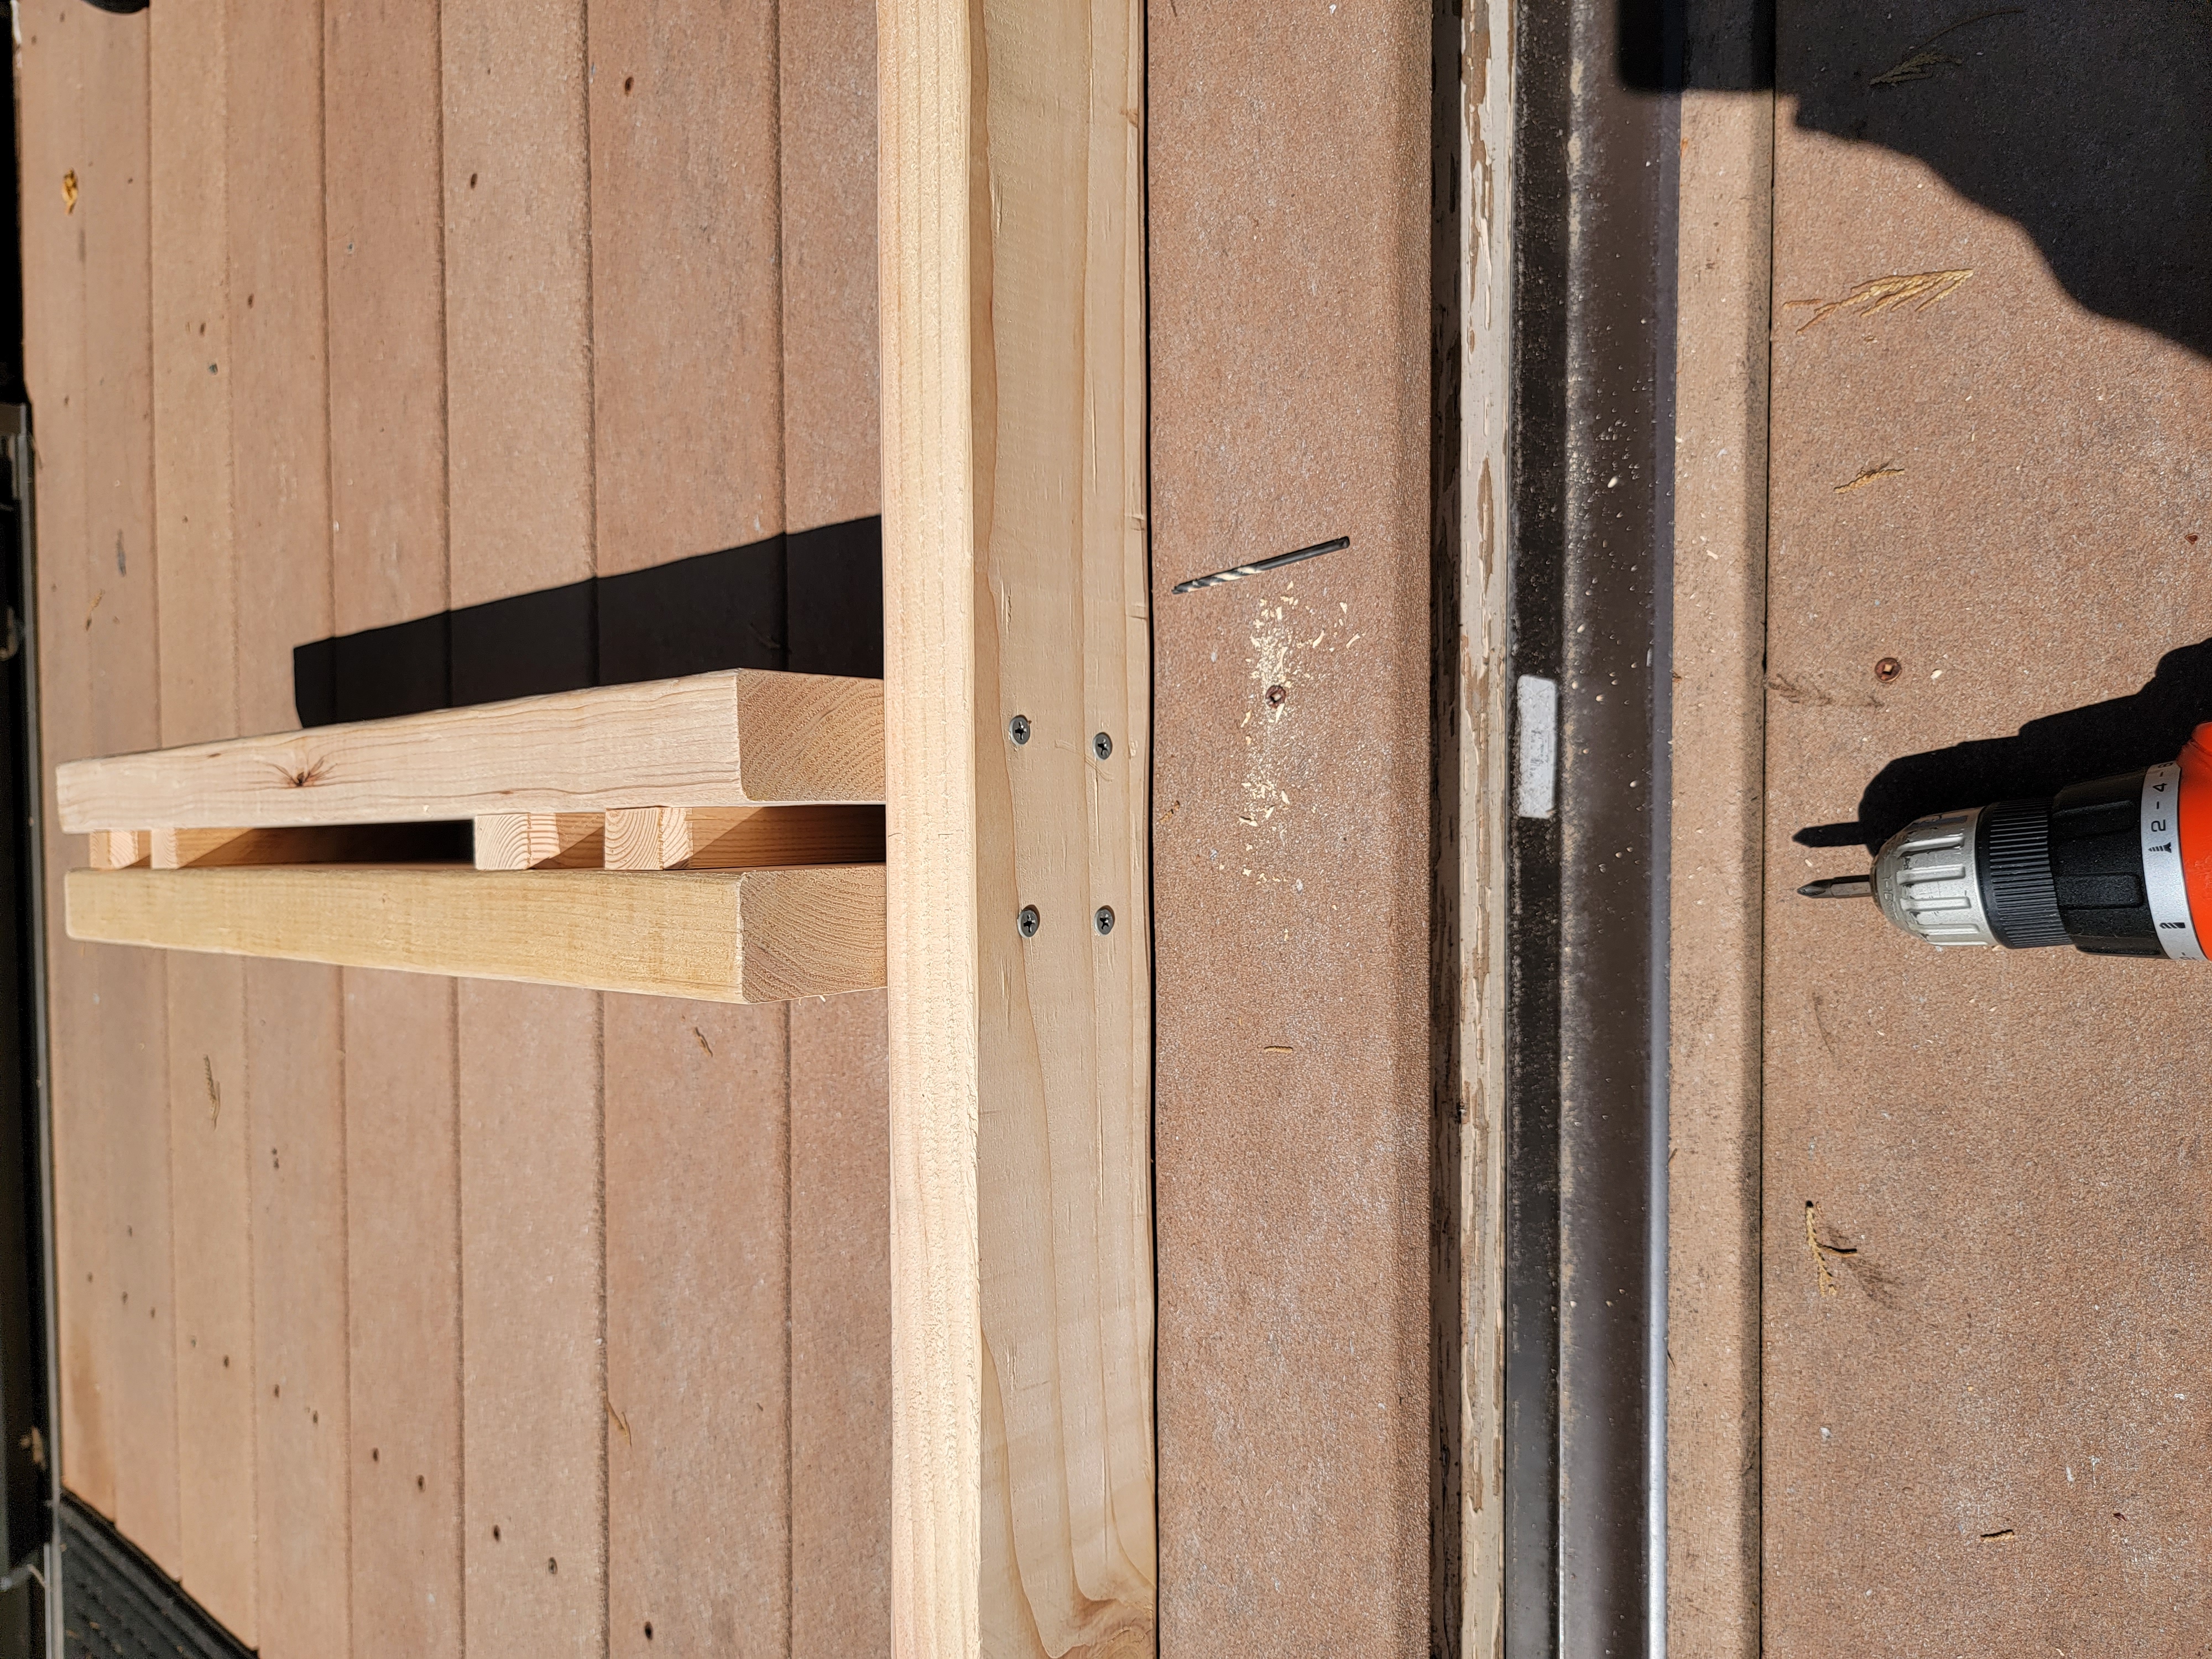
Next we simply add the second 2″ x 6″ on top and “sandwich” it together with the deck screws:
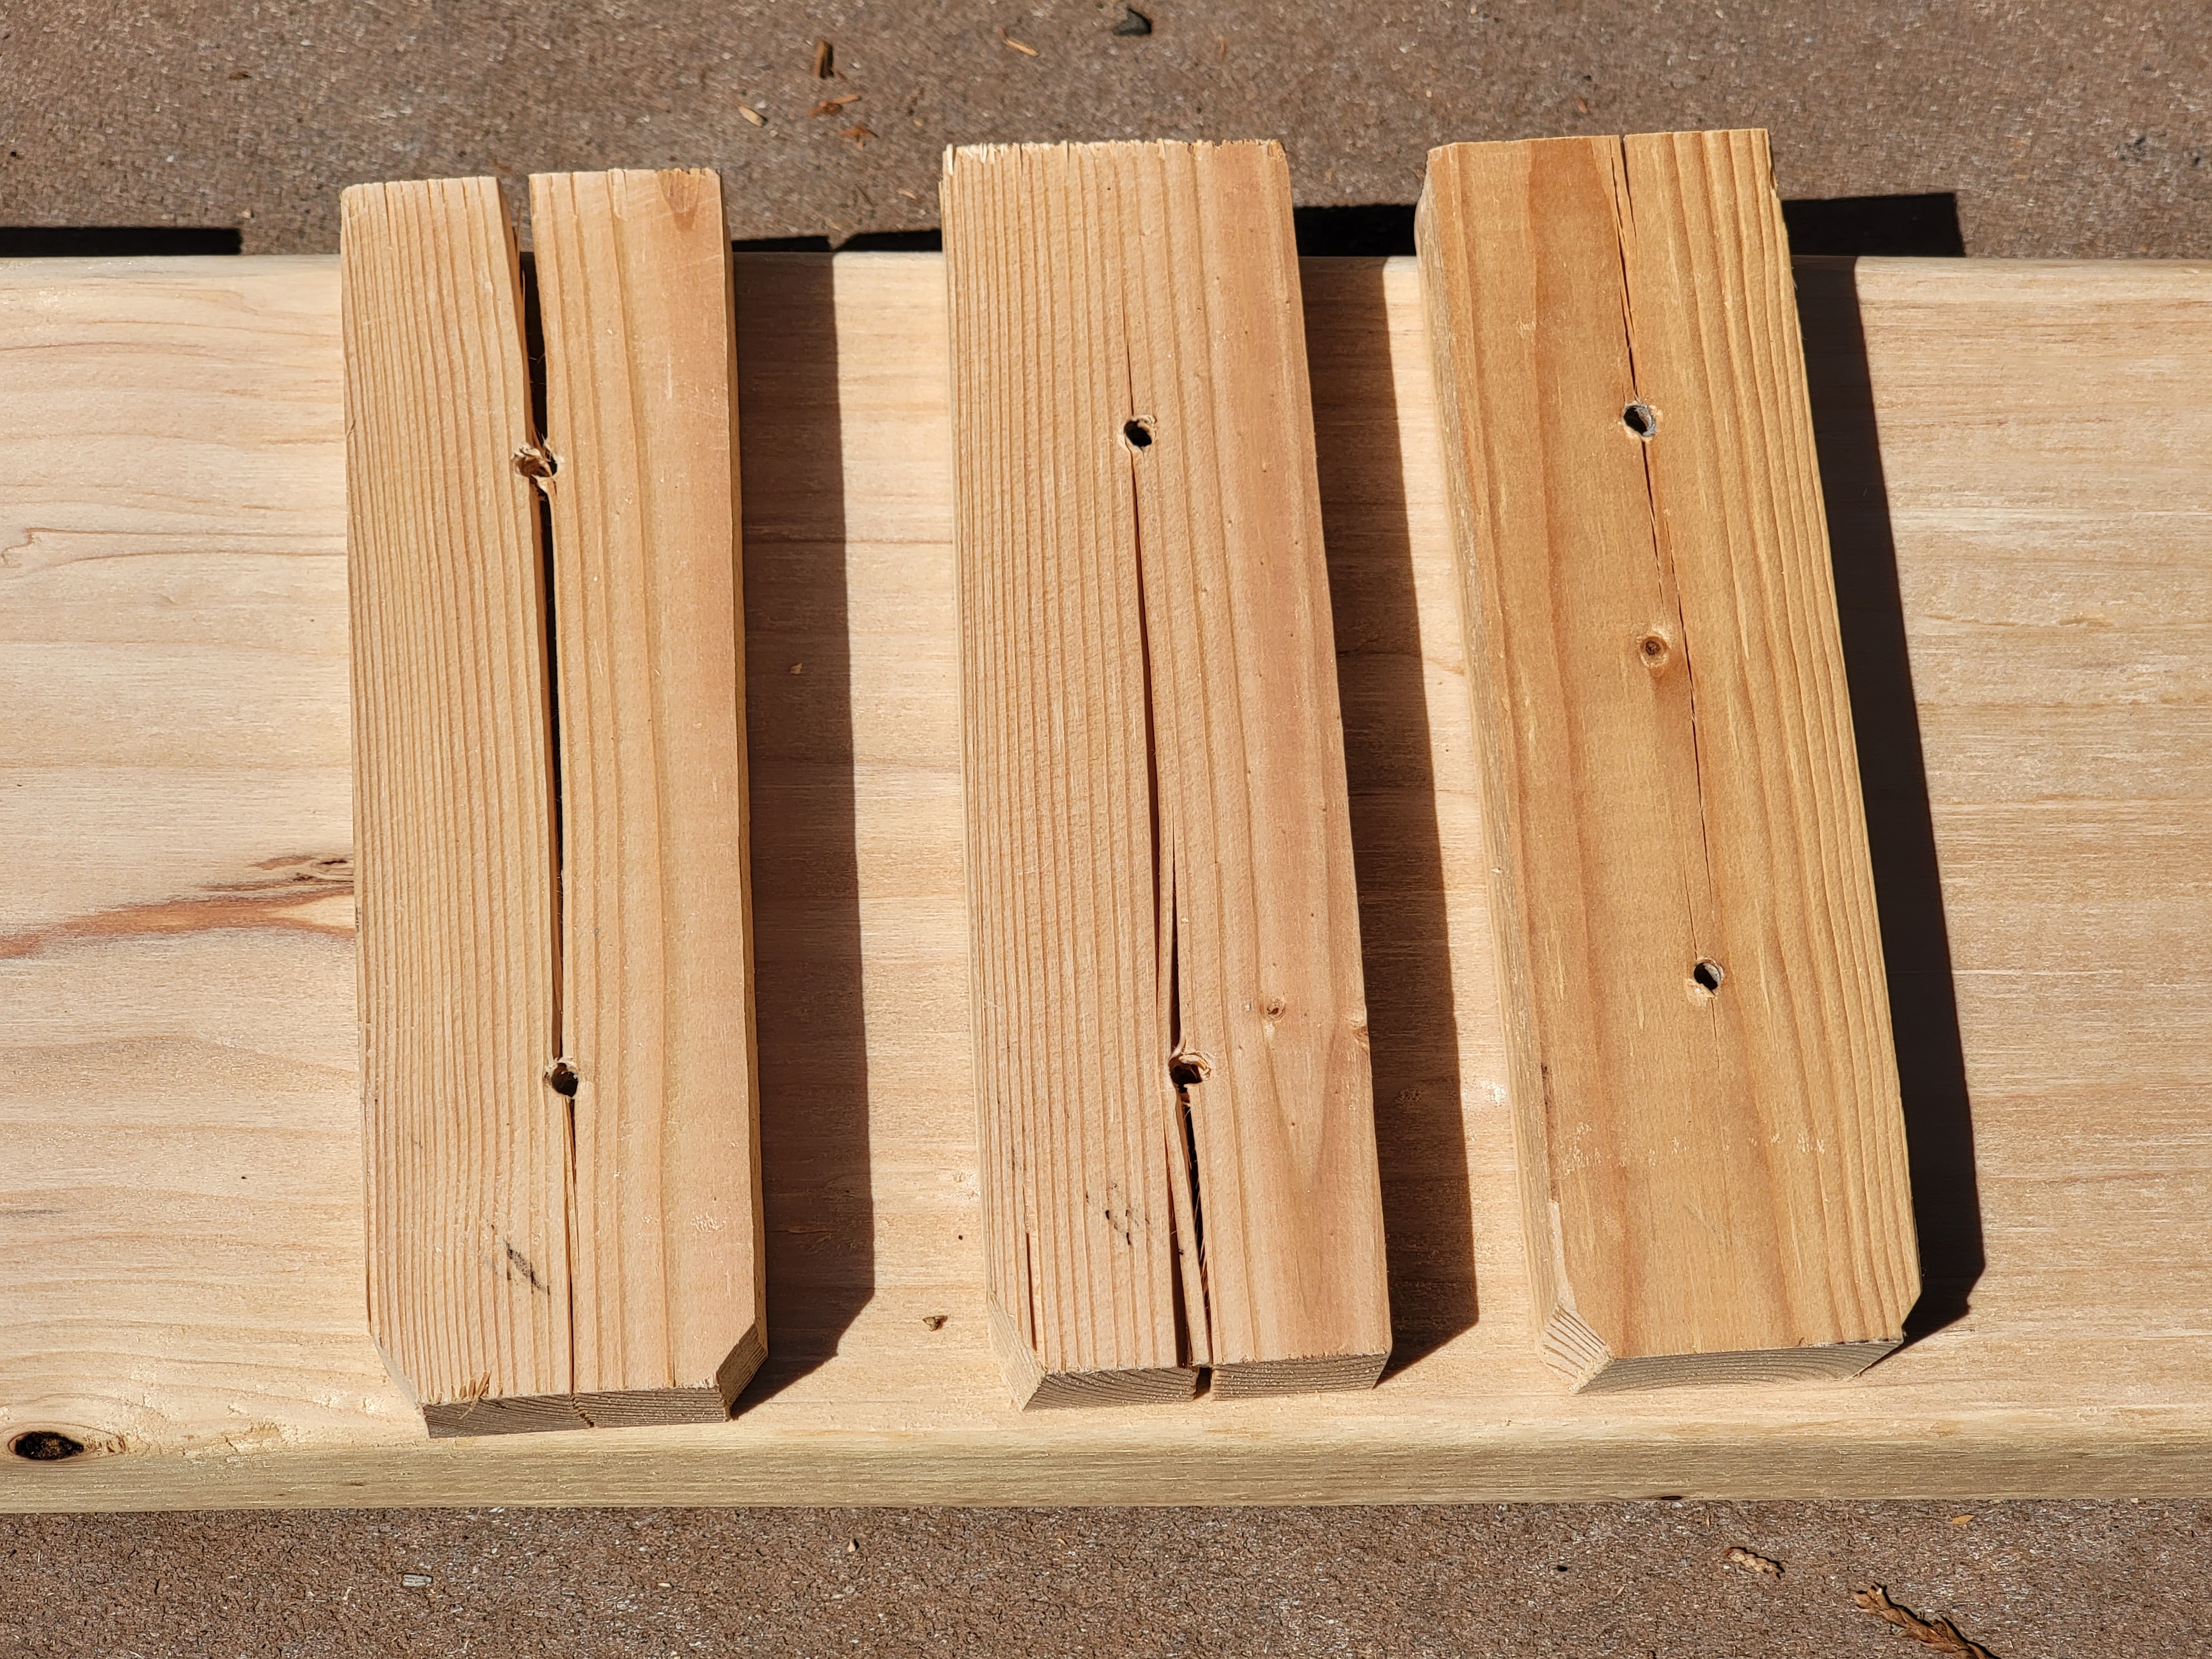
And here’s a reminder on why we have to pre-drill the holes – otherwise we can be sure the wood will split:
Lastly, attach the legs on each side of the base – again, pre-drill holes first:
Rinse and repeat for however many bases you’d like to make (I’d recommend putting together at least 2, as this is how many you can build from 8ft lengths of 2″ x 4″ and 2″ x 6″ you bought, and it’s always good to have a spare).
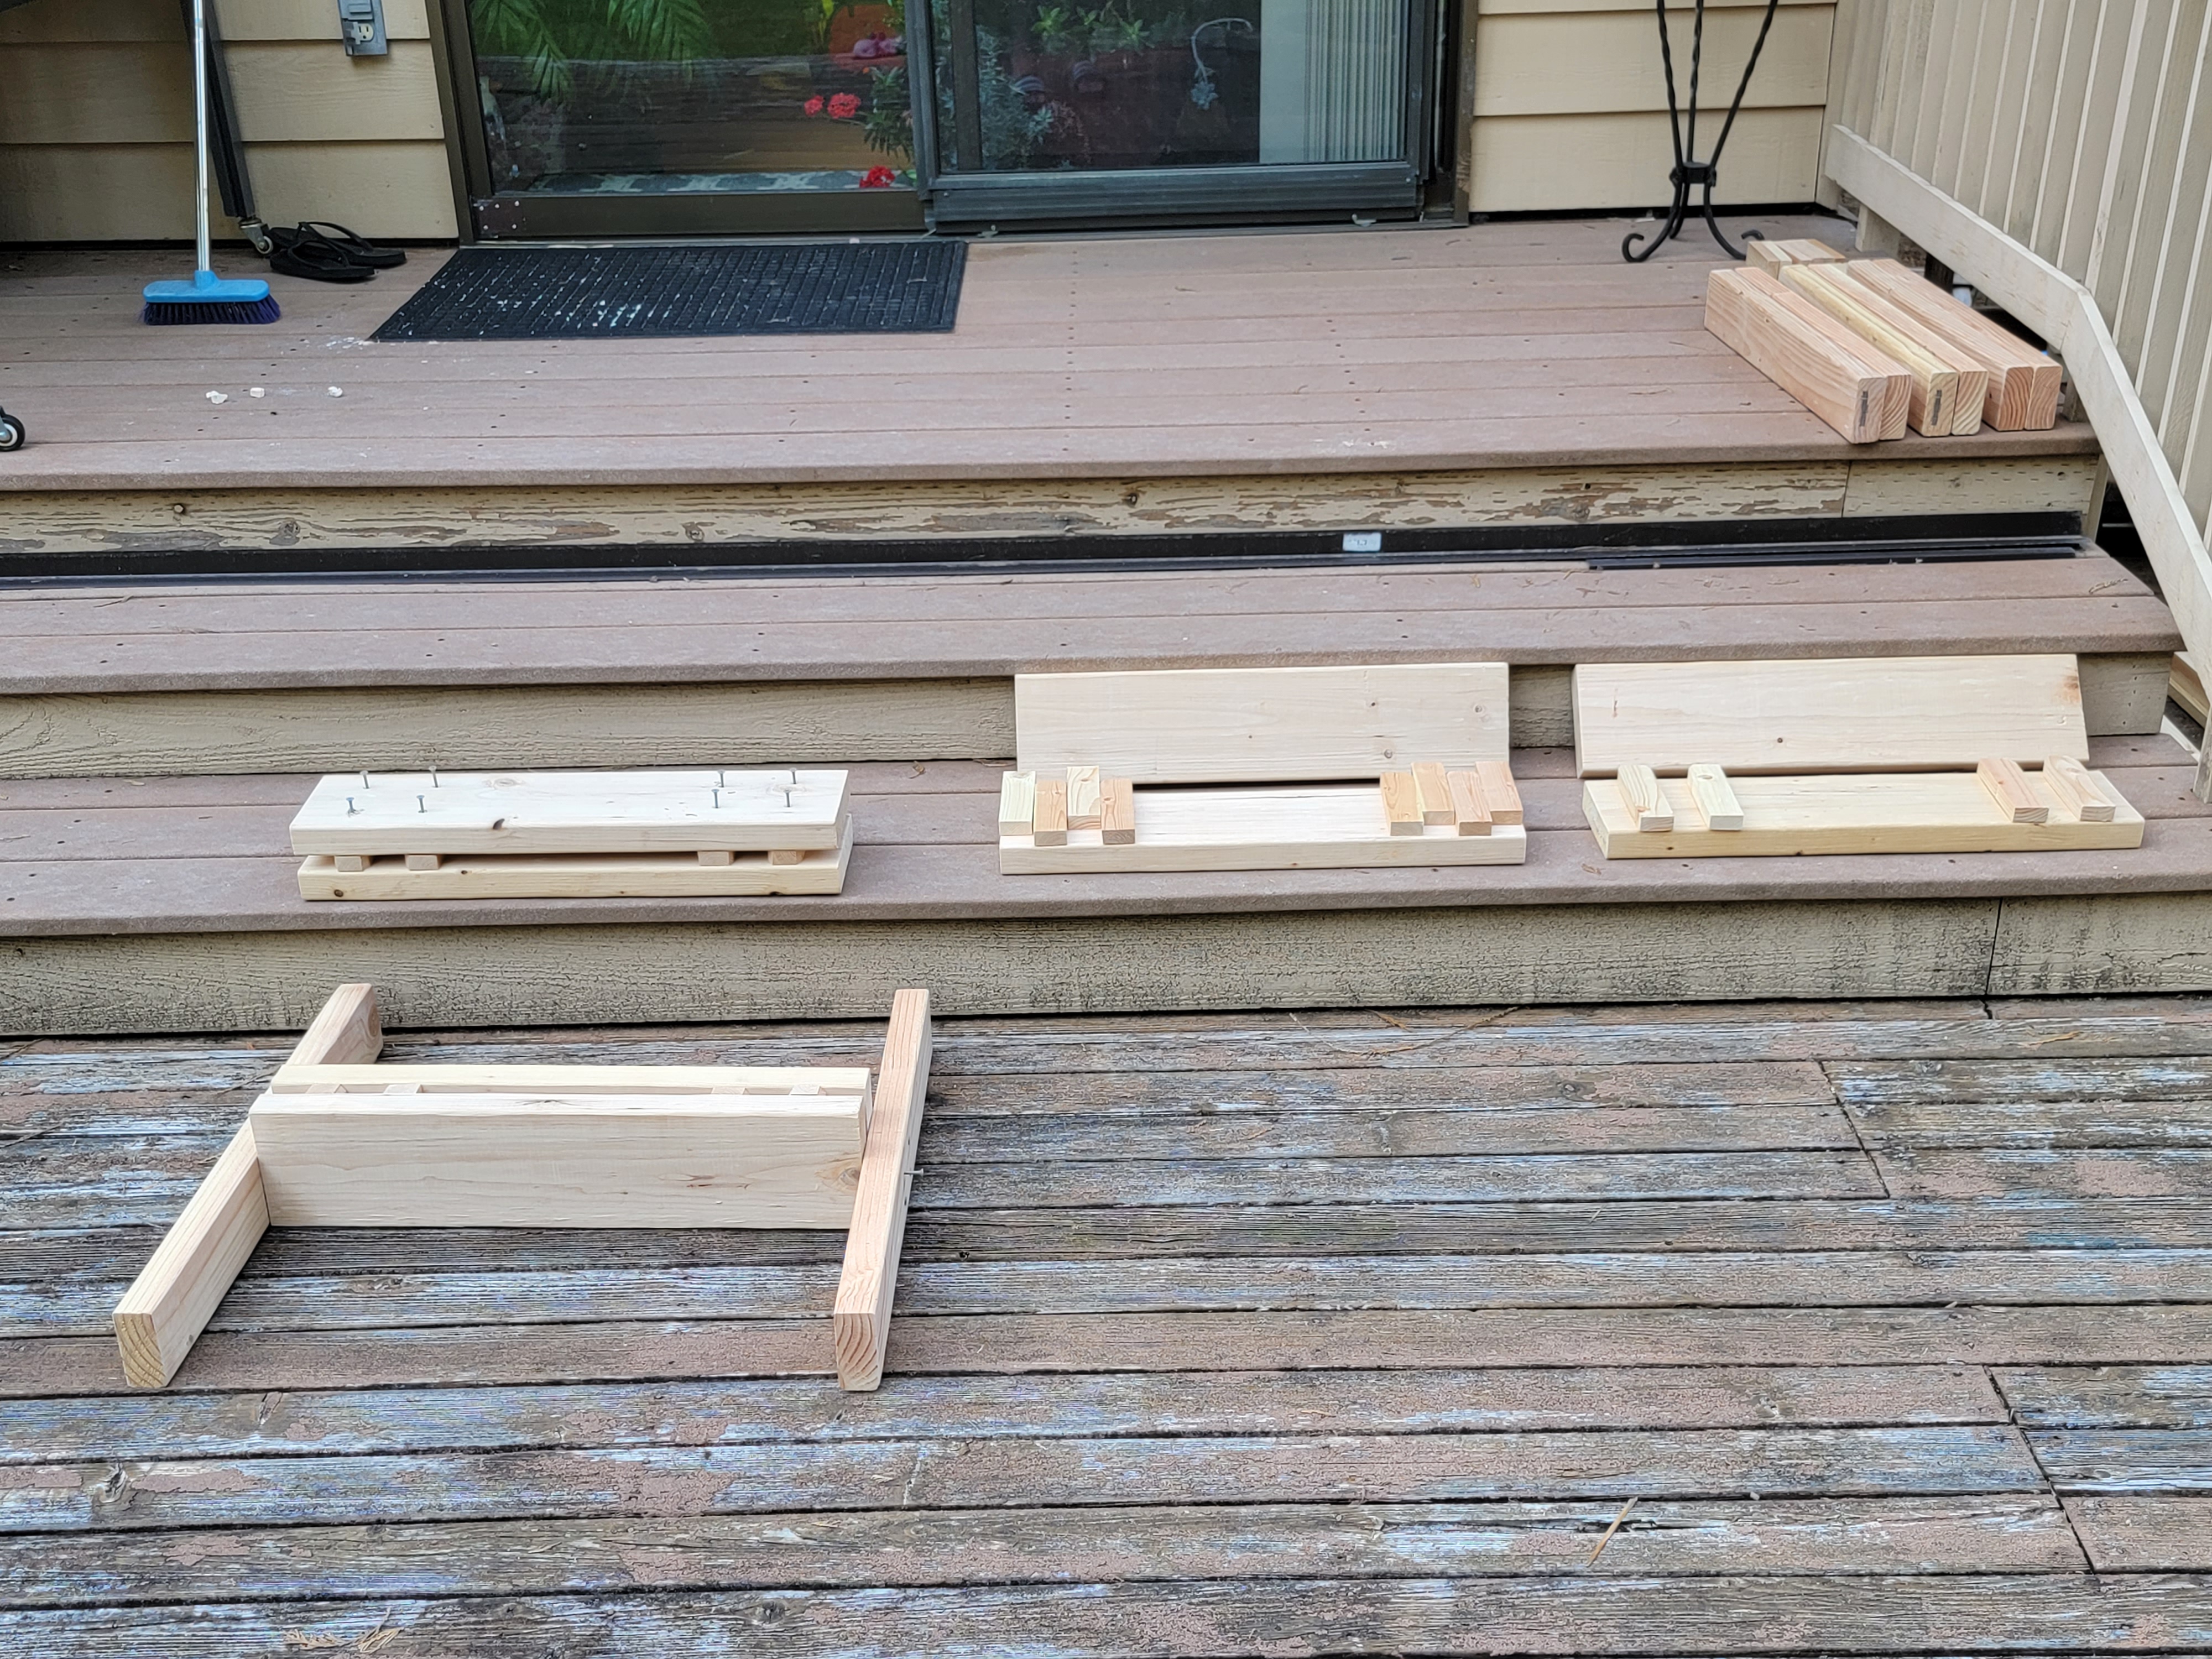
And it’s as simple as that!
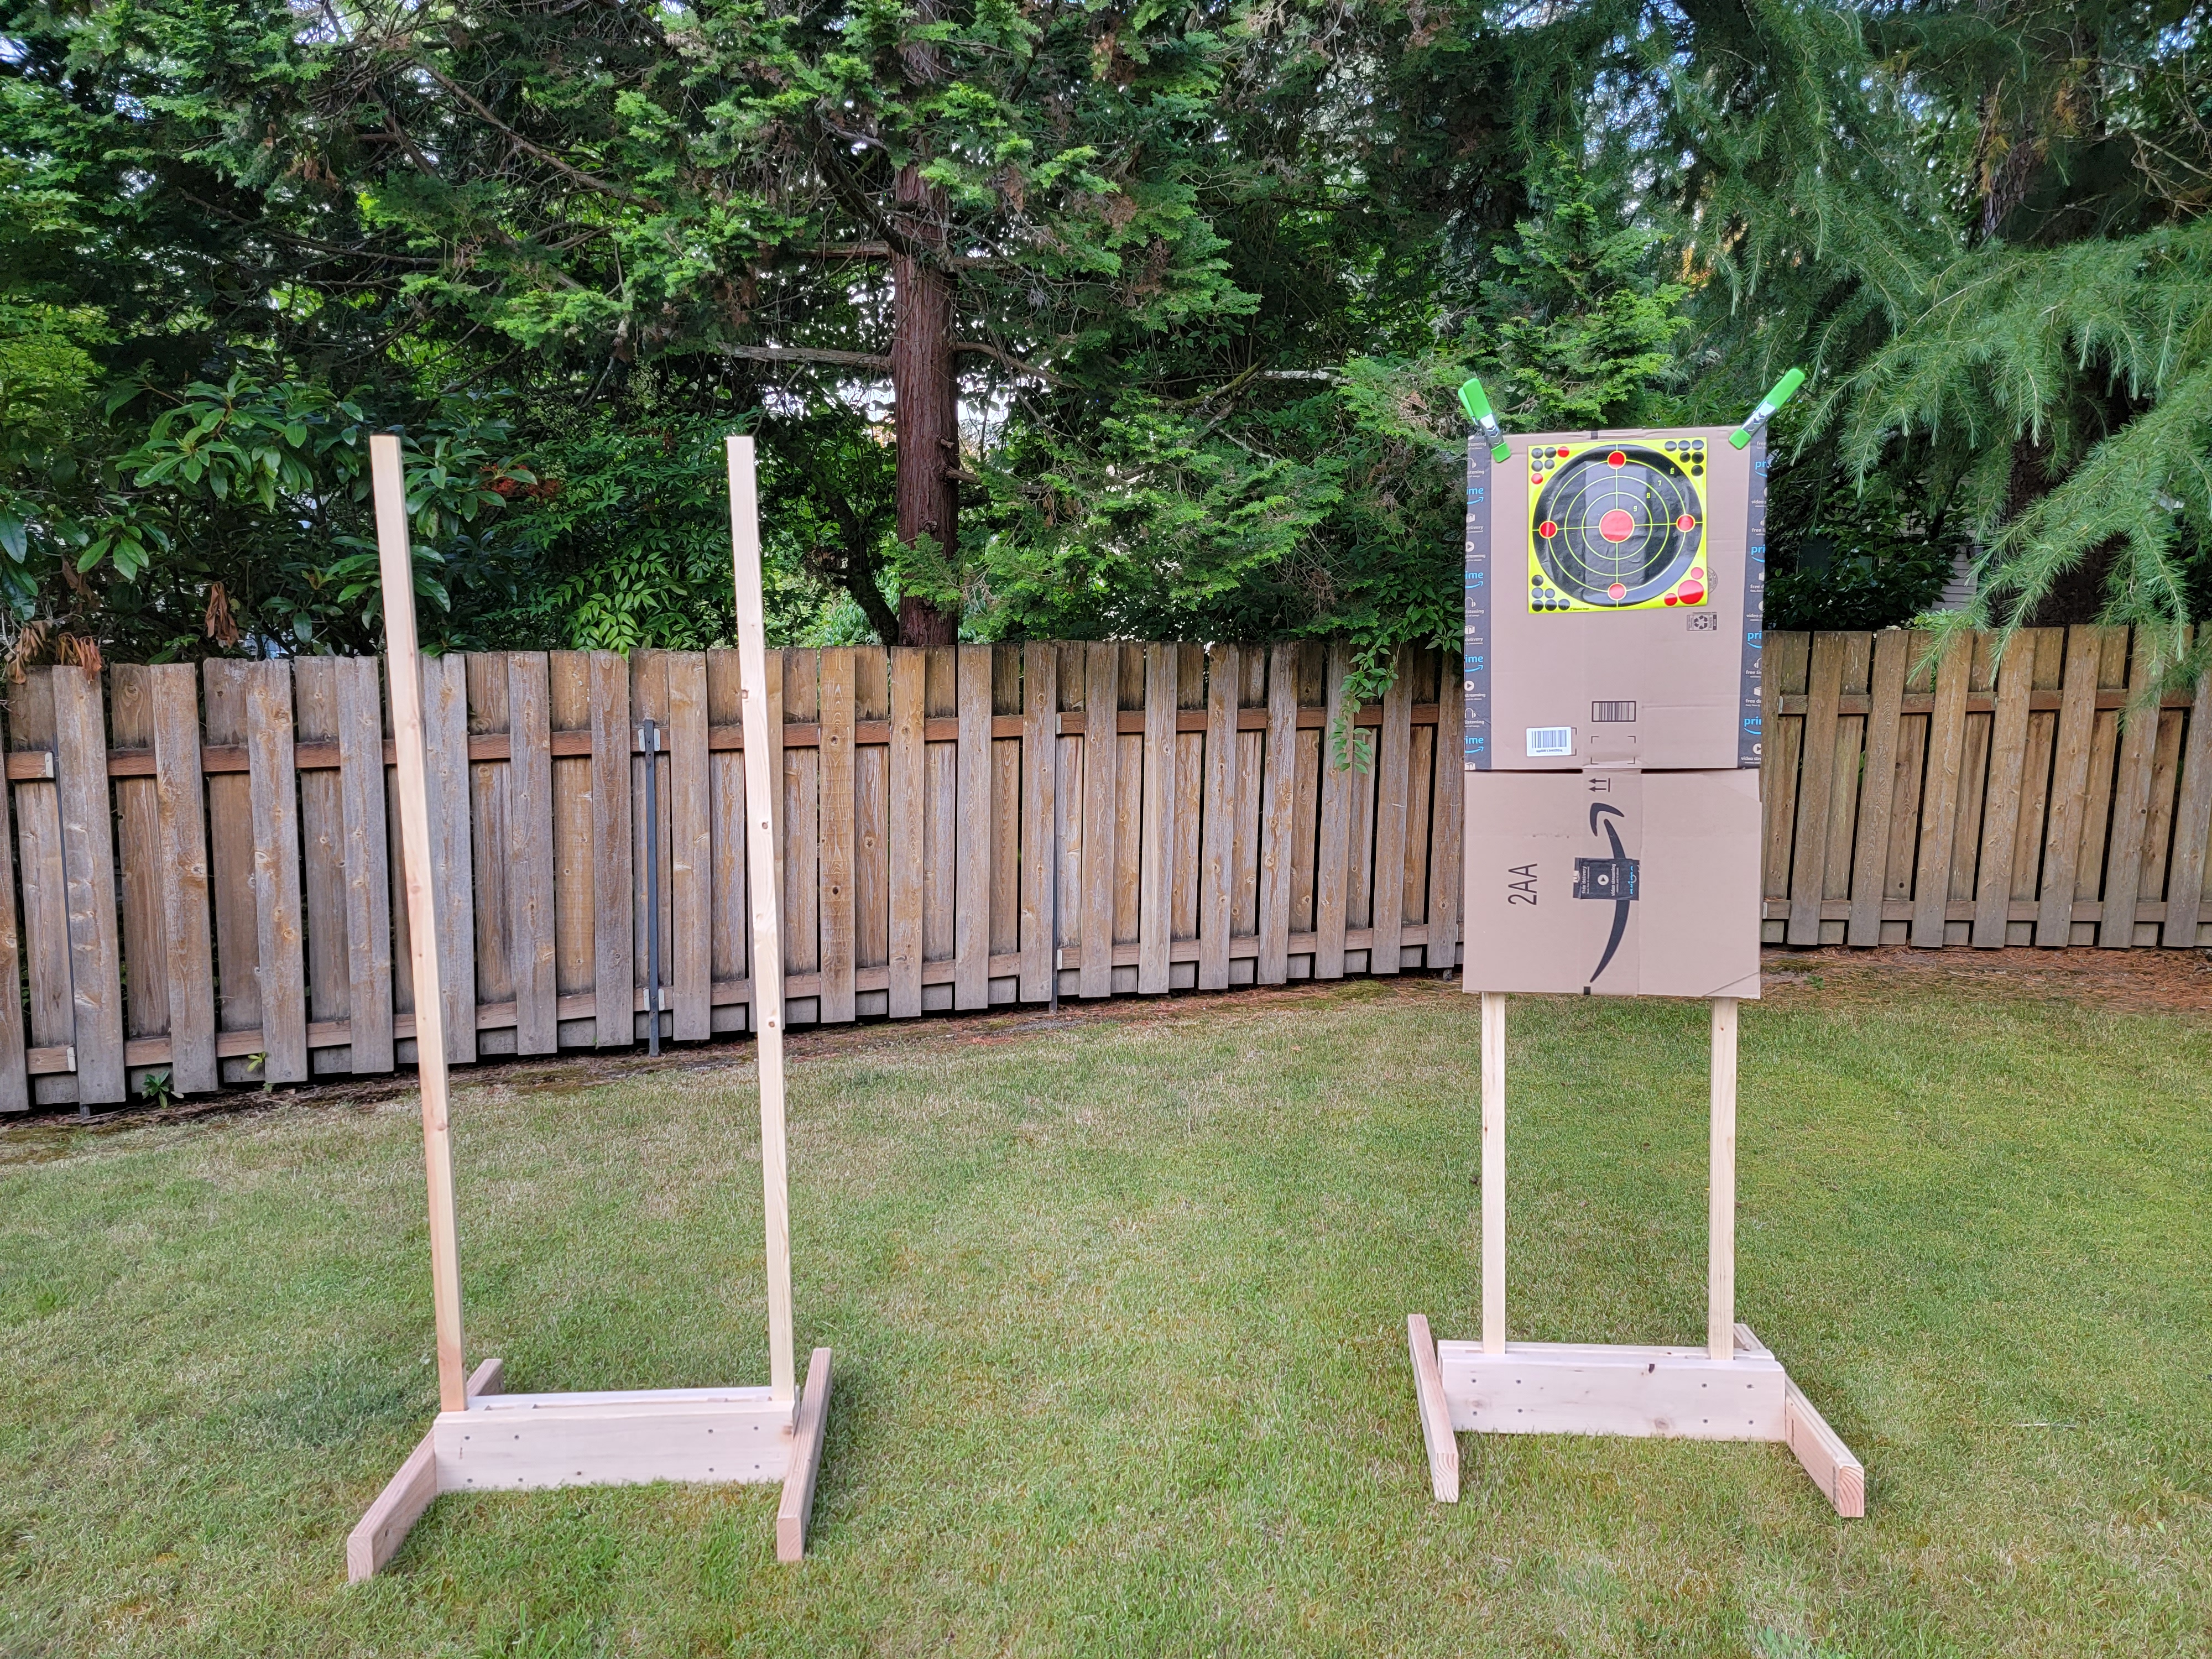
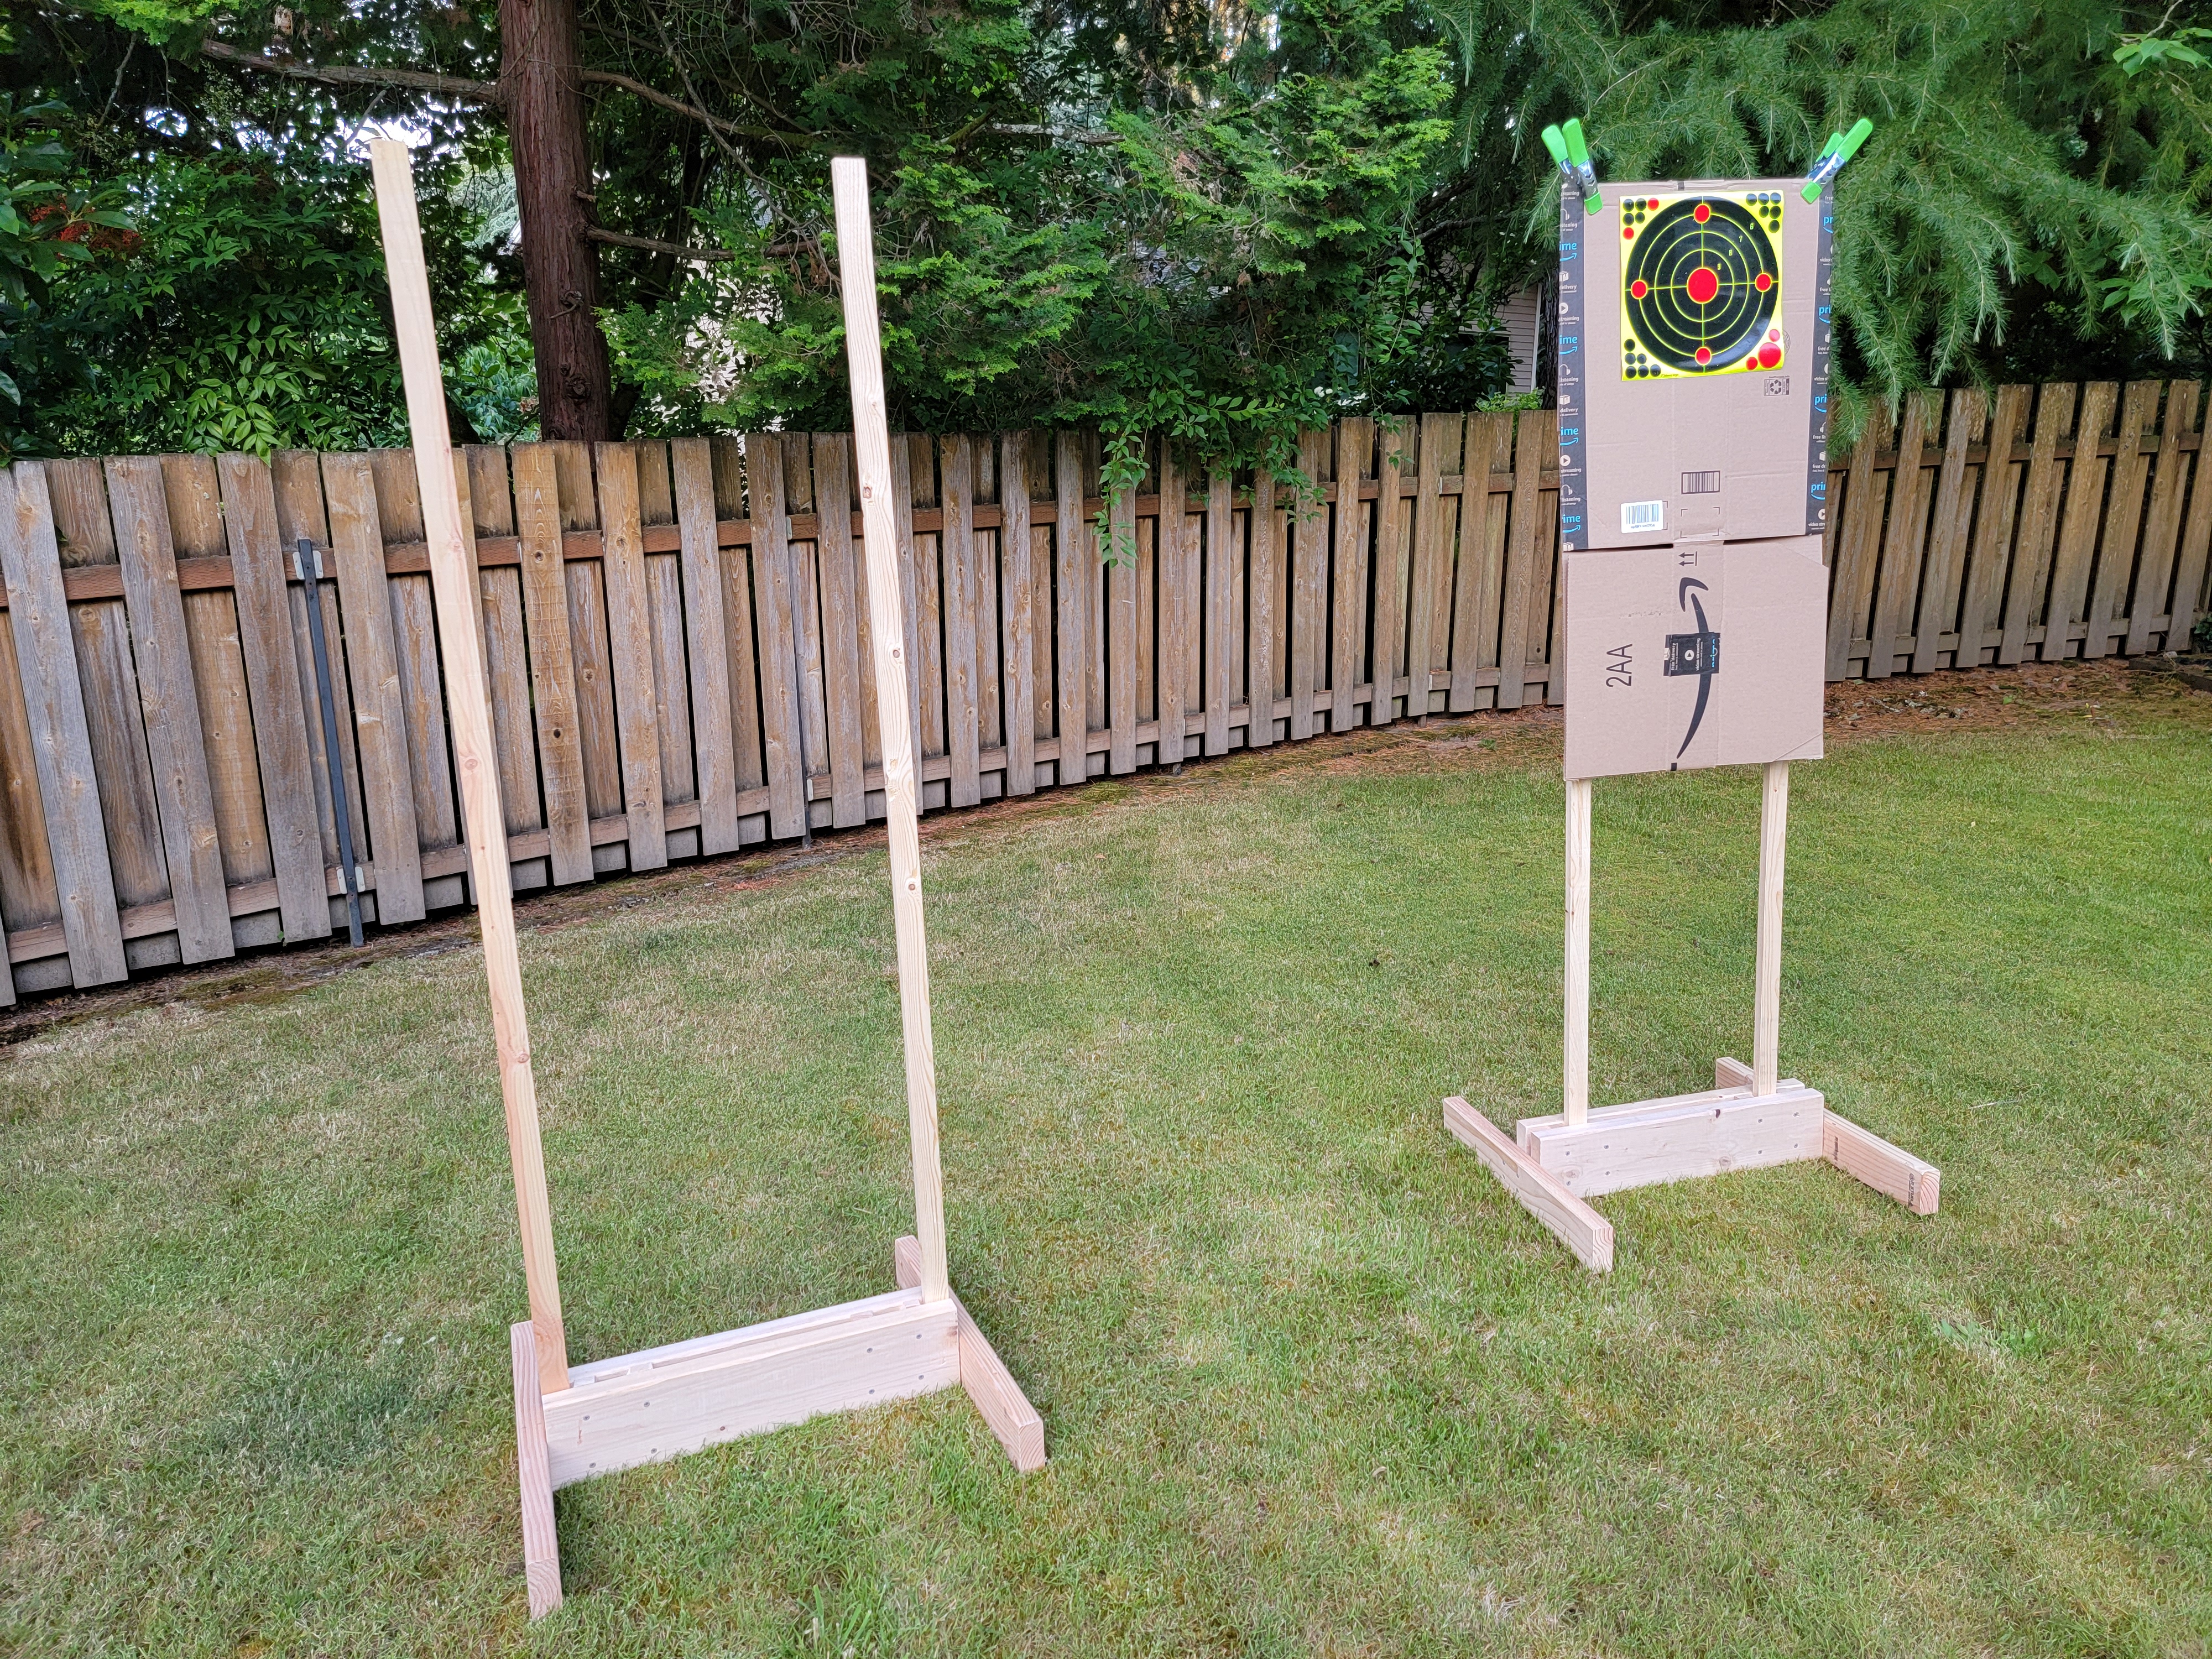
We now have a sturdy target stands, that should last even if accidentally grazed by a bullet 😉Plus the weight makes them stable even in a bit more windy conditions (as opposed to e.g. targets built with PVC, or light-weight steel bases).
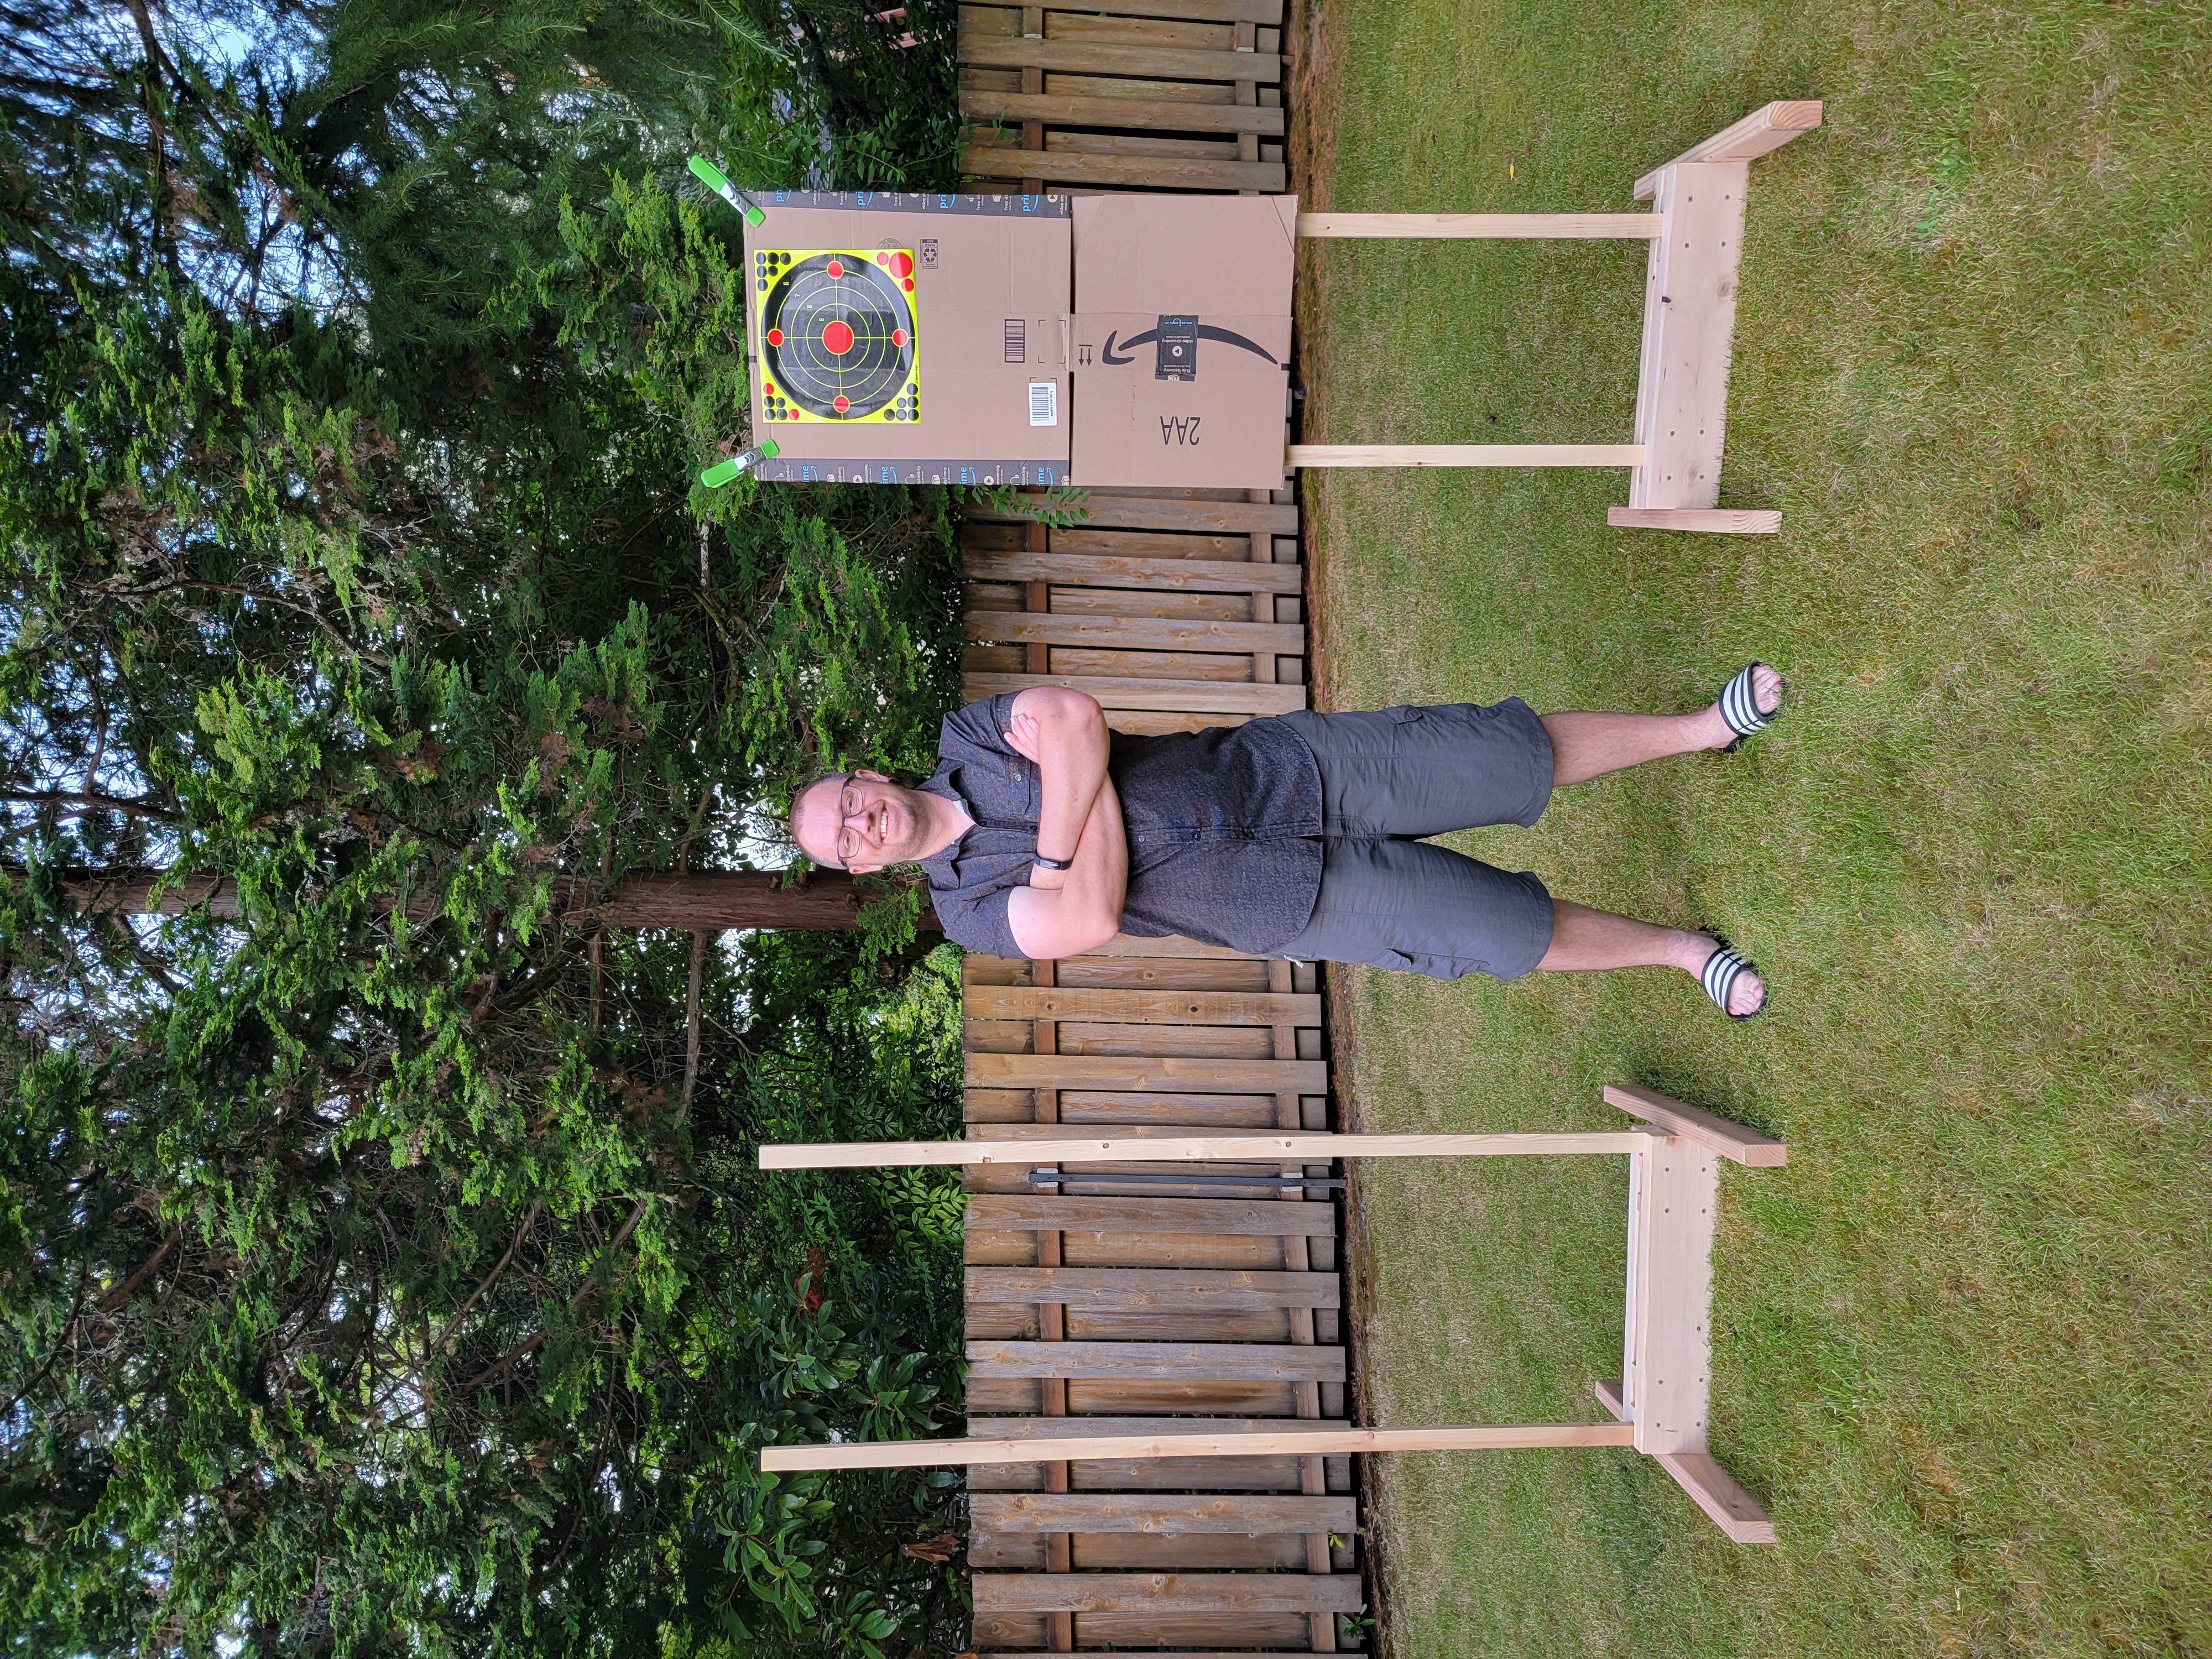
Overview of the completed project
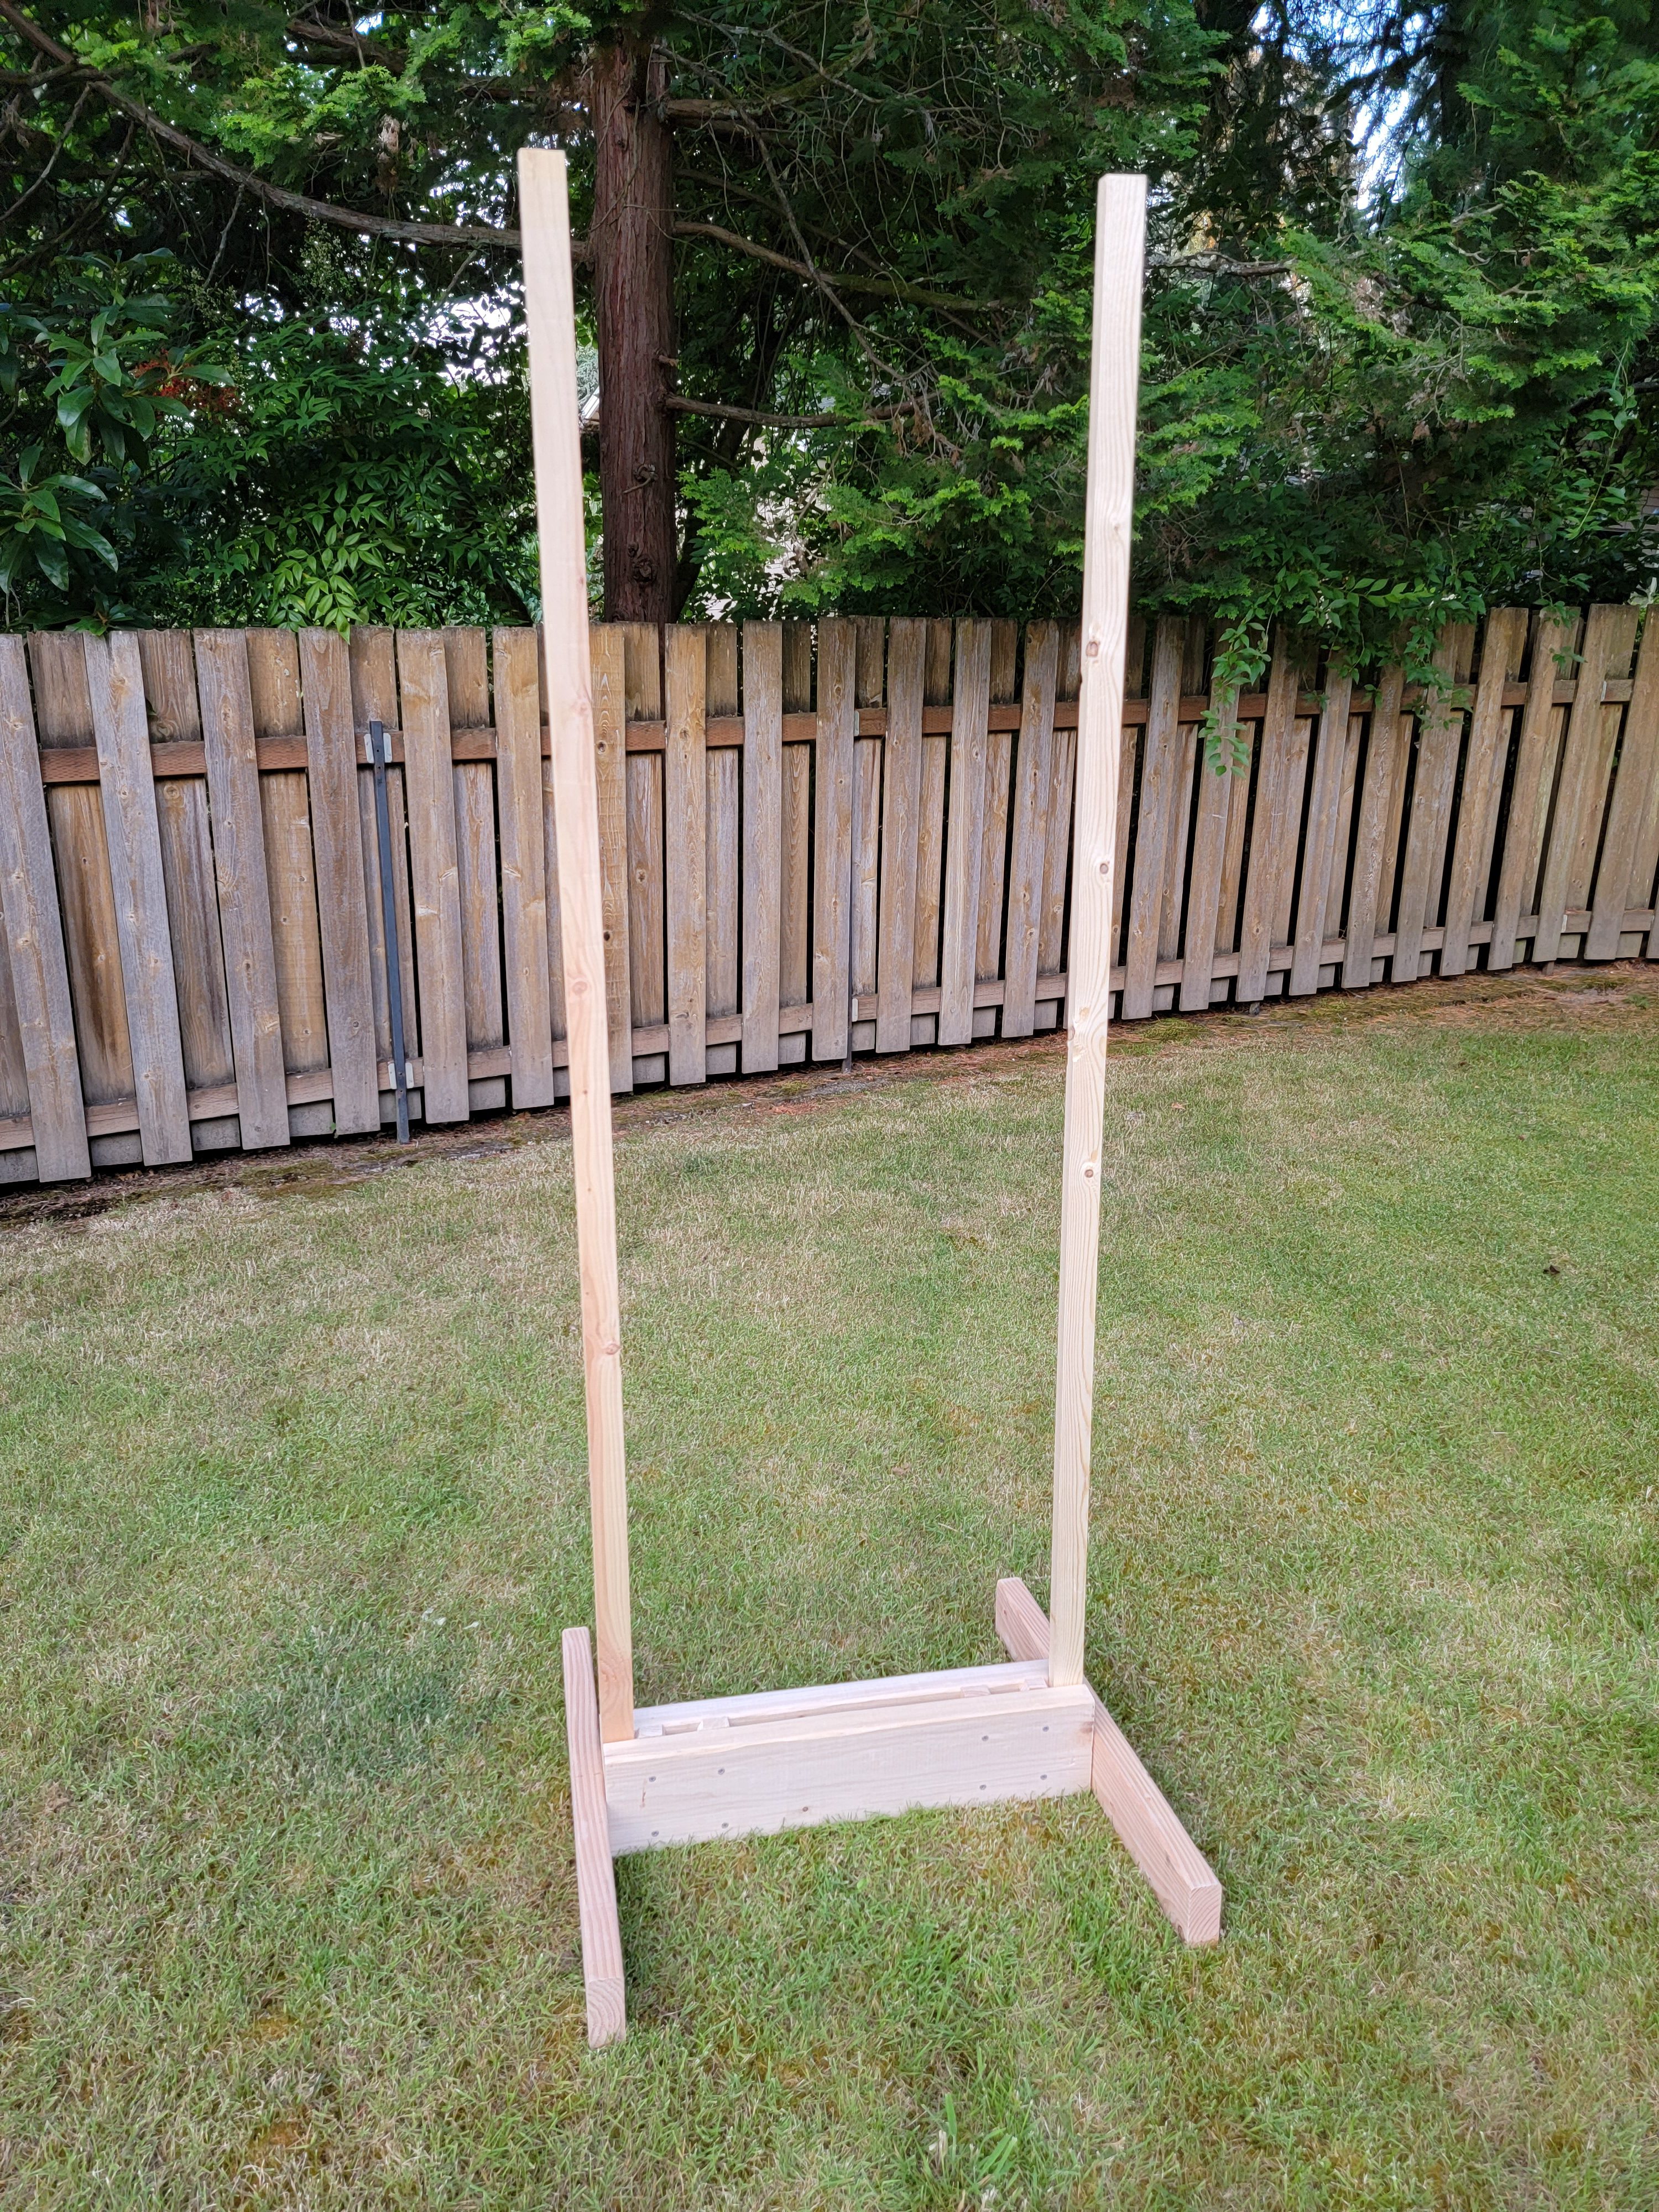
Proud target stand builder at work 😊
And a cat tax 🐈⬛


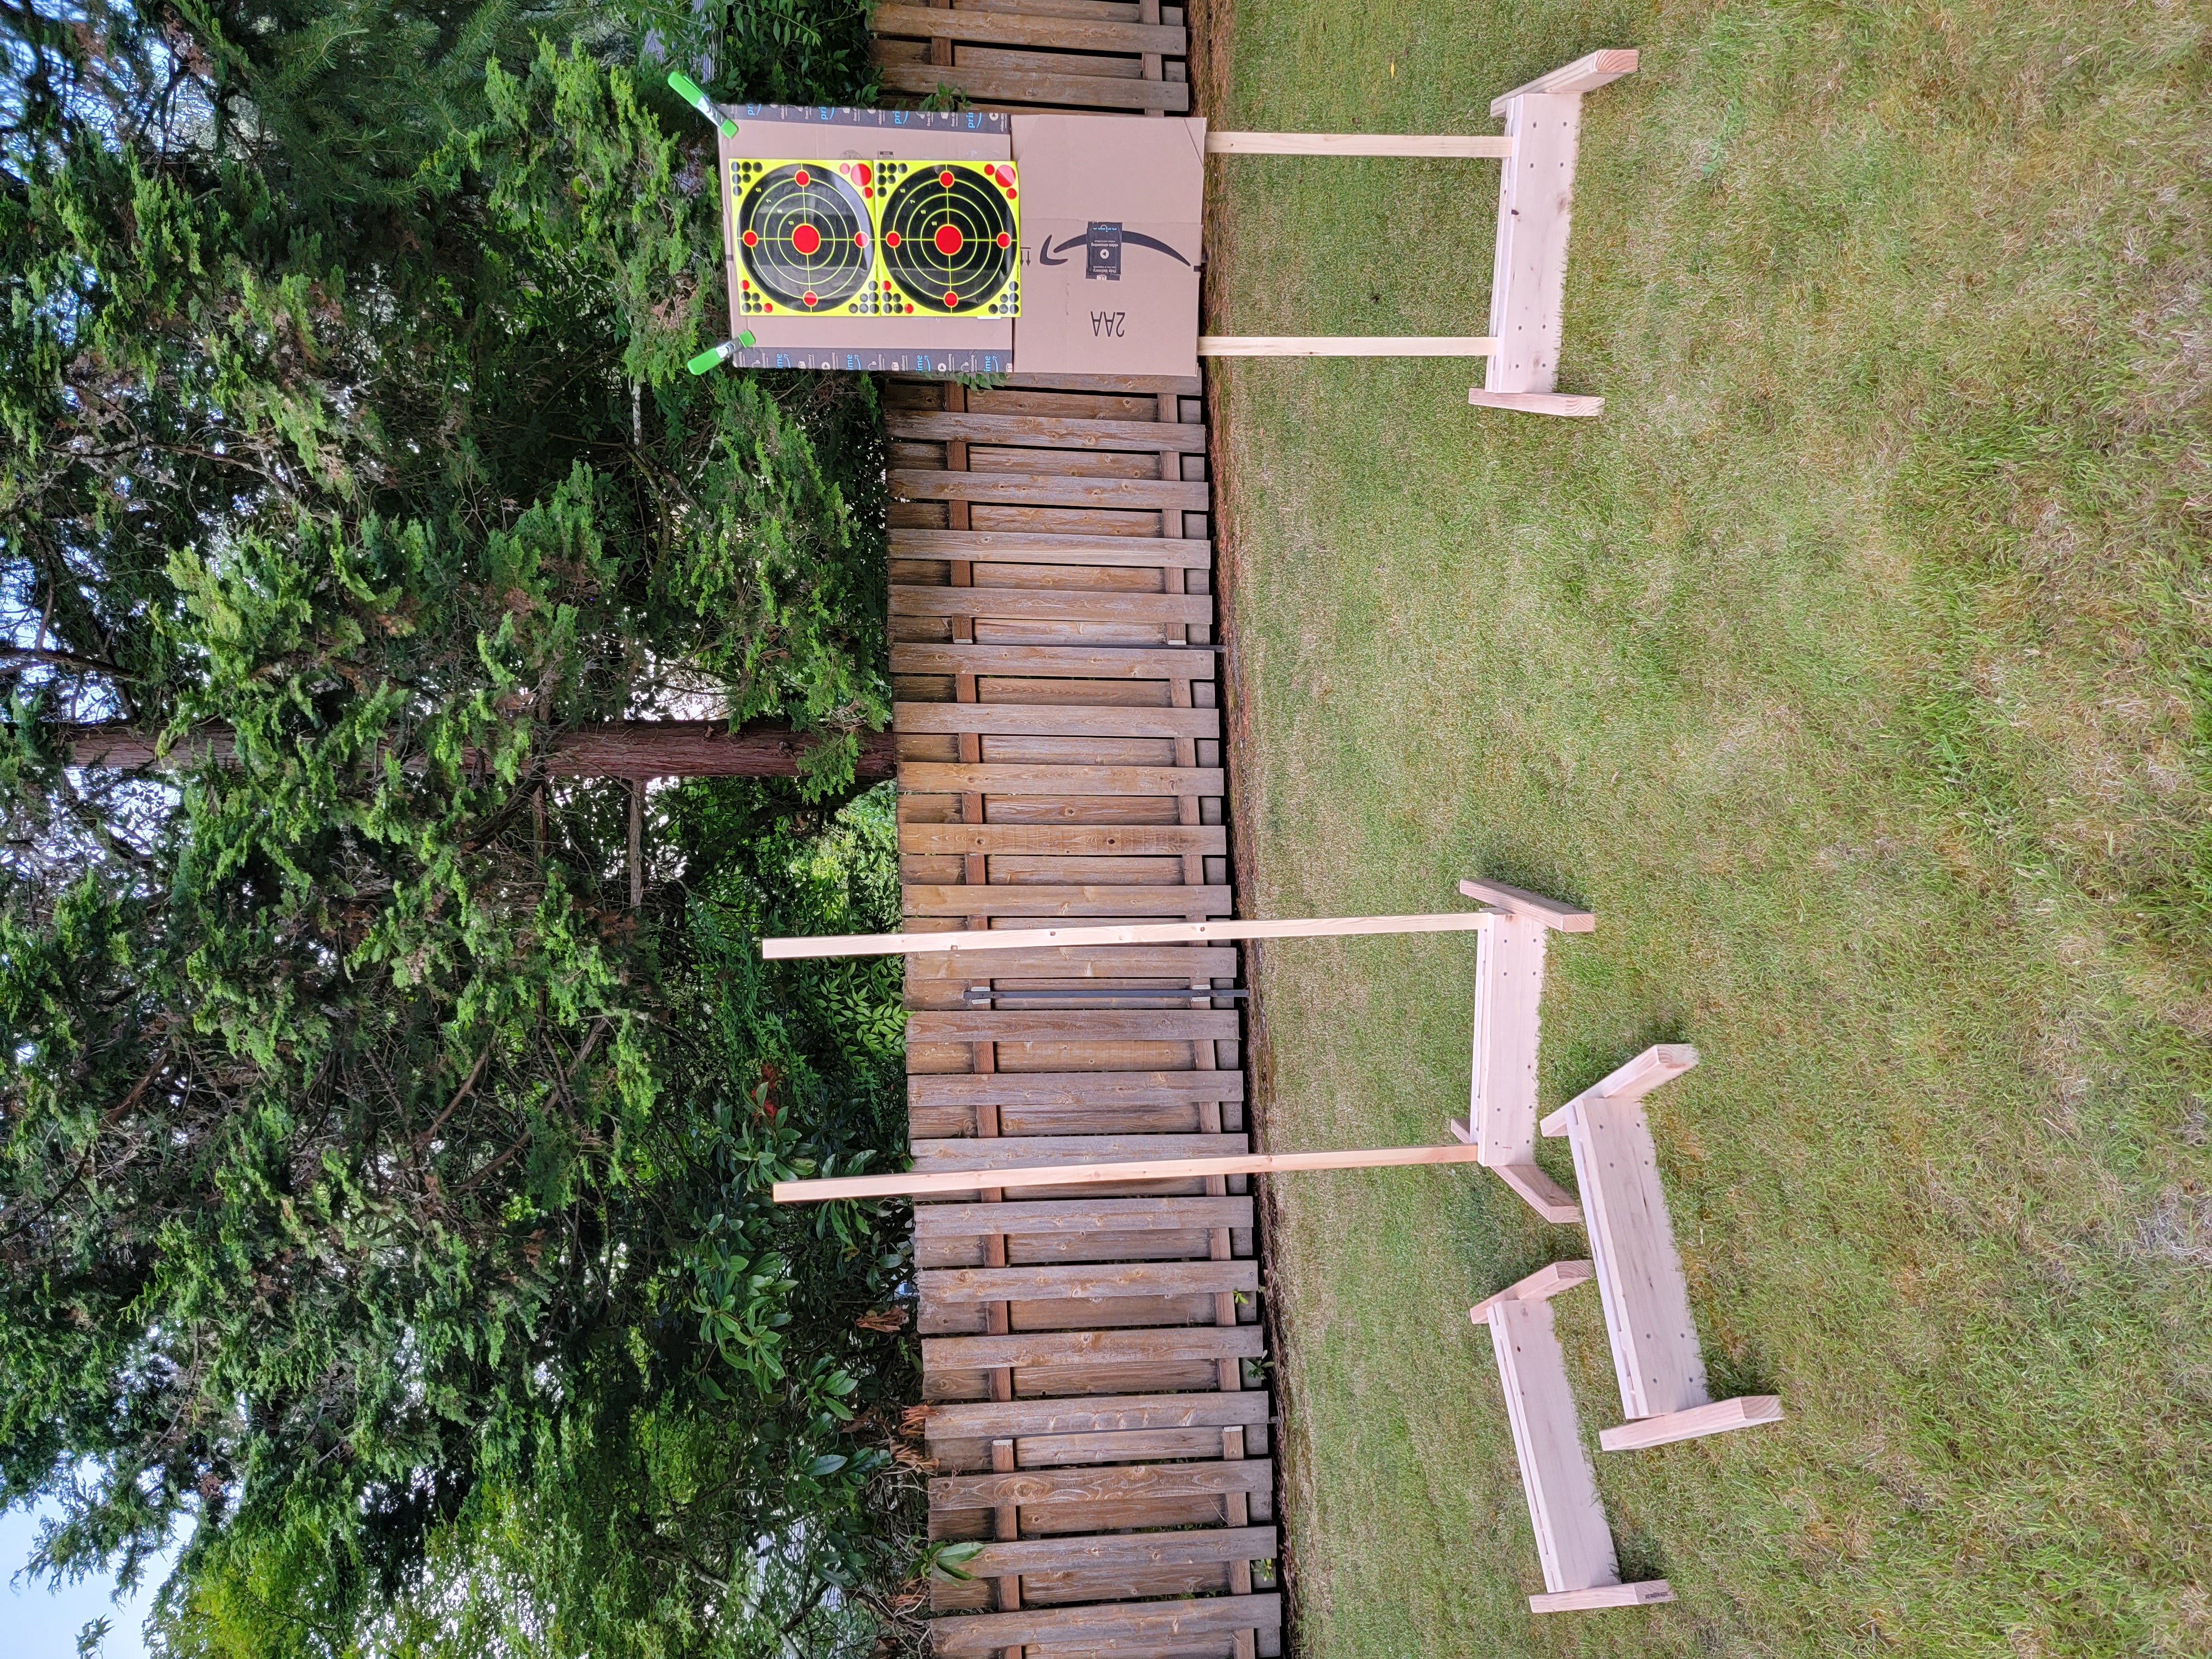
Turns out I also snapped a photo of the bases with the archery target stands I built in the past visible in the background:
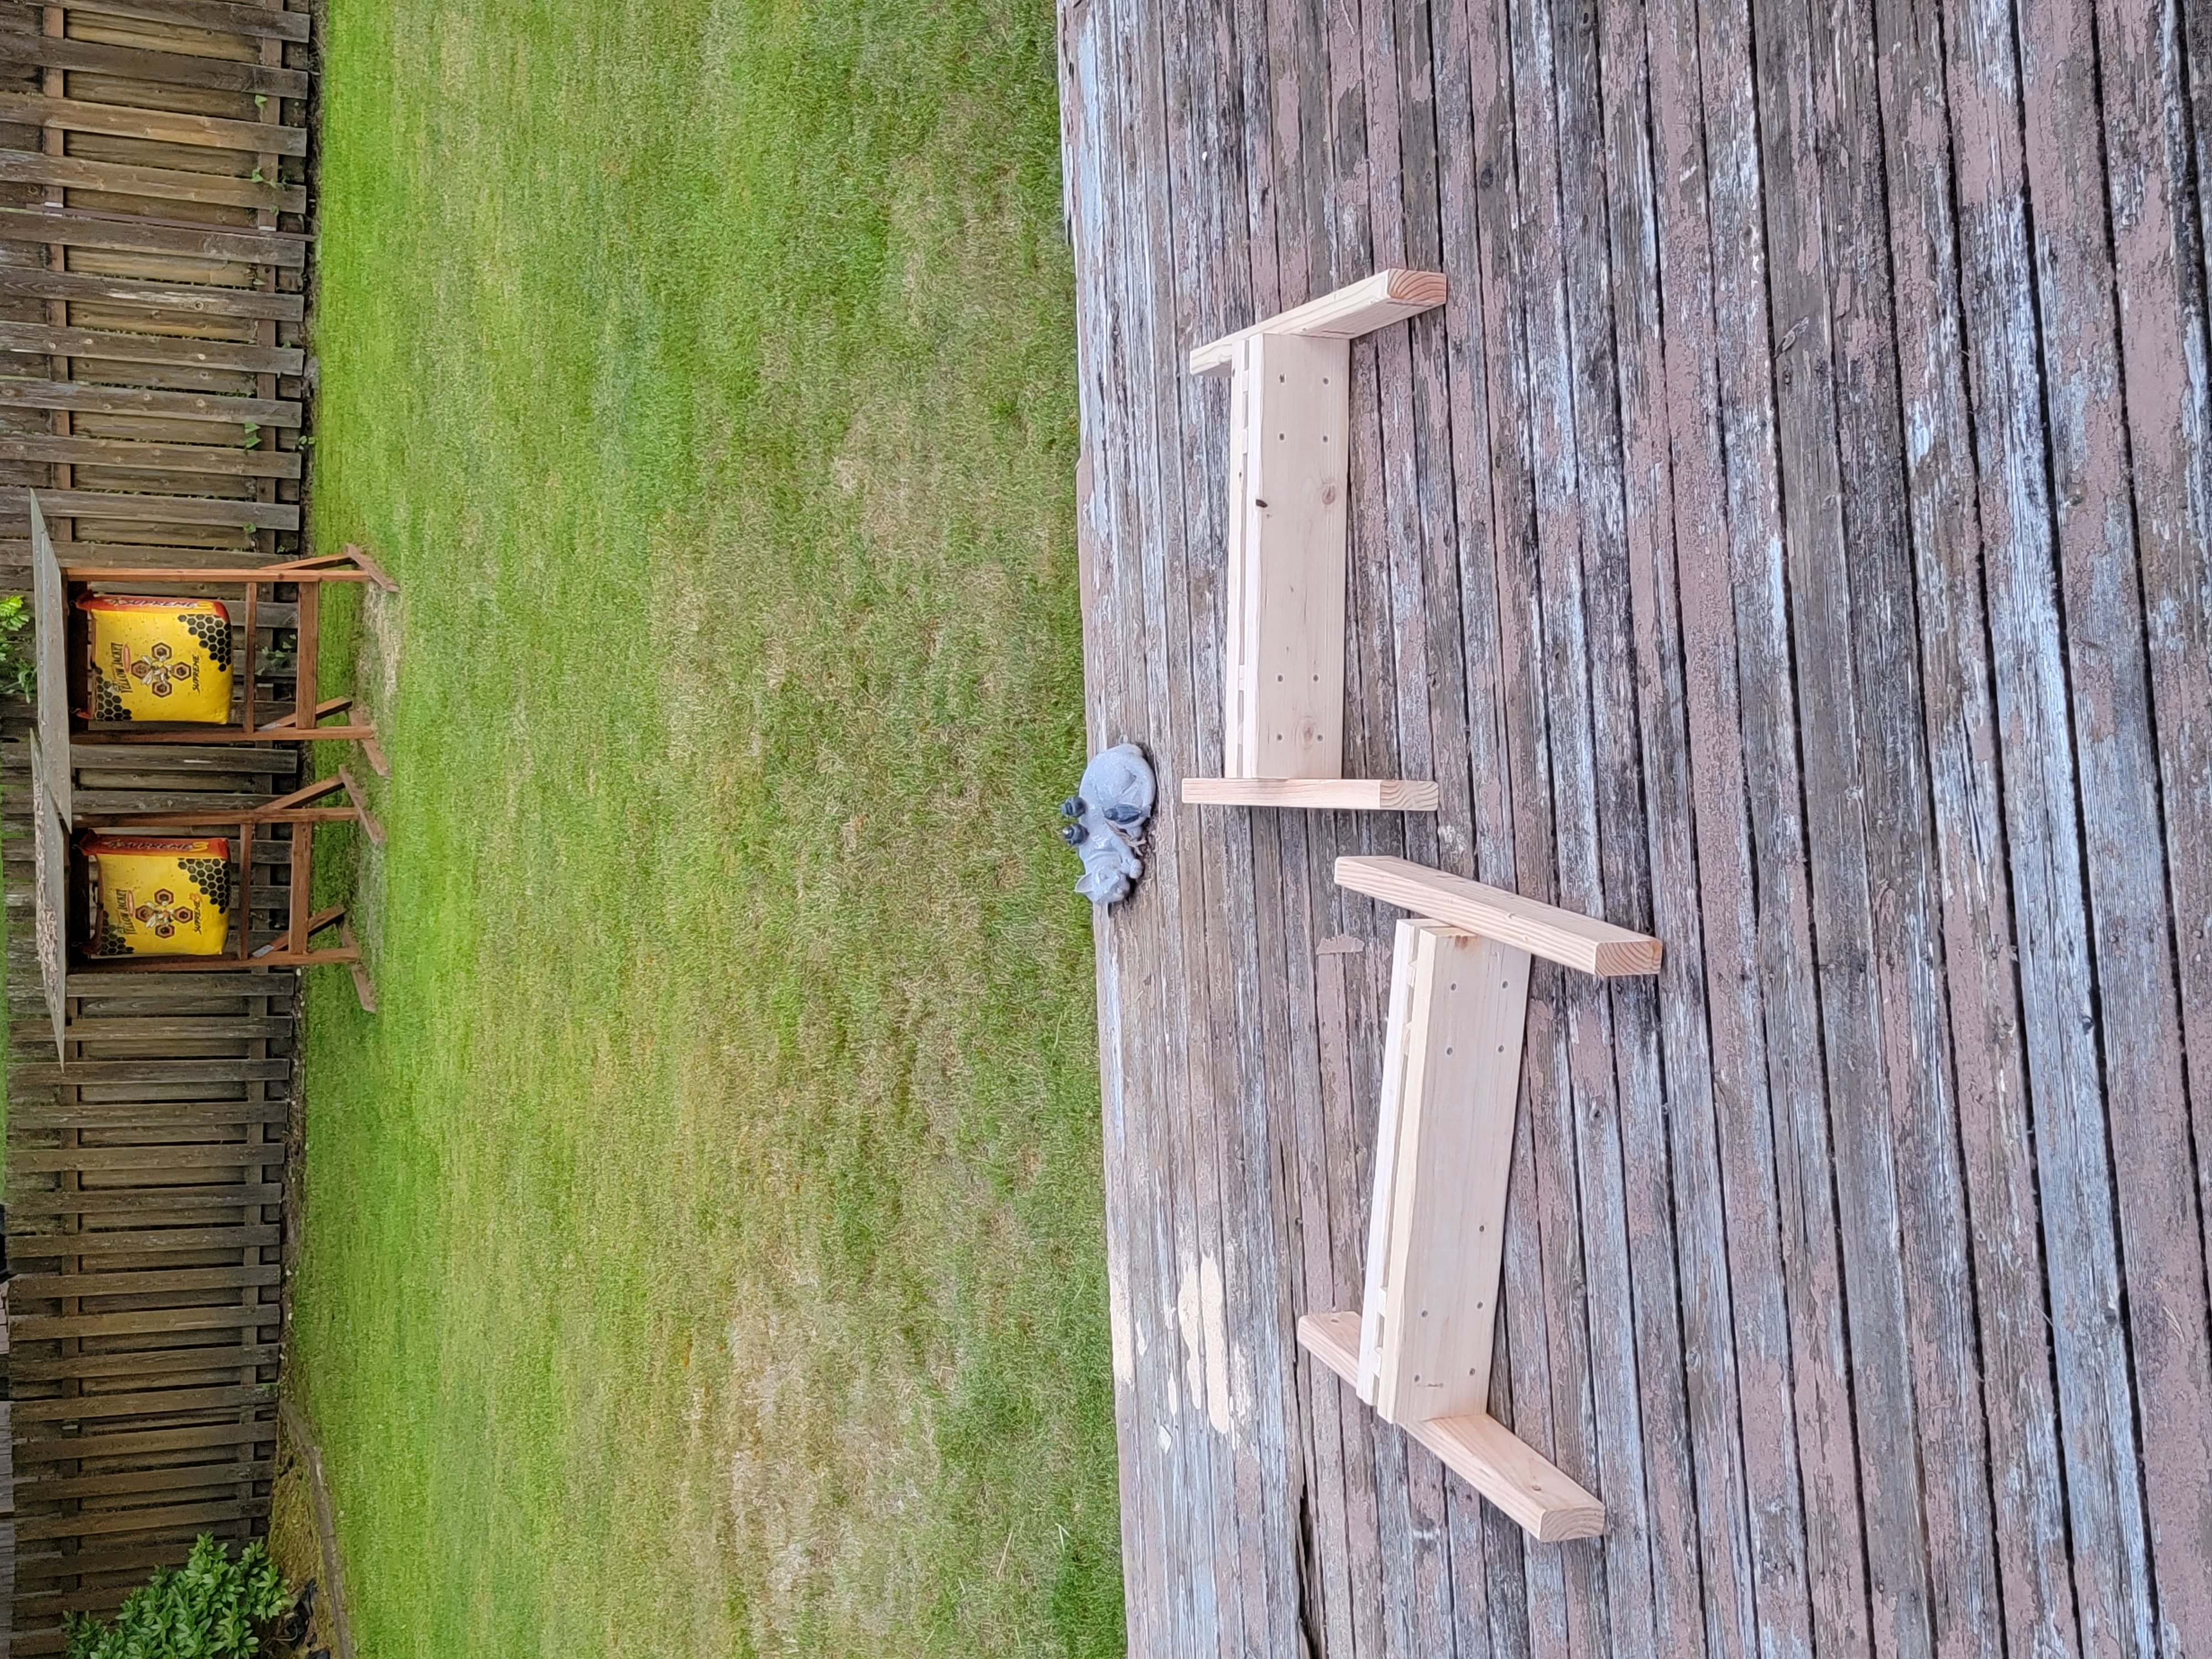
(and yes, the deck is overdue for being rebuilt ⚒️)
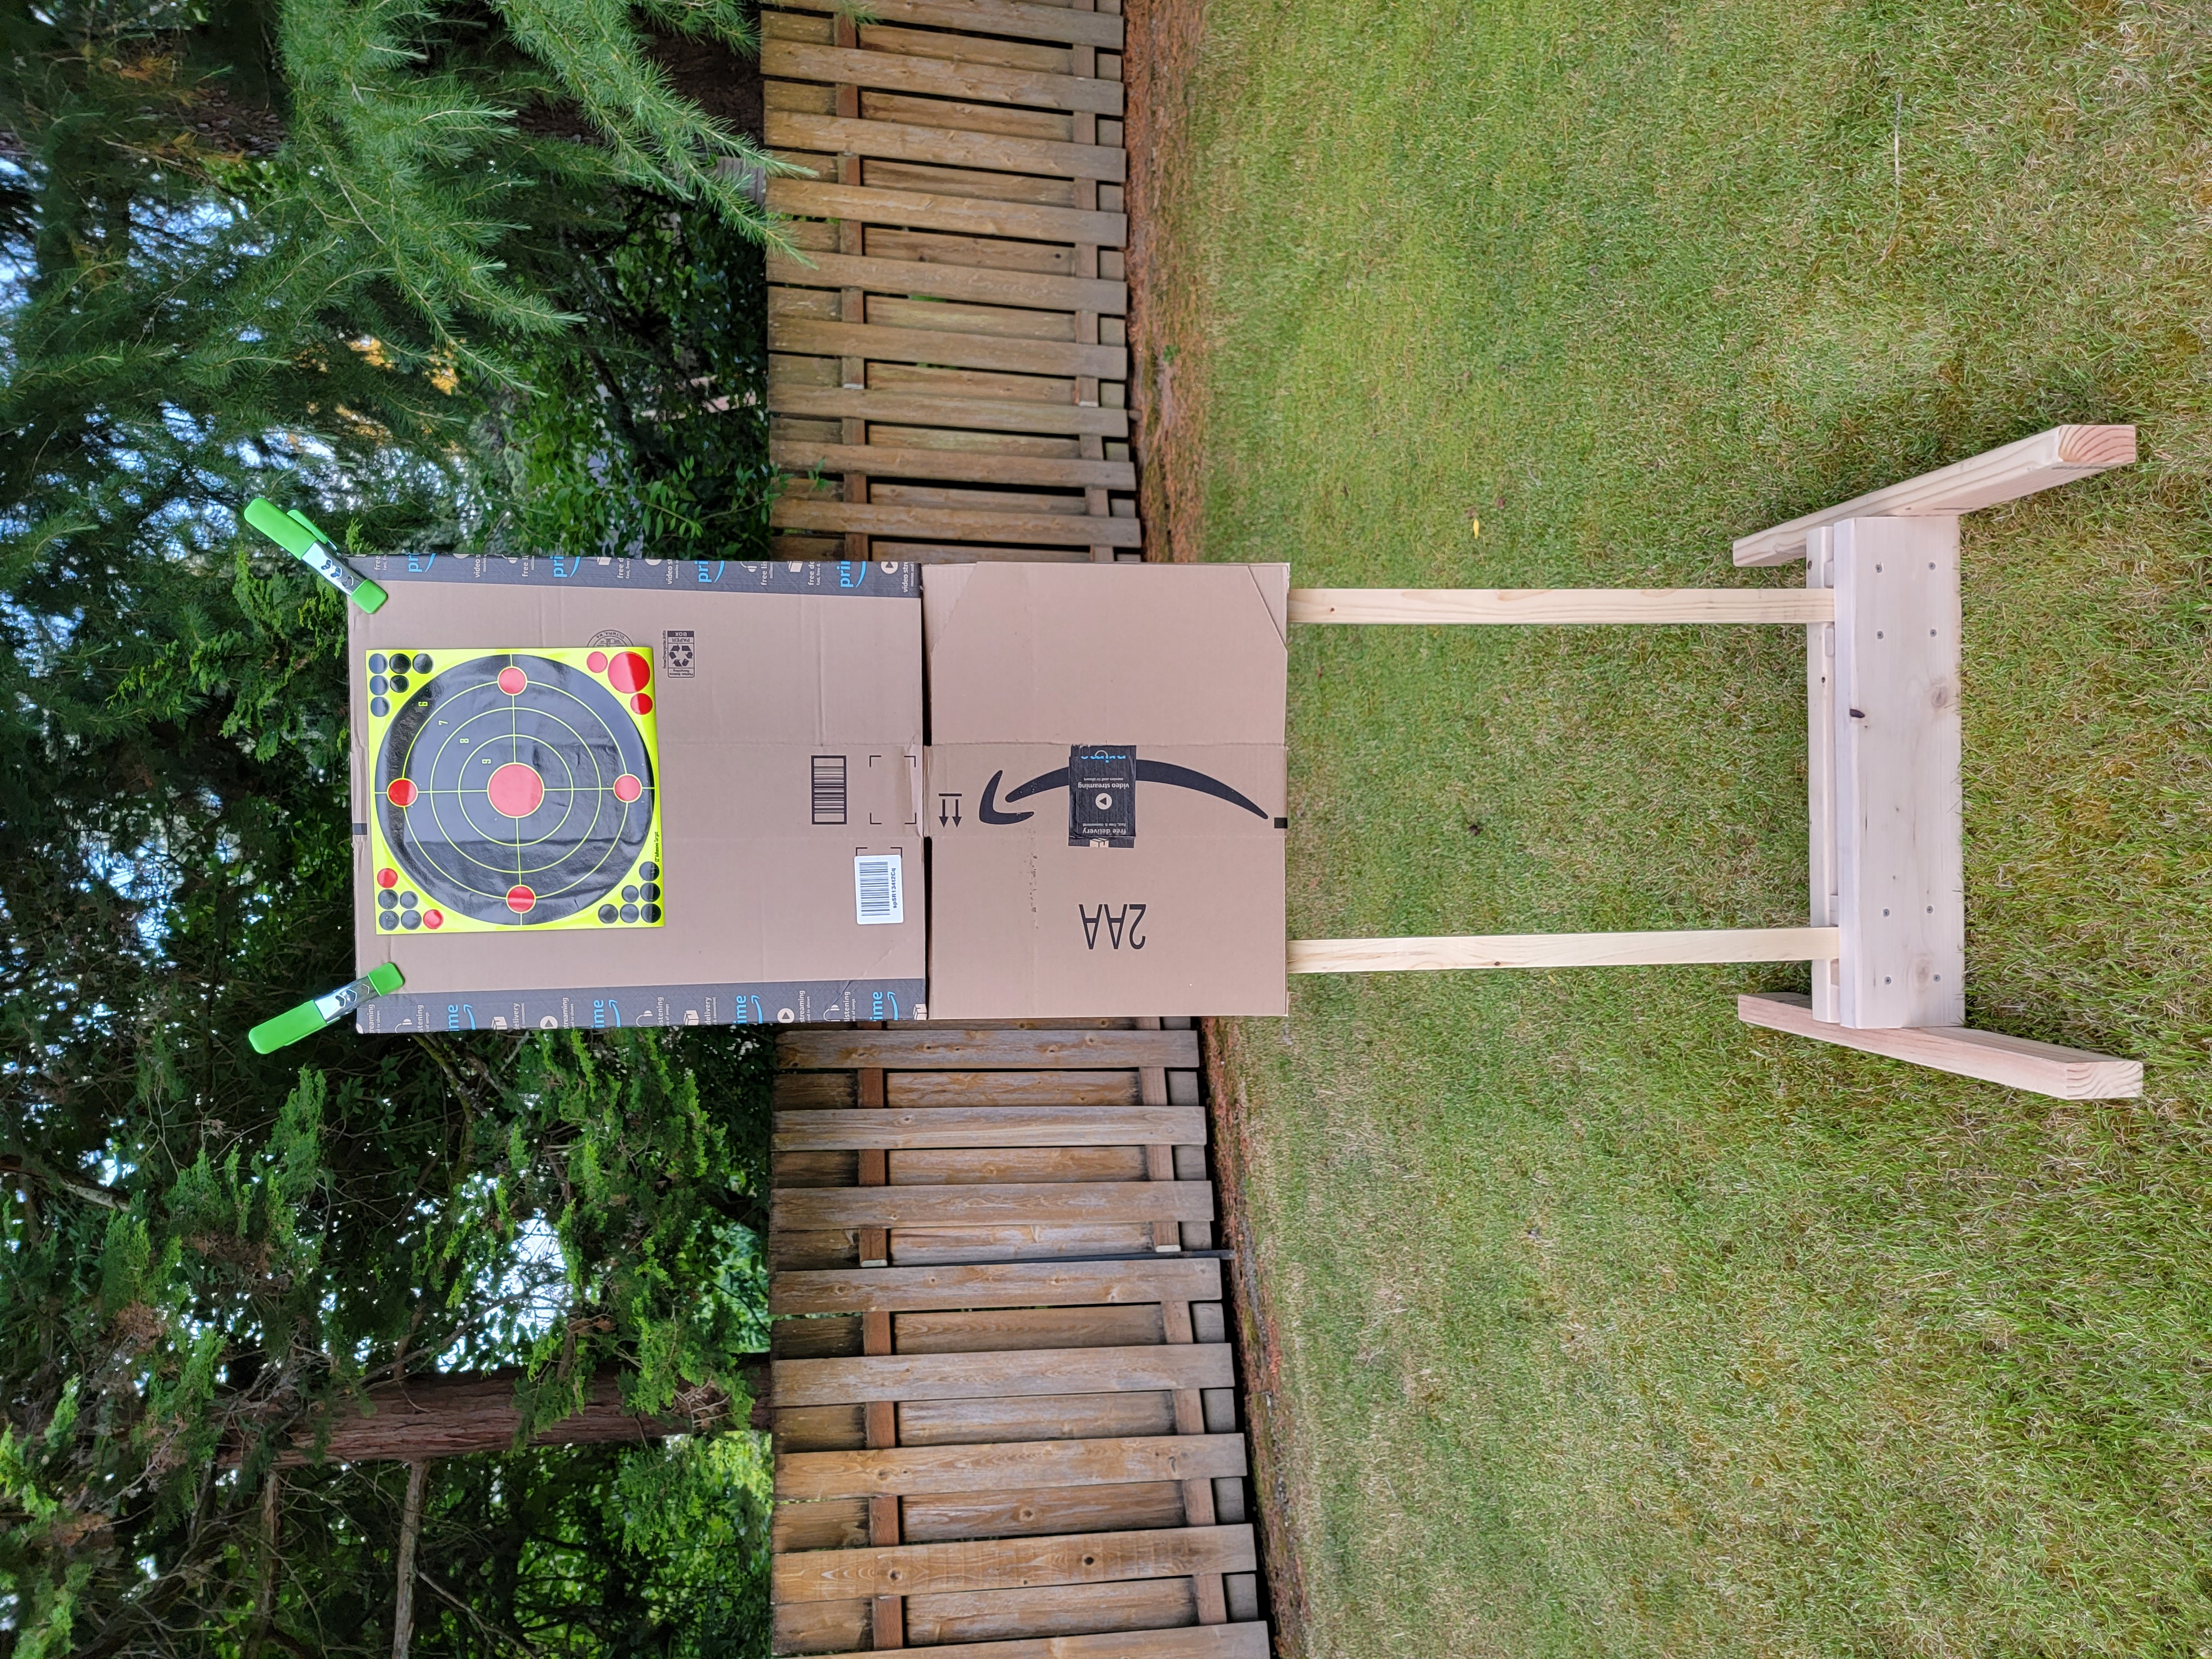
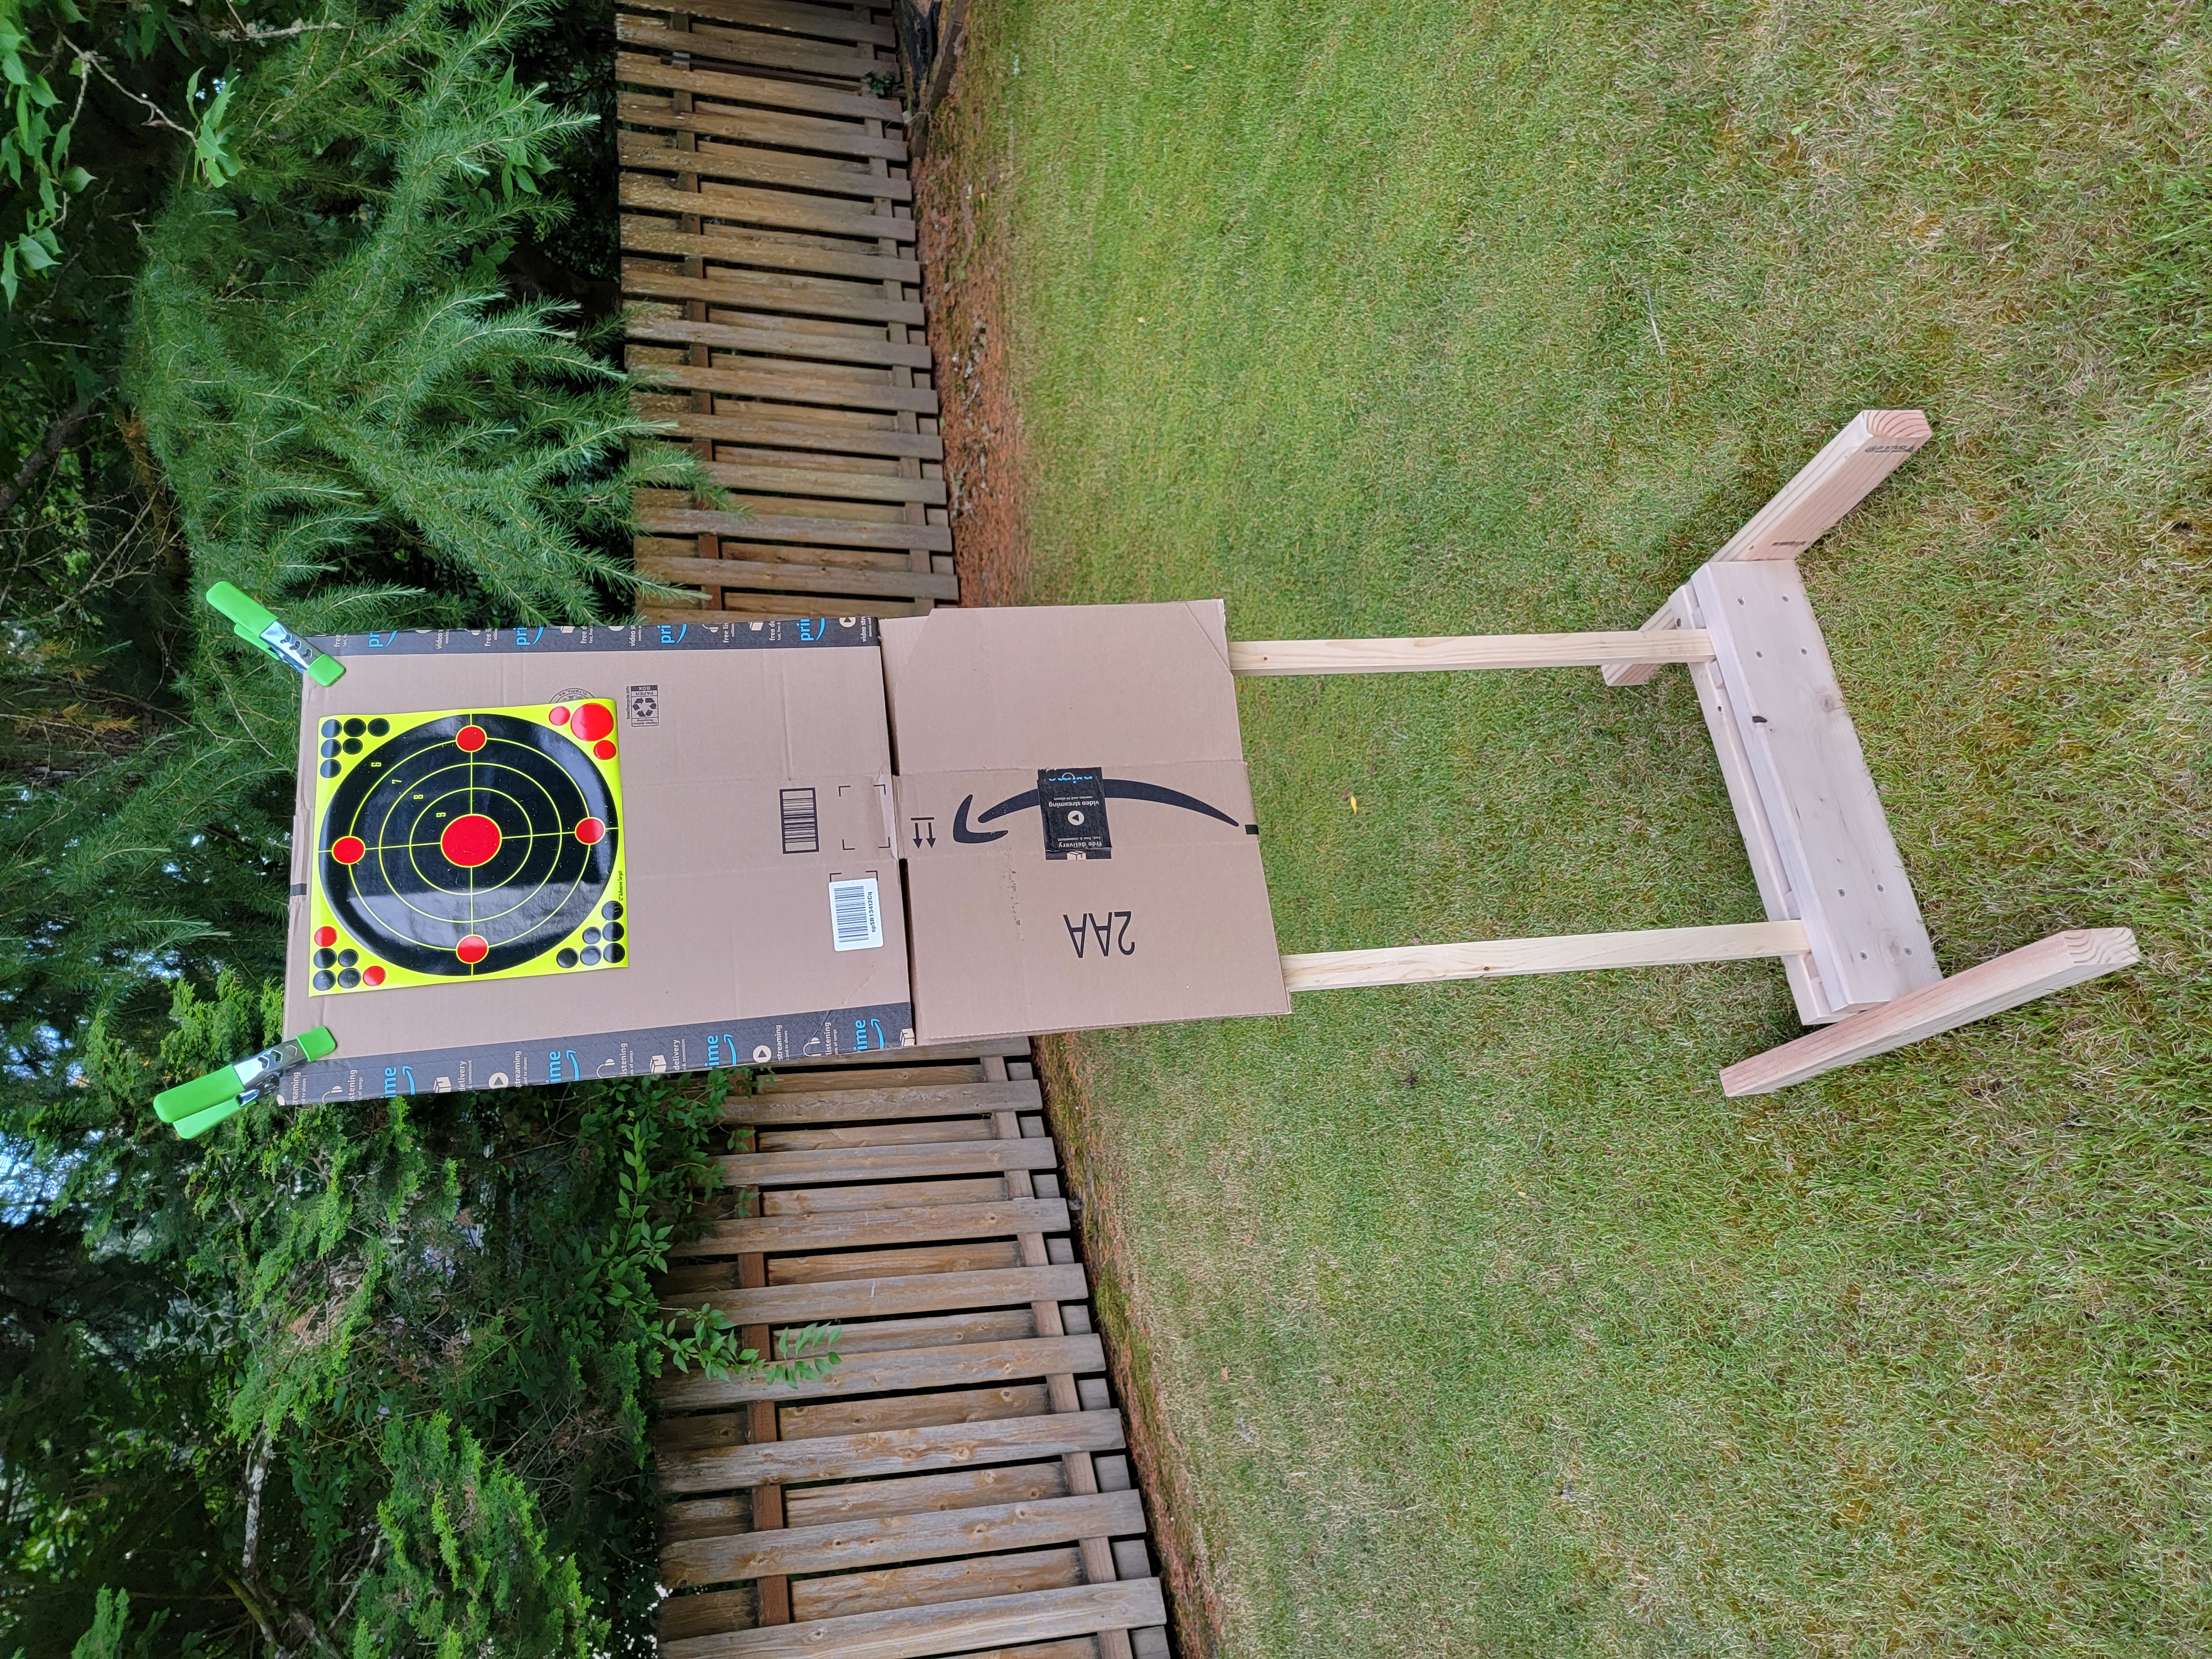
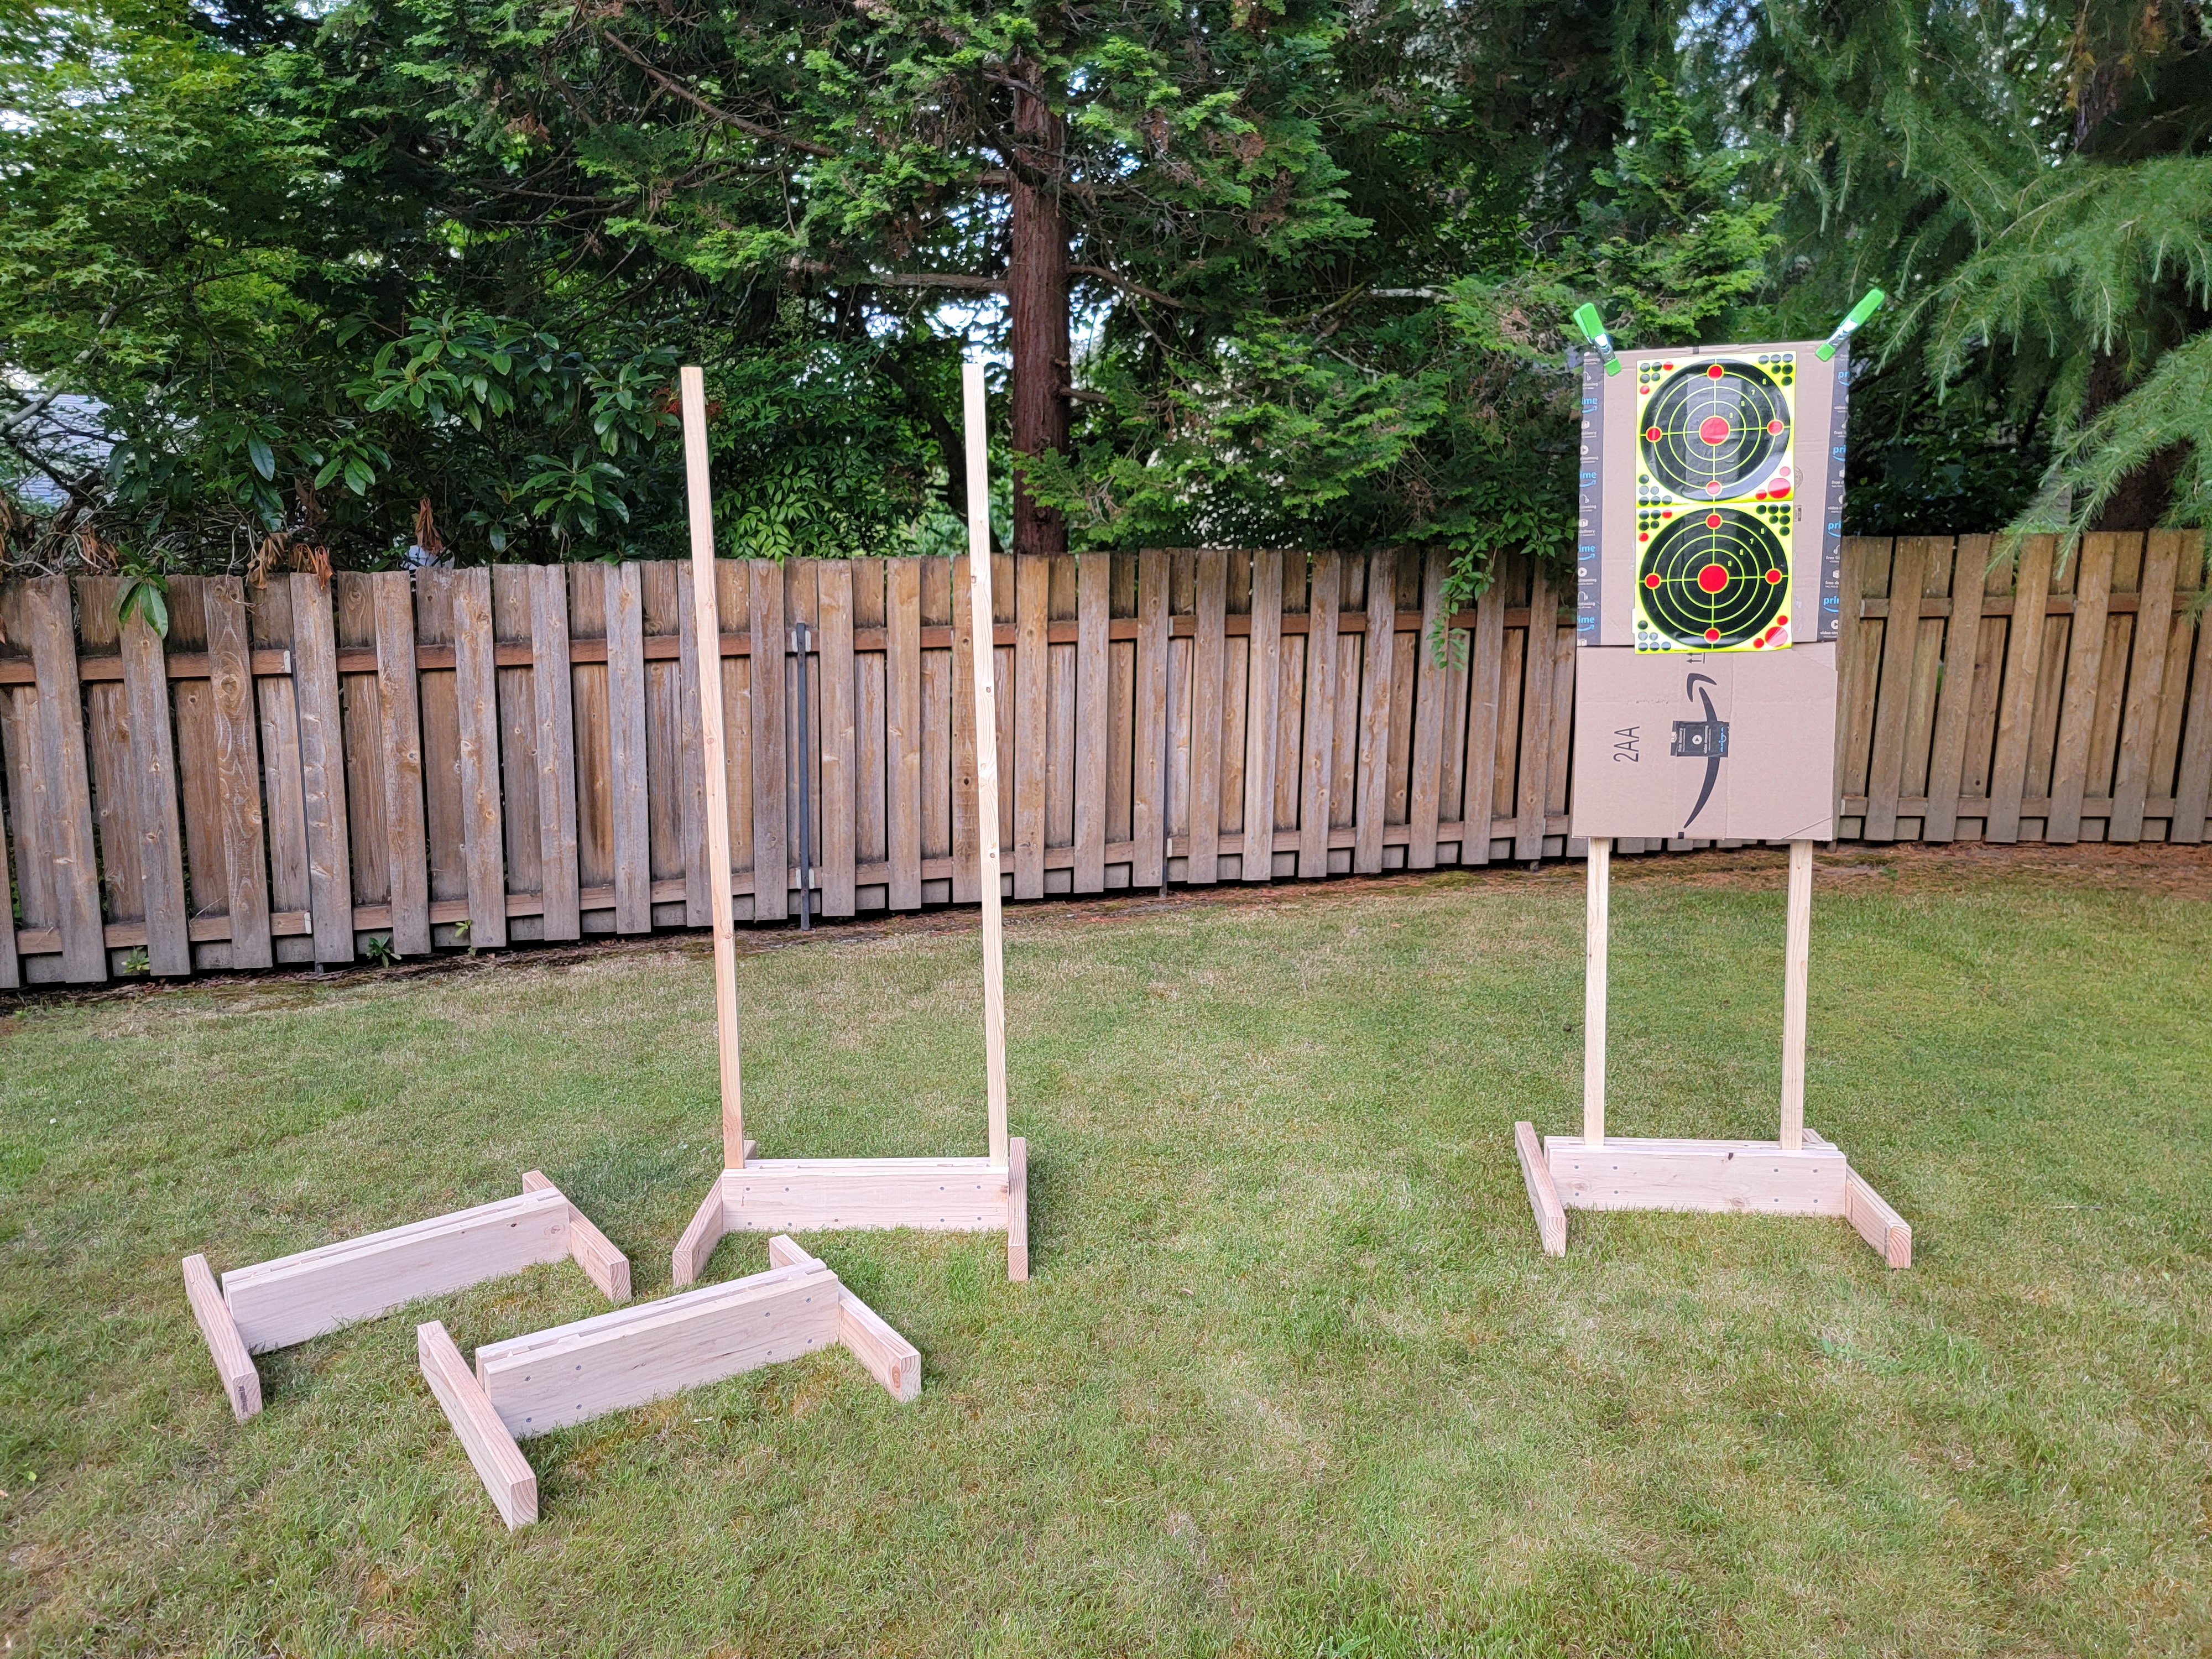
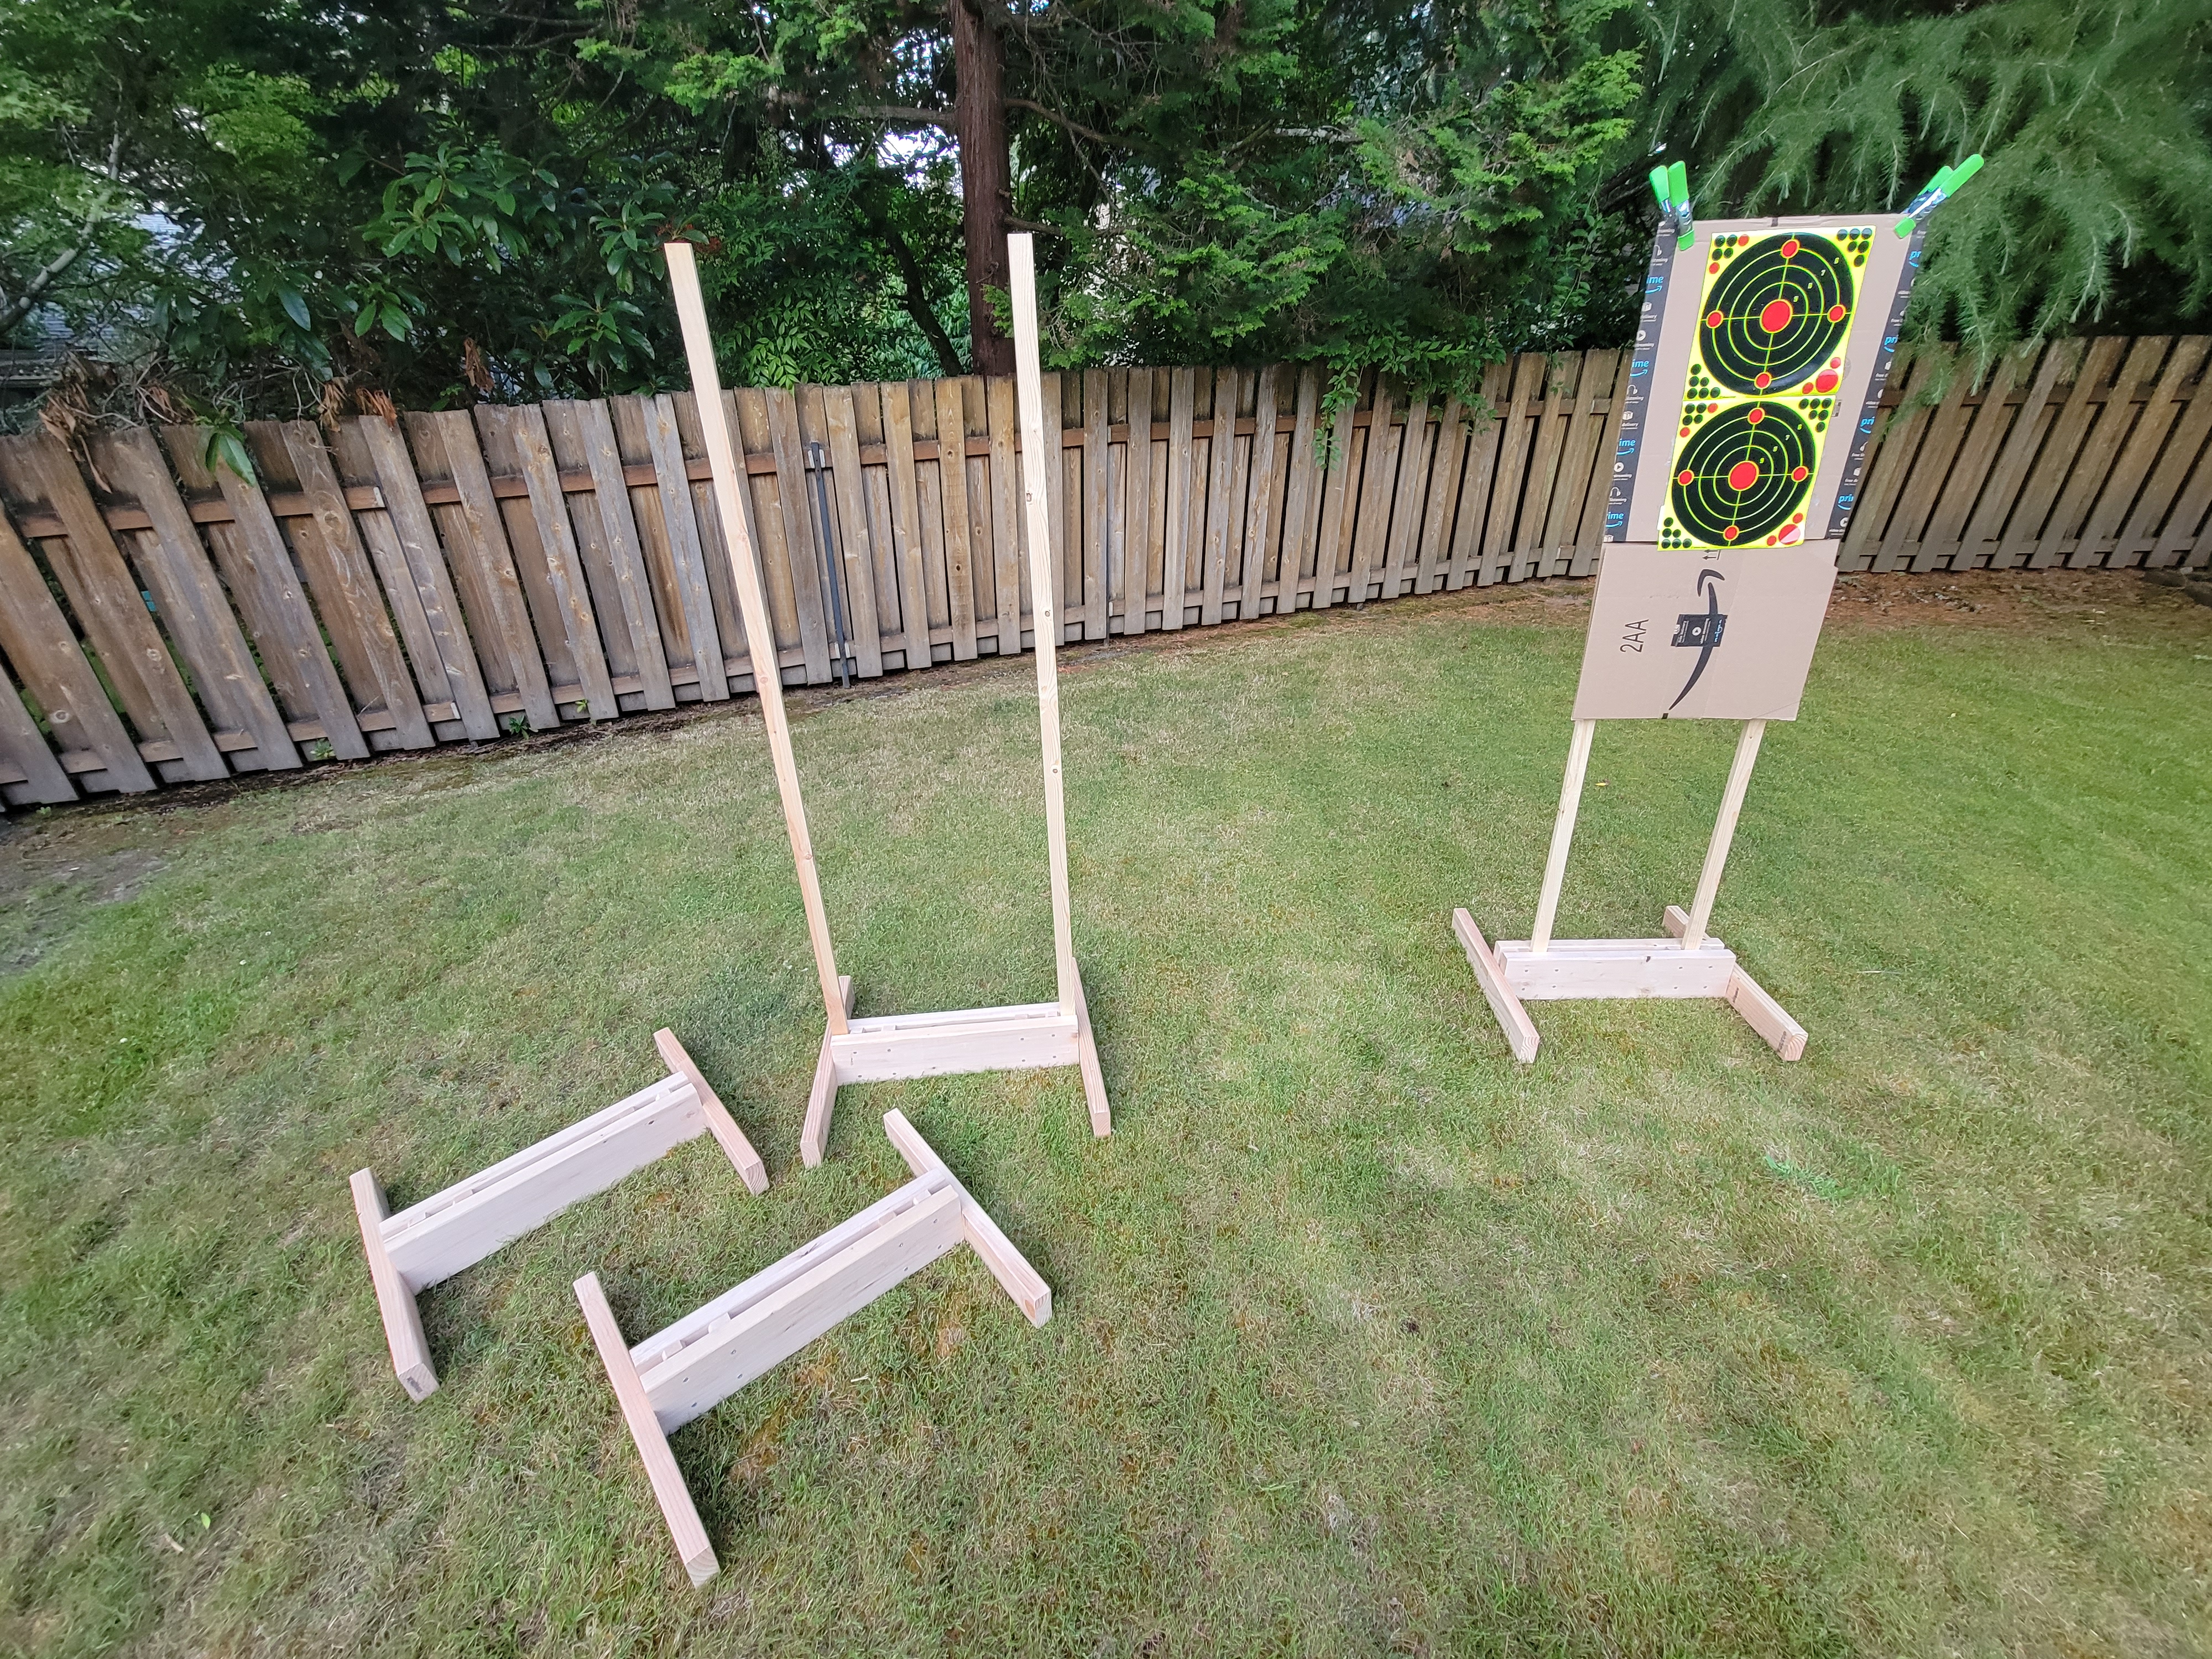
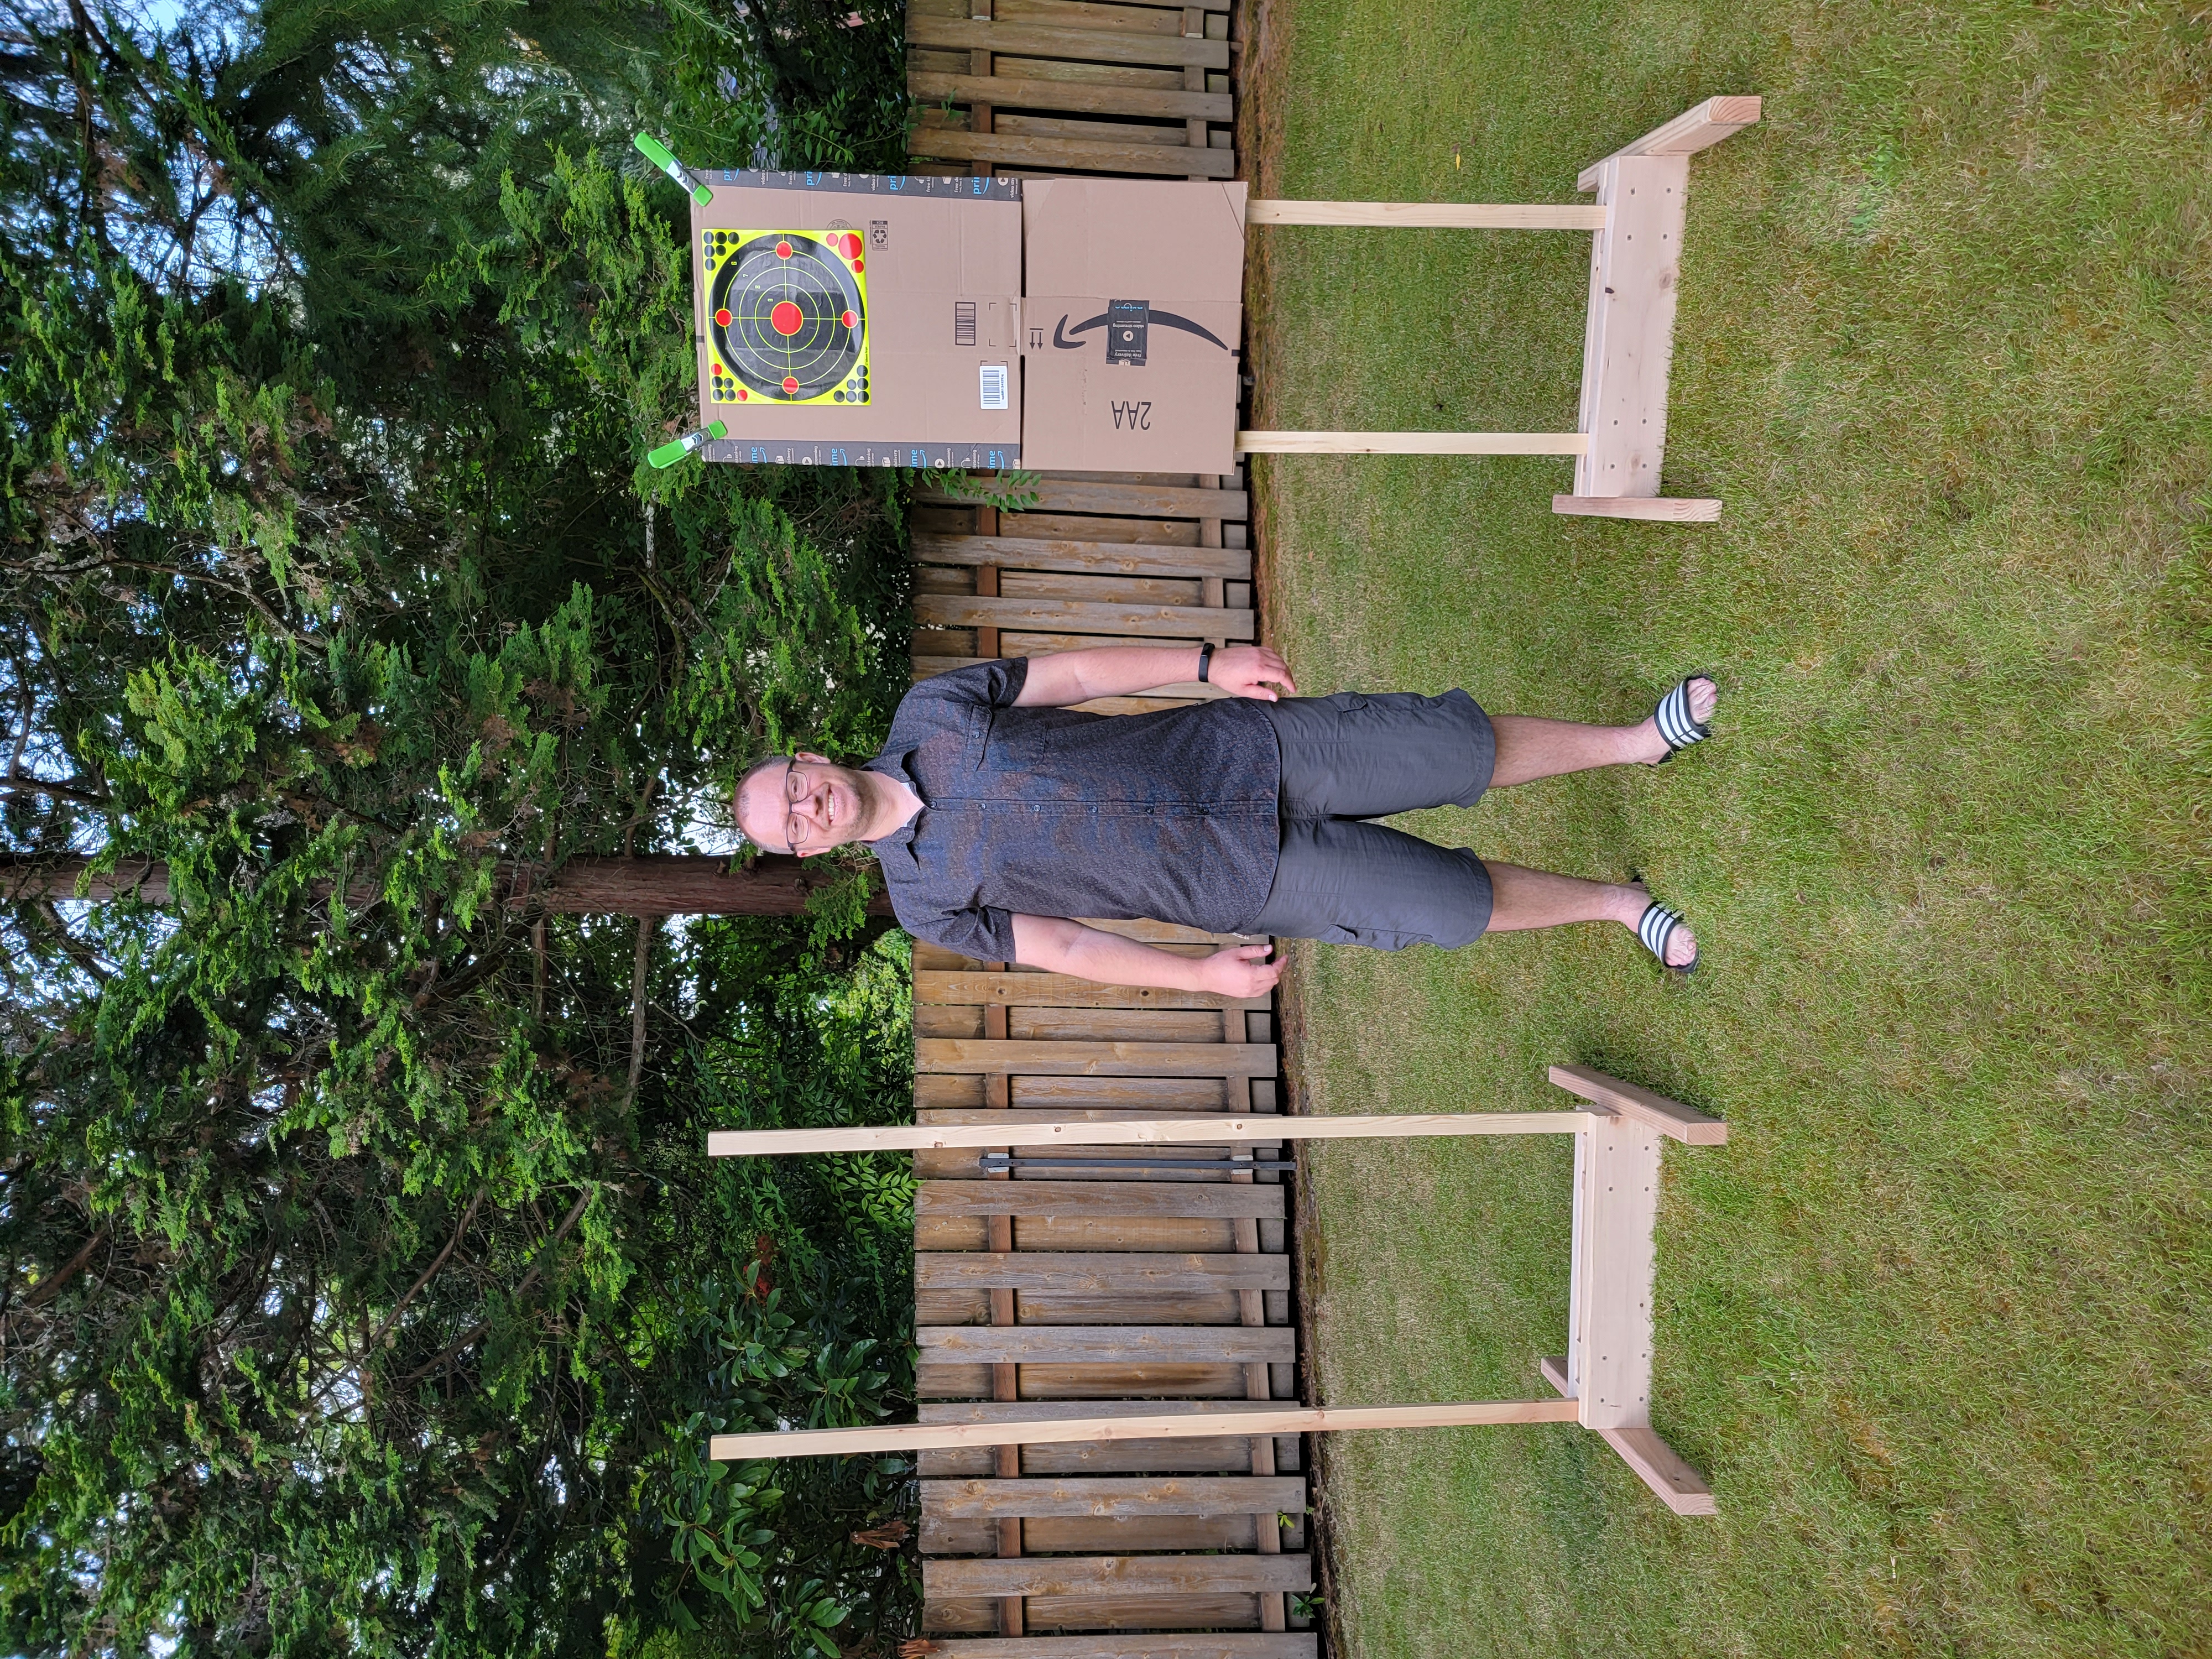
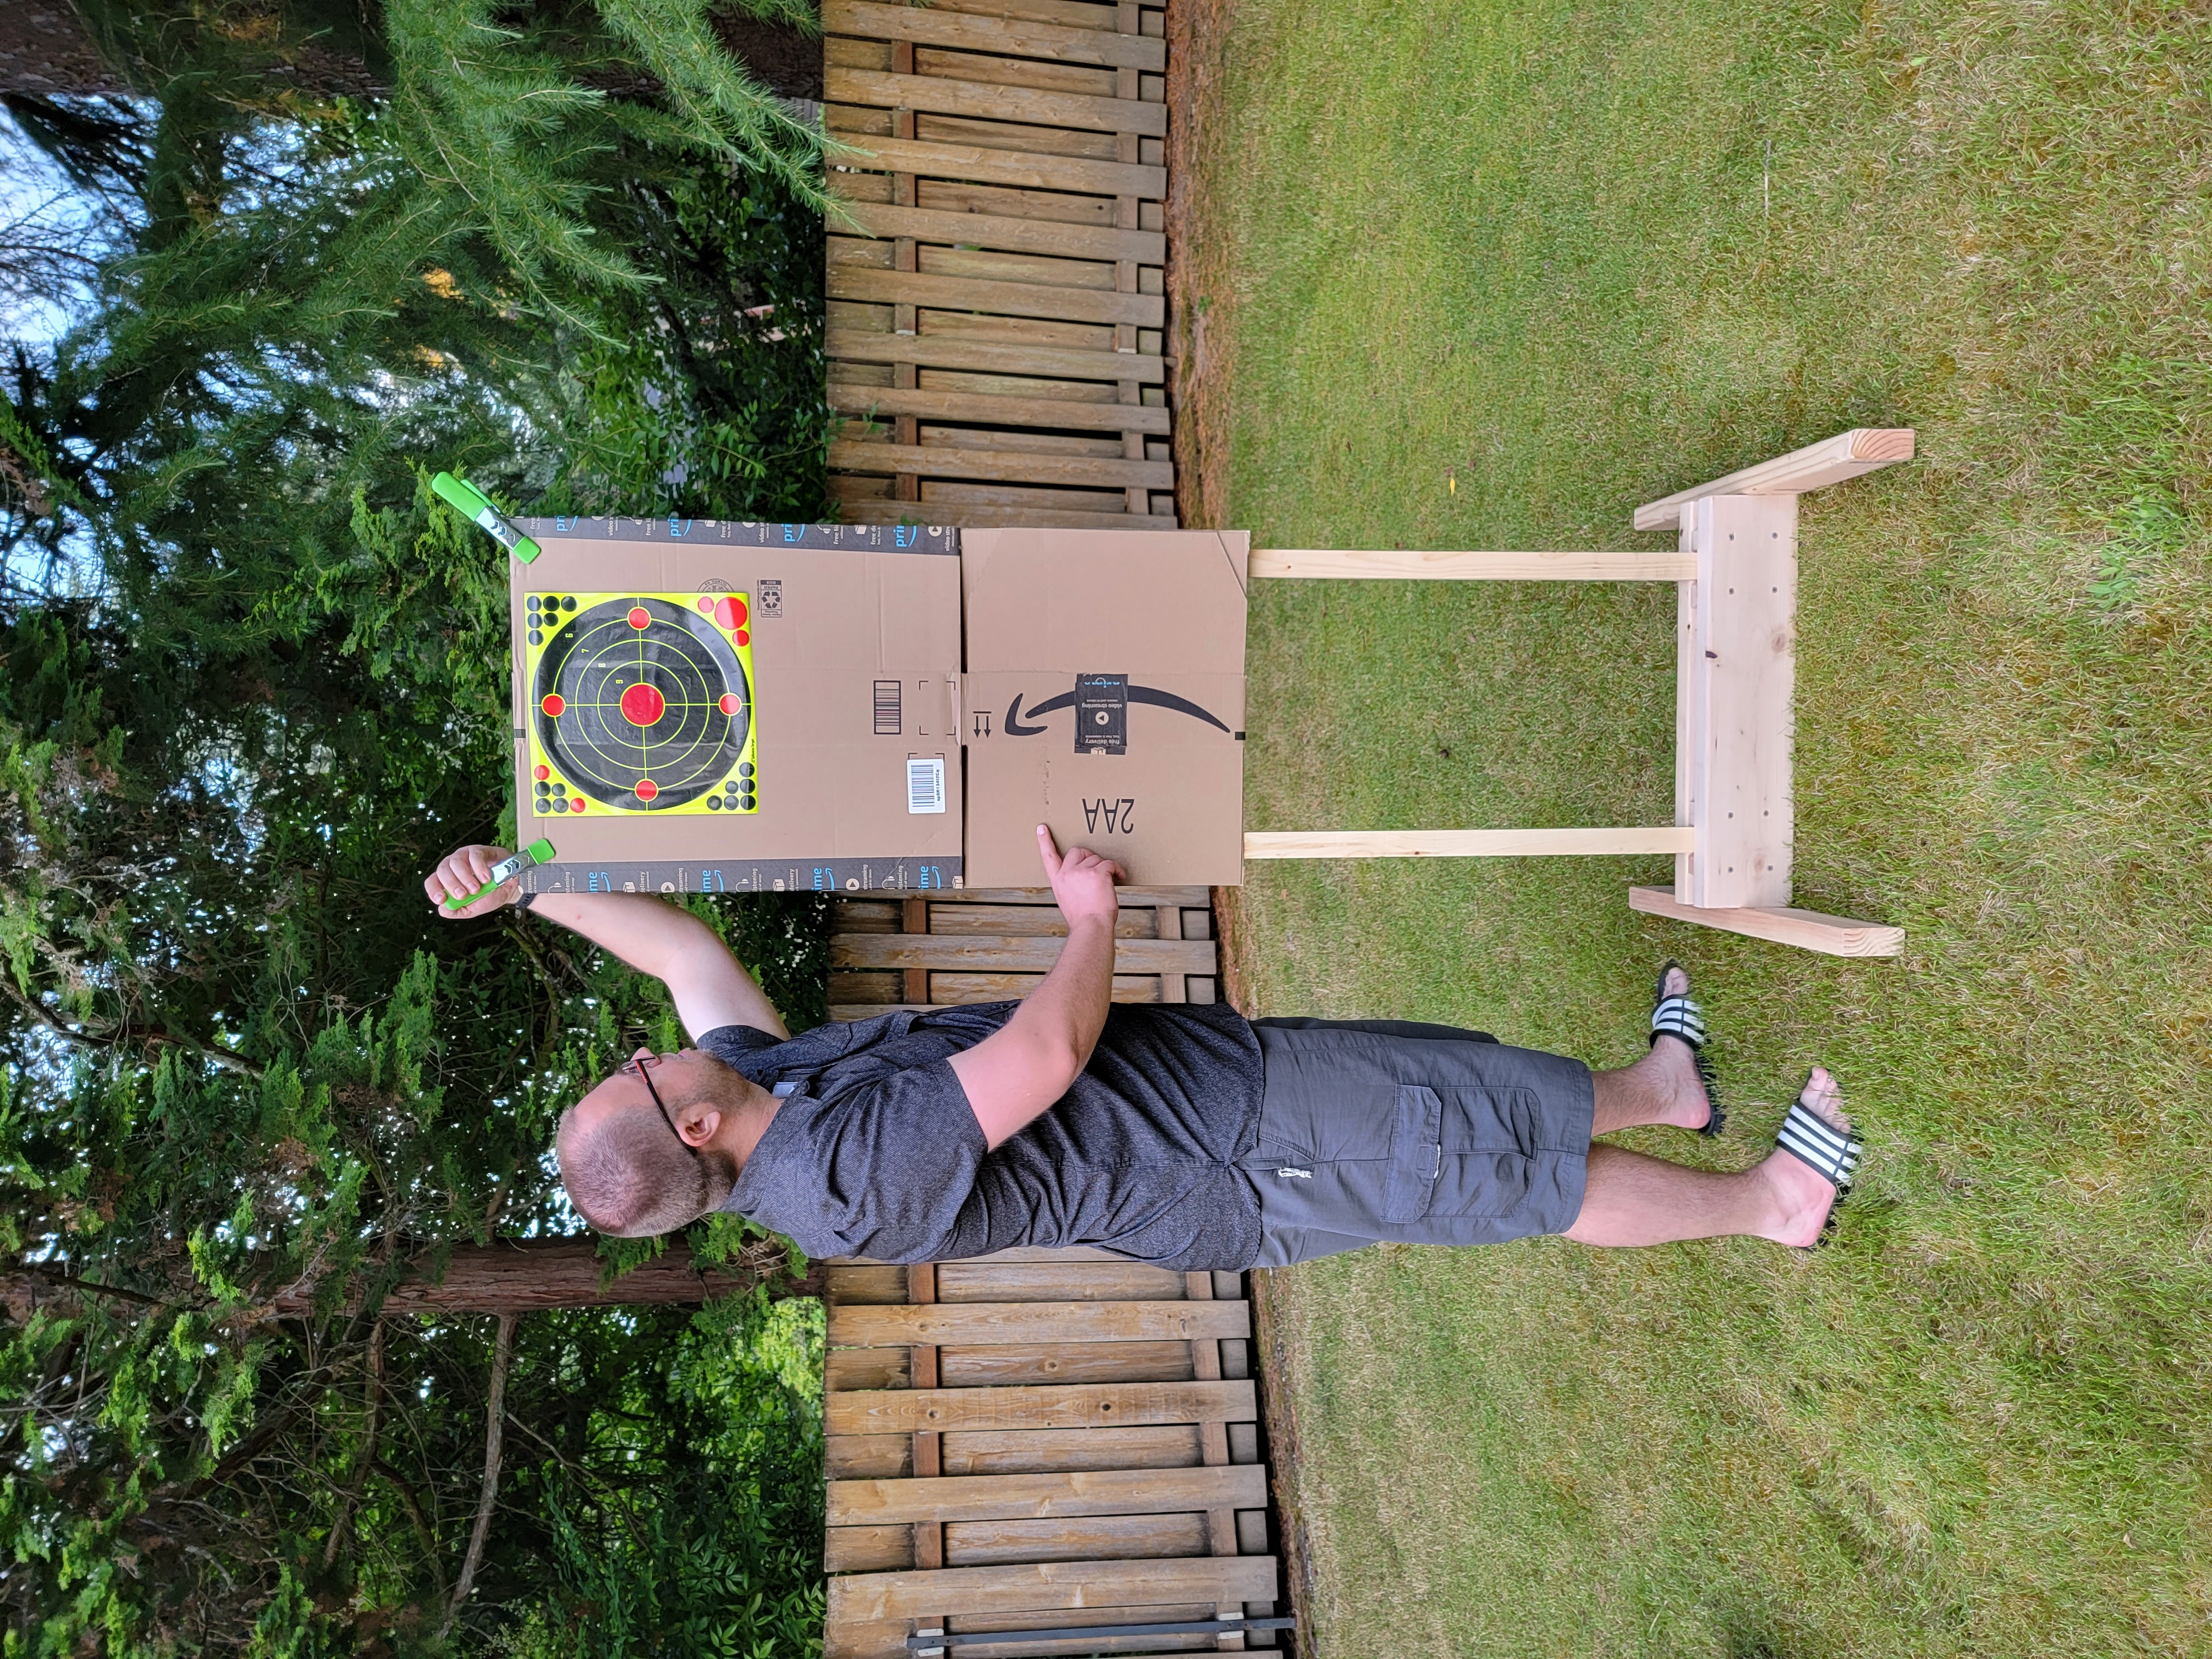
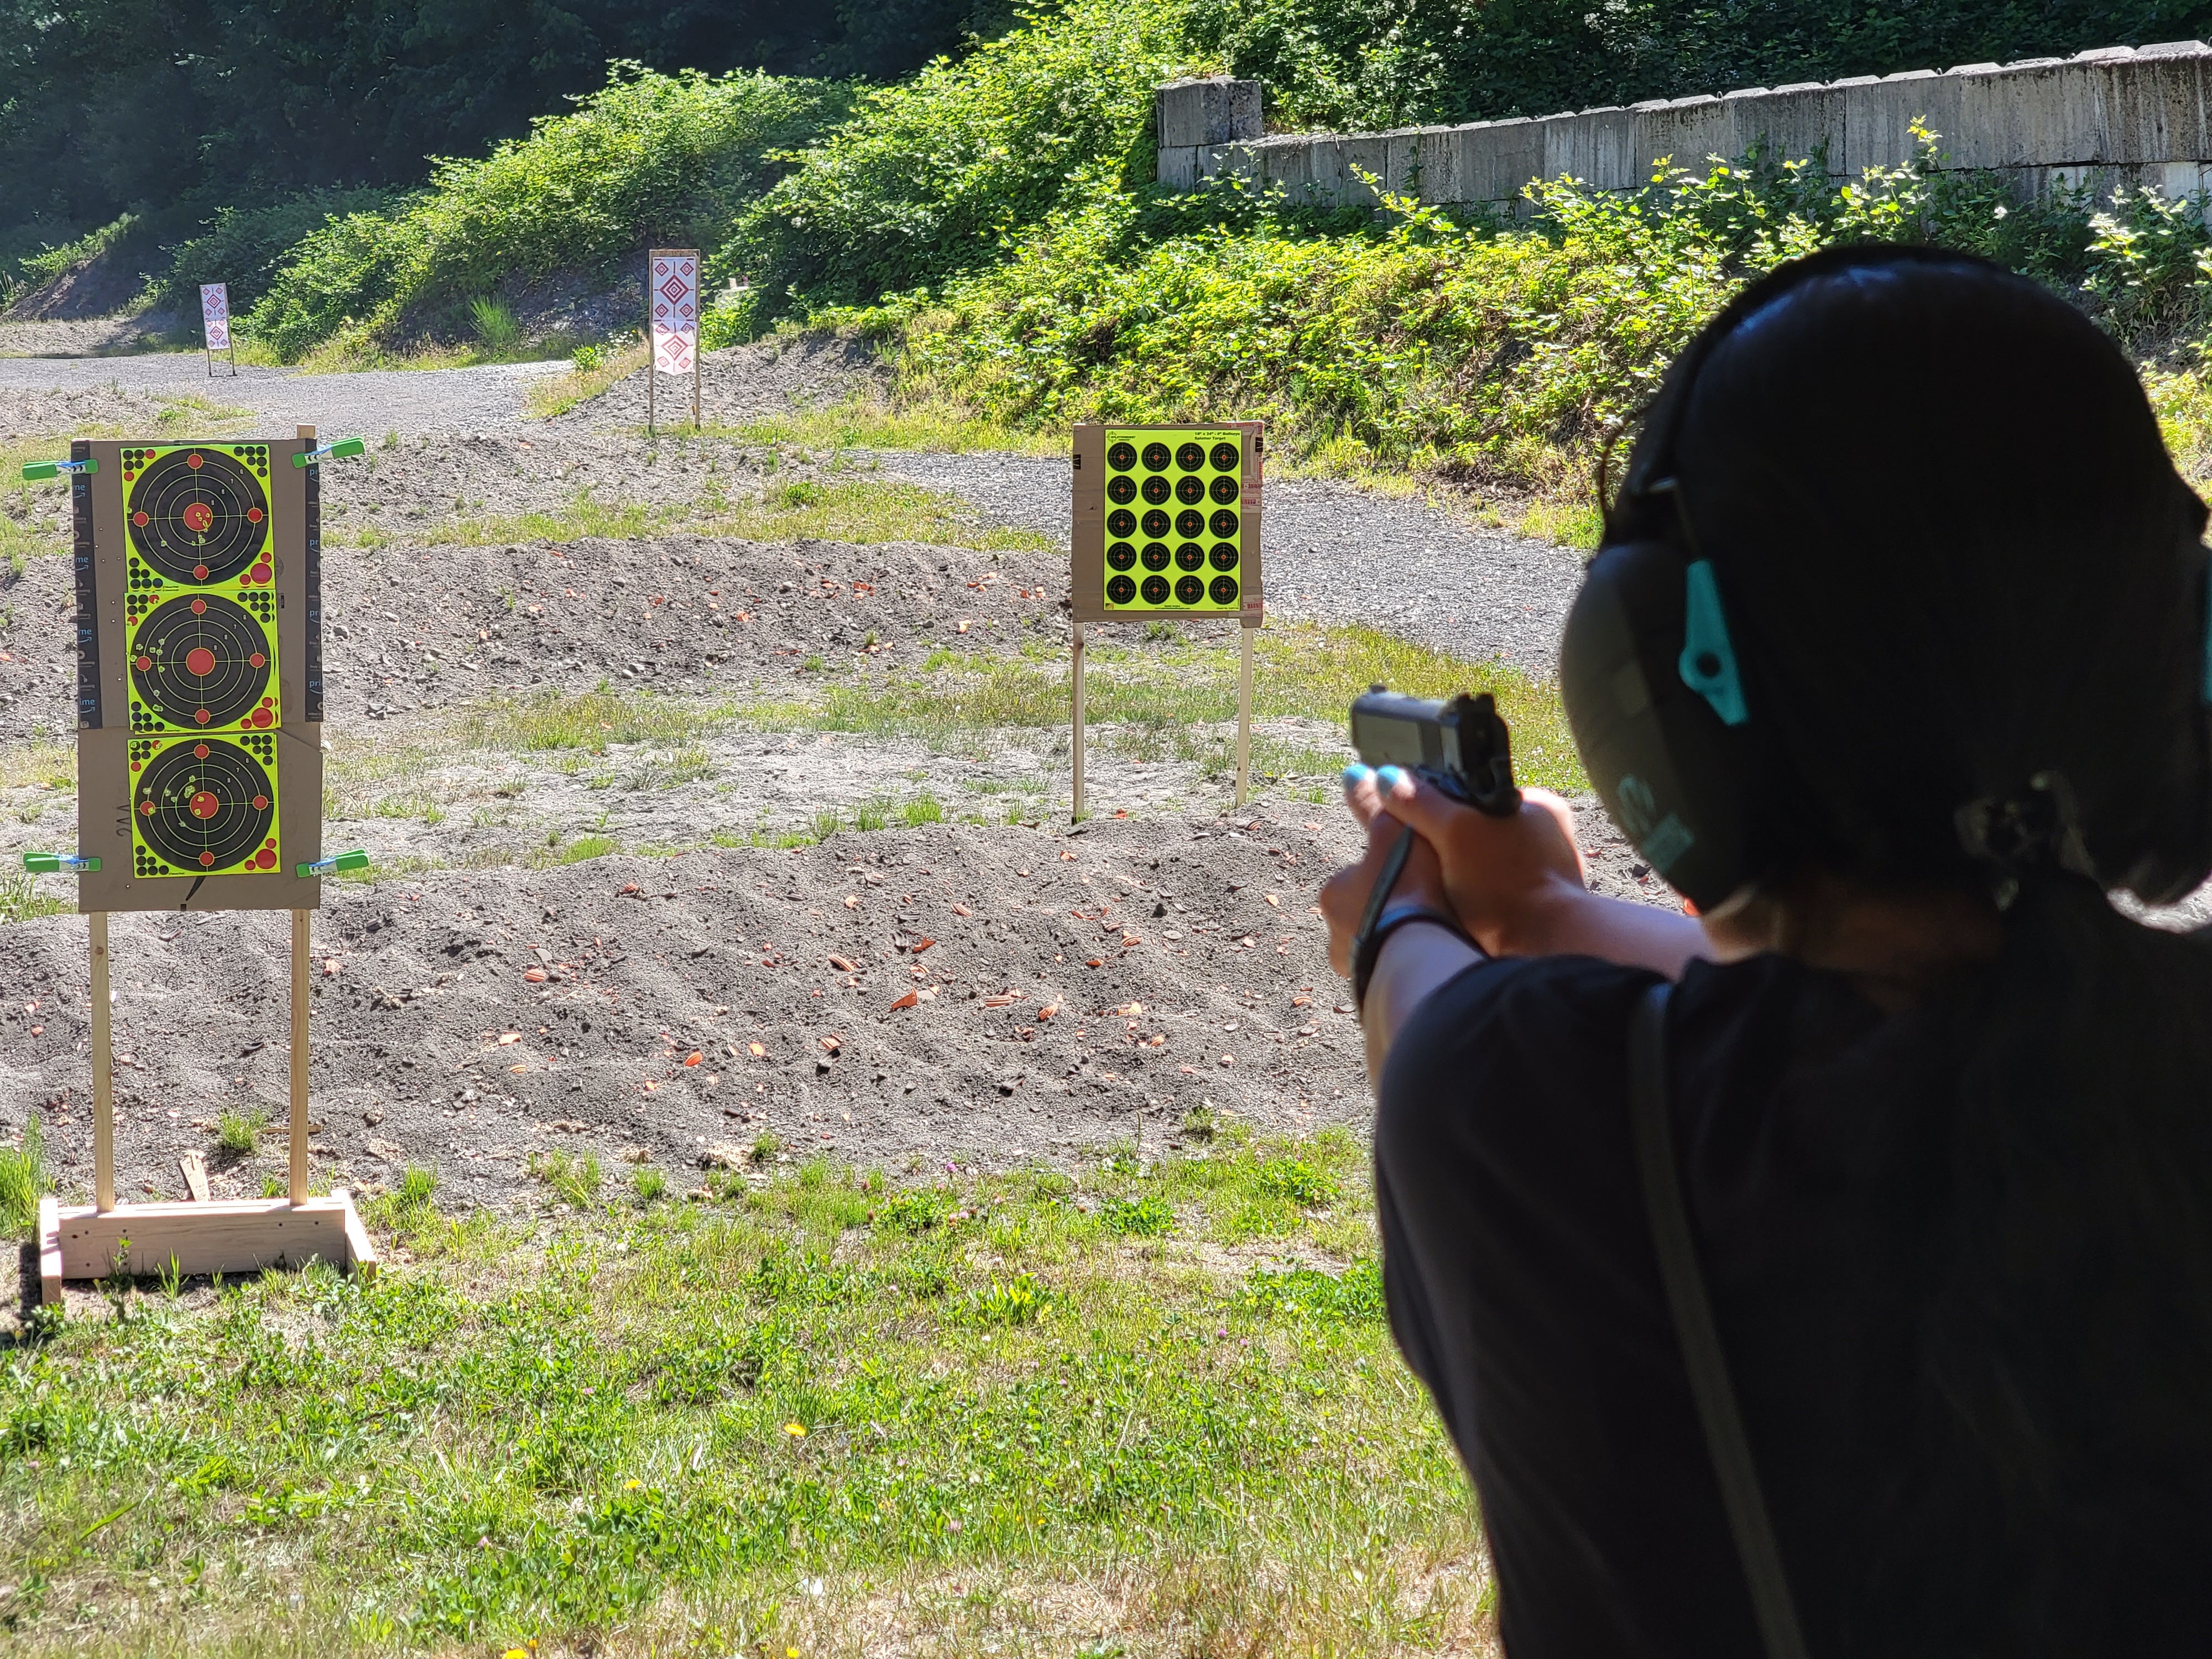
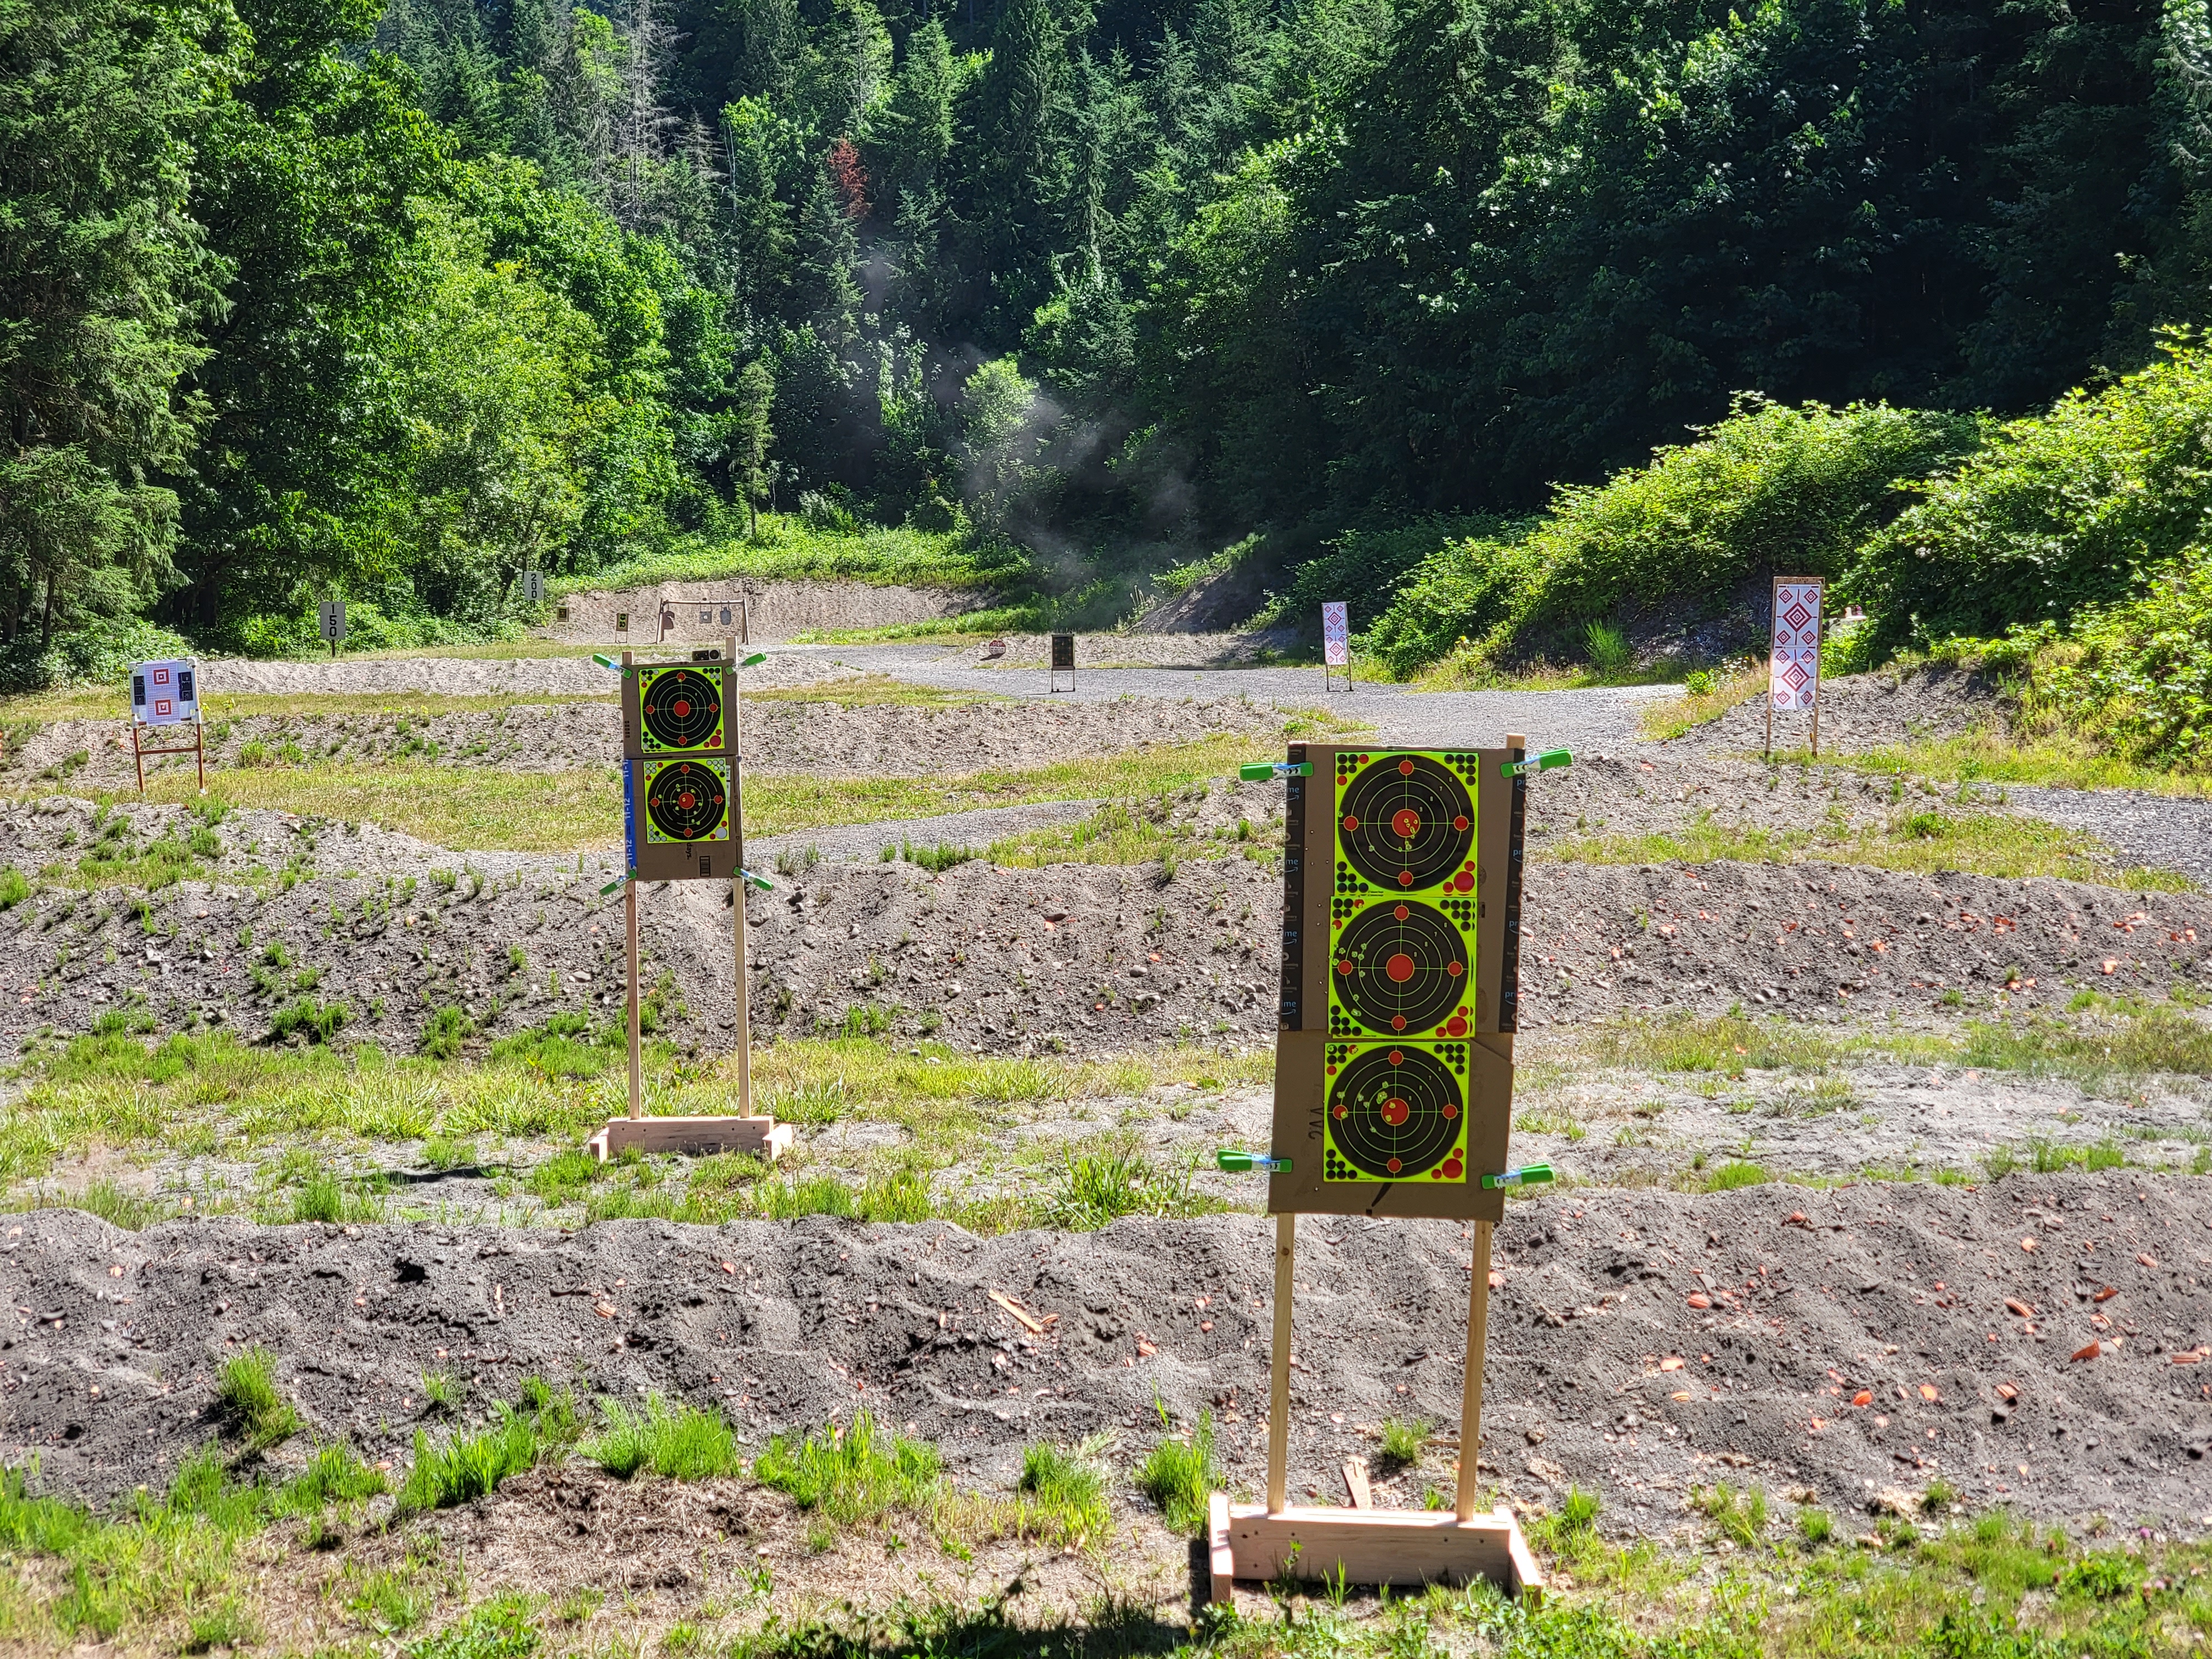
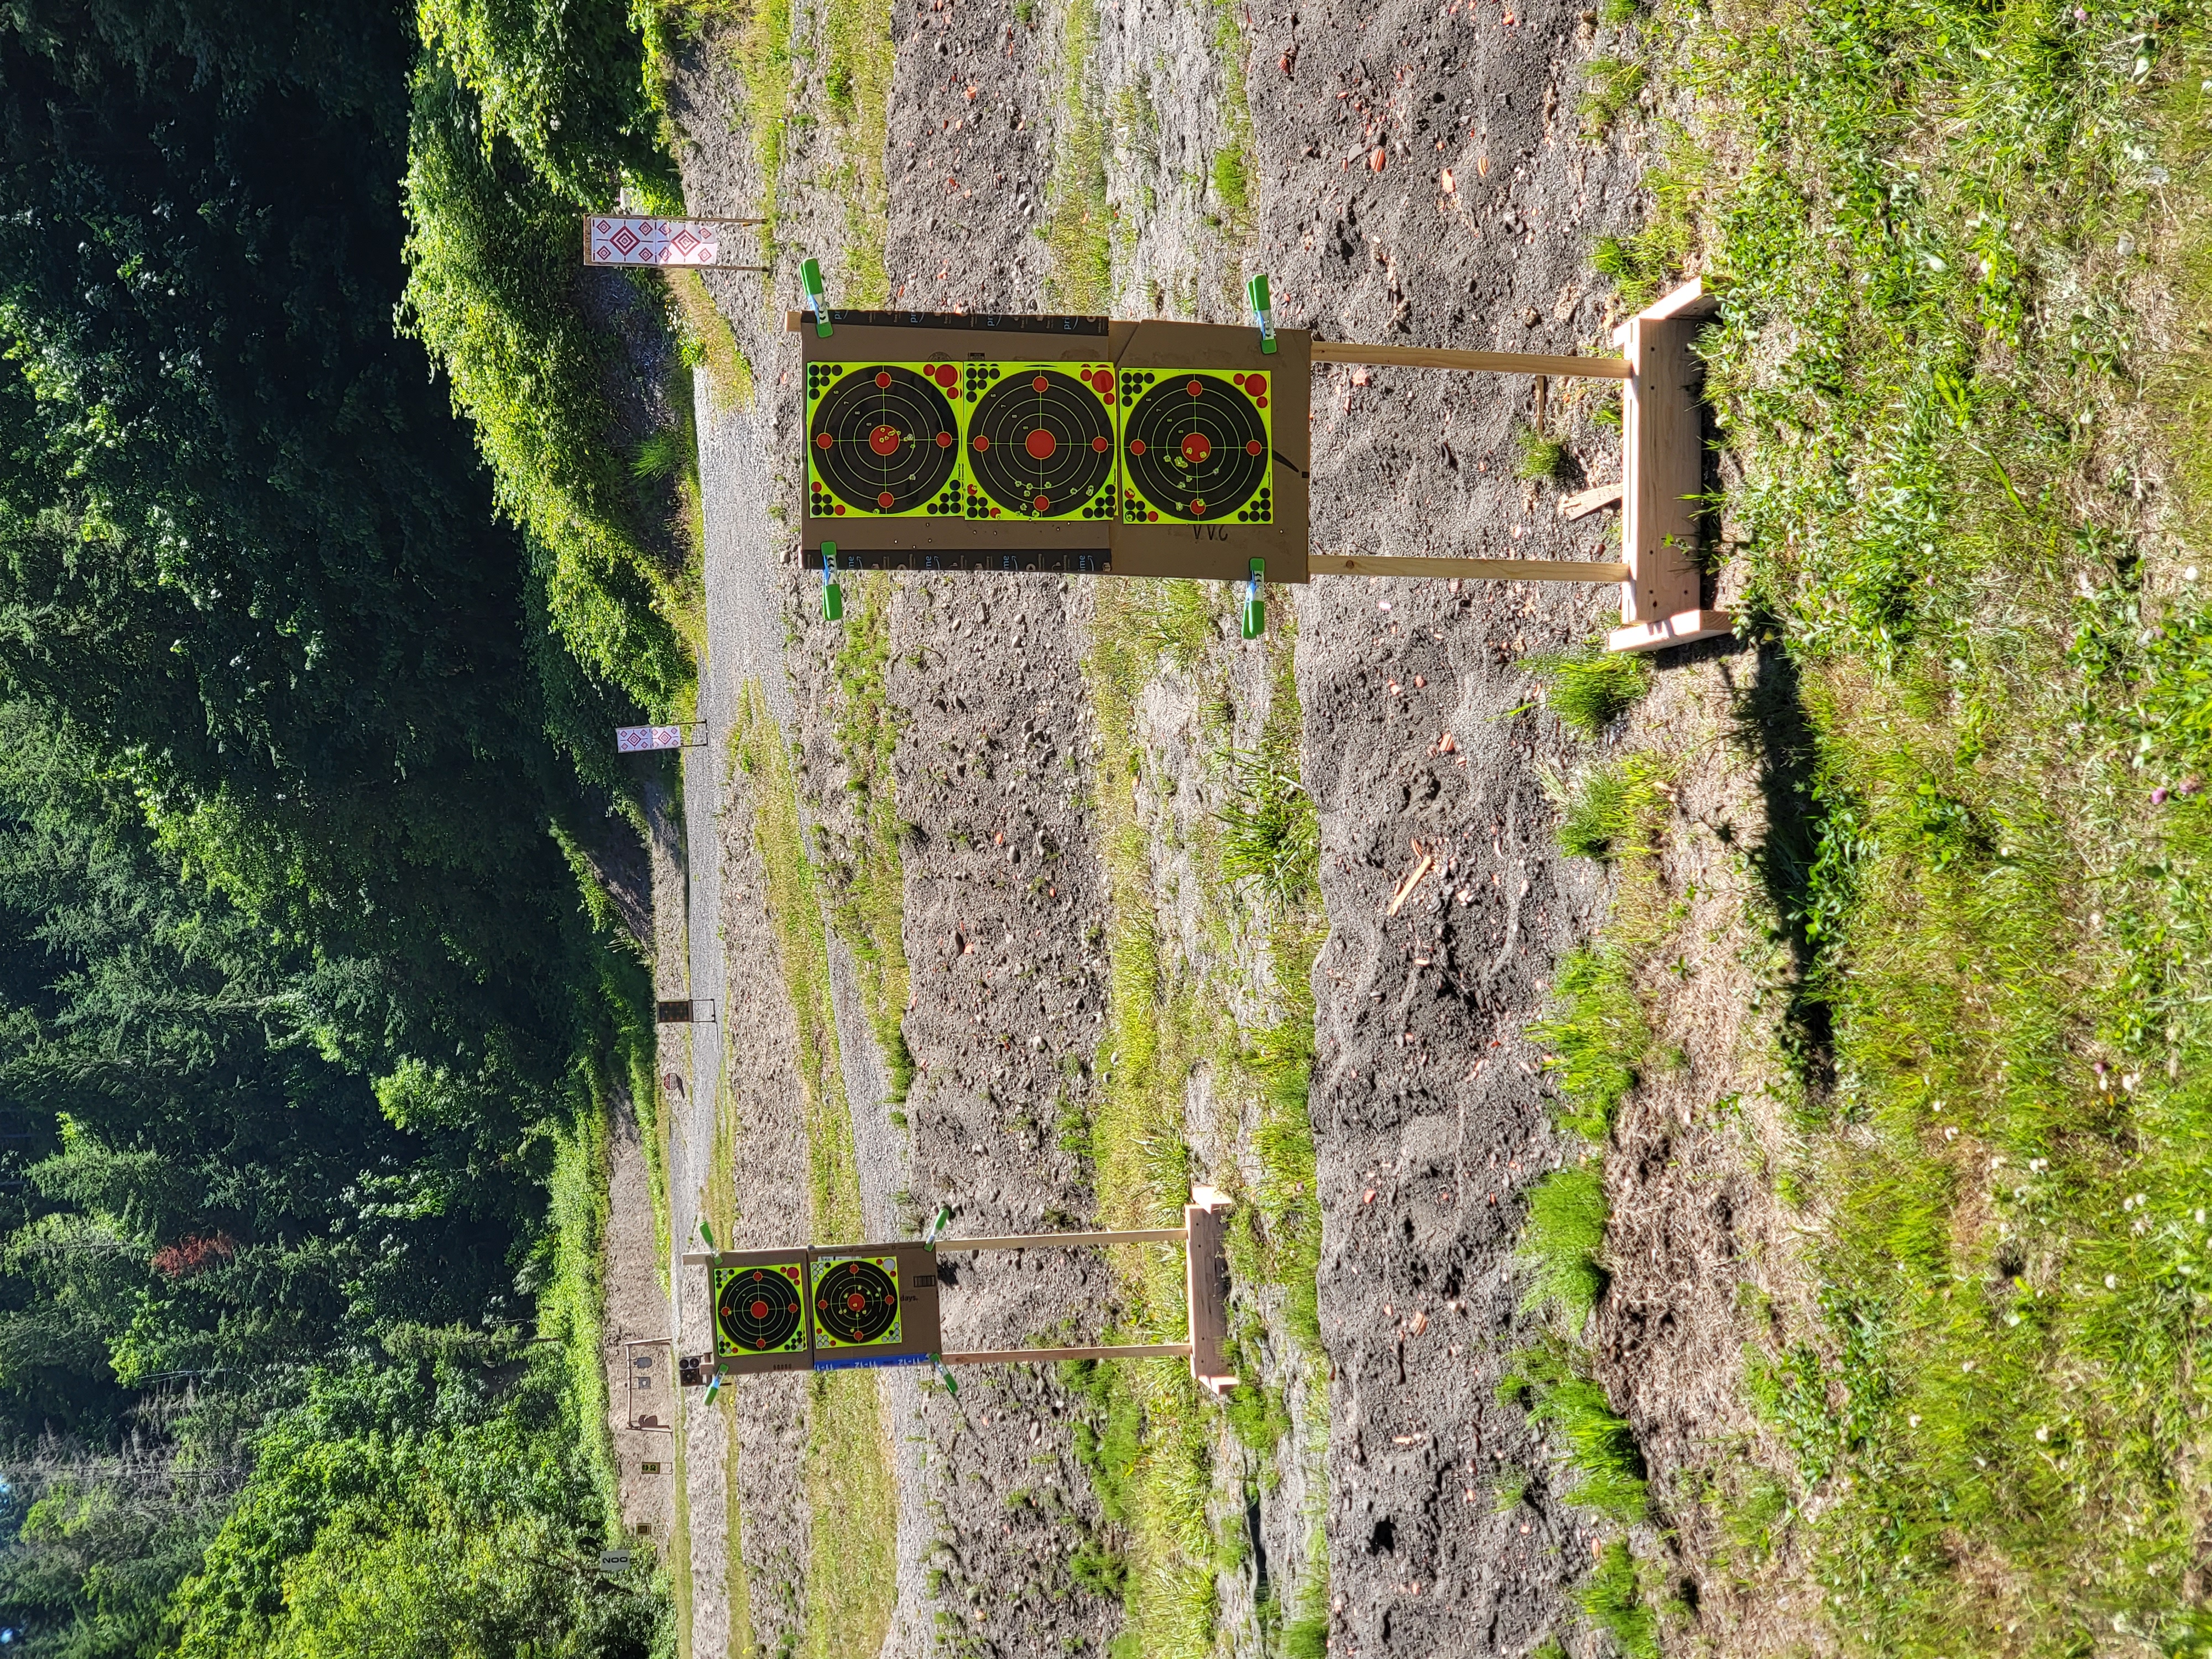
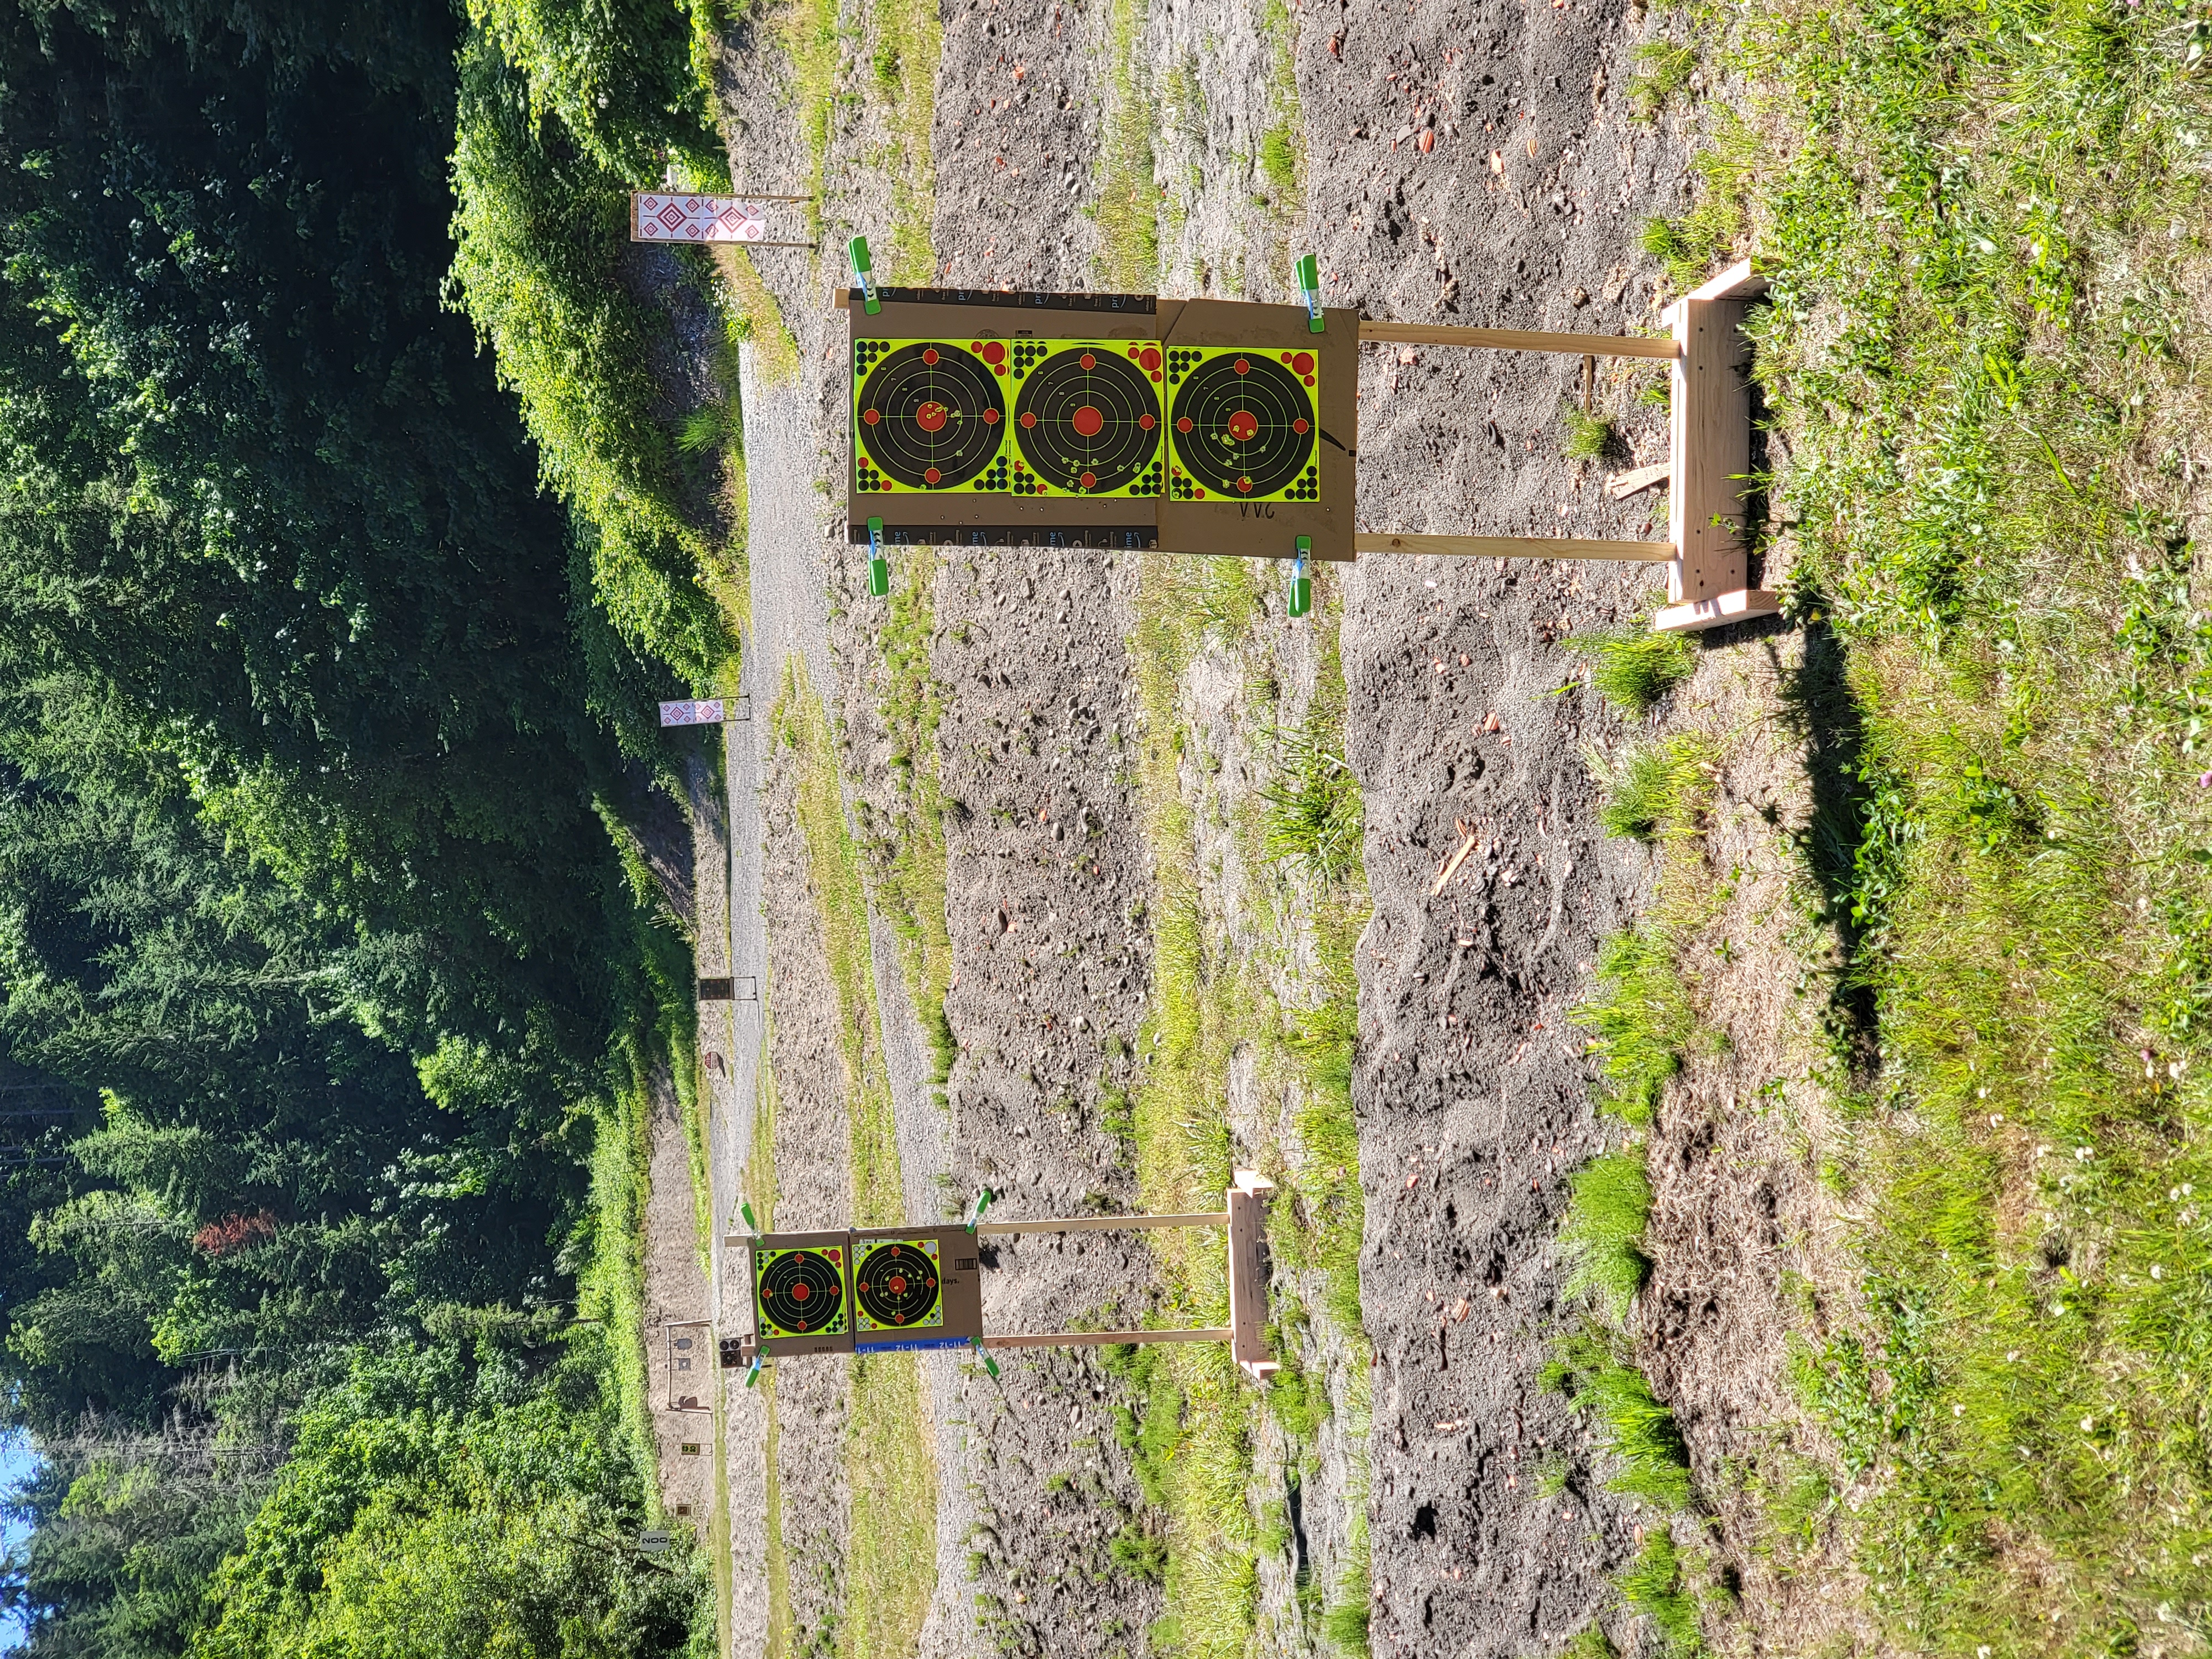
Here’s how the target stands look “at work” 😎
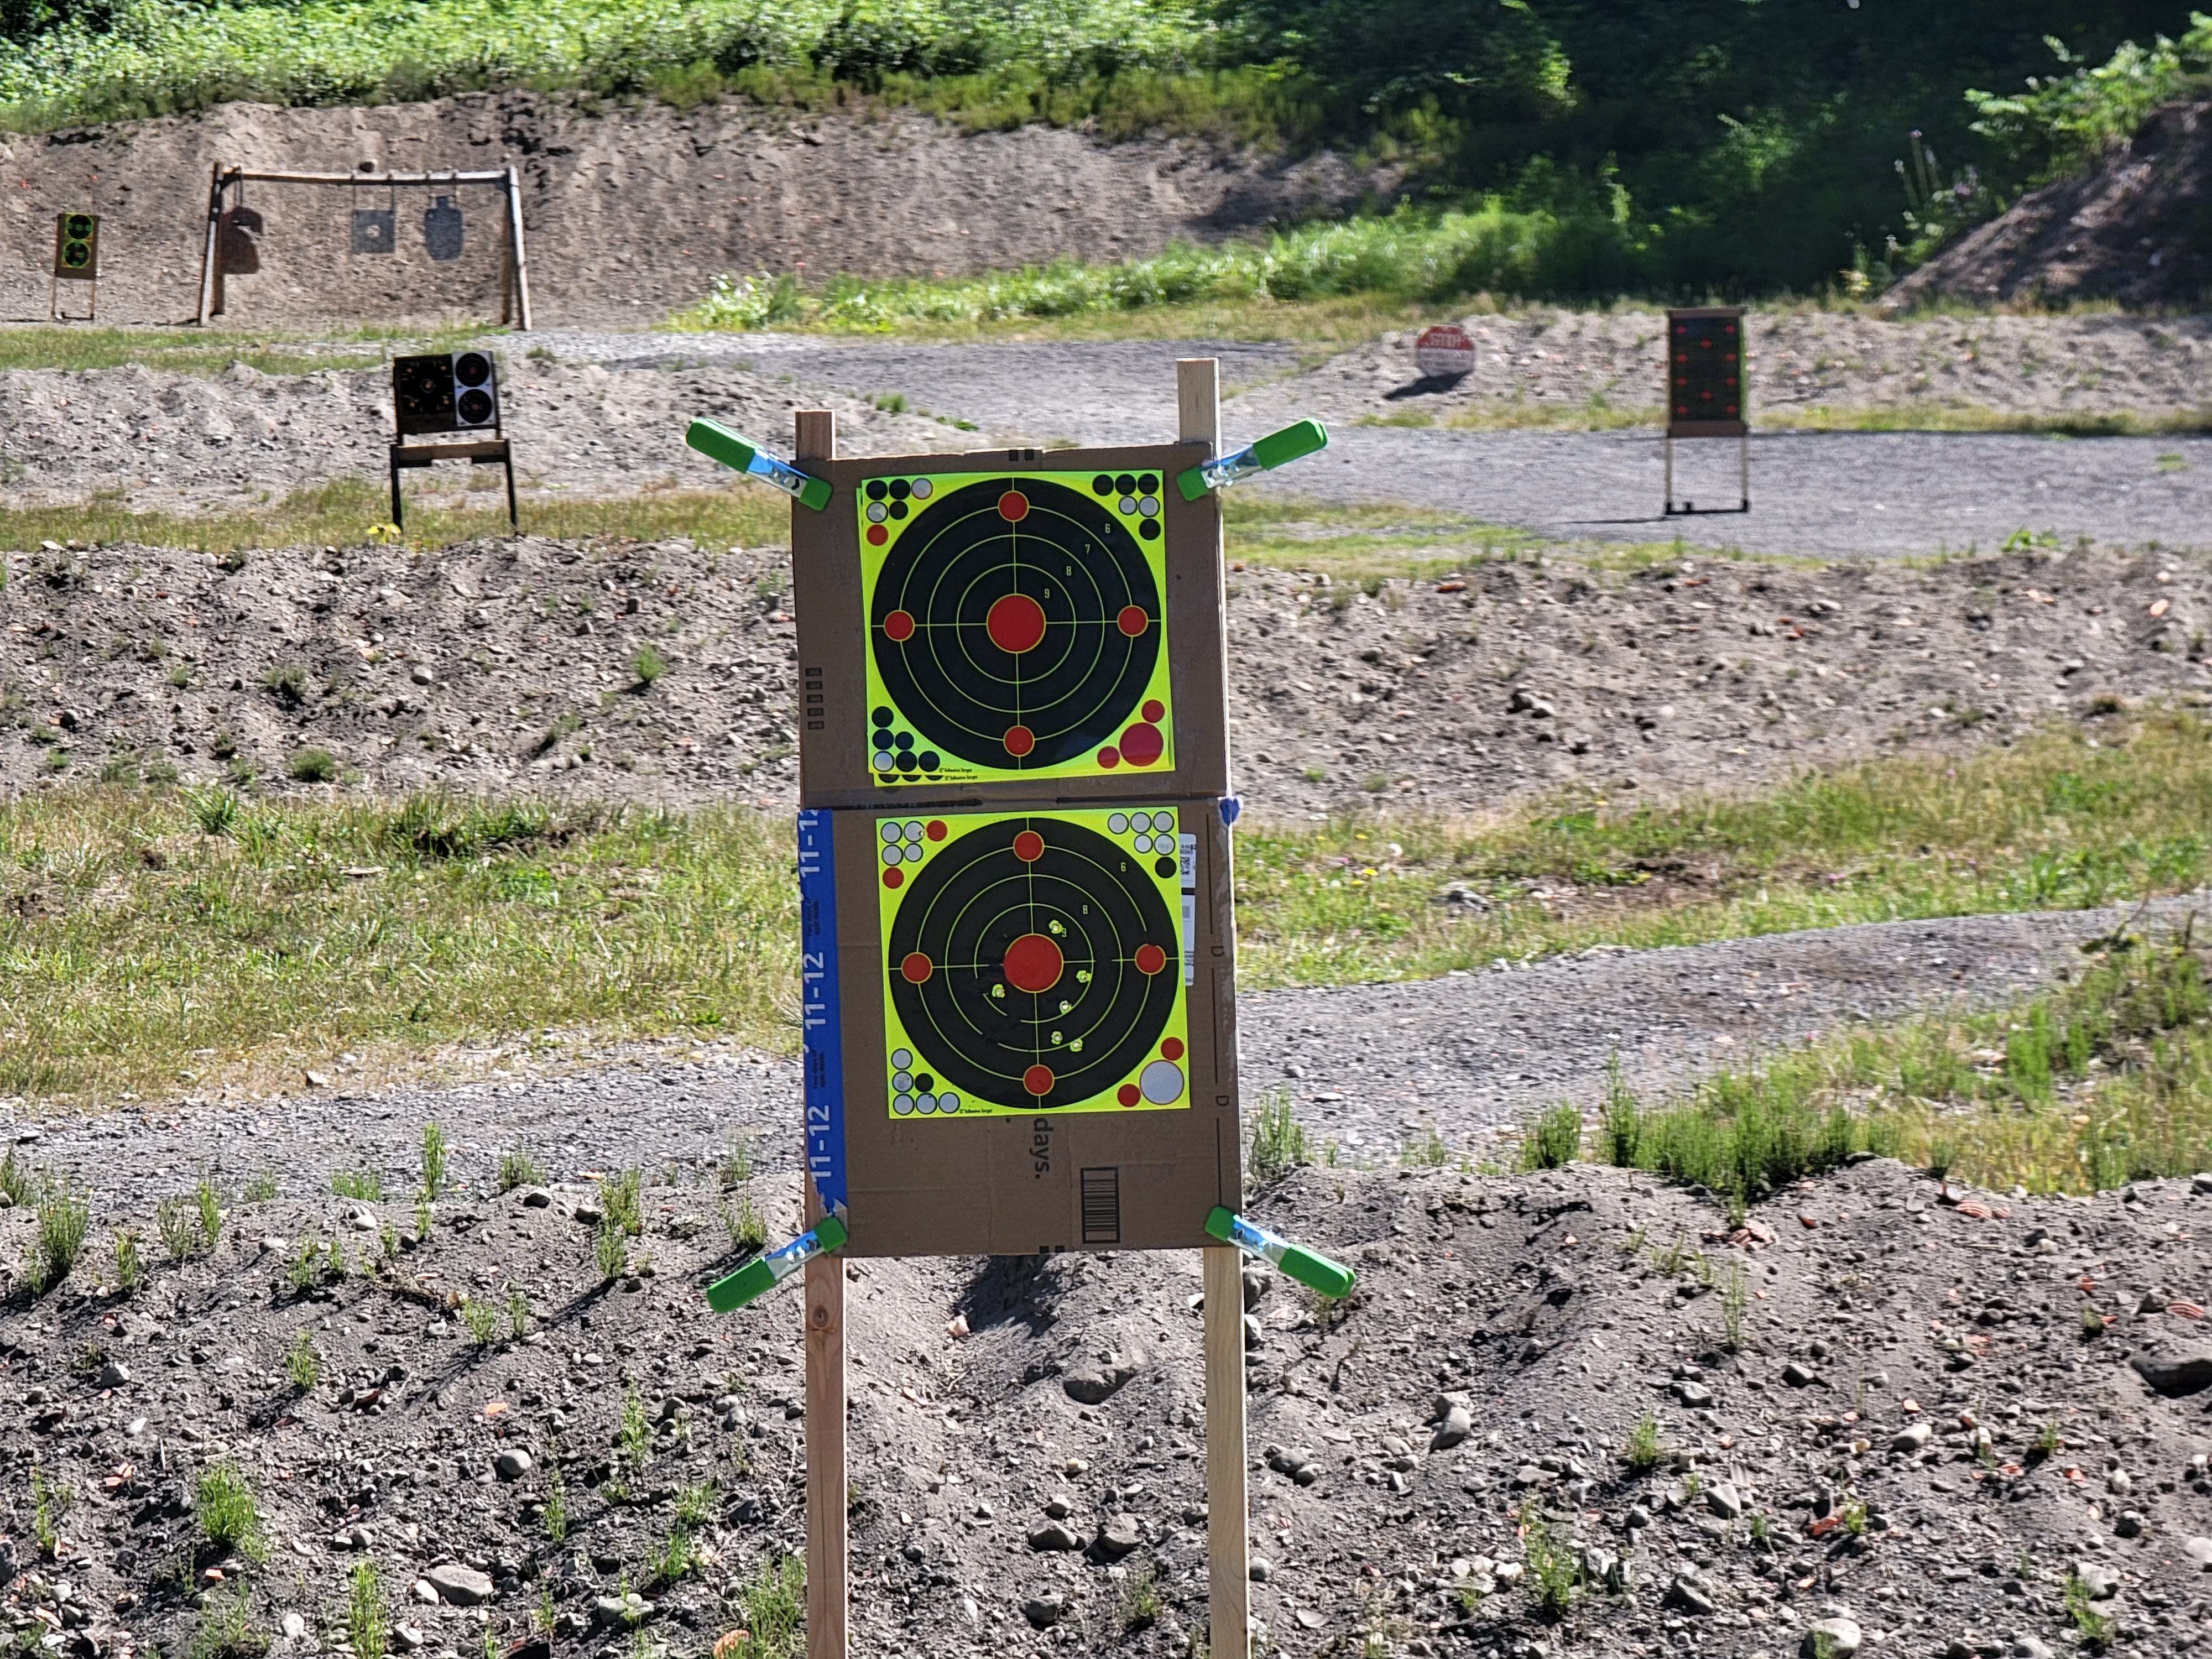
The last thing I’d recommend is to pick up some cardboard targets, in order to make it easier and always have a reliable source of backing for those low cost paper targets, and not have to hunt for the right size in your delivered Amazon boxes 😉
I like those 2:
And grab yourself a cheap set of clamps to attach them:
Having solid backing, we not only get a round of using it by itself (with the printed scoring areas), but afterwards we can attach paper targets either using stapler, or glue. I’ve been using this specific spray glue with great success (thank you to my friend, Marcin, for the recommendation! 🙏) as it’s nothing short of magical in the way it instantaneously acts and holds the targets in place perfectly:
BONUS: Building archery targets
I also wrote an article on building archery target stands in the past, and they have certainly passed the test of time – through rain, snow and shine, they stand strong and confident, and do a great job of protecting the targets from elements, while standing still through shooting practices:
Are there any alternatives?
If for any reason you don’t want to build your own target stands (maybe lack of tools, or no space to build them safely?), another option to equip yourself for ranges that don’t provide them, is purchasing some ready-made bases, or whole stands.Bases generally will use the same 2″ x 1″ furring strips as described above, and some will also allow for a degree of adjustment for the width (either by foldable base that can be opened to desired size, or pre-defined spacing holes).
Here’s a quick selection of most popular models: