This is the last part of my mini-series about hobby grade CNC:
- Assembly – turning bag of parts into working machine,
- Review and usage – what I like and dislike, how is the machine performing – check it out for more opinions about the quality of the kit, experiences with support, but also information about various tools I used,
- Upgrades and improvements (this article) – adding limit switches and 3D printed parts to increase functionality,
If you haven’t seen previous parts – be sure to check them out 🙂
This machine started as a very simple build, but there’s always a lot of room for improvement, so here’s what I made to increase the usability (and reliability) of it.
Limit switches
I mentioned it before – I feel like those are a must on such machine. Surprisingly, they are not always included in bigger builds either (i.e. they’re an additional option for X-Carve, while they’re standard on Shapeoko).
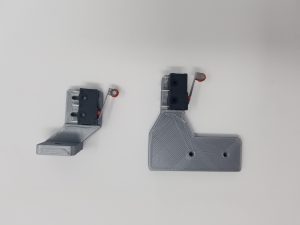
I had 2 kinds of limit switches at hand – larger and smaller ones. The small ones seem more appropriate, considering the machine dimensions, and conveniently they come with 2 mounting holes (10mm pitch). They turned out to be perfect for this application.
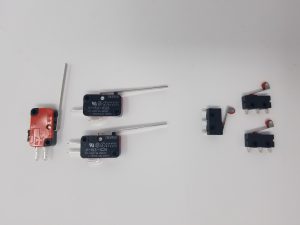
If you’d like to buy them, here they are on Amazon: https://amzn.to/2Q0me4c
Now I needed to figure out a way how to mount them. Before trying to re-invent the wheel, I did a quick check on Thingiverse and not surprisingly, it’s an already solved problem. There are few different, quite interesting options available, but I chose this one:
Thingiverse link: https://www.thingiverse.com/thing:2796202 created by 8SquareFeet
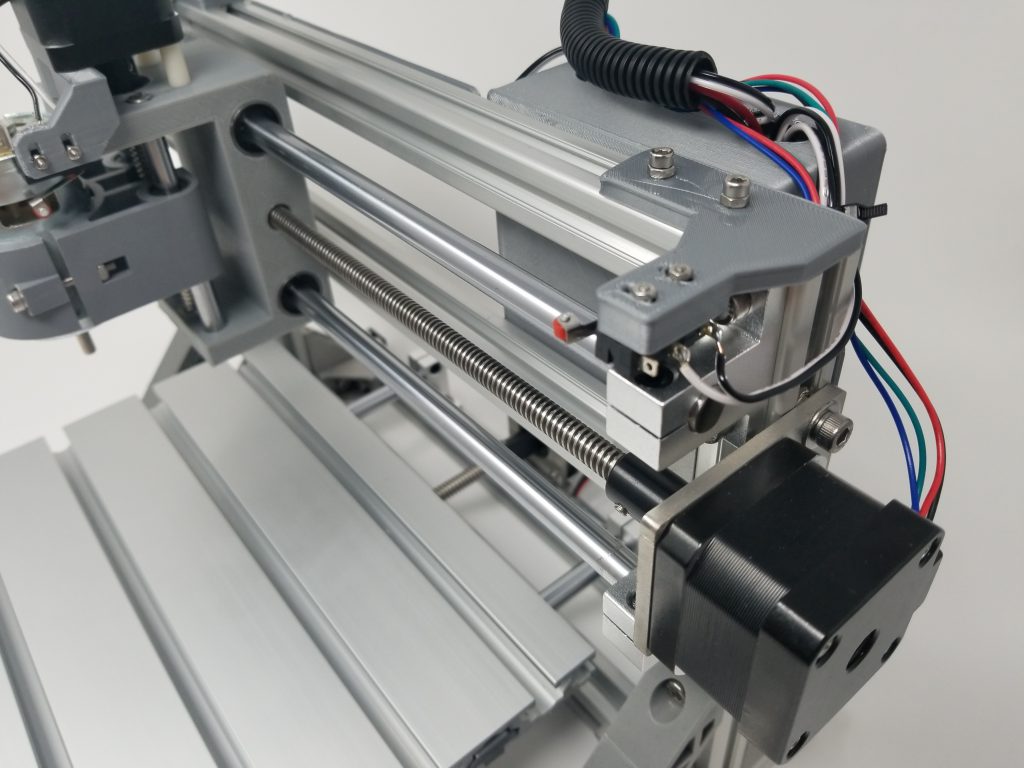
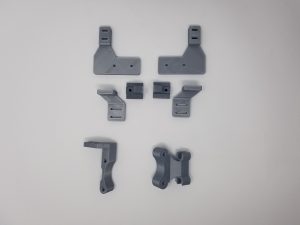
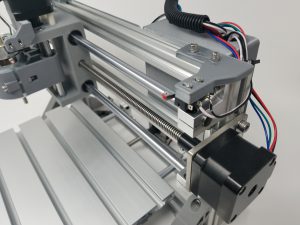
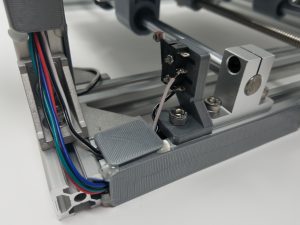
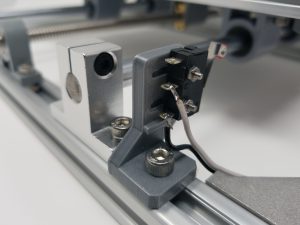
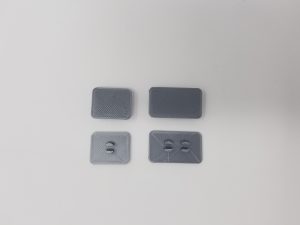
I wanted to have both ends of X and Y axis covered, so I mirrored the appropriate pieces and printed them out in both versions, as you can see on the photos above. I used gray filament – this way they nicely blend with the complete construction.
In order to install them, we’ll need:
- M3 screws – for attaching the mounts to aluminum extrusions, purchase on Amazon set of M2 and M3,
- M2 screws – for attaching the limit switches to the mounts, purchase on Amazon set of M2 and M3 (same as above),
- T-nuts – M3 size, purchase on Amazon,
X-axis limit switches:
Y-Axis limit switches:
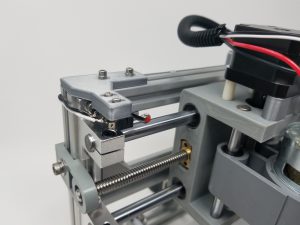
Z-axis limit switch (top only):
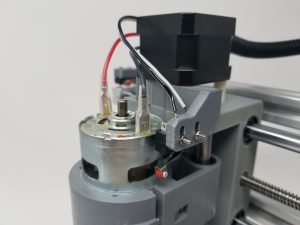
And all of it together:
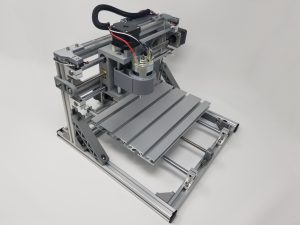
After adding the switches, we need to make small changes in the configuration, to enable them, and then also enable homing.
Limit switches – grbl configuration
To send the configuration codes, we need to use some software. I’m using very minimalistic, but perfectly functional grblControl: https://github.com/trasz/grblControl. It hasn’t been updated in 3 years, but it appears to have everything that’s needed and works reliably.
Here are the values to set in order to enable limit switches:
- $21=1 – enable hard limits
- $22=1 – enable homing cycle
- $23=3 – invert X and Y homing direction – this one is optional, but I prefer to have the home set at the left side, closest to me on the bed
For more detailed description of the configuration, visit: https://github.com/gnea/grbl/wiki/Grbl-v1.1-Configuration
Additional accessories
Case for electronics
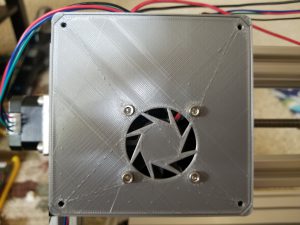
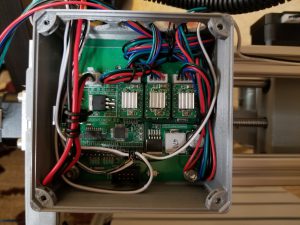
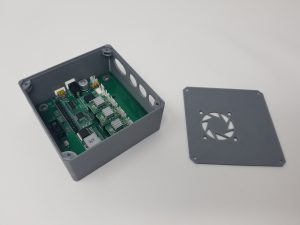
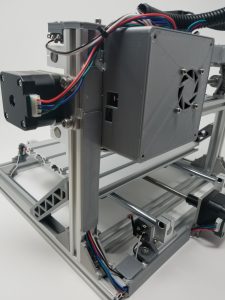
Leaving all the electronics and cables in the view doesn’t look nice, and I’m sure it will all get dirty and dusty really quickly. There’s a number of enclosure designs available on Thingiverse, specifically for the Woodpecker board. I used one that also has mounting points for a small fan.
Thingiverse link: https://www.thingiverse.com/thing:2659592
Note that this enclosure may not be suitable if you’re using the CNC with optional laser module, as the laser’s additional PCB won’t fit inside this enclosure (there are other ones available on Thingiverse for that purpose).
Small 40x40mm fan, 12V
The Woodpecker board has headers for connecting a 12V fan, so this is a very easy mod (as long as you have something to attach the fan to – see enclosure above).
Amazon link: https://amzn.to/2NTSHaL
Clamps
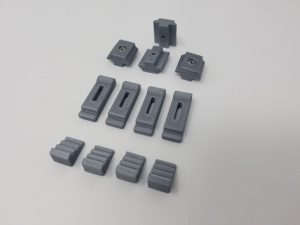
The clamps that arrived with the CNC can be tricky to use – they’re simply made with a screw that latches in the bed, and a larger washer plate with a wingnut. The downside of such solution is – if you’re clamping a side of your material, the washer plate (held just by a wingnut) can tilt and your material will break free.
I tried a simple 3D printed design first – it seems to work (but print it with a large infill):
Thingiverse link: https://www.thingiverse.com/thing:901649
I felt like I could use something sturdier – if anything, just for the piece of mind. Also, sometimes we’d like to clamp the material from sides only, and be able to access the complete surface from the top. So I ended up printing one more design:
Thingiverse link: https://www.thingiverse.com/thing:2308540
Wire covers
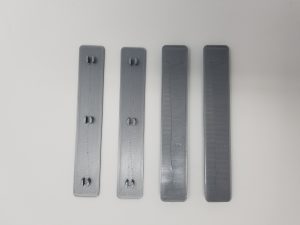
Thingiverse link: https://www.thingiverse.com/thing:2851452
I used mostly the 120mm long, combined with few shorter ones.
Here’s how the wires look like after trying to hide them (as much as possible 🙂 ):
End caps for aluminum extrusions
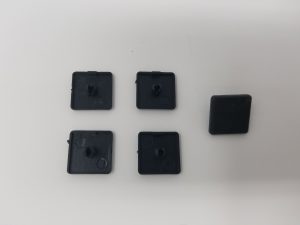
The ends of aluminum extrusions are quite sharp, so I wanted to cover them with something that will make it safer and look nicer. I found end caps on Amazon that work well (fit into the 20×20 mm extrusions perfectly, and stay in place).
Amazon link: https://amzn.to/2wMtCbd
Spindle fan
That’s something I didn’t have a chance to try out myself, but I like the idea and simplicity of this solution – a small fan is attached to the shaft, and as spindle rotates, it should blow some air to displace the dust and shavings. I’m not sure how well it works, but the concept is interesting. If you have ER11 – give it a try 🙂
Thingiverse link: https://www.thingiverse.com/thing:2853095
And that’s it!
We now have a small CNC machine, which doesn’t occupy much space, can be easily moved (or lifted, for vacuuming), and is a great tool for learning all about CNC and experimenting. All that for a reasonable cost, and few hours dedicated to assembly and making improvements. There’s already a lot of support and information about them online, if you encounter any issues, or if you’d like to make further modifications.
I hope you found this mini-series interesting. Let me know if there’s something that you found particularly useful, or maybe you’d like to share some useful tips.
Thank you for reading! 🙂




Leave a Reply