Idea
We got a hamster, yay! 🙂 His name is Piontek (which means Friday in Polish), and the cute furry ball loves running in the night, so this idea came naturally.
It may not be a first of such projects, but I wanted to make my own – build one exactly as I want it:
- using ESP32 instead of Arduino for WiFi connectivity [Twitter status updates!]
- support for more than one hamster wheel,
- tracking variety of statistics,
- making it look and feel finished [number of 3D printed parts, power saving mode – disabling the display backlight after 1 minute of inactivity],
- and more…
I had a lot of fun making this project, but seeing it work while our hamster is running was my favorite part 😉
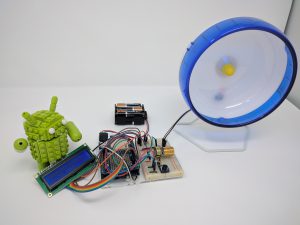
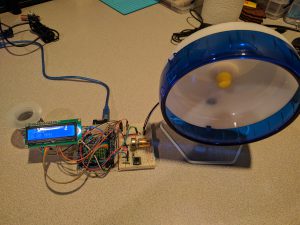
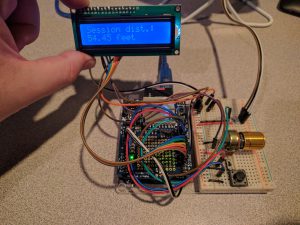
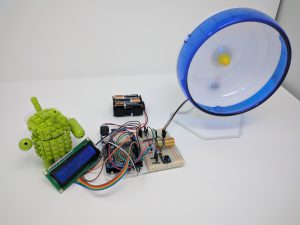
As you read the details below, you’ll see that this project evolved over time – I started with the faithful Arduino, but half way through I received ESP32 and it was a great opportunity to try it out – as such, I ported the code (ended up supporting both platforms through some #ifdef – not perfect, but works 🙂 ), made some changes in the circuit and ended up with 2 working solutions – the ESP32 was the main one, which I mounted on the cage, while Arduino-based solution is a nice prototype to show and/or debug code changes on.
Overall it took me about 2 weeks of fiddling in some of the evenings or whenever I had some time to spare.
Overview of the completed project
Video:
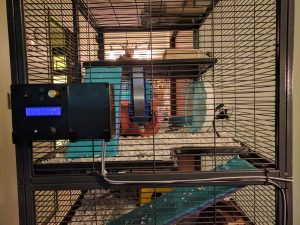
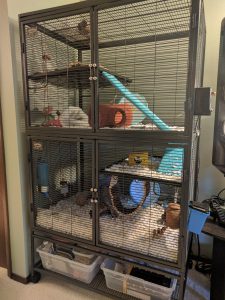
Photos:
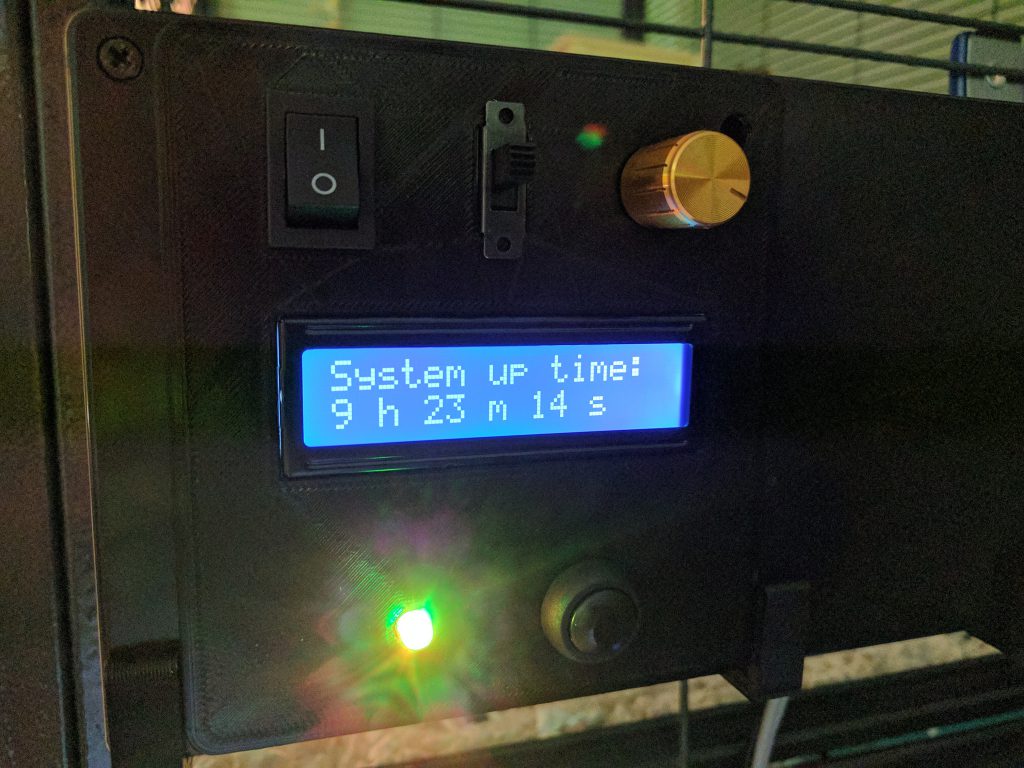
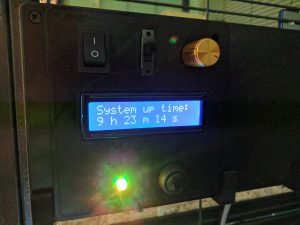
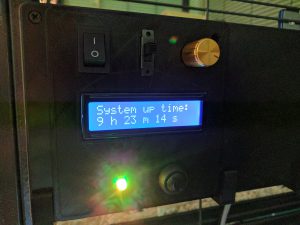
Controls / usage:
- From top-left corner:
- Power switch
- WiFi on/off switch
- Potentiometer to adjust screen brightness
- LCD screen
- LED to indicate status (i.e. blinks red on error, blue on network connectivity, green on ended exercise session, etc.)
- Button to cycle through display modes or wake up the device (screen dims to preserve energy after 1 minute of inactivity)
The tracker goes into sleep mode after 1 minute of lack of interaction (LCD screen backlight gets disabled, but the device will still track any activity, upload to Twitter, etc.). To wake up, simply press the button. Pressing the button again will cycle through all the display modes. The LED indicates the device’s status, and is a convenient way of checking on it from across the room, without the need to come close to LCD screen 🙂 If desired, WiFi can be disabled and all the data will be stored in memory (but will be lost on device restart).
Supported display modes:
- Session distance
- Session duration
- Wheel revolutions
- RPM
- Current speed (MPH)
- Total distance across all sessions
- Total duration across all sessions
- Number of sessions
- WiFi status
- Time since last upload of session data (to ThingSpeak)
- Time since last upload of total summary data (to Twitter)
- CPU temp
- System up time
Quick overview of the modes:
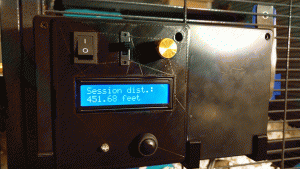
(click on the image, it’s a gif 🙂 )
I use term “session” to describe a time of activity, with potential breaks in between, but no longer than 5 minutes. If hamster doesn’t use any of the wheels for more than 5 minutes, I assume that he’s done for now (is with us outside of his cage, is eating, or sleeping, etc.). When session ends, the statistics are uploaded and the tracker is ready to start another session at any time.
Note that values are formatted according to type (i.e. distance is displayed in feet if under 0.1 miles, then in miles with 2 decimal points; time is displayed in only seconds if under a minute, then as minutes and seconds, and so forth).
Twitter – status updates
Every hour, if there was an activity, the summary (total distance across sessions, total duration, number of sessions, how many wheels have been used) is tweeted.
Check out Piontek’s Twitter feed!
https://twitter.com/HamsterPiontek
ThingSpeak – dashboard with collected data
As IoT becomes more and more popular, it’s great to see services available for easy data collection, storage and processing. ThingSpeak is one of such services, offering free account with a number of handy features.
All the data from the tracker is uploaded to ThingSpeak at the end of each session.
You can see the dashboard here:
https://thingspeak.com/channels/270678
Bill of Materials
- Microcontroler
- Arduino UNO R3 – I used it for the first prototype, then switched to ESP32. It can be official Arduino UNO or any clone.
- ESP32 – there is still a lot of active development taking place, but there’s enough support already making it a very powerful platform. I bought the dev kit from Espressif.
- Breadboard.
- LCD module – I used the 5V one I had available. It required level shifting to work with ESP32 (3.3V -> 5V). Alternatively, a 3.3V compatible display could be used (example).
- Hall effect sensor – I had some spare ones left from previous project. Note that they need 5V as well.
- Magnets – try to get something not too big and heavy (so it doesn’t affect the wheel’s balance) but at the same time strong enough to be detected by sensors. I used those.
- Logic level converters – since some components operate at 5V (hall effect sensor, LCD module) and other at 3.3V (ESP32) we need a logic level converter for them to communicate. I used 3 of the 74AHCT125 (why 3? Because of the number of I/O I needed, and each module offers 4 input/output pairs).
- Project box – to fit it all easily, I used this box from Amazon. It’s quite big (7.5 x 4.3 x 2.2 inch) but since our hamster cage is almost as tall as I am, the scale seems right 🙂
- TMP36 – I wanted to track the temperature of the tracker to make sure everything is nice and safe. Arduino has internal temperature sensor which works great, but I had issues with the one on ESP32, thus I added this external temp sensor. It also works on 3.3V.
- Power supply – I ended up using components that need 5V and 3.3V, but conveniently there are breadboard power supplies that provide exactly that.
- 9V Power adapter – I used this one.
- Zip ties (to route wires on the hamster cage), double sided tape (to attach magnets to hamster wheels), hot glue gun (to attach sensors to 3D printer parts, which then snap onto the wheel for easy removal when wheel needs to be cleaned), soldering iron, wire stripper, wires (for breadboard as well as for connecting sensors – I used this 3-conductor wire for that purpose), flex tubing (optional, but I wanted to make sure hamster won’t chew through the wires, so I used this one to protect the wires that were leading to sensors inside the cage – 3/8″ fits nicely between the bars of the cage, which are 1/2″ apart).
- Optional: 3D printer – if you want to print perfectly fitting mounts for the sensors, hooks for attaching the tracker to the cage, and make custom control panel.
Building process
As I mentioned, the project evolved from Arduino to ESP32.
Here are main differences (let’s skip spec sheets for a sec, here’s my biased comparison 🙂 ):
| Arduino | ESP32 | |
| WiFi | Through WiFi shield, connecting ESP8266, etc. | Built-in, one of main selling points |
| SD card | I wanted to use Adafruit Data Logging Shield, but I quickly hit memory limitations (SD library takes more than 30% of the available memory by itself) | Data is being uploaded, thus I don’t store it locally |
| Real Time Clock | Needs external, available i.e. on Data Logging Shield | Can call to NTP (network time protocol) server and fetch the date/time. Multiple libraries available. |
| Memory | Less 🙁 | More 🙂 |
| I/O | Less 🙁 | More 🙂 |
The build will show parts of both, in the chronological order as it was naturally taking place 😉
Electronics
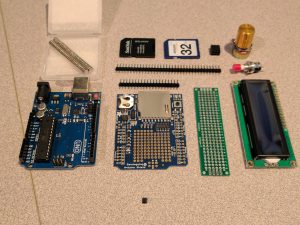
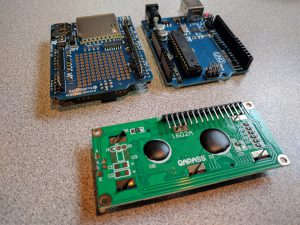
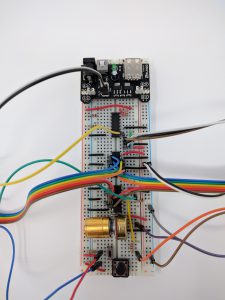
I started with Arduino UNO R3, added Adafruit Logging Shield (which provides Real Time Clock and SD card reader) and originally was planning on simply storing the data onto the SD card.
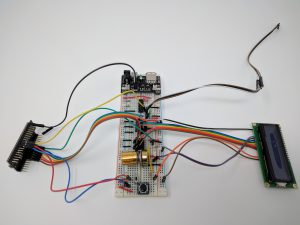
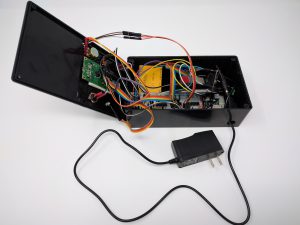
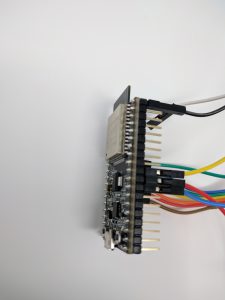
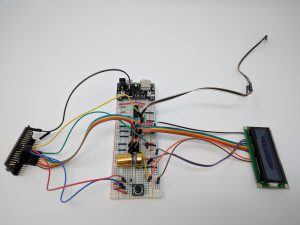
Then I ordered ESP32 and moved to that platform:
Hardware, 3D printed parts
I designed and printed on 3D printer a number of parts:
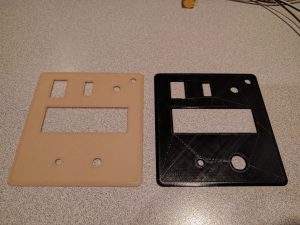
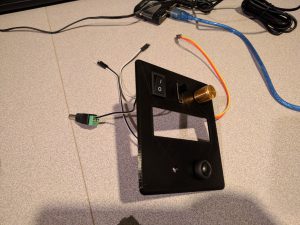
- Control panel for the box
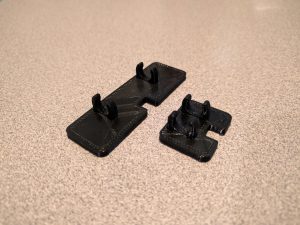
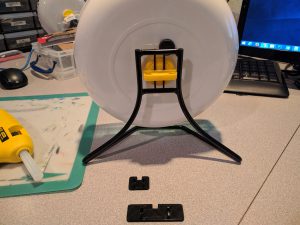
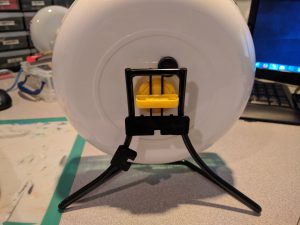
- Mounts for the sensors – to allow for a quick installation and removal of sensors (snap on), in case wheel needs to be cleaned
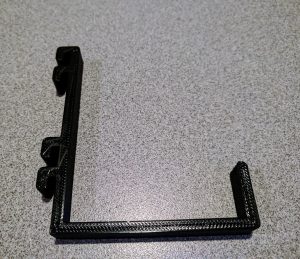
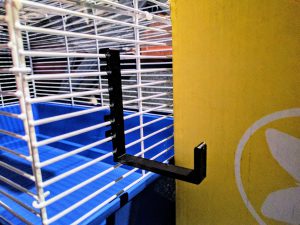
- Hooks to attach the device on the side of cage
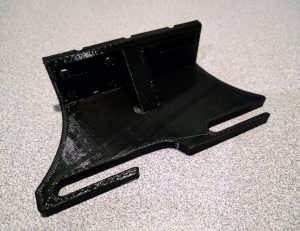
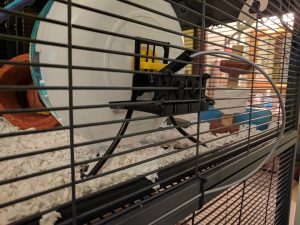
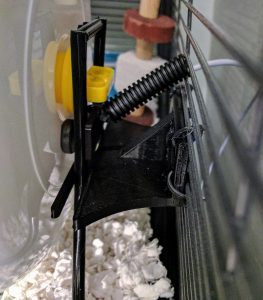
- Additional mount for attaching the wheel to the side of cage – to increase the stability and minimize the risk of wheel moving around, or even falling and scaring the hamster
My design on ThingiVerse: Pet Cage Hanger
https://www.thingiverse.com/thing:2334203
My design on ThingiVerse: Hamster Wheel (Silent Spinner) Mount
https://www.thingiverse.com/thing:2334208
First, mounts for the sensors – there are 2 different designs to account for varying heights of the wheels in cage (i.e. the one on lower level sits on a higher base of the bedding):
Next were the mounts to attach the wheels to the side of the cage:
Then I printed out the hooks that will hold the device on the side of the cage:
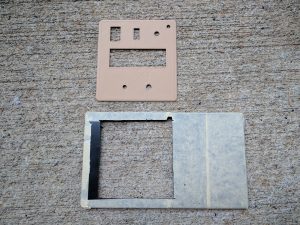
And then I prepared the project box by cutting an opening which then got covered by the control panel:
Finally, once everything was assembled and installed, we need to route the wires (1 power cord, 2 wires going from the device to wheels). I did it outside of the cage, for safety, and wherever the wires enter the cage (short pieces behind the hamster wheels), I additionally covered them with plastic flex tubing to discourage chewing.
Software
Everything is written in C++.
As always, I’m using Visual Micro (and honestly recommend it – it’s a must for even a little bit more complex projects. It perfectly integrates with Arduino IDE (uses all same libraries, board configurations, etc.). The only tricky thing for ESP32 is – disable RTN in the serial monitor, otherwise you won’t see any data there.
For setting up environment for ESP32, I followed this great official guide:
https://github.com/espressif/arduino-esp32
Here’s a tip: While using the “String” class is very convenient, it carries large memory overhead. I recommend going back to roots and using char arrays. Depending on how many strings you use/how verbose is your logging, making the switch from “String” to char arrays can yield gains of 10%-20% memory that you can now use for more goodness!
Shared links
I also created a short write-up on Reddit (https://redd.it/6jj7ps) and Imgur:
This project was featured on Hackaday.com:
And don’t forget to check out Piontek’s tweet 🙂
https://twitter.com/HamsterPiontek/status/879212180087779329
Did you like it?
Piontek surely did!
Let me know what you think in the comments, or if you’d like to build one yourself, let me know if you have any questions 🙂




Leave a Reply