
Welcome to the second part of my mini-series about hobby grade CNC.
- Assembly – turning bag of parts into working machine,
- Review and usage (this article) – what I like and dislike, how is the machine performing – check it out for more opinions about the quality of the kit, experiences with support, but also information about various tools I used,
- Upgrades and improvements – adding limit switches and 3D printed parts to increase functionality,
Usage
If you’re curious about building a hobby grade CNC, you’re probably also curious about using it 🙂 Below I’ll try to explain the basics – and if you haven’t seen first part of my mini-series about assembling the CNC machine, you can check it out here: Part 1 – Assembly.
The steps needed to take when looking into CNCing an element vary, based on your requirements. It’s easier (and faster) to just engrave text or a 2D image on a flat piece of wood, than to mill an intricate 3D shape.
Let’s take a look at a sample workflow. Keep in mind that there are a lot of tools, for different experience levels – try few of them out and find one that works for your needs.
Workflow
- Modelling – this step is applicable if you want to cut a 3D shape – if you’re looking into engraving 2D images, you can skip this step and use some tools that generate toolpaths directly from images. Otherwise, I recommend using Fusion 360 for your 3D modeling needs.
- Generating toolpaths – if you’re already using Fusion 360, it can do this for you as well. For simple designs, I’ve had luck with jscut (see links below),
- Controlling the CNC – I use the grblControl – very simple to use, allows for quick adjustments and grbl configuration changes, and despite reviews I’ve seen online, I find it quite reliable, but maybe I haven’t run jobs complex enough to expose its limitations yet
Tools
- First and foremost, I have to recommend Fusion 360 – it’s been part of my toolbox for a long time, and I’m using it for any 3D designs, be it for laser cutting, 3D printing, and now also CAM. Very powerful tool, available for free (“Startup license” if you meet the conditions), with great support and community. http://www.autodesk.com/fusion360
- http://jscut.org/ (tool works in browser) – generate gcode based on your SVG design,
- http://chilipeppr.com/grbl (tool works in browser) – I haven’t tried it yet myself, but seems to be commonly recommended, so worth giving it a shot,
- https://deftware.itch.io/pixelcnc (download for Windows) – free trial with some limitations available, useful software to quickly generate gcode straight from images, convenient for engraving (i.e. making signs in wood),
Learning resources
I’m still new to world of CNC myself, so here are resources I found interesting/helpful:
- NYC CNC YouTube Channel – great tutorials about CAM, also be sure to check out to their Fusion Fridays series if you’re new to Fusion 360,
- Autodesk Fusion 360 YouTube Channel – collection of official tutorials, focusing on various aspects of Fusion 360, including CAM,
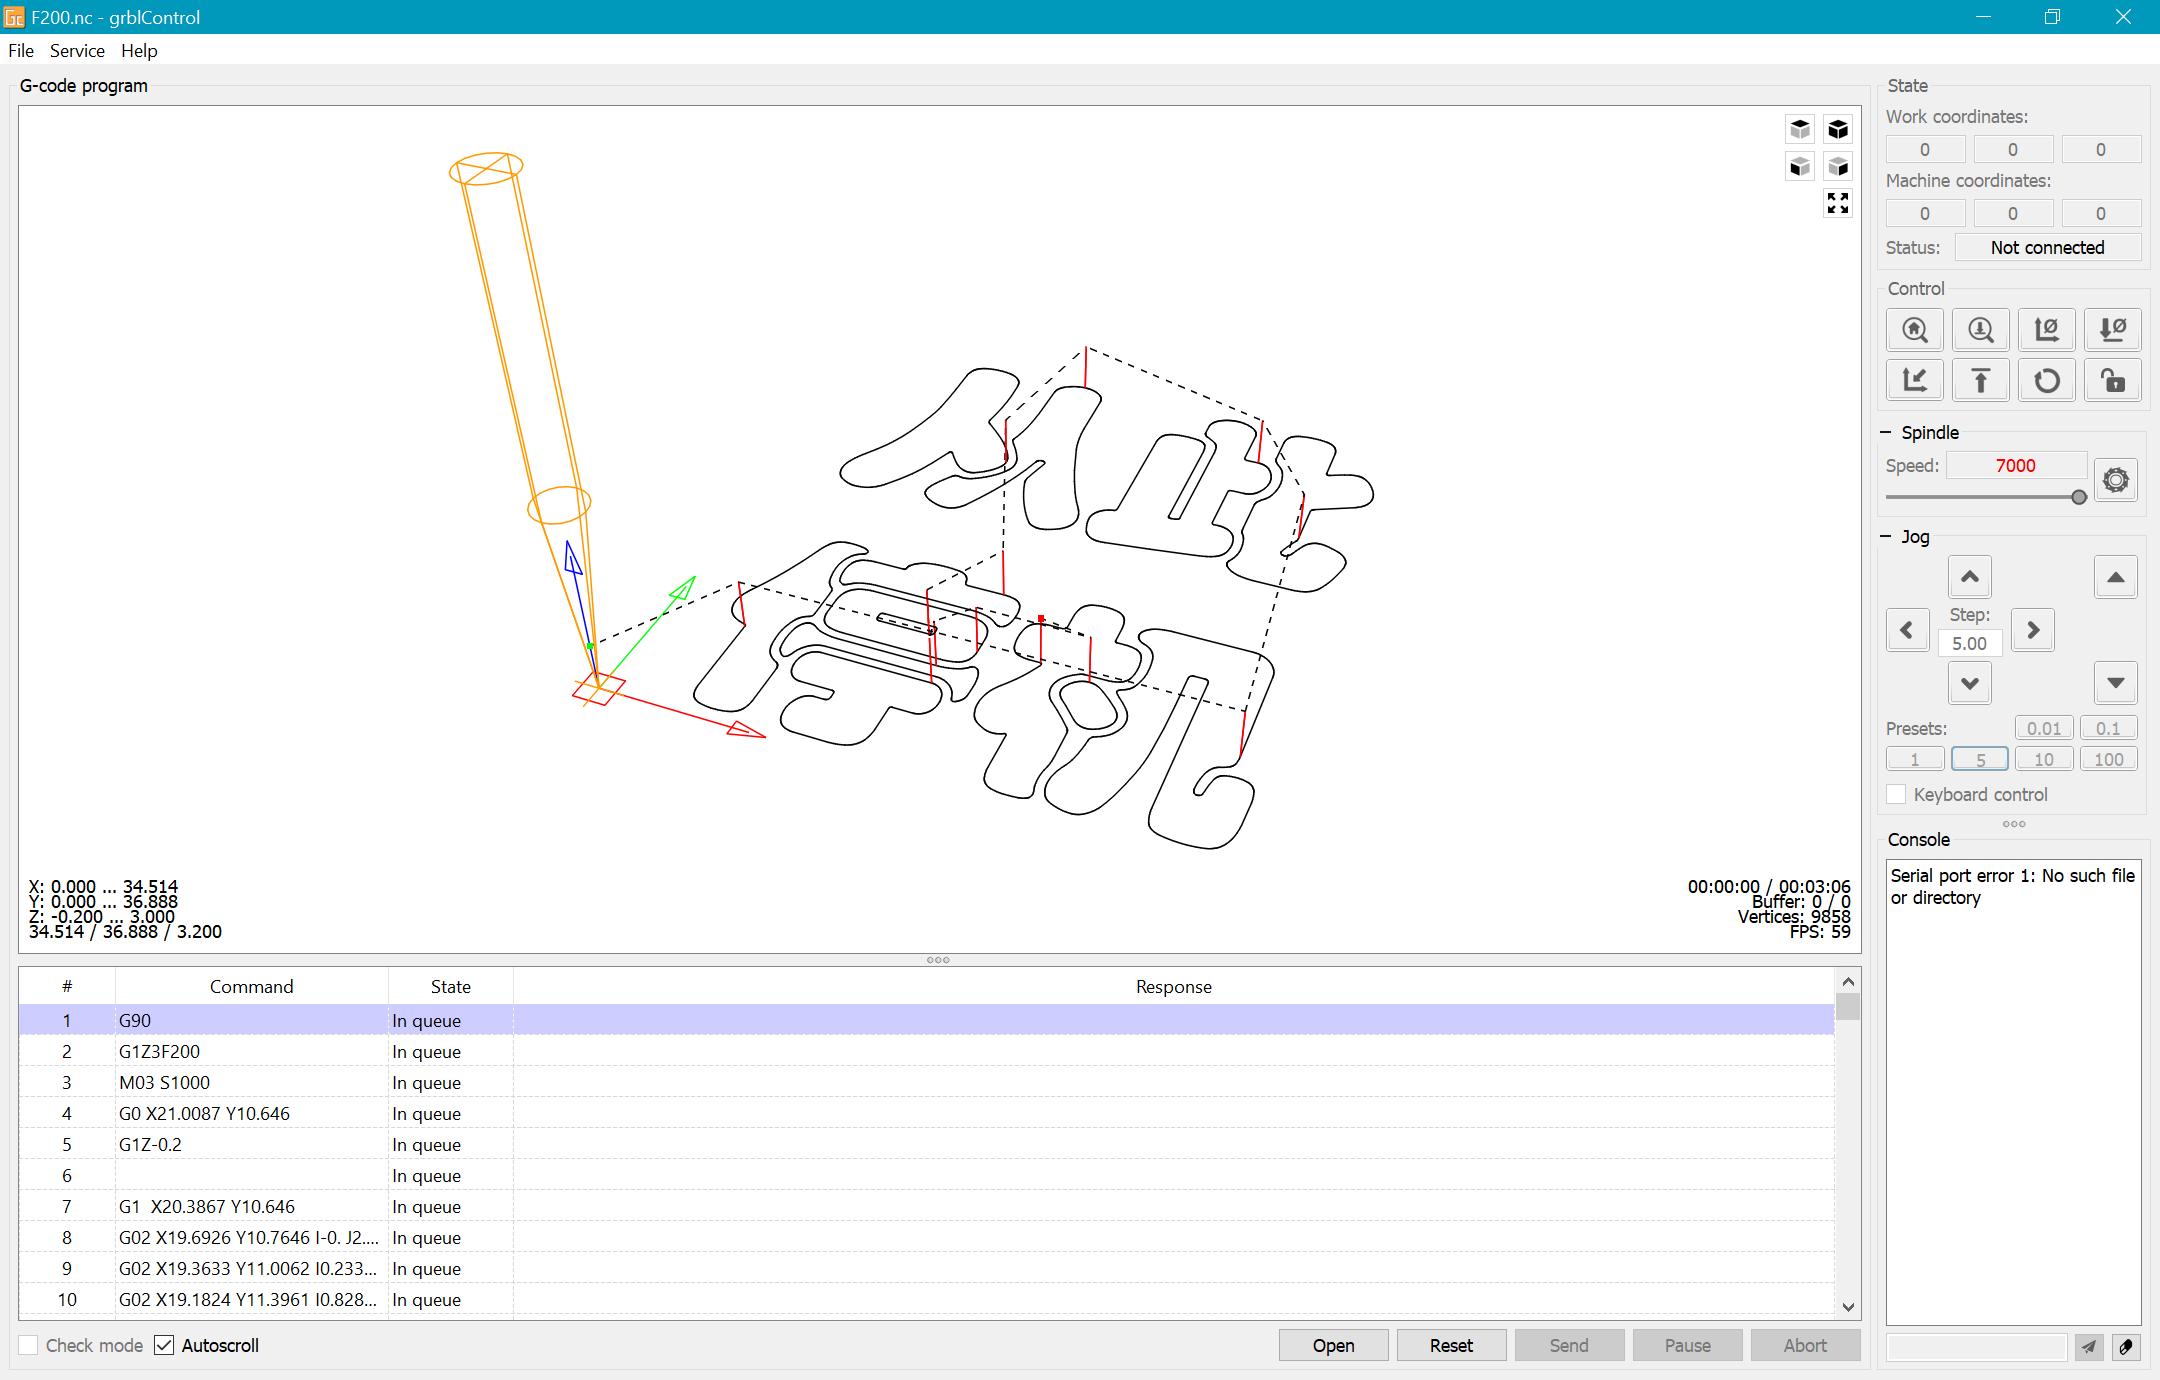
Screenshot from grblControl
Review
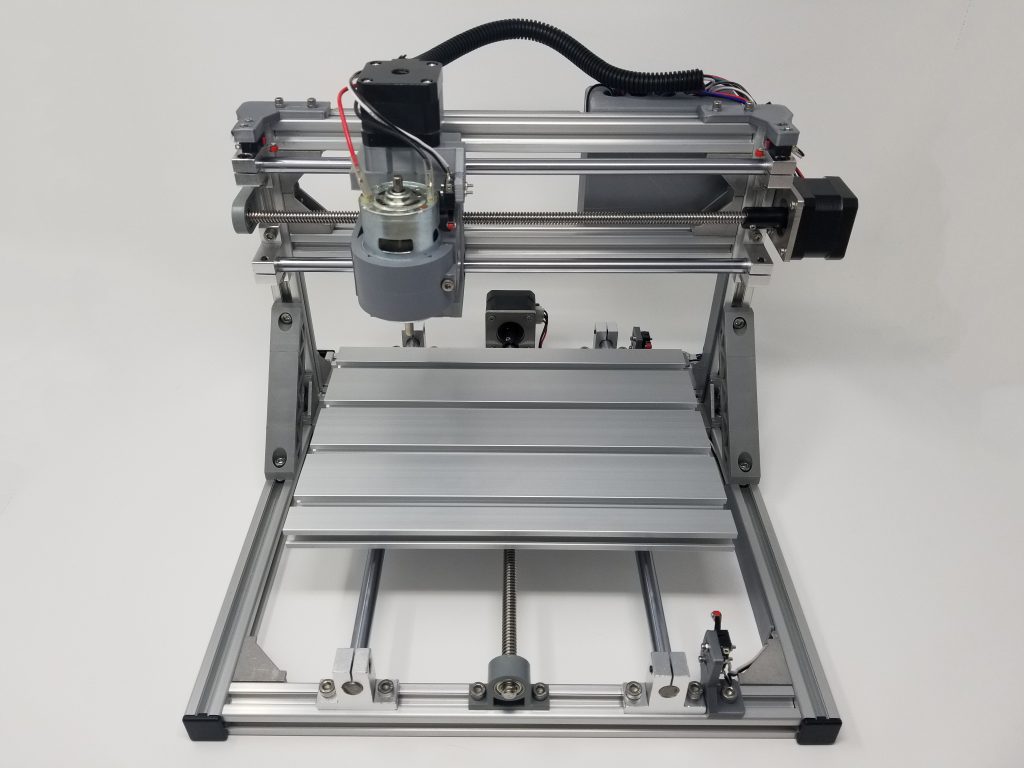
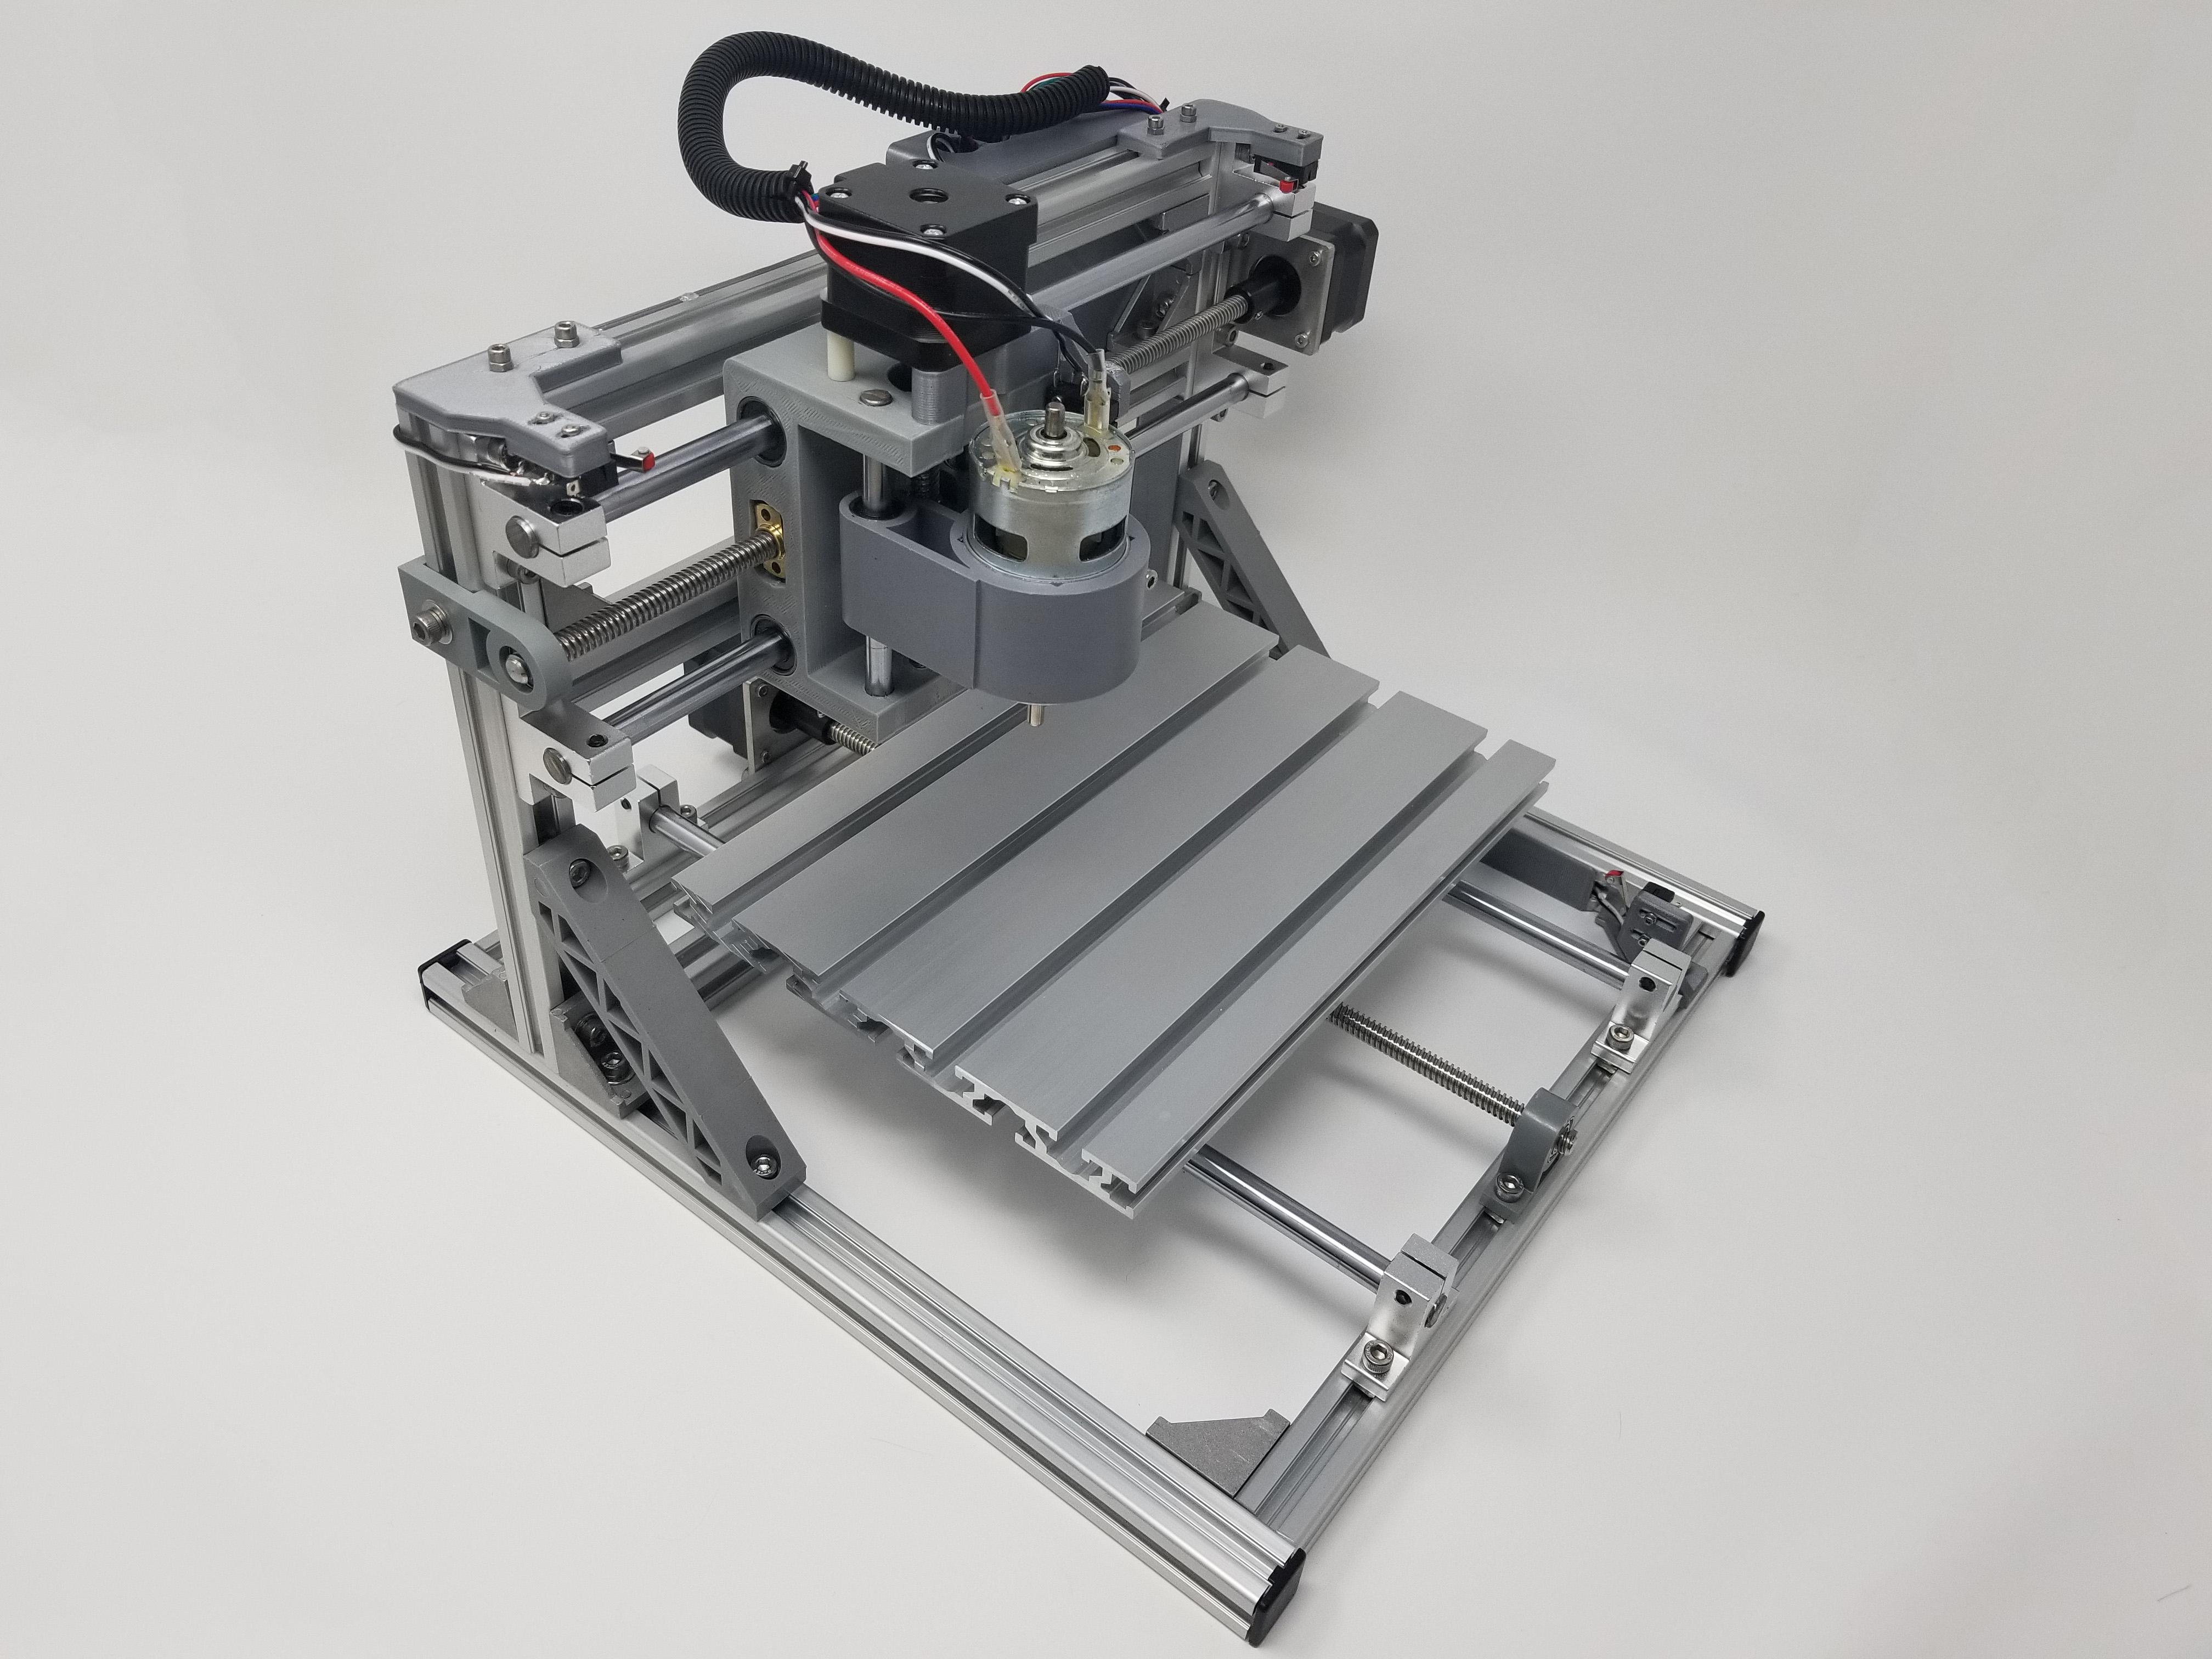
I was very excited to receive the parts, and in fact started 3D printing additional elements even before the package arrived. So as soon as the box was on my door step, I jumped in and assembled it (see the previous article for details). Some of the parts were a bit dirty, covered in aluminum shavings, but not greasy or anything so it was easy to clean up. The set was complete. Assembly was easy and straight-forward.
There was one somewhat inconvenient detail at the beginning of the assembly – in the box was a printed page directing me to a URL and asking to enter given username and password to download the manual and software. The password didn’t work (quickly resolved after contacting the seller), and after I received a new password, I got to see quite a mess on their file share (multiple copies of the same files, dozens of empty folders – I guess this is what happens when a lot of random customers have write permissions… 🙂 ). This process could’ve been handled in a more organized way.
I had one more interaction with the seller. Unfortunately, upon first attempts to run the machine, it turned out that the power supply I received is defective (more details in previous article, if you haven’t read). I contacted them and they were very helpful – quickly sent a new one, so it ended up being just a small inconvenience.
The machine is quite loud – we have 3 stepper motors and a spindle. Imagine an electric drill running – the noise will tire you if you’re standing next to it, but it’s not much more noisy than other power tools (and quieter than saws). At the same time, it makes less of a mess than I anticipated 🙂 The shavings and dust can be quickly vacuumed, but I didn’t experience too much of it collecting in the aluminum extrusions, or on the threaded rods – I was worried they could get dirty quickly and affect the functionality.
I’m still looking forward to spending more time using the machine and trying out various designs. I’m already starting to see its limitations (low powered spindle), but I still think it’s a great introduction into the world of CNC.
Is it a good buy? It all depends on how much do you want to invest – we can quickly get to a point where buying cheap and spending money on upgrades becomes less economically justified than simply buying a more expensive, but significantly more capable machine from beginning. But if you want to try it out and learn, it doesn’t cost much. And it works 🙂
Pros:
- Fairly cheap (compared to other popular solutions, like X-Carve, Shapeoko, etc.),
- Fun and easy to assemble,
- Good introduction to the world of CNC (you can learn the workflow, and then move on to more capable machine),
- Good customer support (but this highly depends on who do you buy it from – many sellers offer those kits),
- Frame is sturdy enough to get satisfactory results,
- Simple construction, easily available parts,
- The set already comes with everything you need to start…
- … yet it has plenty of potential for upgrades (limit switches, laser module, replace extrusions and rails to increase the work area, etc.)
Cons:
- Issue with quality (power supply),
- Limited workspace area,
- Limited power – not very powerful spindle, slow for deeper cuts, which results in jobs taking longer,
- I wish it had limit switches out of the box, as I think they’re quite crucial,
Summary:
I had fun assembling this machine, and it’s proving to be a great introduction to CNC – I get to learn a lot about the processes, try out various tools, see what works best and have fun in the process. Considering the price, it feels like a fair value. Just don’t expect to start manufacturing anything at a larger scale on it, or to machine metals.

Now let’s see how much further can we take this project:
Part 3 – Upgrades and improvements


Leave a Reply