
It’s been some time since my last PC upgrade – in fact, quick check of my Amazon order history indicates that it’s been almost precisely 5 years (i7-4770K + GTX 780 lasted a long time, including reasonable performance in VR). And if you’re browsing my blog, chances are you appreciate fine aspects of gaming as much as I do 🙂
At first I was considering just updating GPU, but quickly started thinking about CPU and things snowballed from there (new CPU also needs new motherboard, new RAM, it would be nice to get some faster and larger storage – and we quickly arrive at a point where we’re just a power supply and a case away from an all-new PC)…
Here’s a quick look into the configuration I went with and few photos from the assembly.
PC configuration
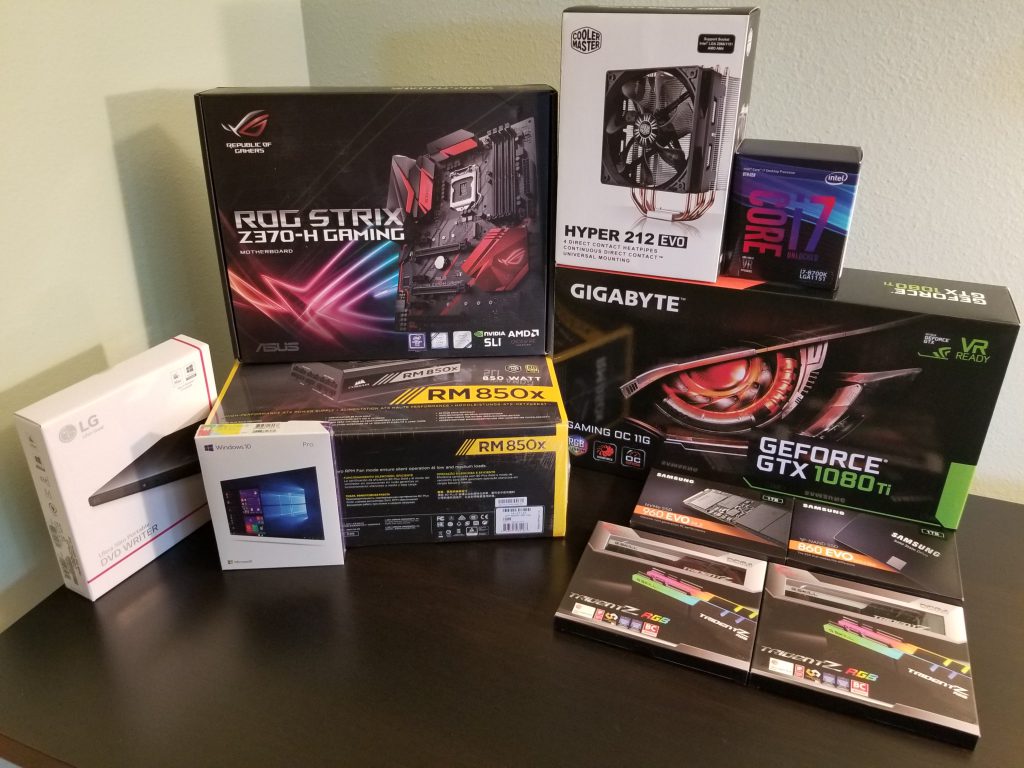
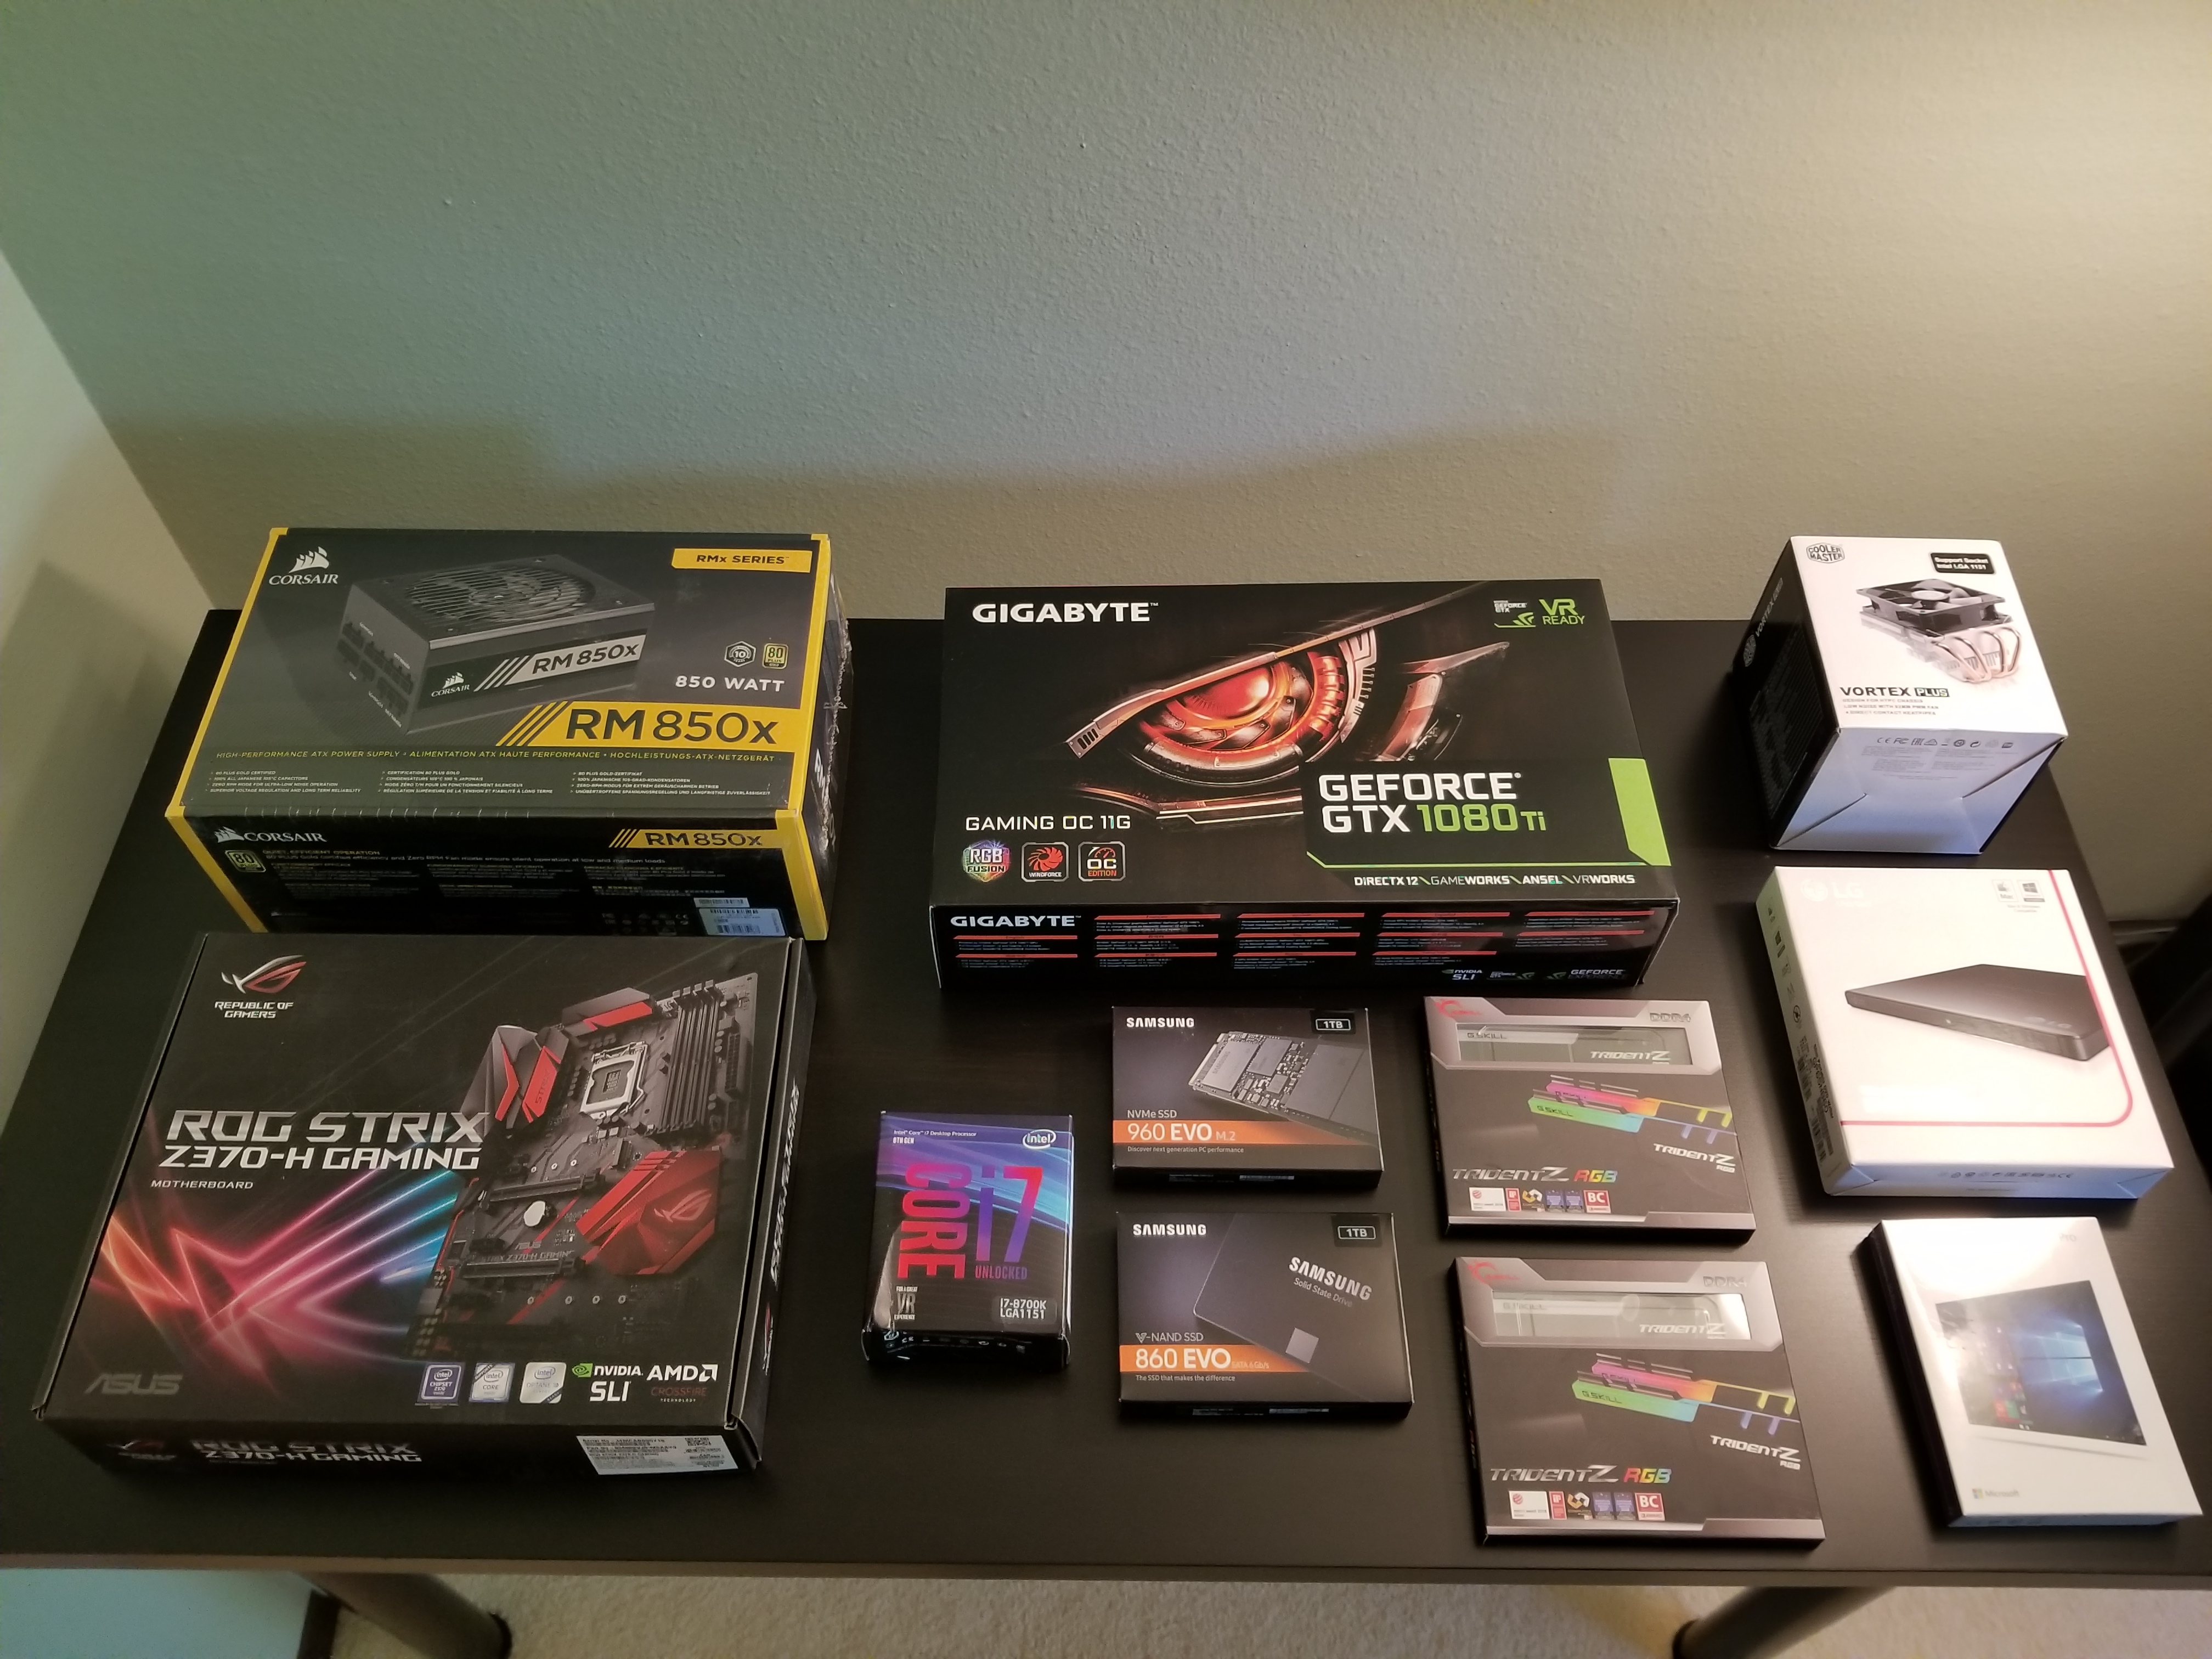
- Motherboard: ASUS ROG Strix Z370-H Gaming LGA1151
- CPU: Intel Core i7-8700K
- CPU cooler: Cooler Master Hyper 212
- GPU: Gigabyte GeForce GTX 1080 Ti GAMING OC 11GB
- RAM: G.SKILL TridentZ RGB Series 16GB (2 x 8GB) x2 for a total of 32GB
- Storage #1: Samsung 960 EVO Series – 1TB PCIe NVMe – M.2
- Storage #2: Samsung 860 EVO 1TB
- PSU: Corsair RMX Series, RM850x
- Case: Cooler Master MasterBox Pro 5 RGB
- Monitor: LG 32GK850G-B 32″ QHD Gaming Monitor with 144Hz
- Mouse: Logitech G305
- Keyboard: Logitech K800 Wireless Illuminated Keyboard
- Speakers: Bose Companion 2 Series III
Link to PCPartPicker:
https://pcpartpicker.com/list/XTXkq4
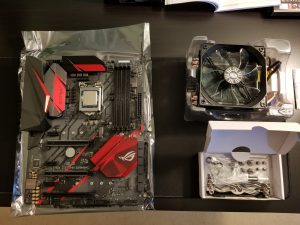
And this is how it all looks like, ready to be assembled:

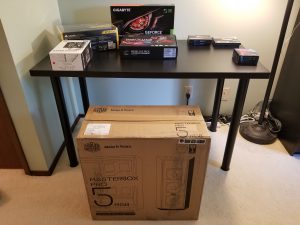
And let’s not forget about the case (didn’t fit on the desk with all the boxes 🙂 ):
Assembly
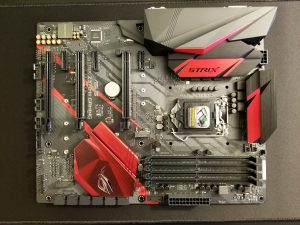
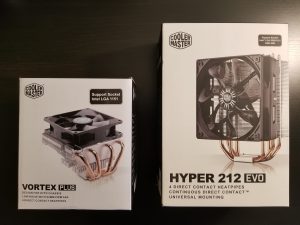
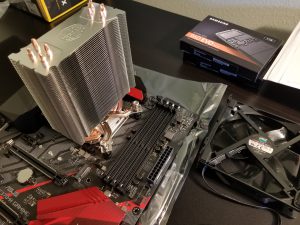
First, motherboard + CPU, followed by a cooler (the “K” flavors of Intel CPUs don’t come with OEM cooling):
Did you notice that I’m using different cooler than shown on the first photo above with all the parts? 😉 I quickly changed my mind after ordering the first one, and looks like Amazon acted fast as I missed the order cancellation window (and I tried to cancel it within an hour).
Next – RAM. I wasn’t looking for any flashy accessories specifically, but those sticks seem good, and they happen to come with RGB LEDs, so this is how I ended up with a case full of colors:

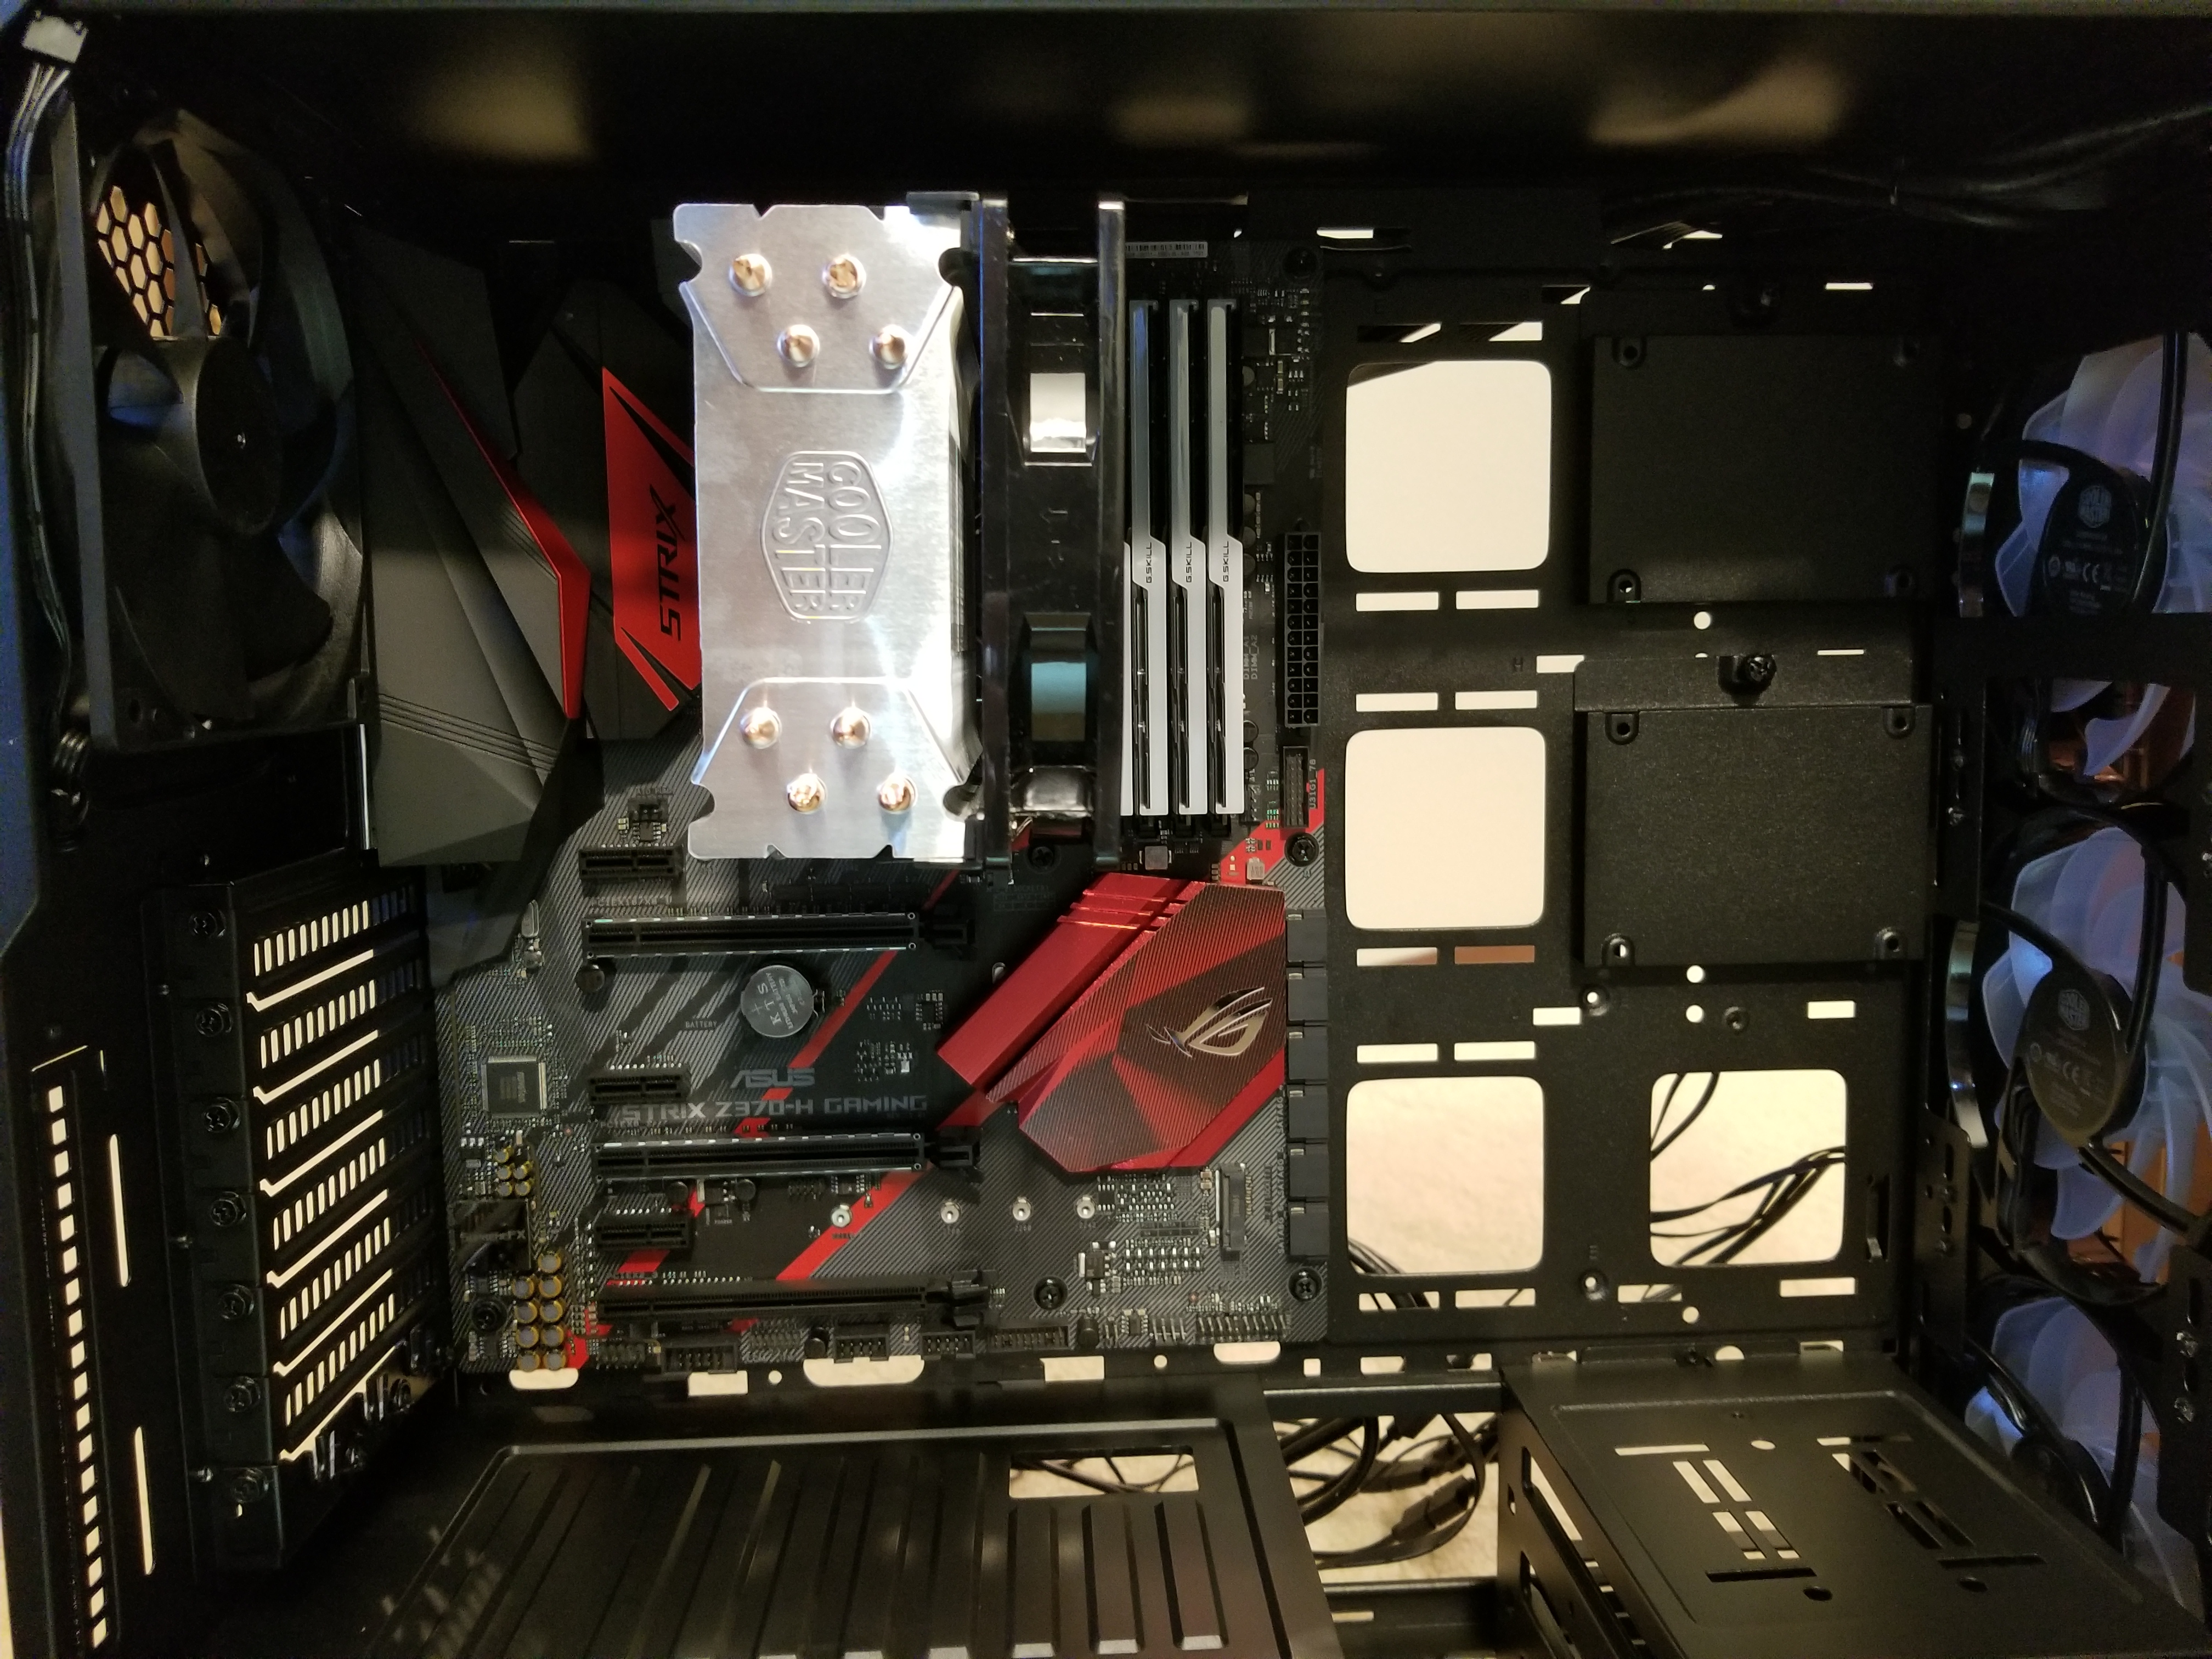
Time to put it all inside the case. I misplayed the small bag with motherboard screws and spacers, which set me back few minutes, now spent in going through the boxes one more time. But things went smooth from here. The case has very clear markings for each hole, clearly indicating which standard they’re for (in this case – good old ATX):

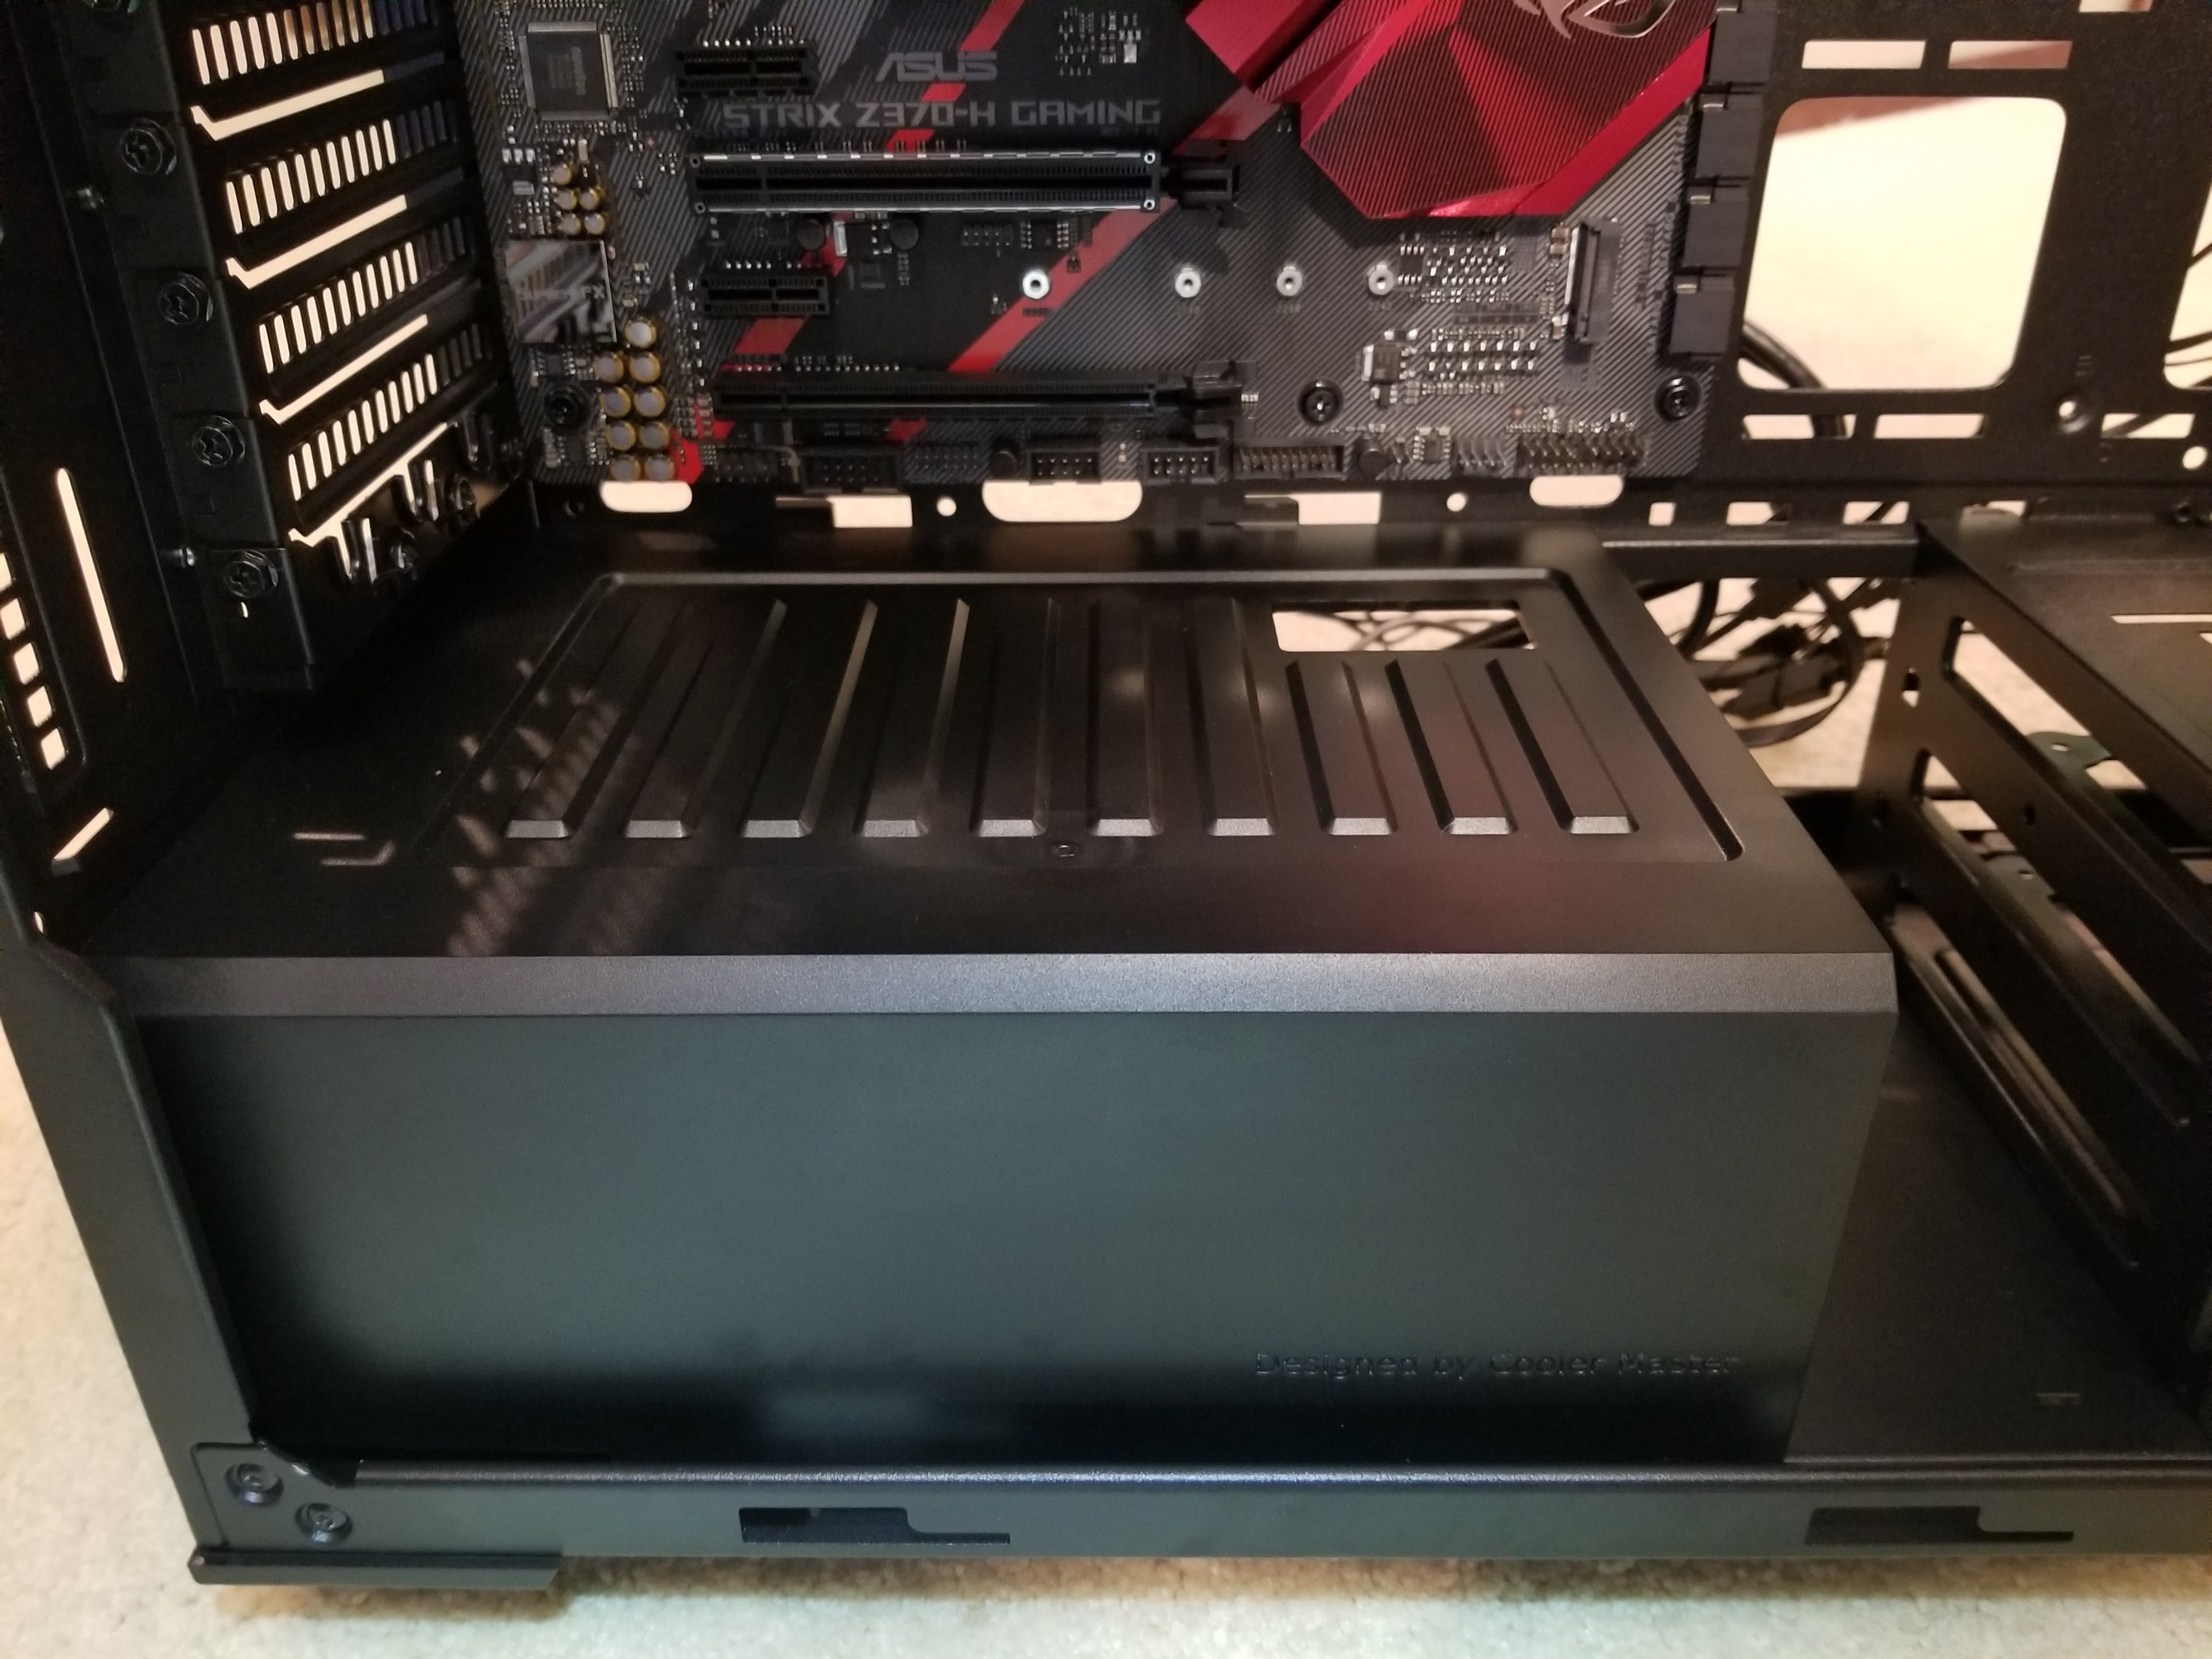
I like that the case I bought had a nice enclosure for PSU – helps in aesthetics, especially since the enclosure is longer than the power supply, and allows for extra space to tuck in the wires to get them out of sight:
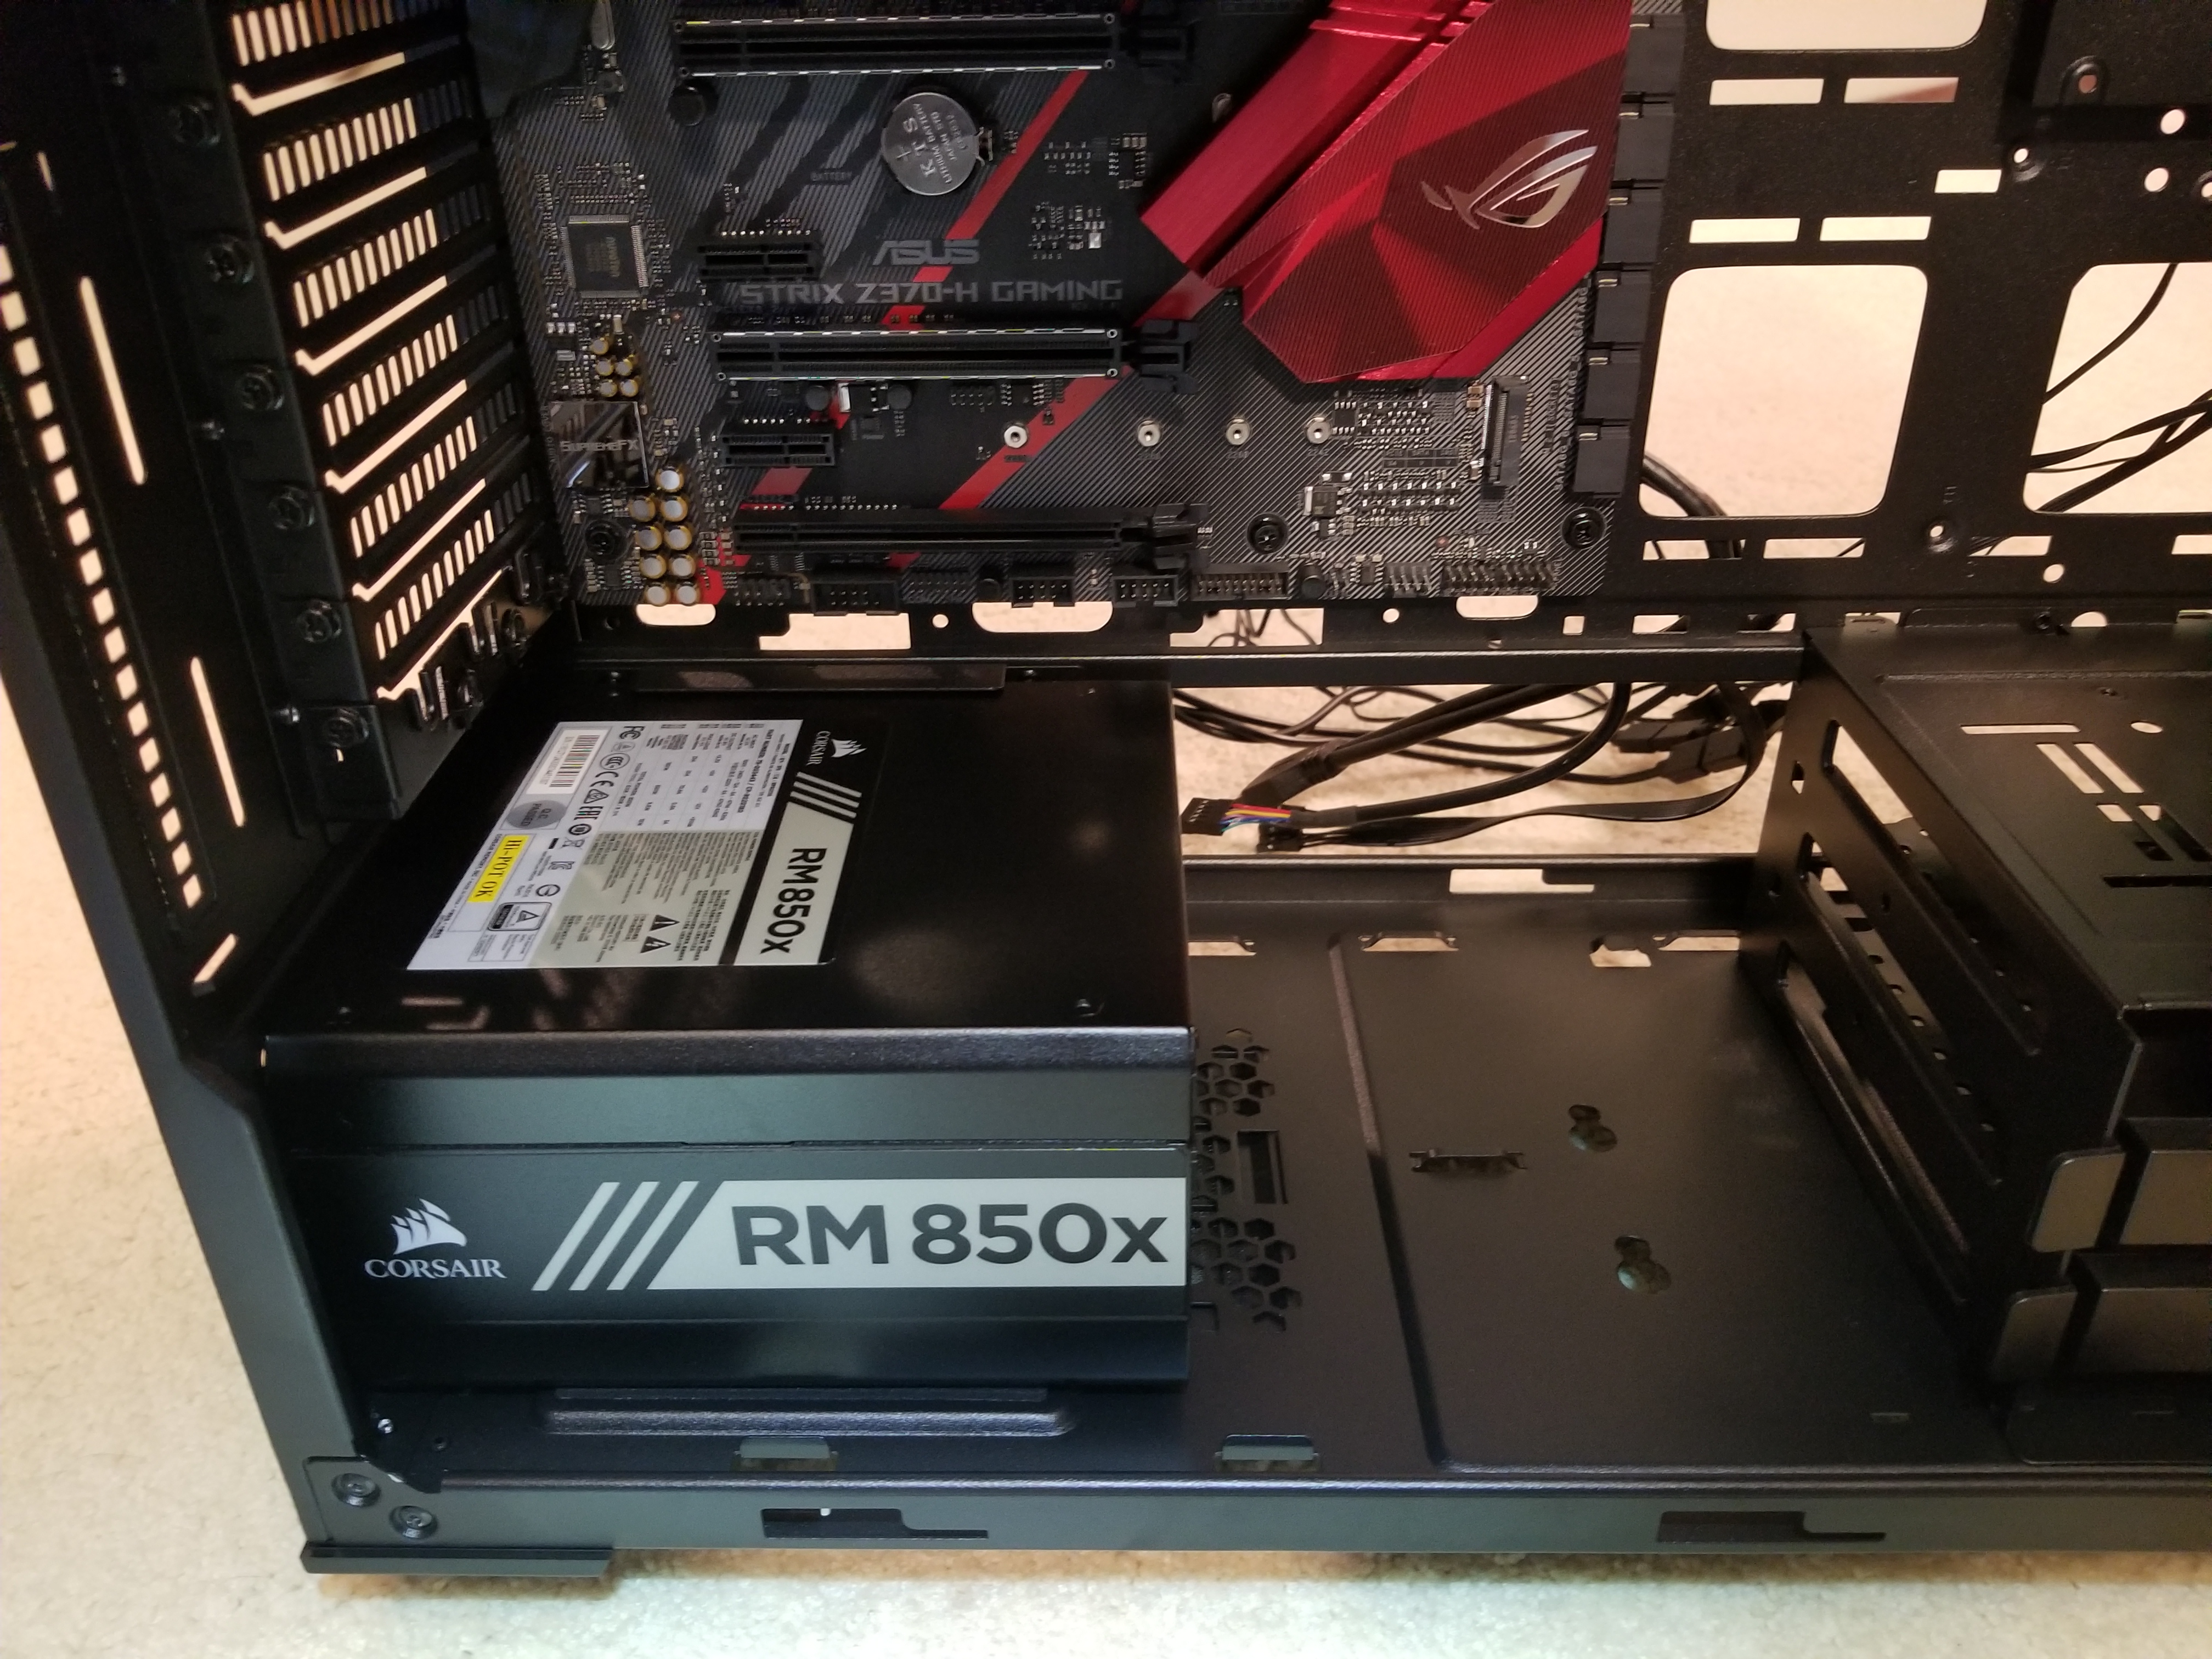
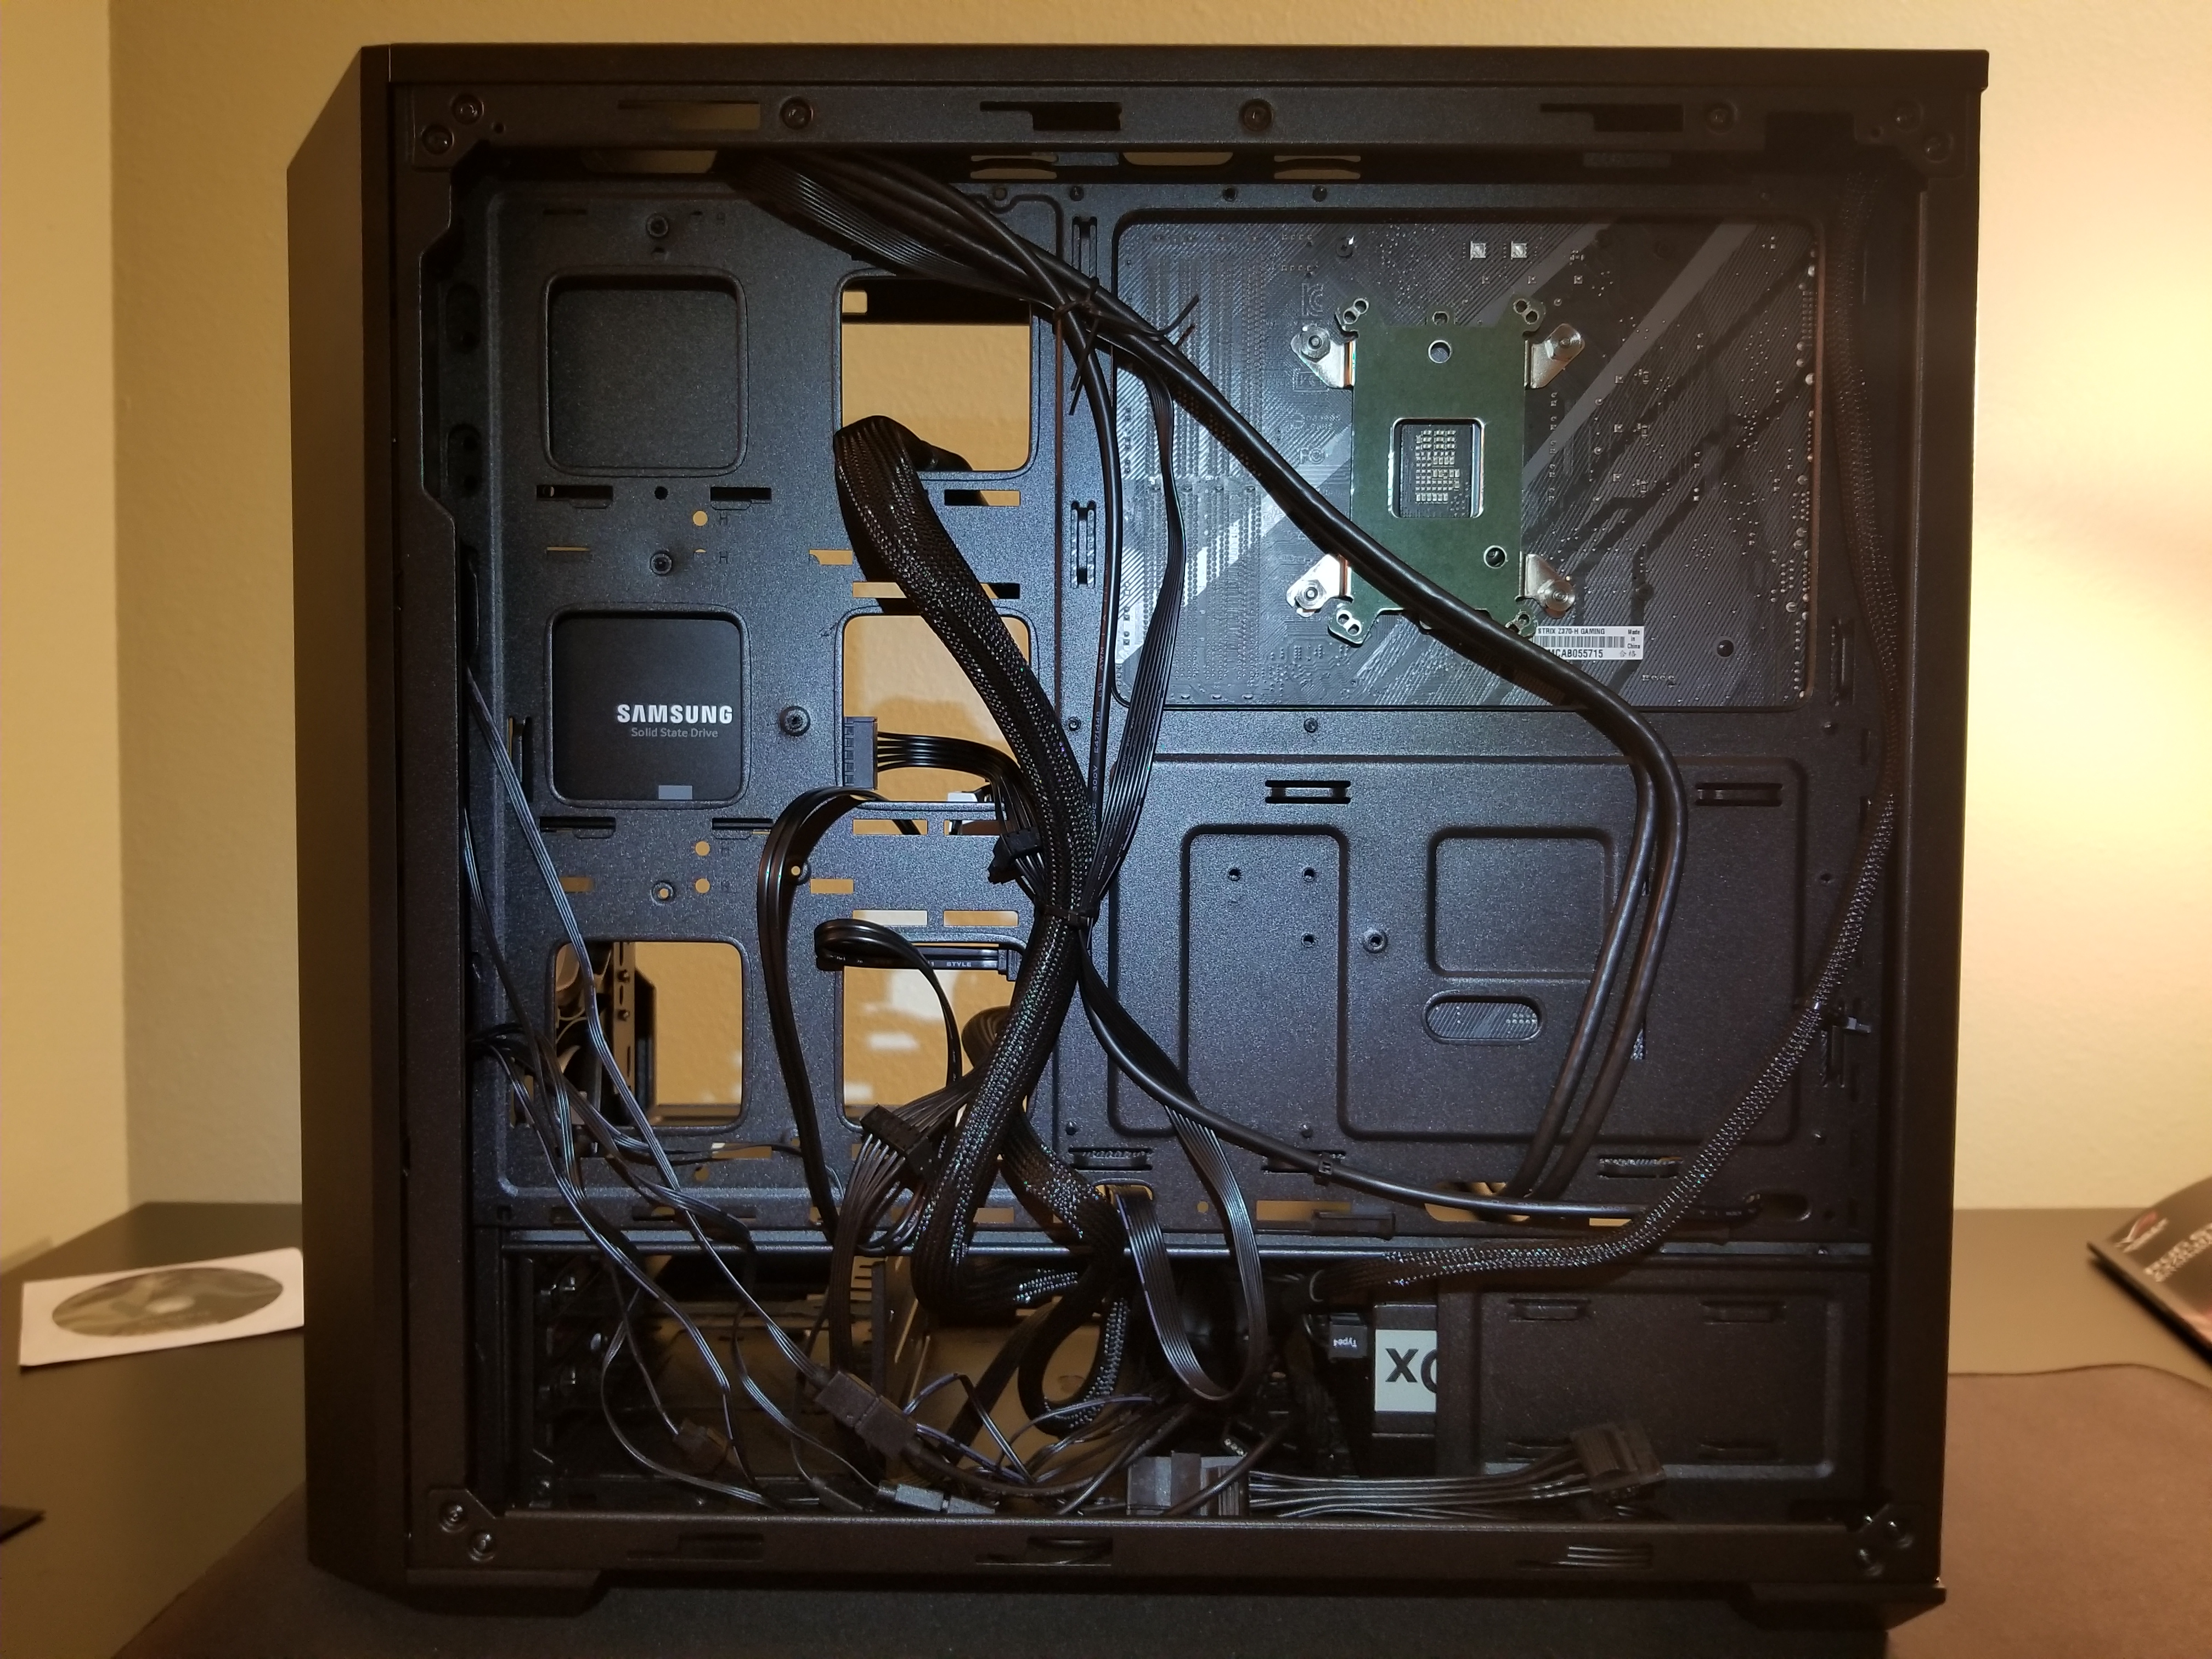
Added power cables and SSD:
Main system drive (NVMe) and GPU thrown into the mix:

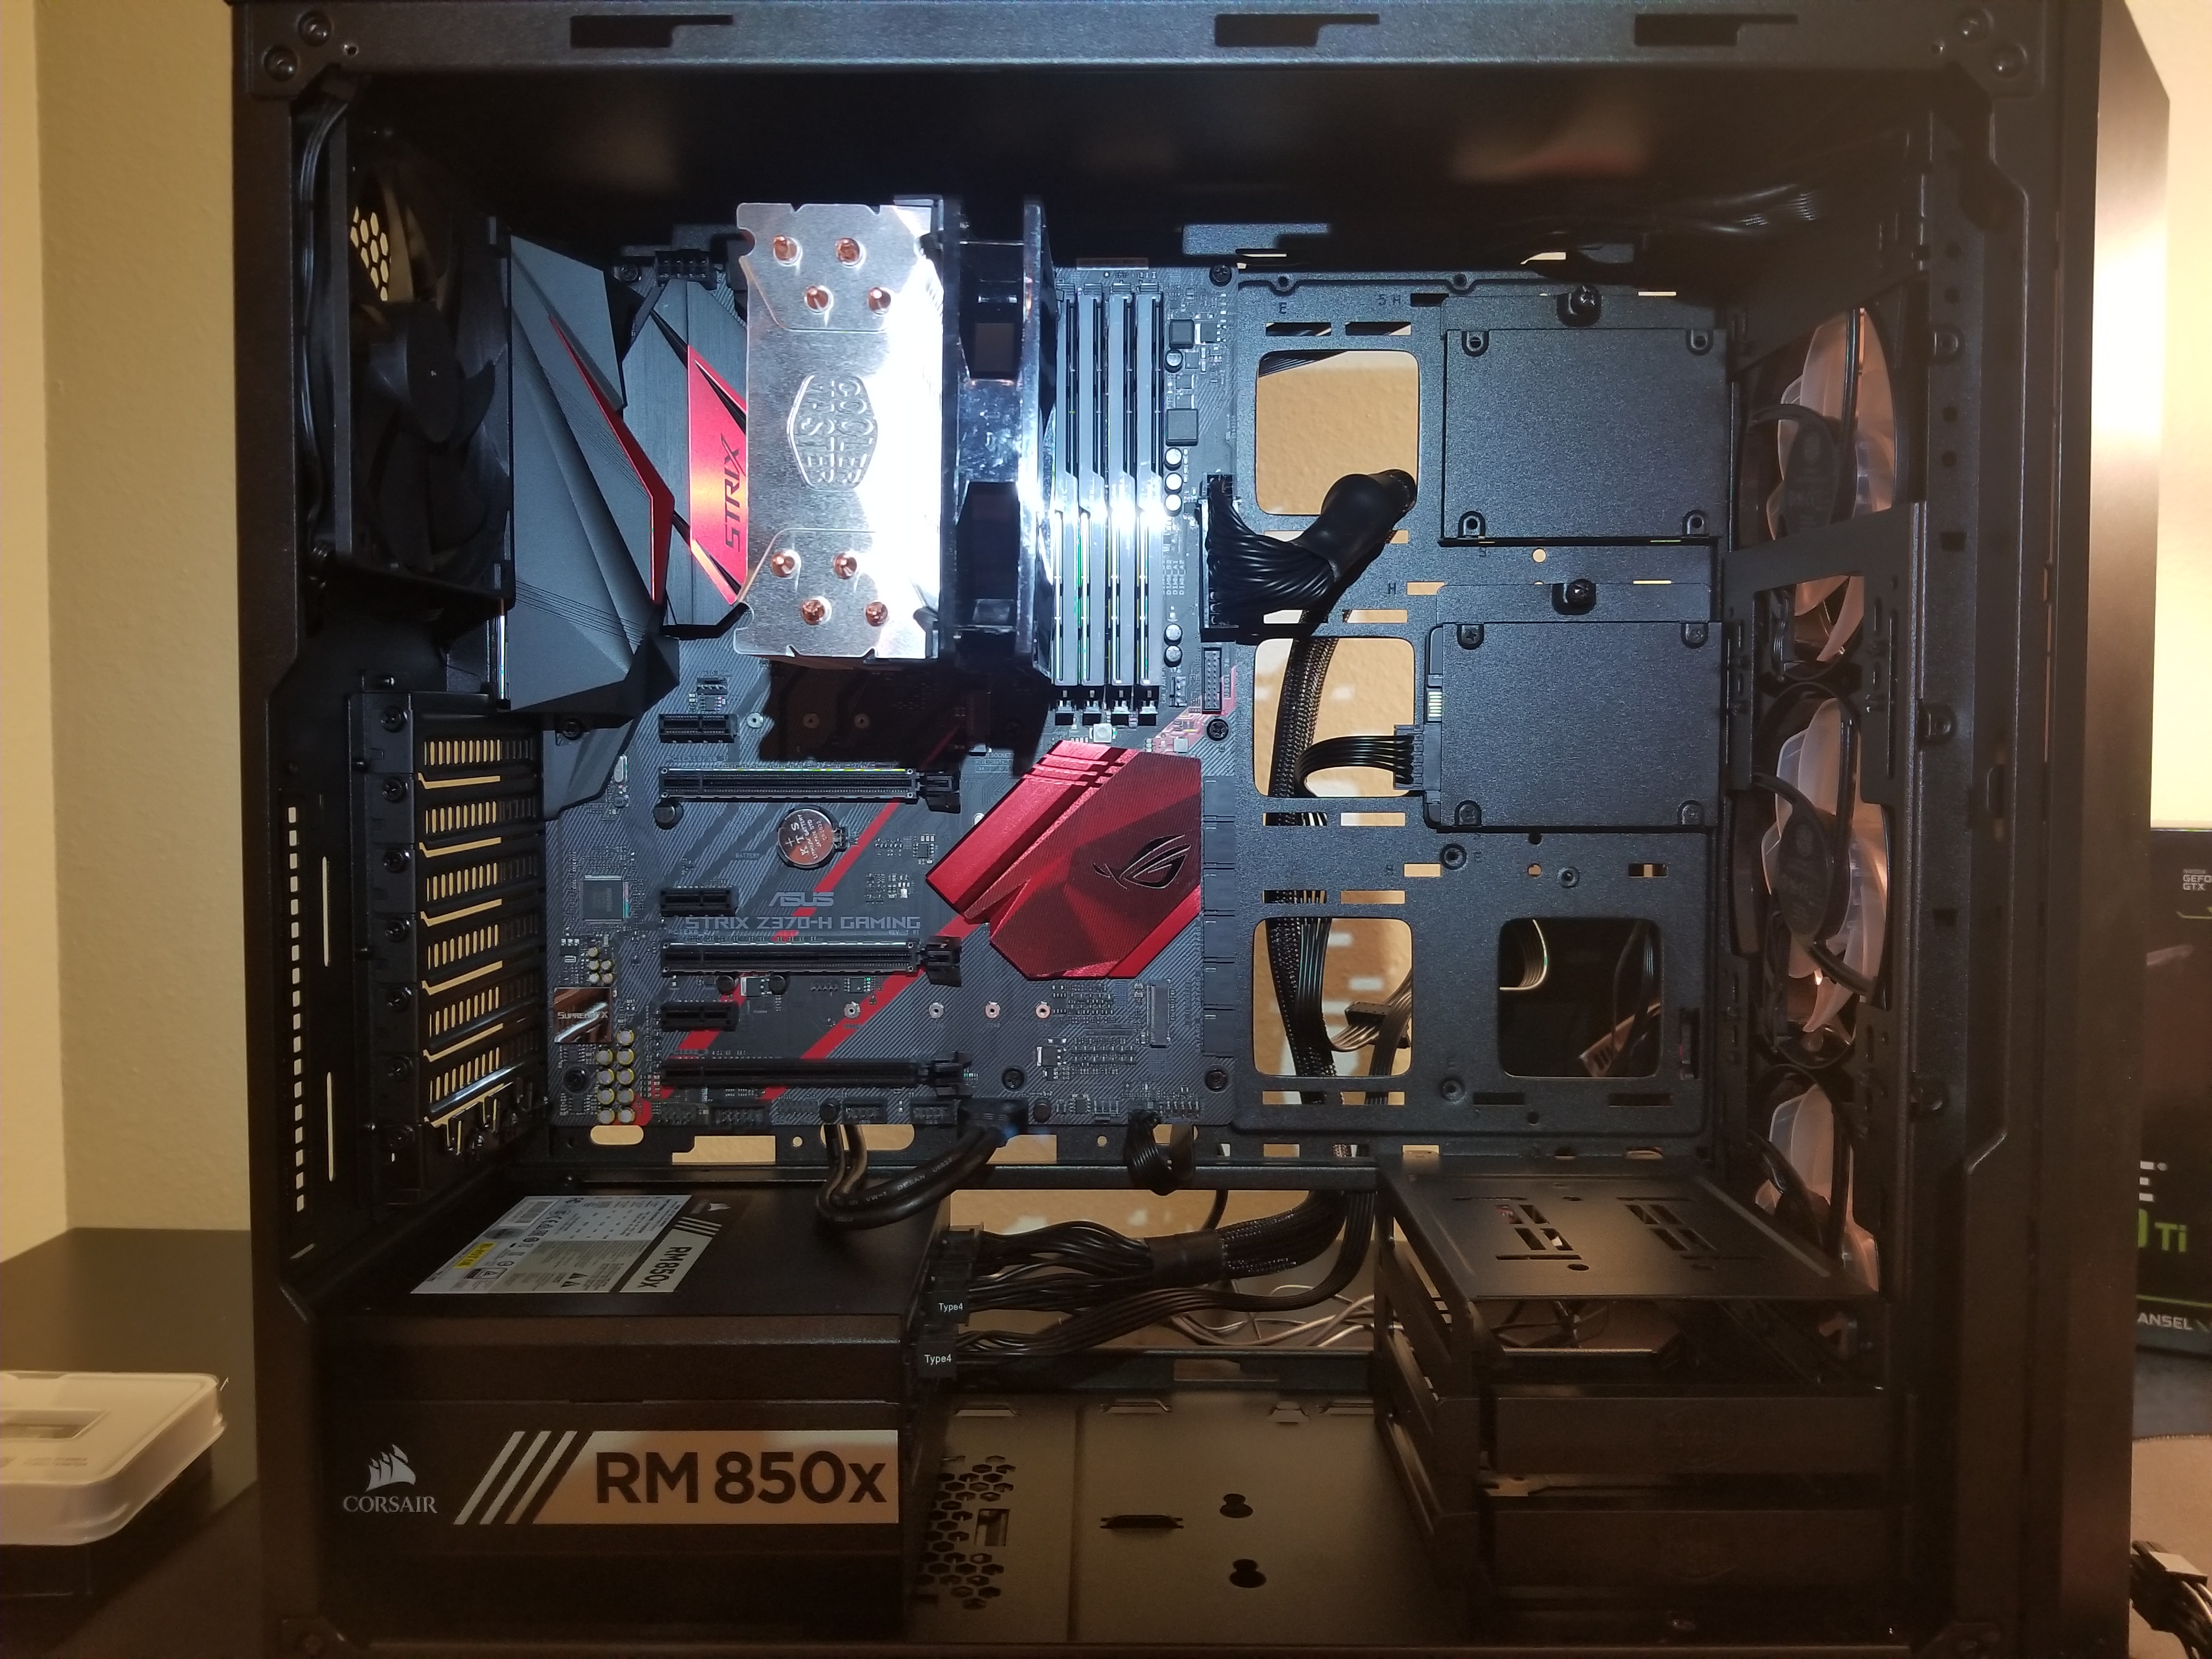
Everything connected (well, almost – see if you can spot couple last details left 🙂 )

I cleaned up the cables a bit – enough for them not to get in the way of things. The case has plenty of room under motherboard for all the cables, and a handy points for using with zipties.
One thing I missed is that the motherboard doesn’t have RGB headers (Asus calls it “Aura”?), so in order to power and control the RBG fans, I needed to get an additional controller. Not a big deal, but also not a large cost, so I ordered one (this one). It’s powered through SATA power cable (just like the drives), and can address 4 sets of RGB LEDs independently, which means that we can either keep all the fans that came with case the same color, or control each one independently (I kept them on the same bus).
Here are few random thoughts, that I hope someone might find interesting/useful (whether you’re assembling your first PC, or went through few of them already):
- I think connecting the front panel header to motherboard is the least exciting moment – refer to the manual to see pinout, and just follow it,
- Remove all the things that should be removed prior to assembly – protective film from decorative elements and heatsinks on motherboard, protective sticker from CPU cooler, etc. Those will be difficult to remove once you add parts, or they may even negatively affect system’s performance (CPU cooler protective sticker…),
- Don’t drop a screw into the case 🙂 And if you do, even if it gets stuck somewhere, try to get it out. It will get loose at some point and start rattling,
- Before booting for the first time, double check all power connections, and make sure all fans are plugged in,
Impressions
It’s quite a step-up from my previous configuration, and the addition of NVMe is also clearly noticeable. The system runs very zippy, loading times are pleasant (especially important in today’s busy world… free time is at a premium, so would be shame to waste it on waiting for the game to load 🙂 ).
I quickly downloaded one benchmark (Unigine Superposition) and ran through it to make sure everything is working as expected and the system is stable. Quick comparison with online results put me at ease, and I’m ready to download some games.
Oh and PUBG runs amazingly on Ultra settings – there are no excuses now for not reaching #1… 🙂


Leave a Reply