
Front Porch – Aviary
- Introduction
- Showcase of the completed project
- Bill of materials and cost breakdown
- General tips and tricks
- Building process
Introduction
If this isn’t your first visit to my blog, you most definitely know of my love for parrots 😉 And you may remember that just last year I built an outdoor aviary attached to our living room (check it out here!), so that the whole family can safely enjoy time outside during those sunny Summer days here in the Pacific Northwest.
We liked it so much, I decided to build another aviary on the opposite side of the house! 🙂 Keep on reading to find out how it all turned out.
Showcase
The build start-to-end took 3 full days, and the experiences gained while building the first aviary last year definitely helped! I took advantage of a long 3-dayweekend in order to finish the project quickly.
Check out the video showing completed project along with the overview of building process:
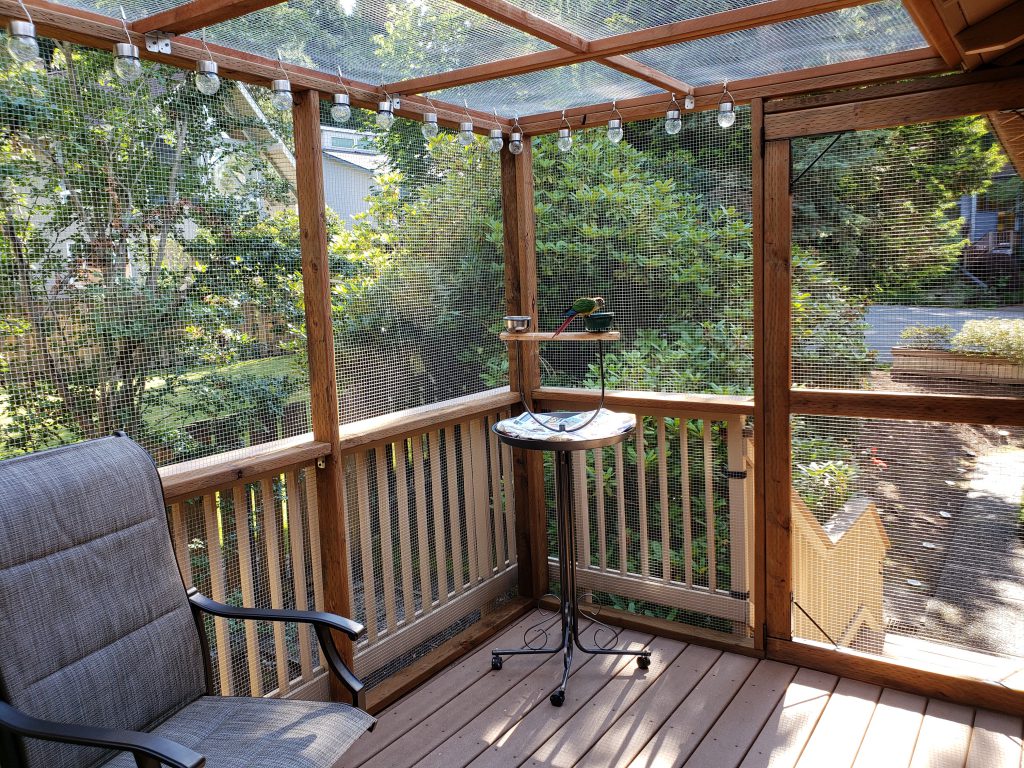
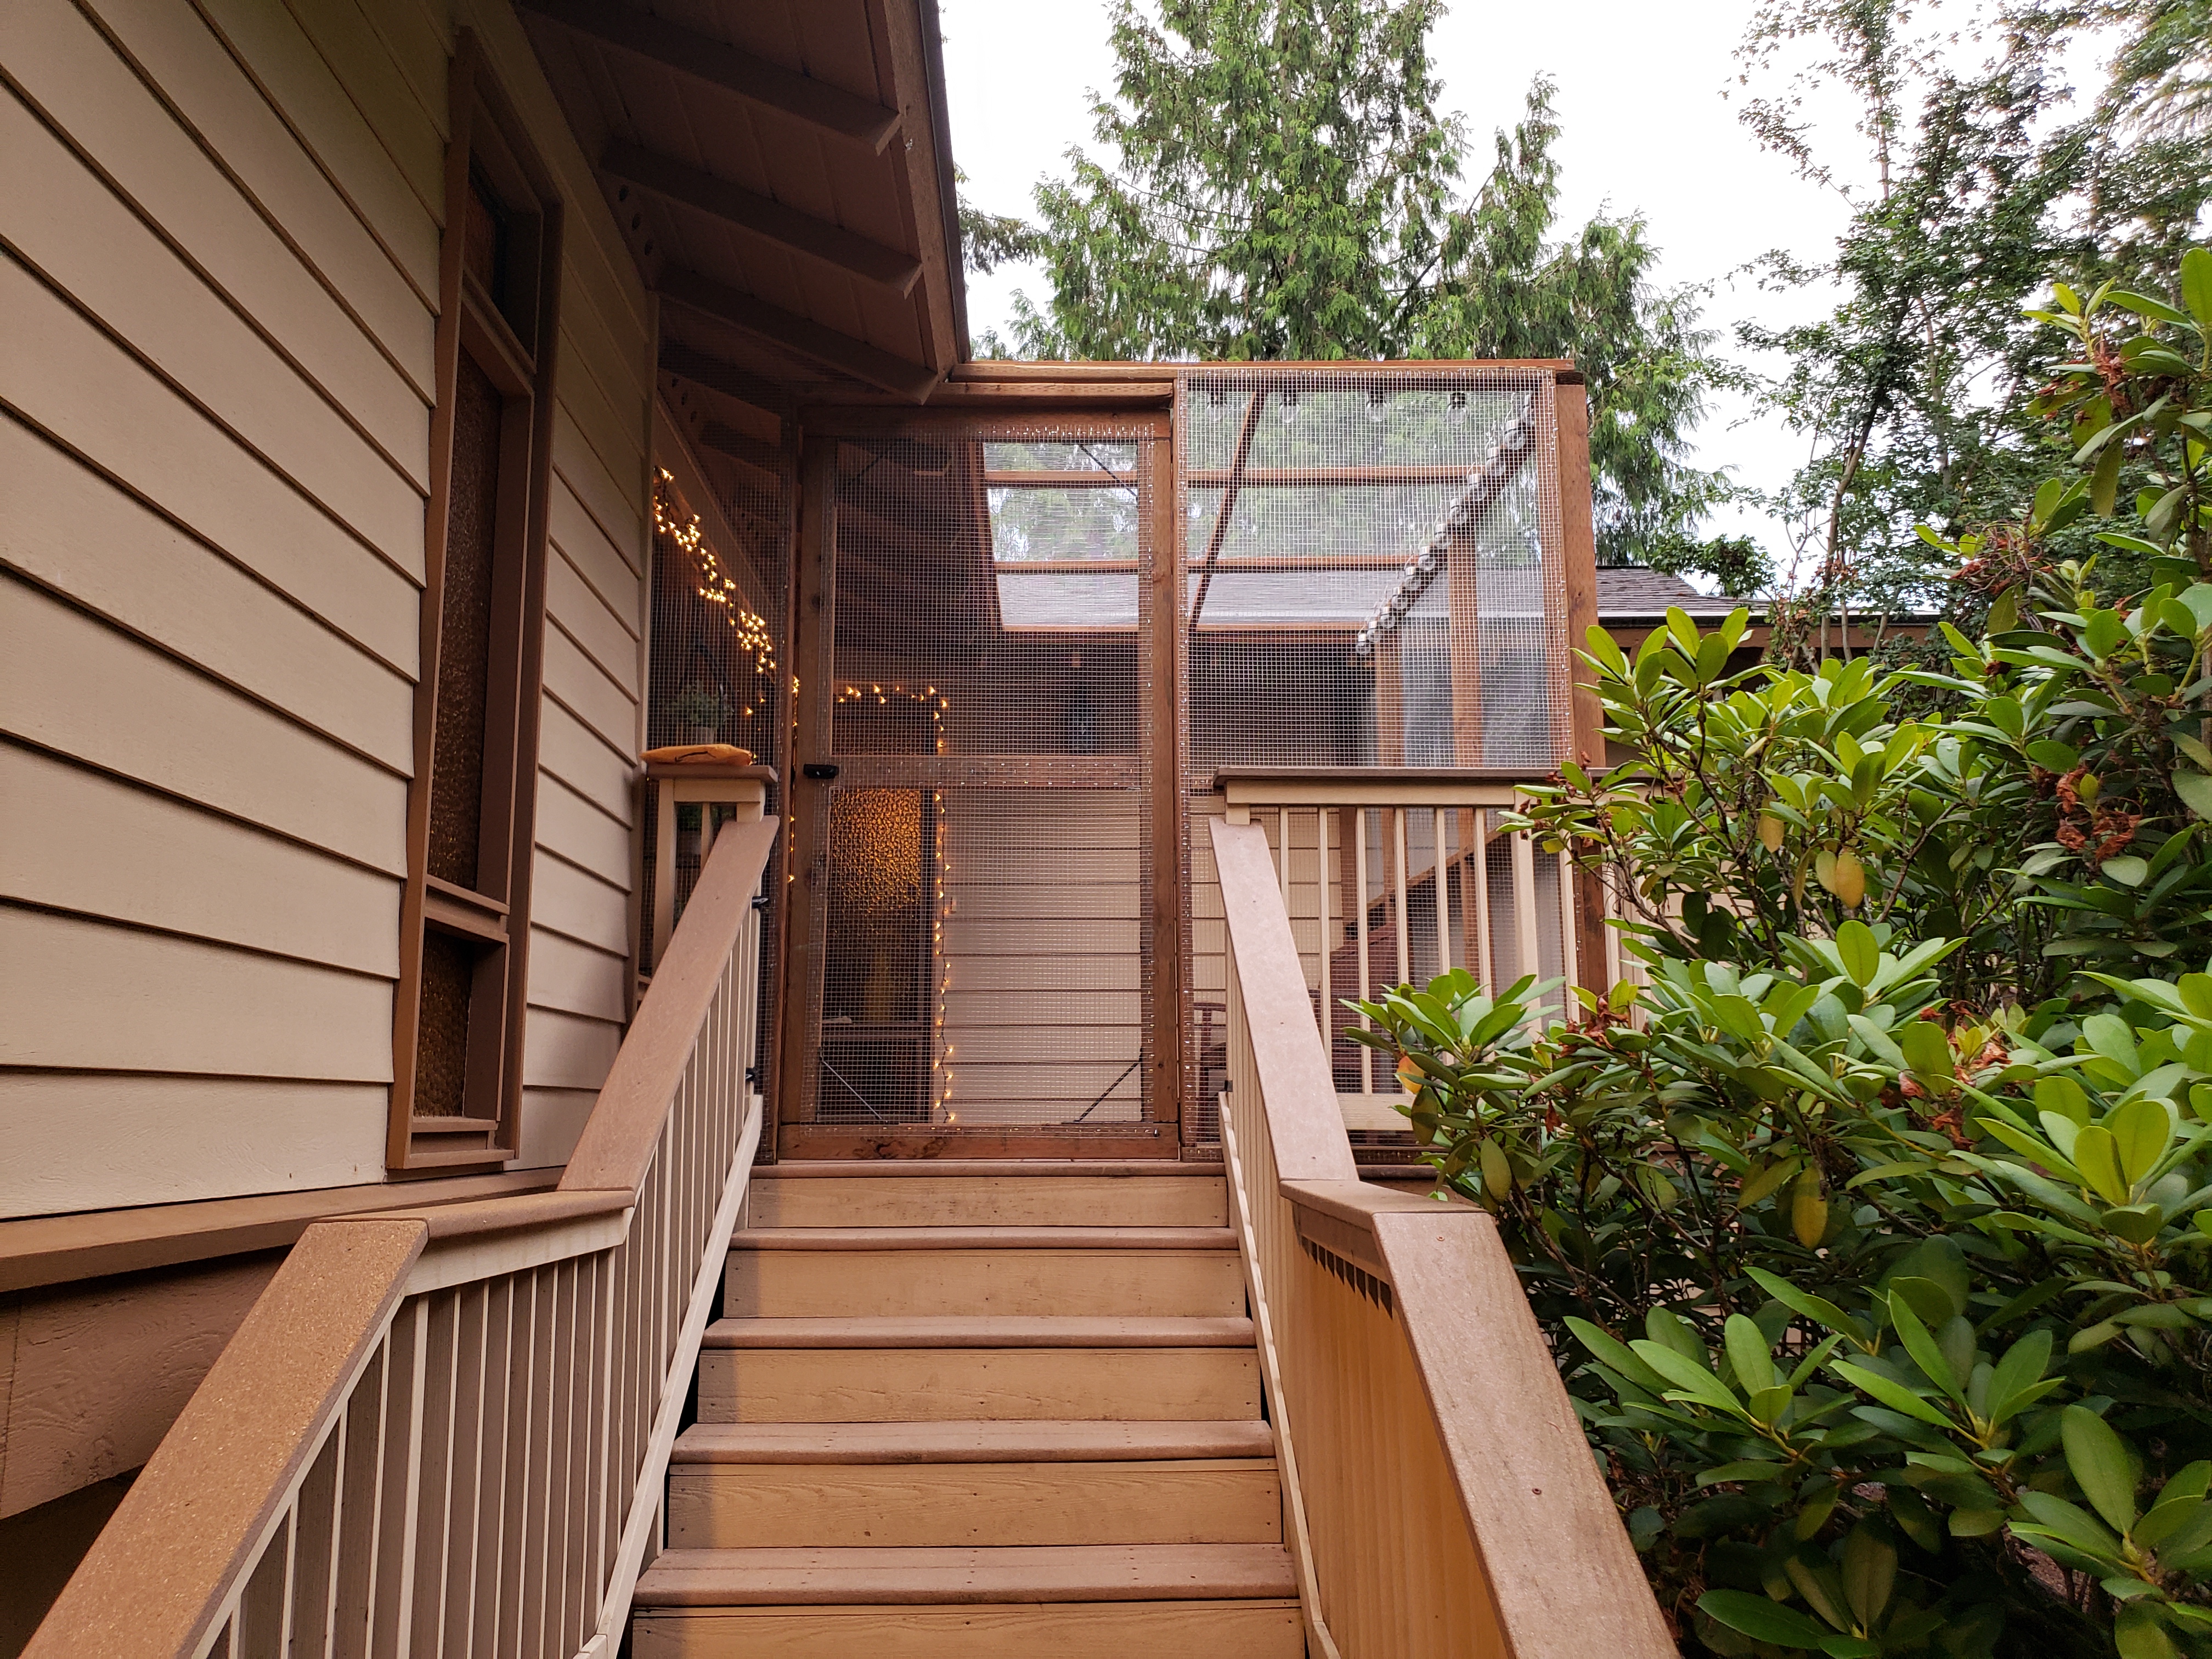
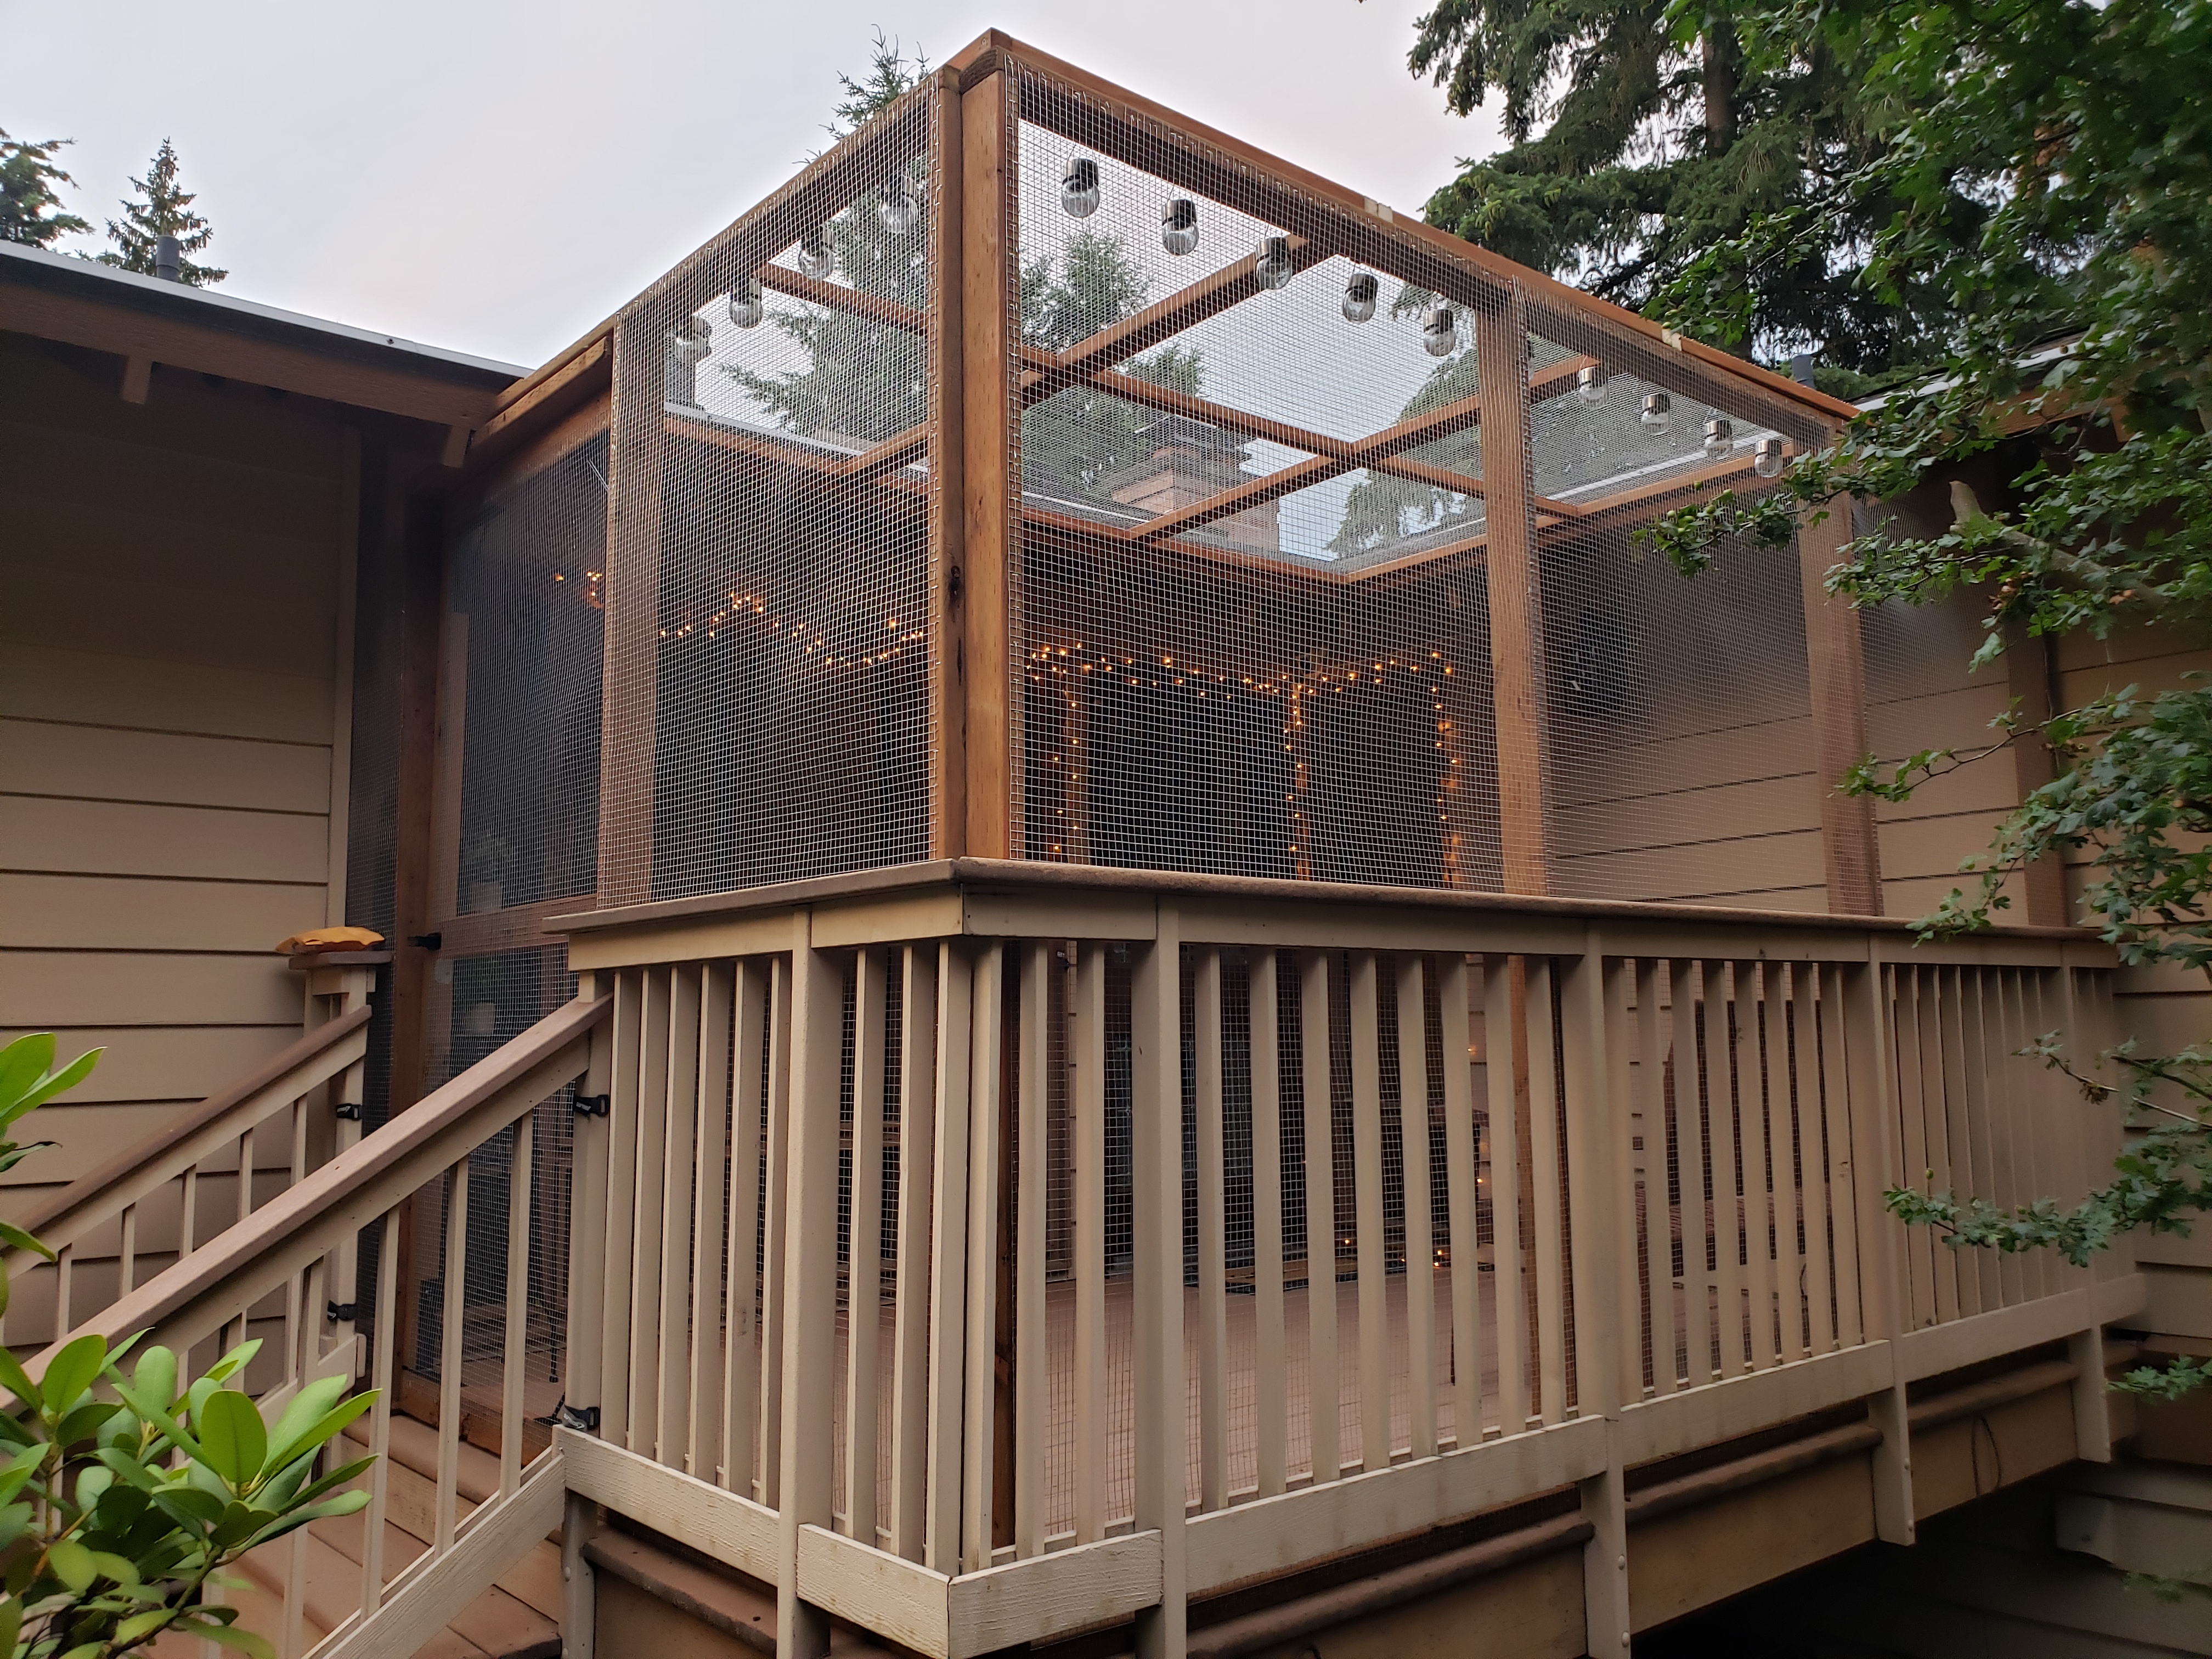
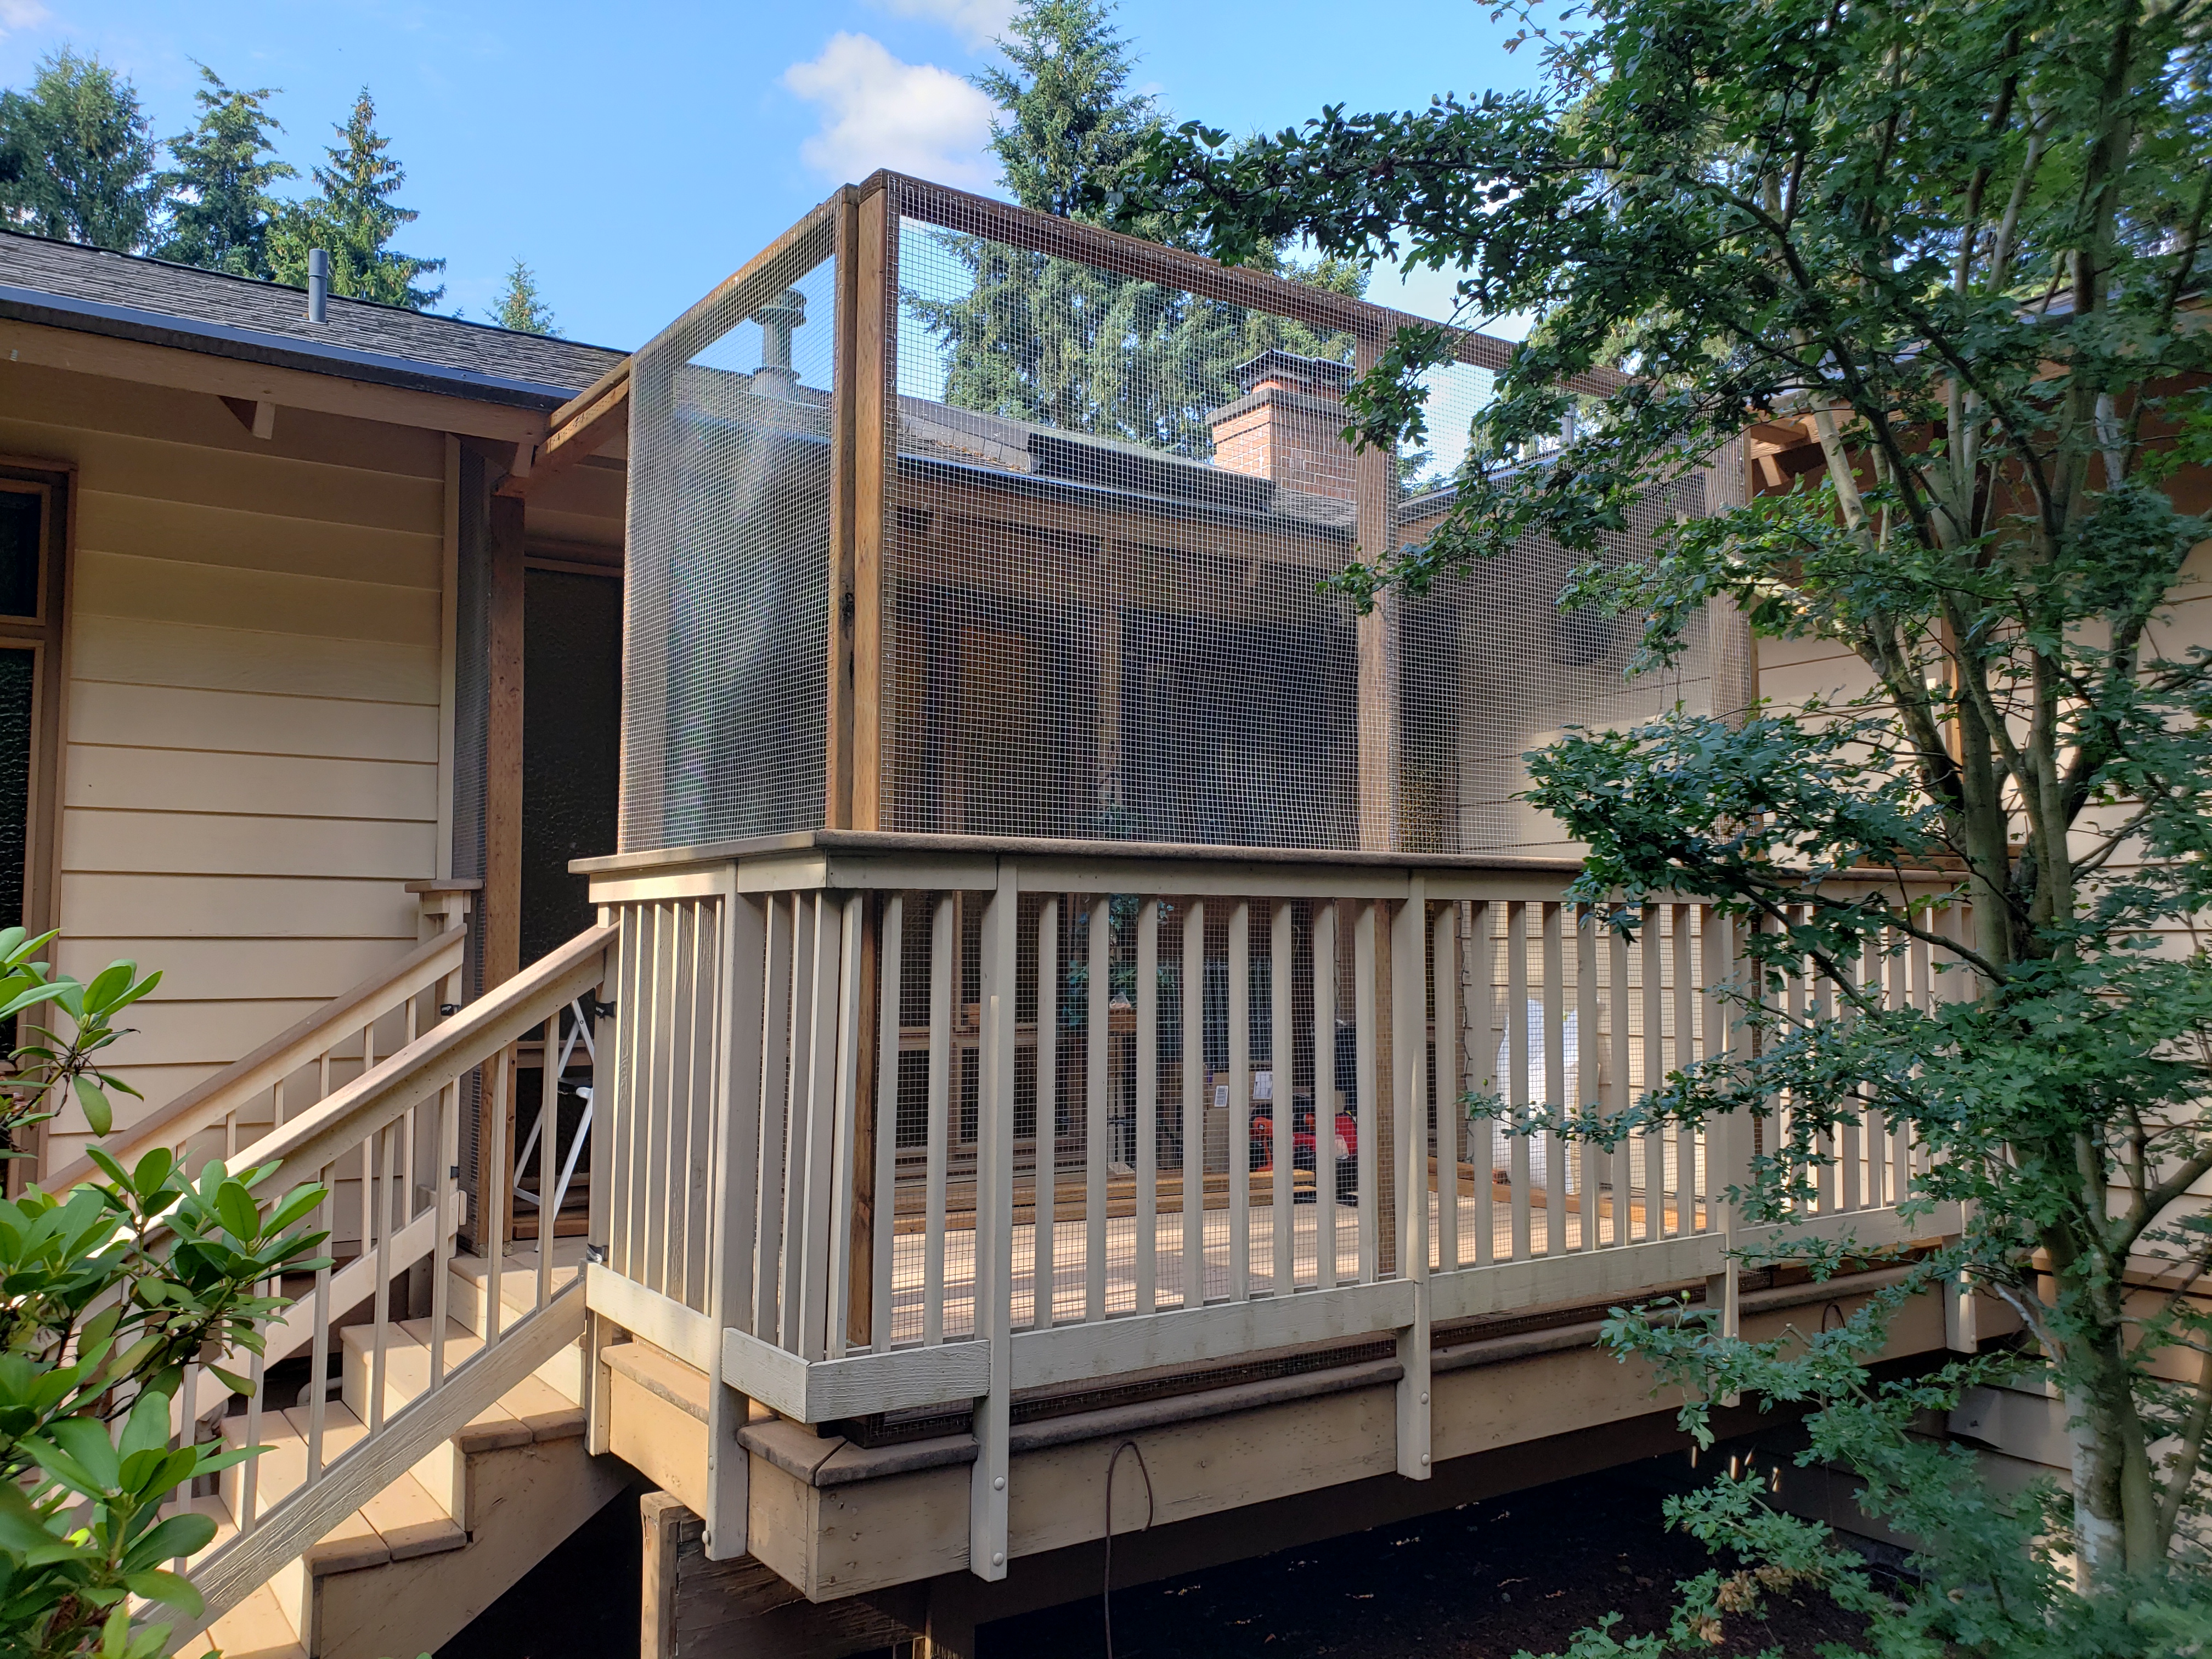
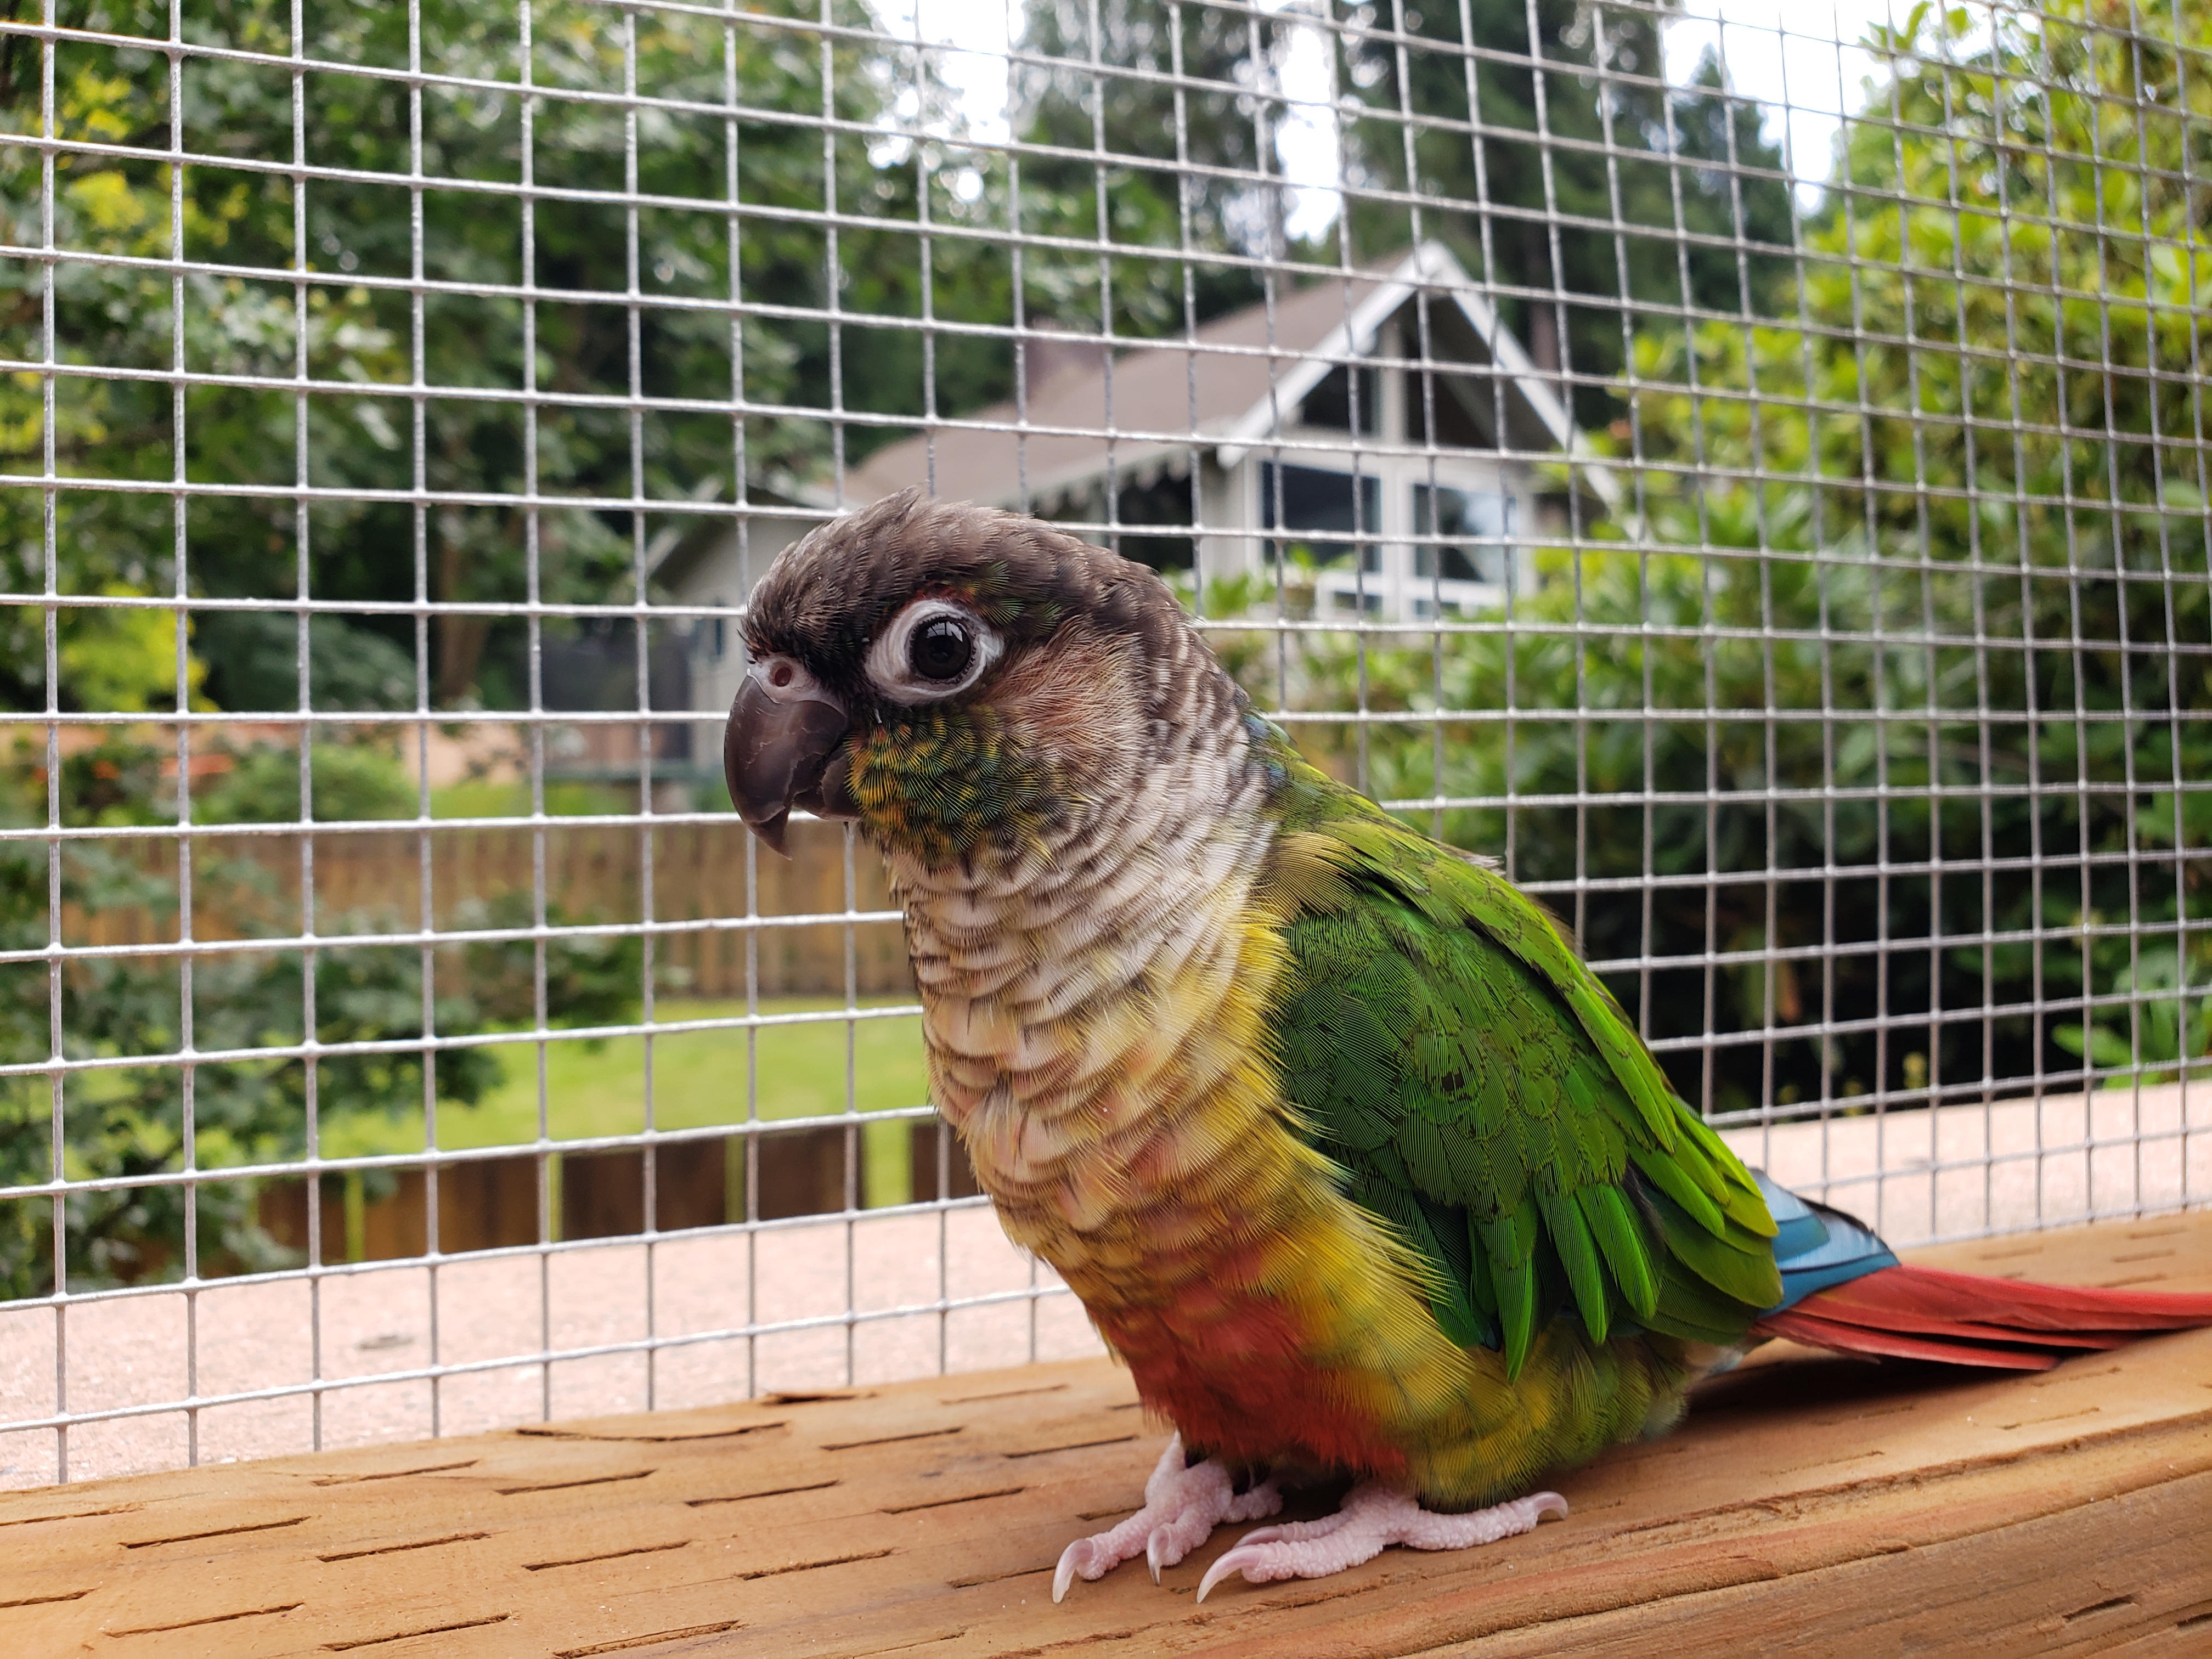
Here are few photos of the completed aviary:

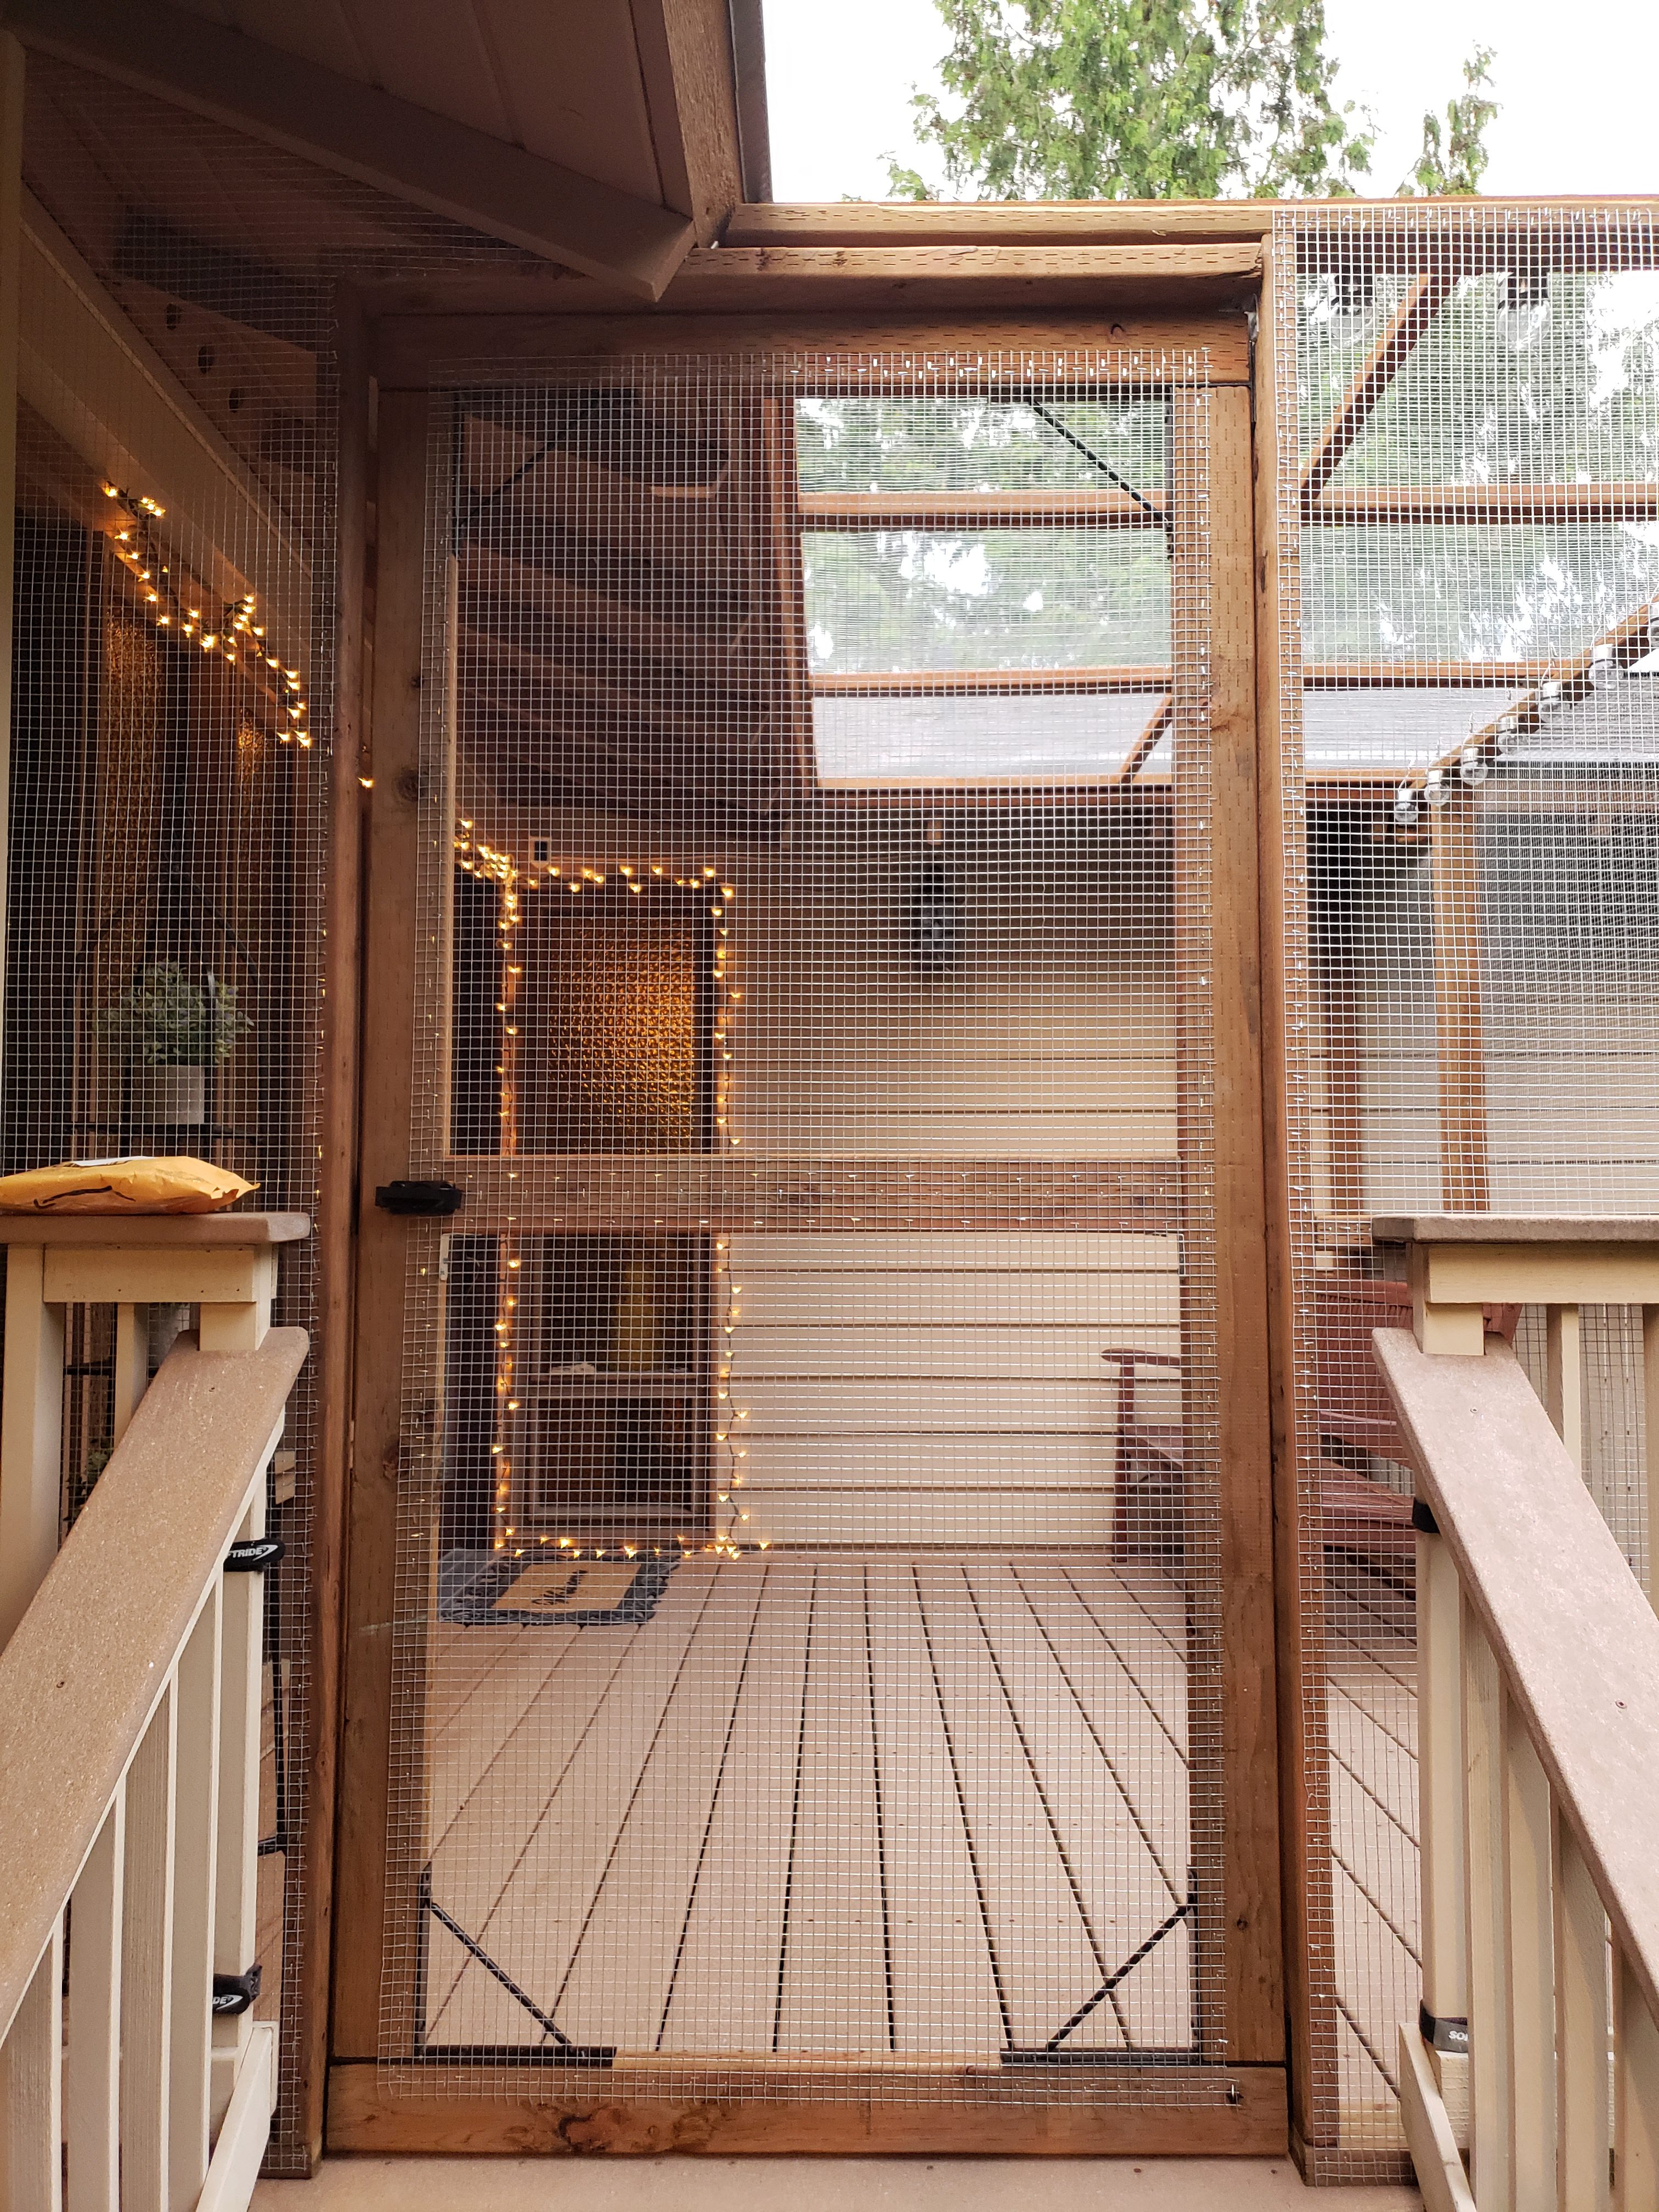
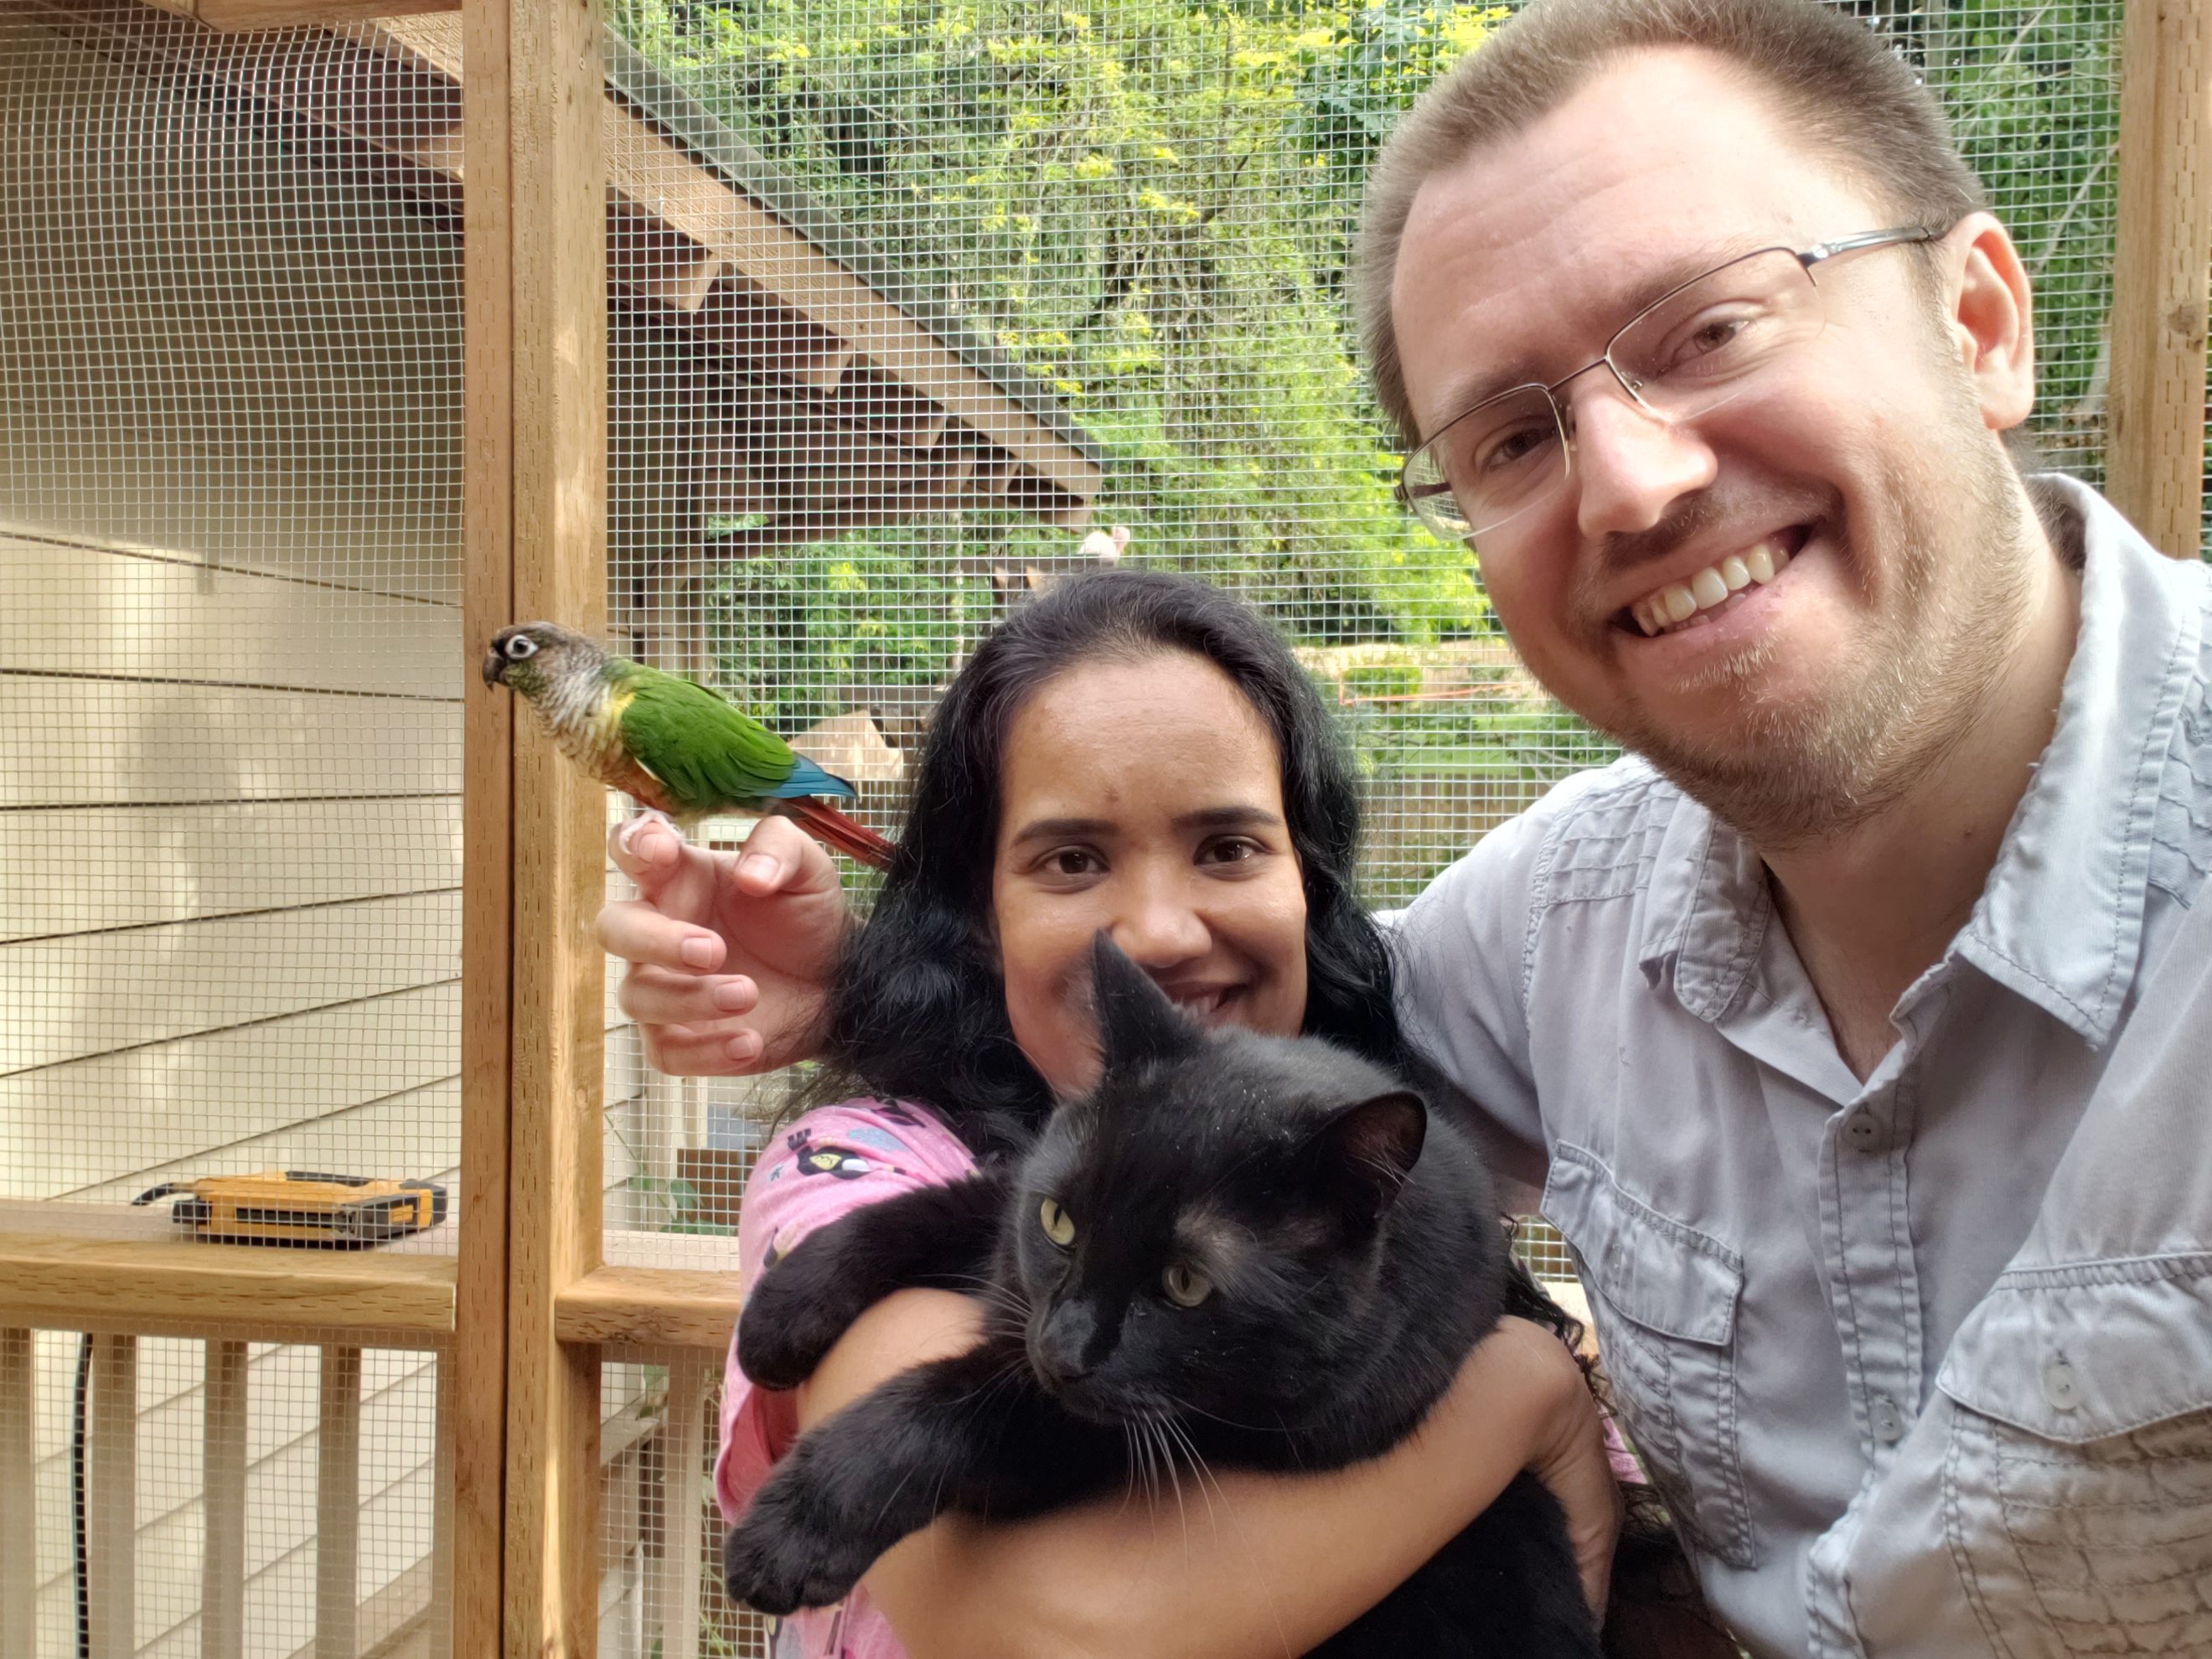
And the family having a good time and enjoying new outdoor space safe for our parrots 🙂


Timelapses
Since we have a security camera pointing at the view where the aviary was constructed, I quickly grabbed the footage and turned it into timelapses showing different parts of the process.
Part 1 – Trimming the tree, pressure washing
Part 2 – Framing, building the walls
Part 3 – Adding mesh, roof and door
Part 4 – Decorating
General tips
Before we start with the construction, here are few hints to help with the process – just a selection of random thoughts that I hope could be informative:
- if your job takes few days, remember to charger your power tools overnight – it can be really demotivating to discover that the drill is on its last breath after you’ve just spend 30 minutes setting everything up and getting ready to build stuff,
- consider which is the “pretty side” when working with wood – I like to position the exposed lumber in a way that it will be most pleasing to the eye (hide uneven edges and knots, but also remove any staples the dimensional lumber may have come with),
- wear eye protection – easy to dismiss as annoyance, but if you ever get something bad in your eyes, you’ll learn quickly. So no point delaying that lesson and taking unnecessary risks.
- and of course – measure twice, cut once. If you’re not making your cuts in place, and want to mark few pieces of wood, it helps to take some note for quick context (e.g. to avoid mixing up 2 very similar pieces). Also, it’s a good practice to cut on one side of the mark you out on the wood, and not in the middle (in which case the saw blade’s kerf will affect the dimension of a piece). Not as critical in construction where large pieces are used and 1/16″ won’t make that big of a difference, but – good to keep in mind.
Parts – Bill of Materials & Cost Breakdown
Alright, let’s see what do we need to make it all happen!
Bill of materials
| Product | Quantity | Unit price | Total price | Link |
| Lumber, 2x3x8 | 55 | $4 | $220 | Home Depot |
| Lumber, 2x2x8 | 32 | $6 | $192 | Home Depot |
| Wire mesh, 19ga, galvanized, 50 ft roll | 2 | $70 | $140 | Amazon |
| Door frame hardware | 1 | $41 | $41 | Amazon |
| Door knob with lock | 1 | $24 | $24 | Amazon |
| Door latch | 1 | $7 | $7 | Amazon |
| Screws, 3 inch, 5lb box, outdoor | 1 | $27 | $27 | Home Depot |
| Staples T50, 3/8 inch, 5000-pack | 1 | $11 | $11 | Amazon |
| Simpson strong tie A21 brackets | 10 | $0.76 | $7.60 | Home Depot |
| Eye hook screws (30pcs) | 1 | $7 | $7 | Amazon |
| Waterseal stain | 1 | $15 | $15 | Amazon |
| Doorbell | 1 | $5 | $5 | Amazon |
| Doorbell cable (100ft) | 1 | $25 | $25 | Amazon |
The total cost of materials (including lumber) lister here came in under $800.
Depending on the tools available to you, you may need to purchase some additional ones.
Tools:
| Product | Price | Link |
| Table saw | $400 | Amazon |
| Stapler (pneumatic) – compressor + tool kit | $280 | Amazon |
| Stapler (manual) | $18 | Amazon |
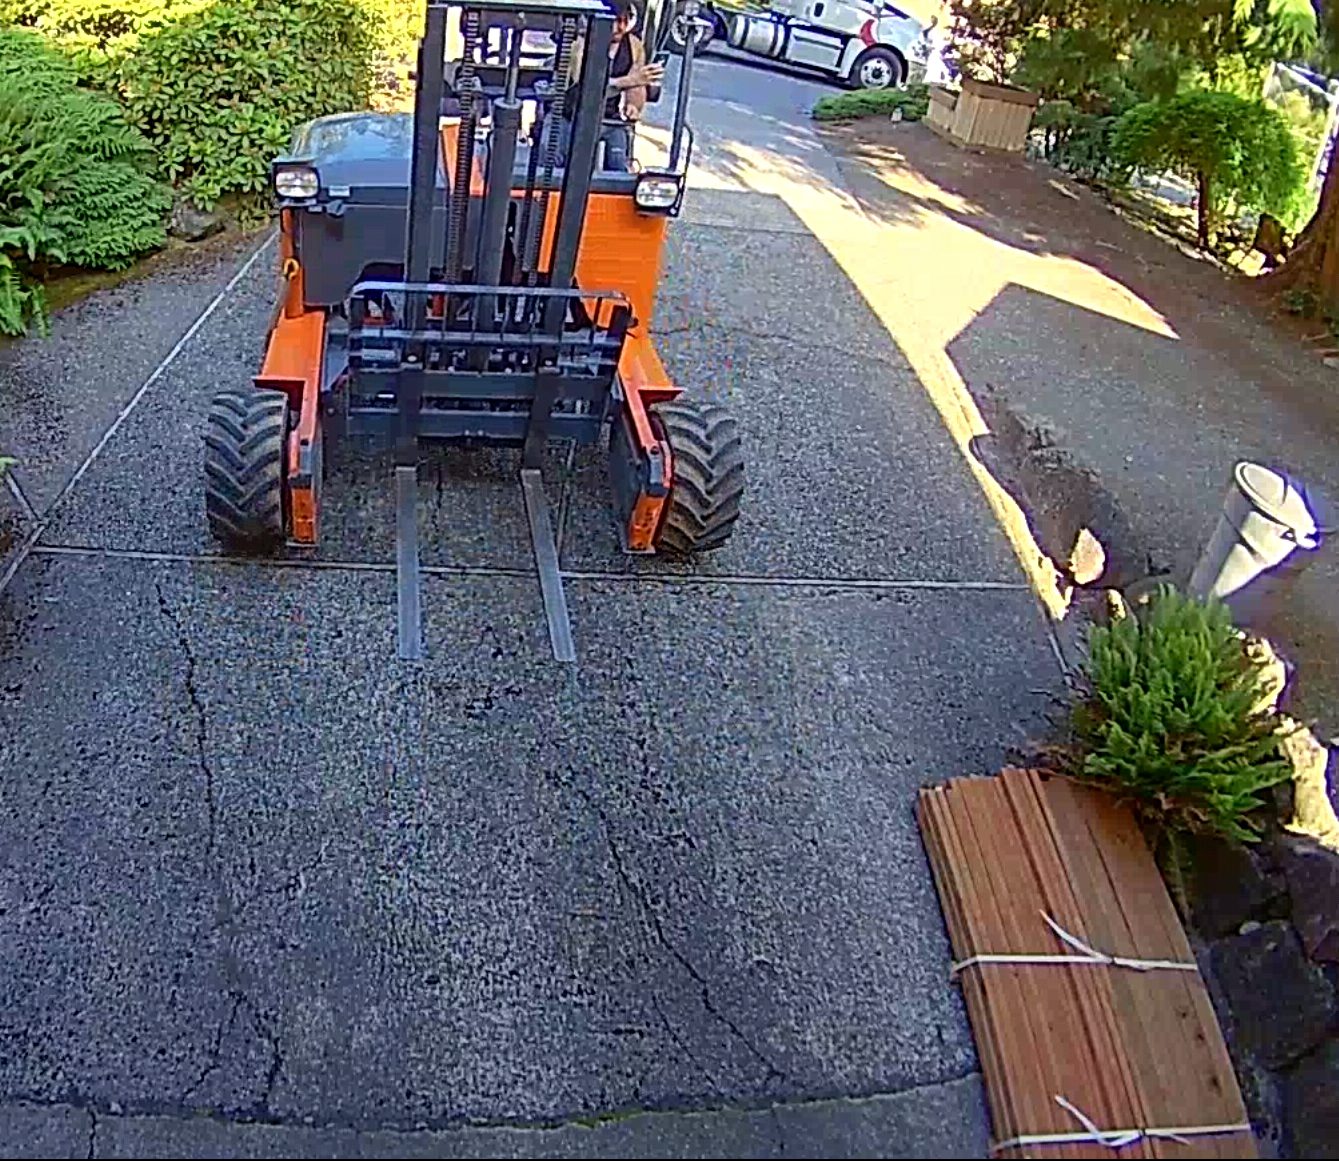
When building previous projects, I’d go and pick up the wood myself, pack it into the car and drive home. This time, considering COVID-19, I wanted to avoid unnecessary exposure, and instead opted out to have the lumber delivered. This means I don’t get to choose individual pieces, but if you order extra 10% or 15% of estimated lumber, I’m sure you’ll be fine.
And there’s always that next project to put any extra lumber to use 😉

Building Process
Plans
If you’ve seen my previous projects, you may see that I approach planning in different ways for each project. From detailed 3D models with precise dimensions (couple examples: smart game board, arcade cabinet, archery targets) to quick sketches used as a mean to add context to the available space and help me make sense of out it, quickly iterate, and decide on how to build things 🙂
This time, I followed the latter. The space is already defined by the front porch, and I wanted to turn in into an aviary while making most efficient use of the space (considering spacing of vertical supports and their impact on the view; height of the ceiling as a function of comfort and practicality, etc.).
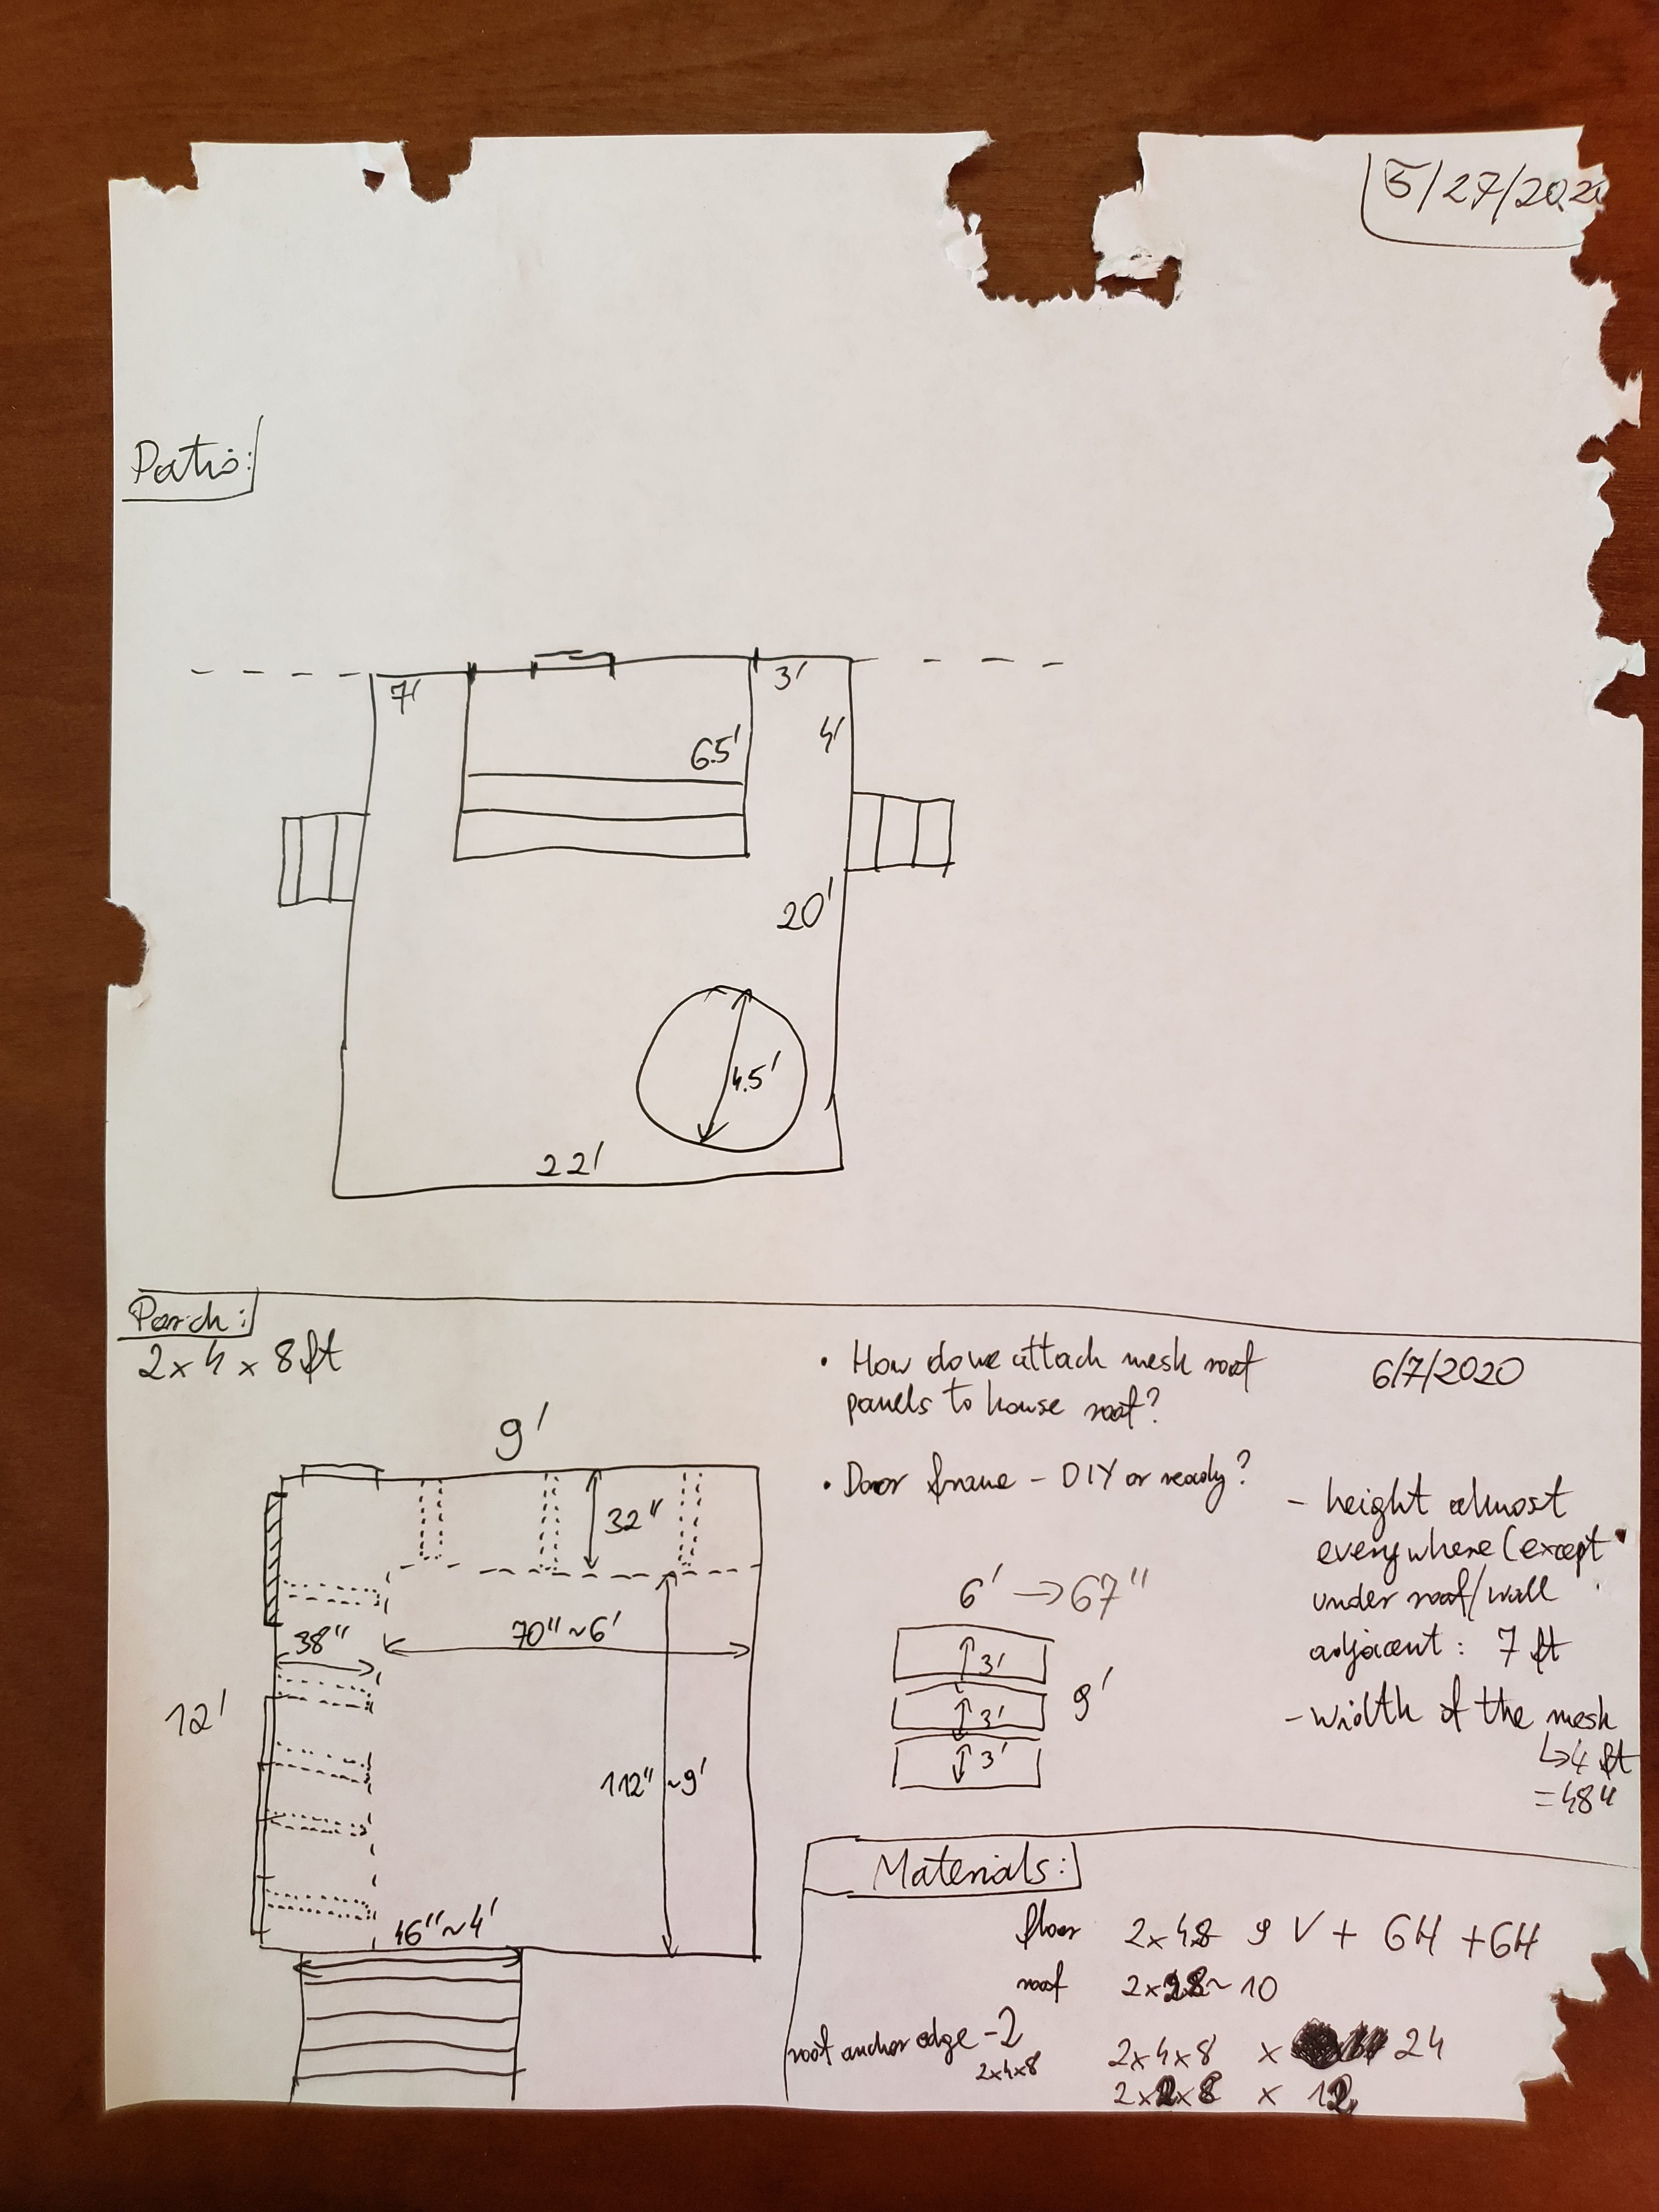
If you don’t mind my hand writing (those are not technical drawings 😉 ), here’s a quick glance at what I produced to help make sense of the construction:
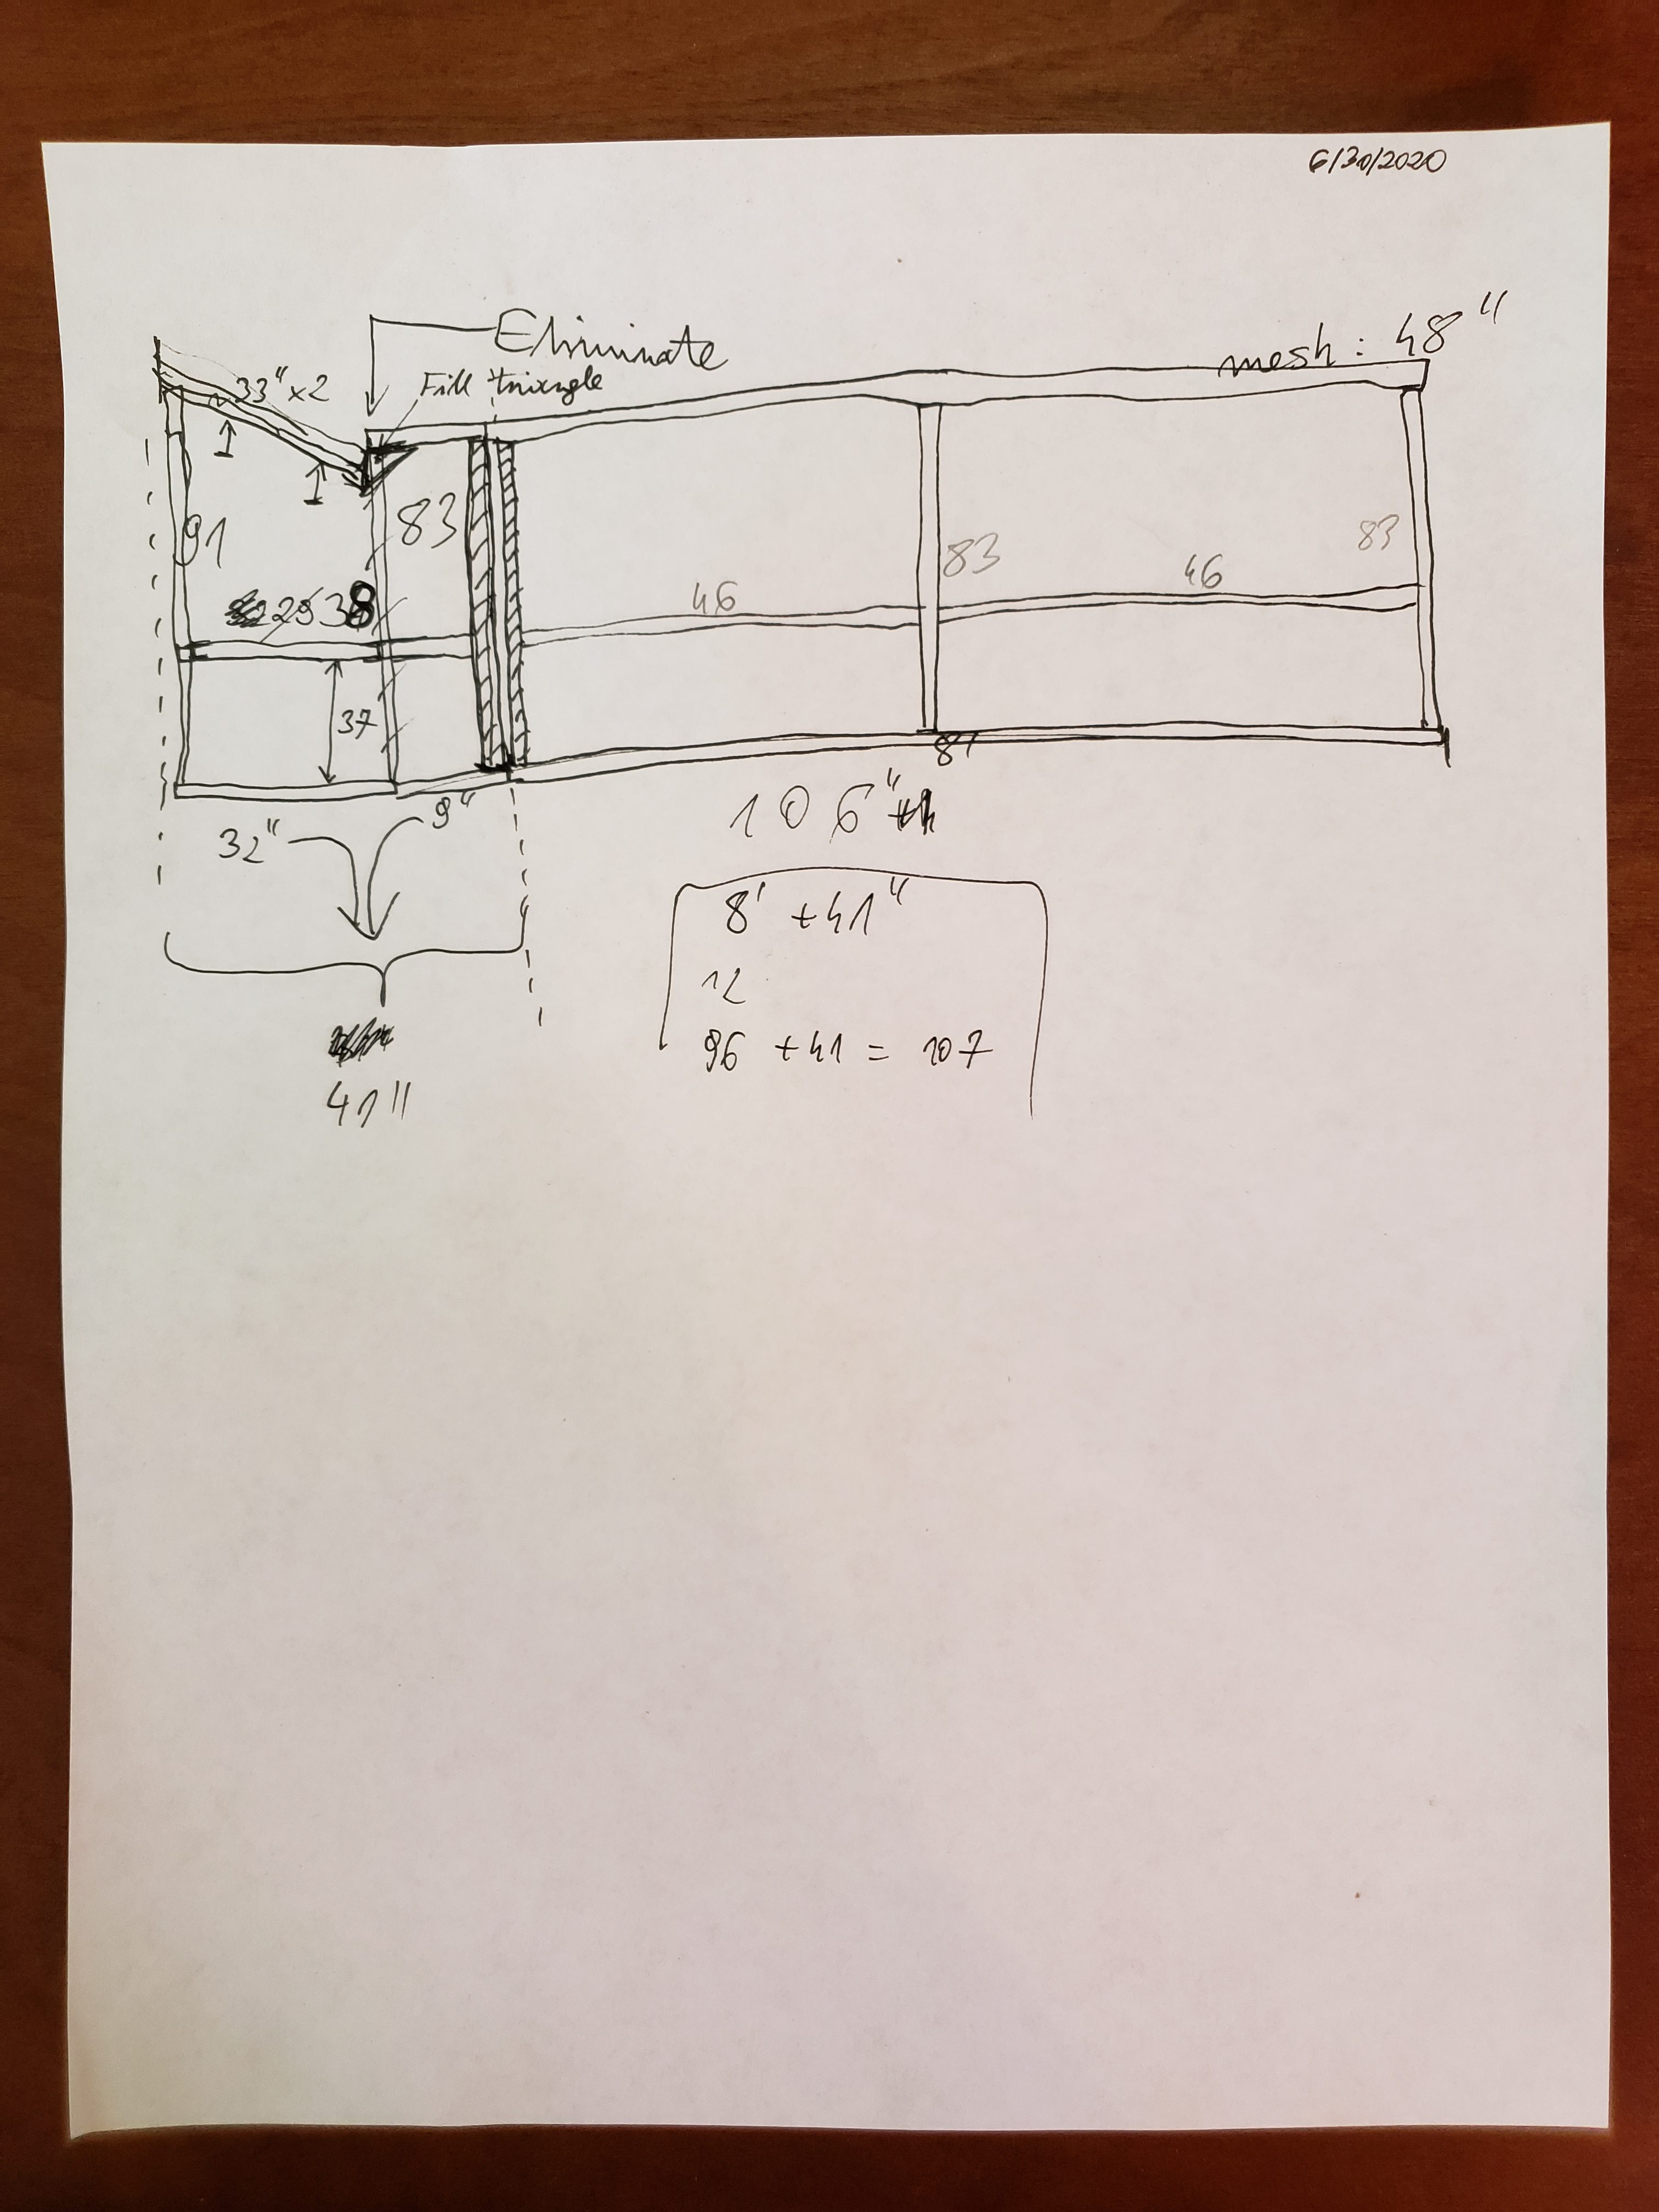

The last page was reviewed by Bella (yellow-sided green cheek conure), and her seal of approval can be visible along the edges of the paper 😉
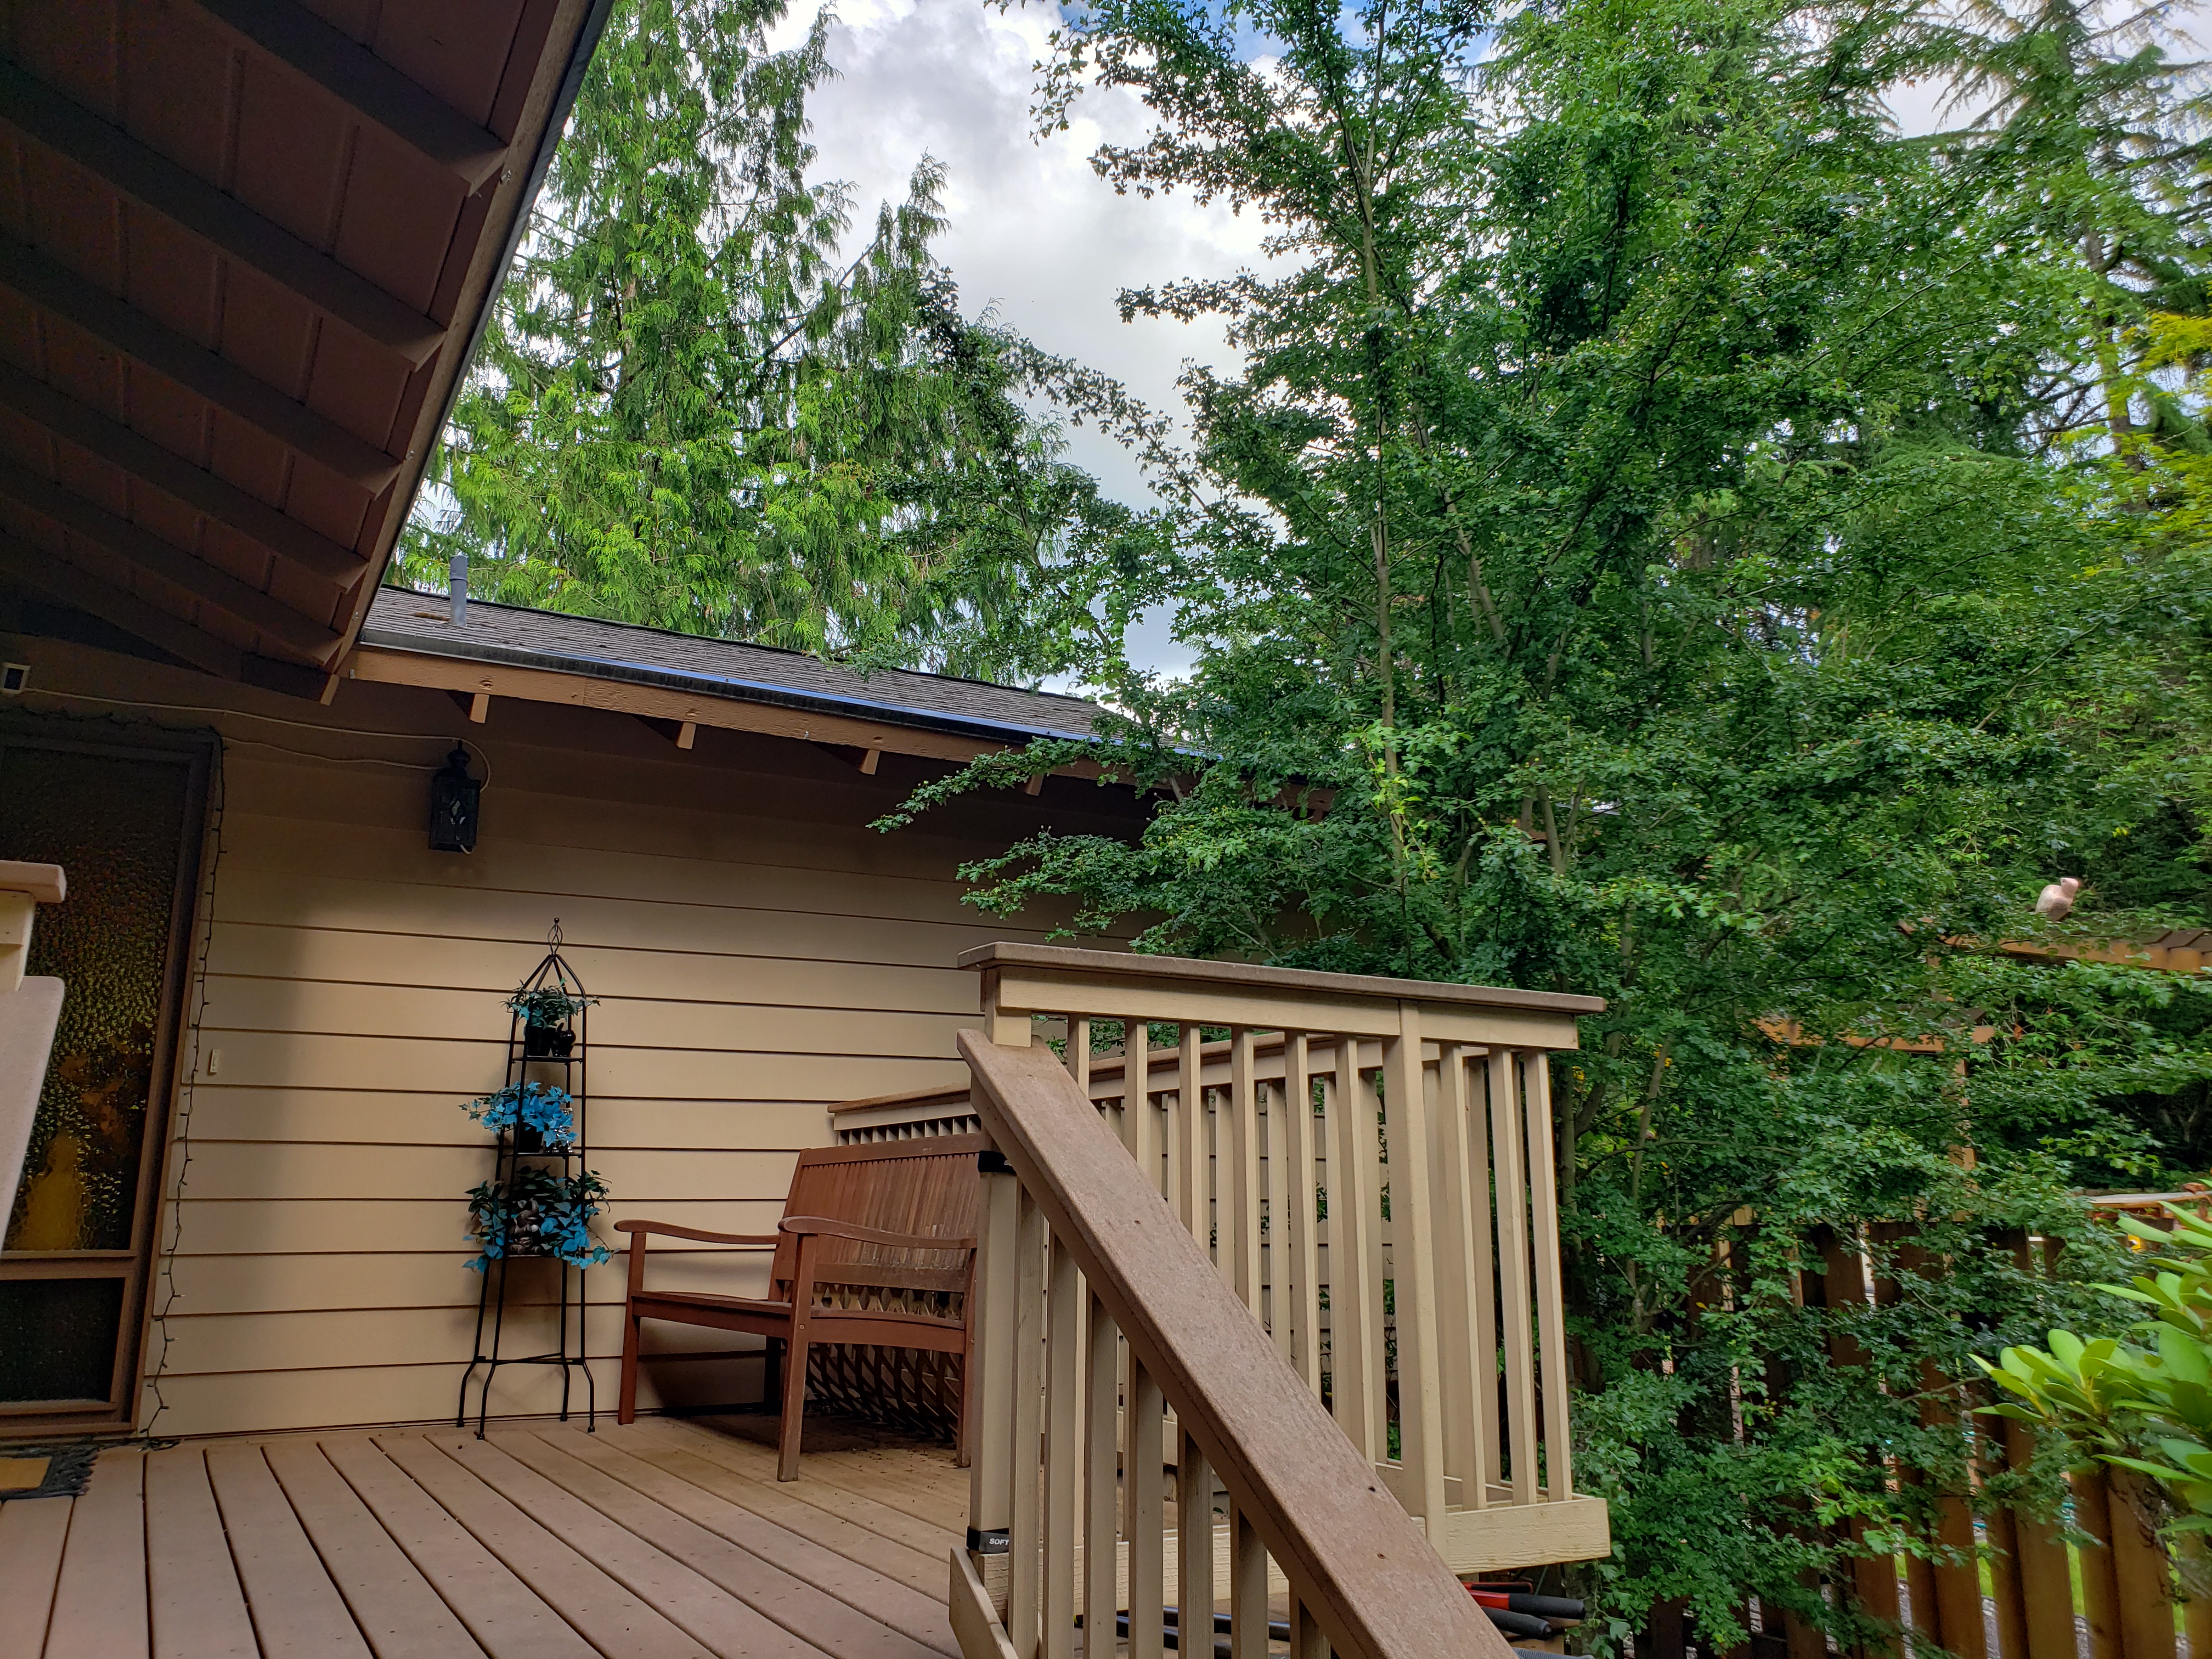
Preparation
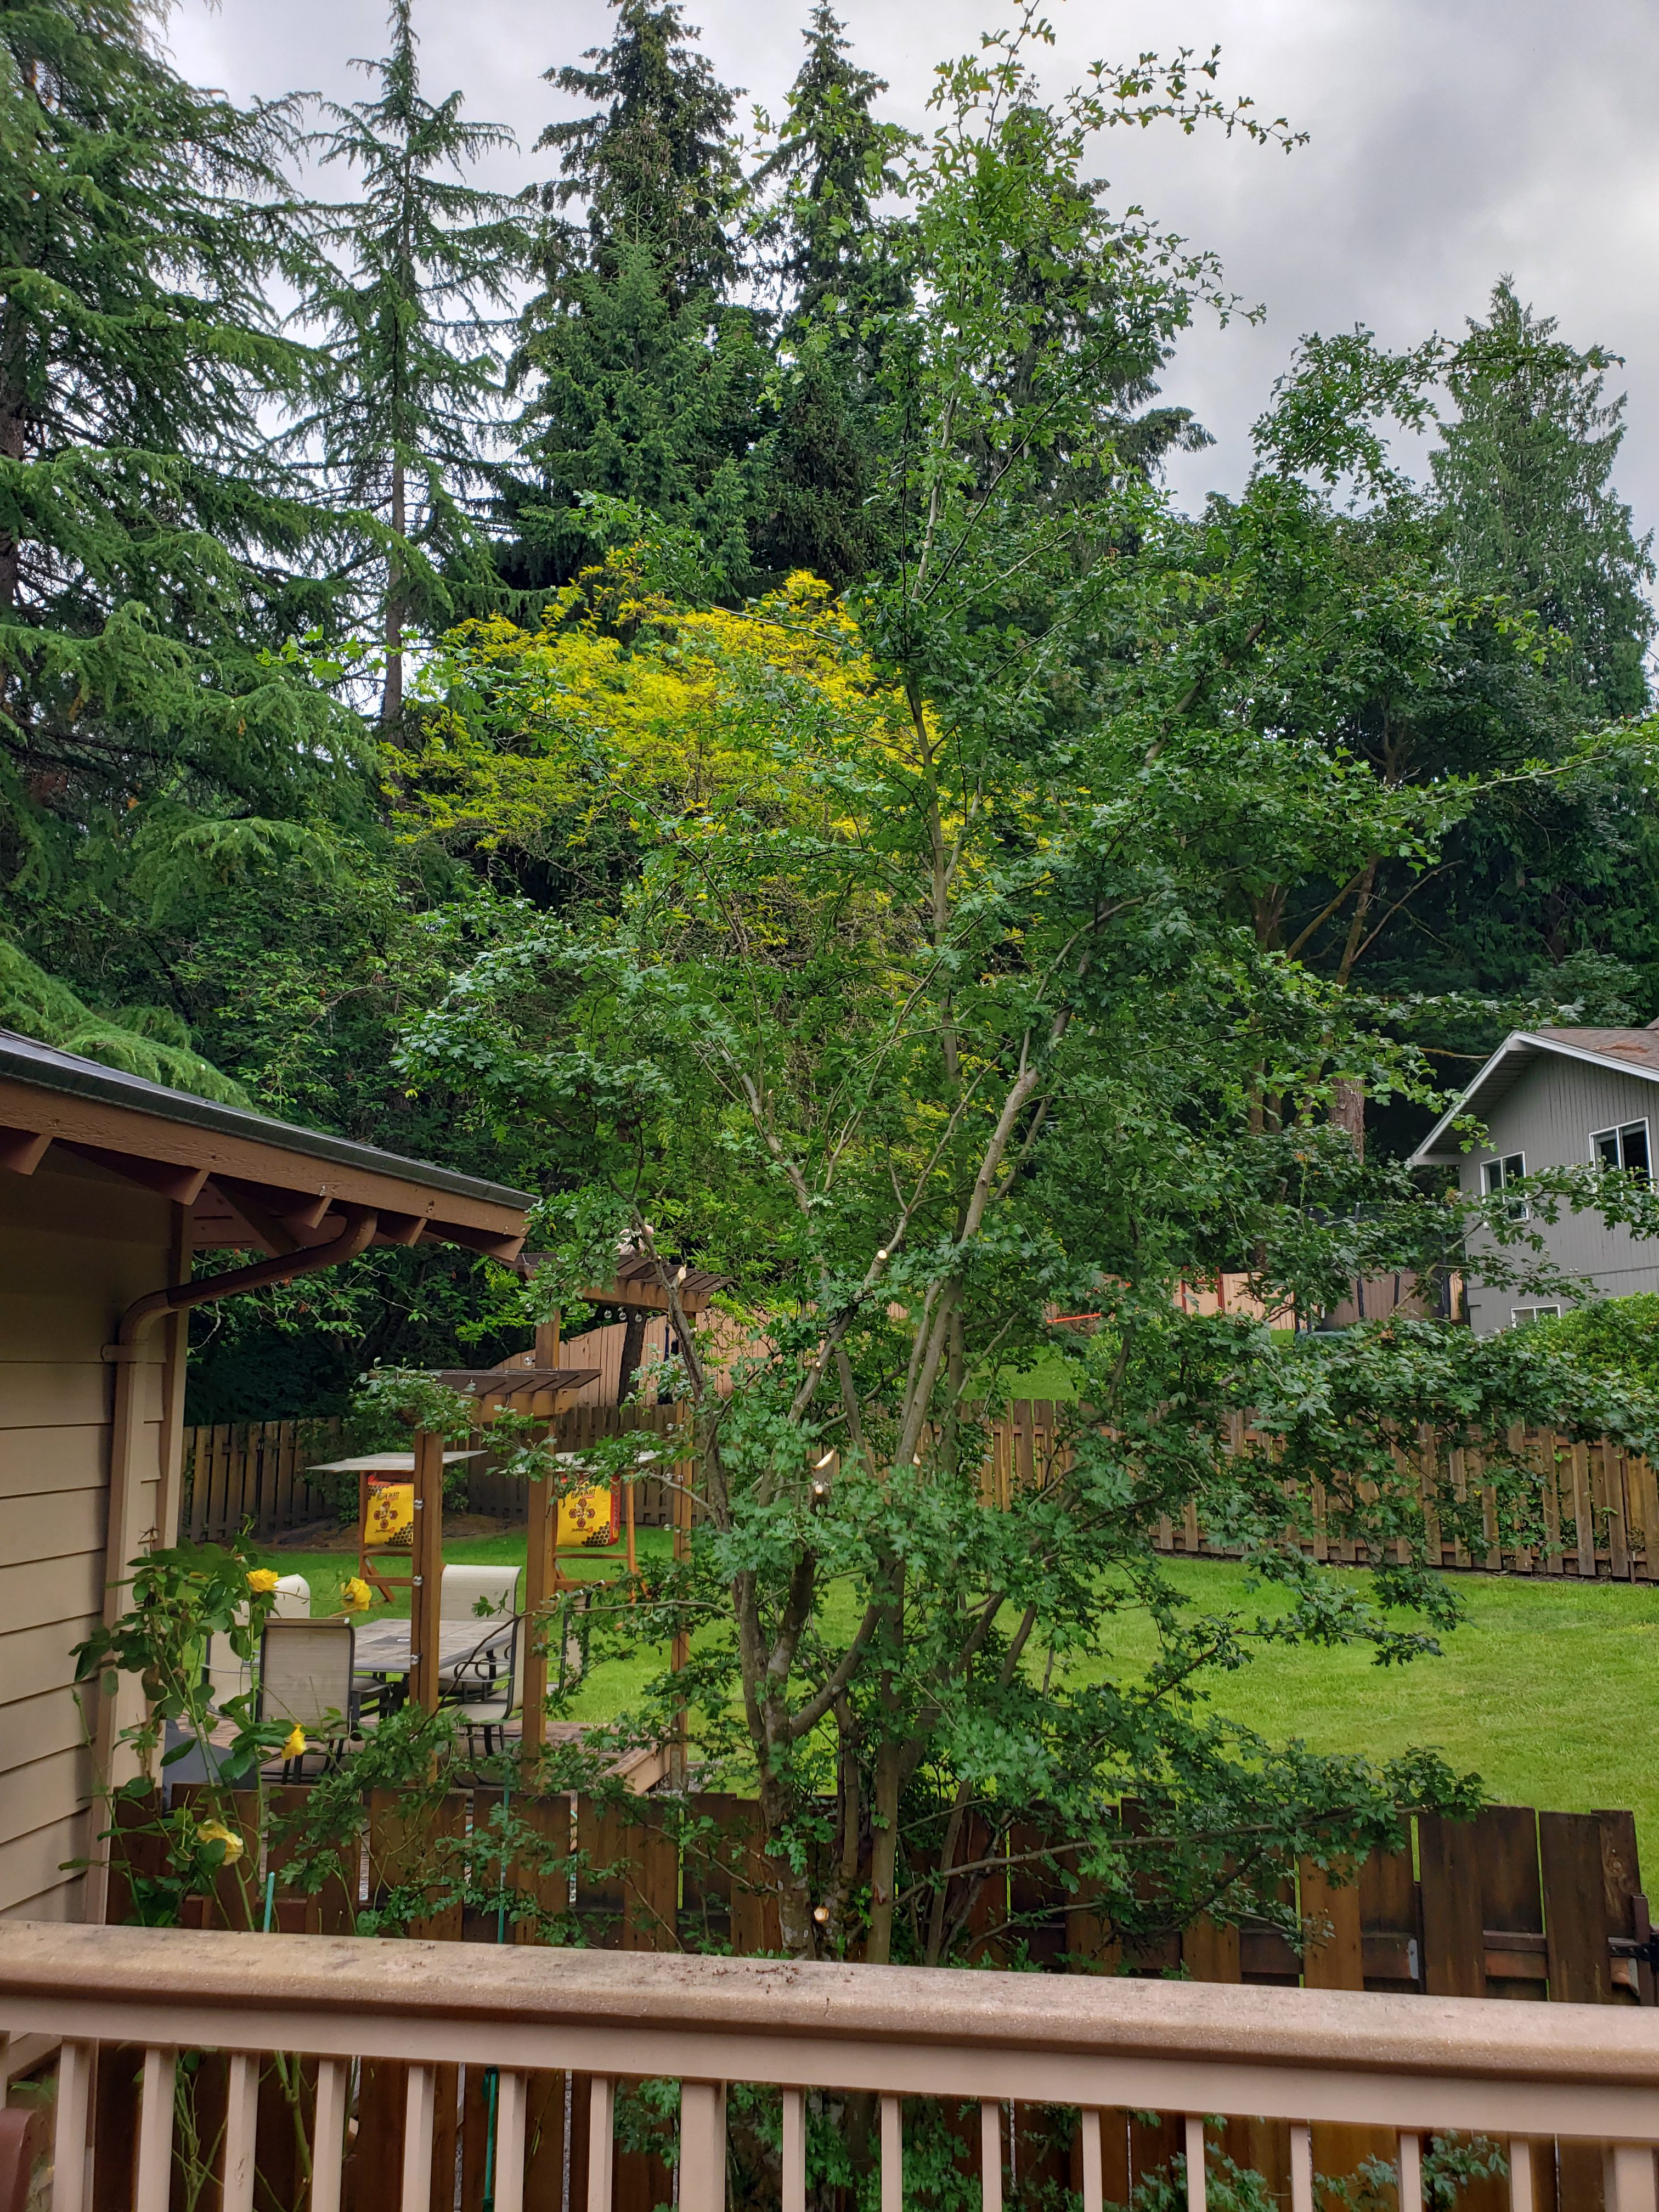
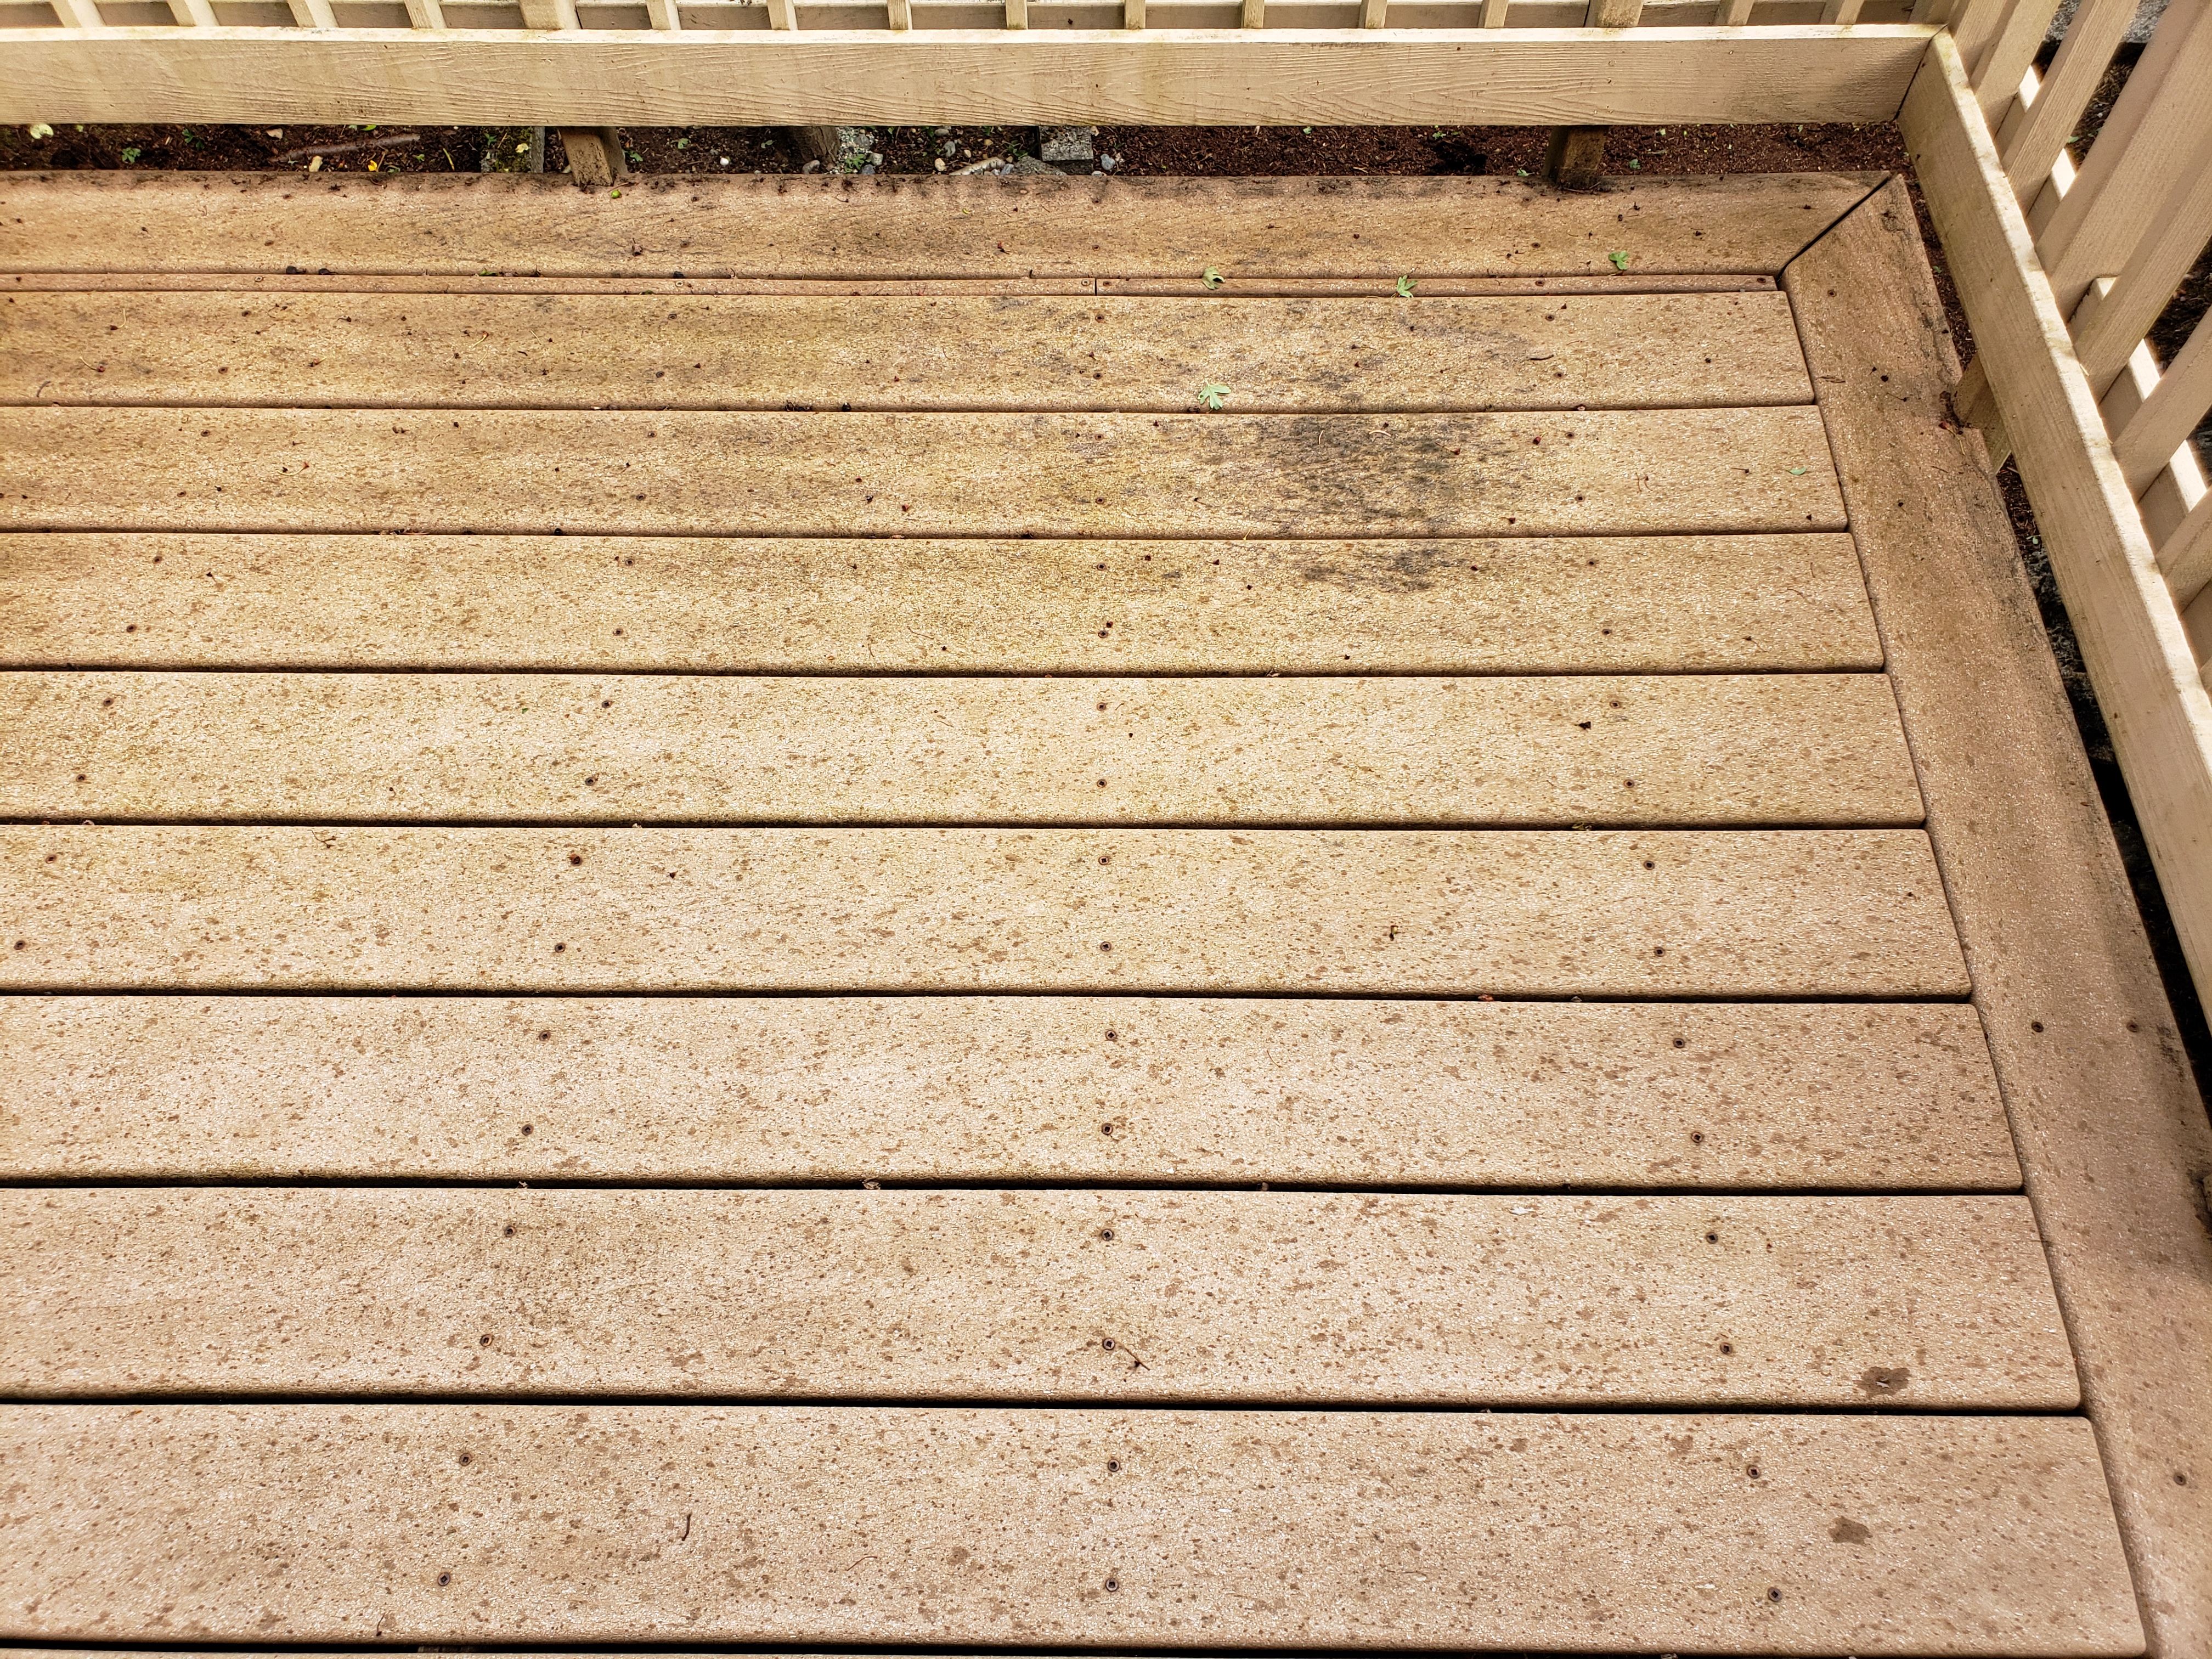
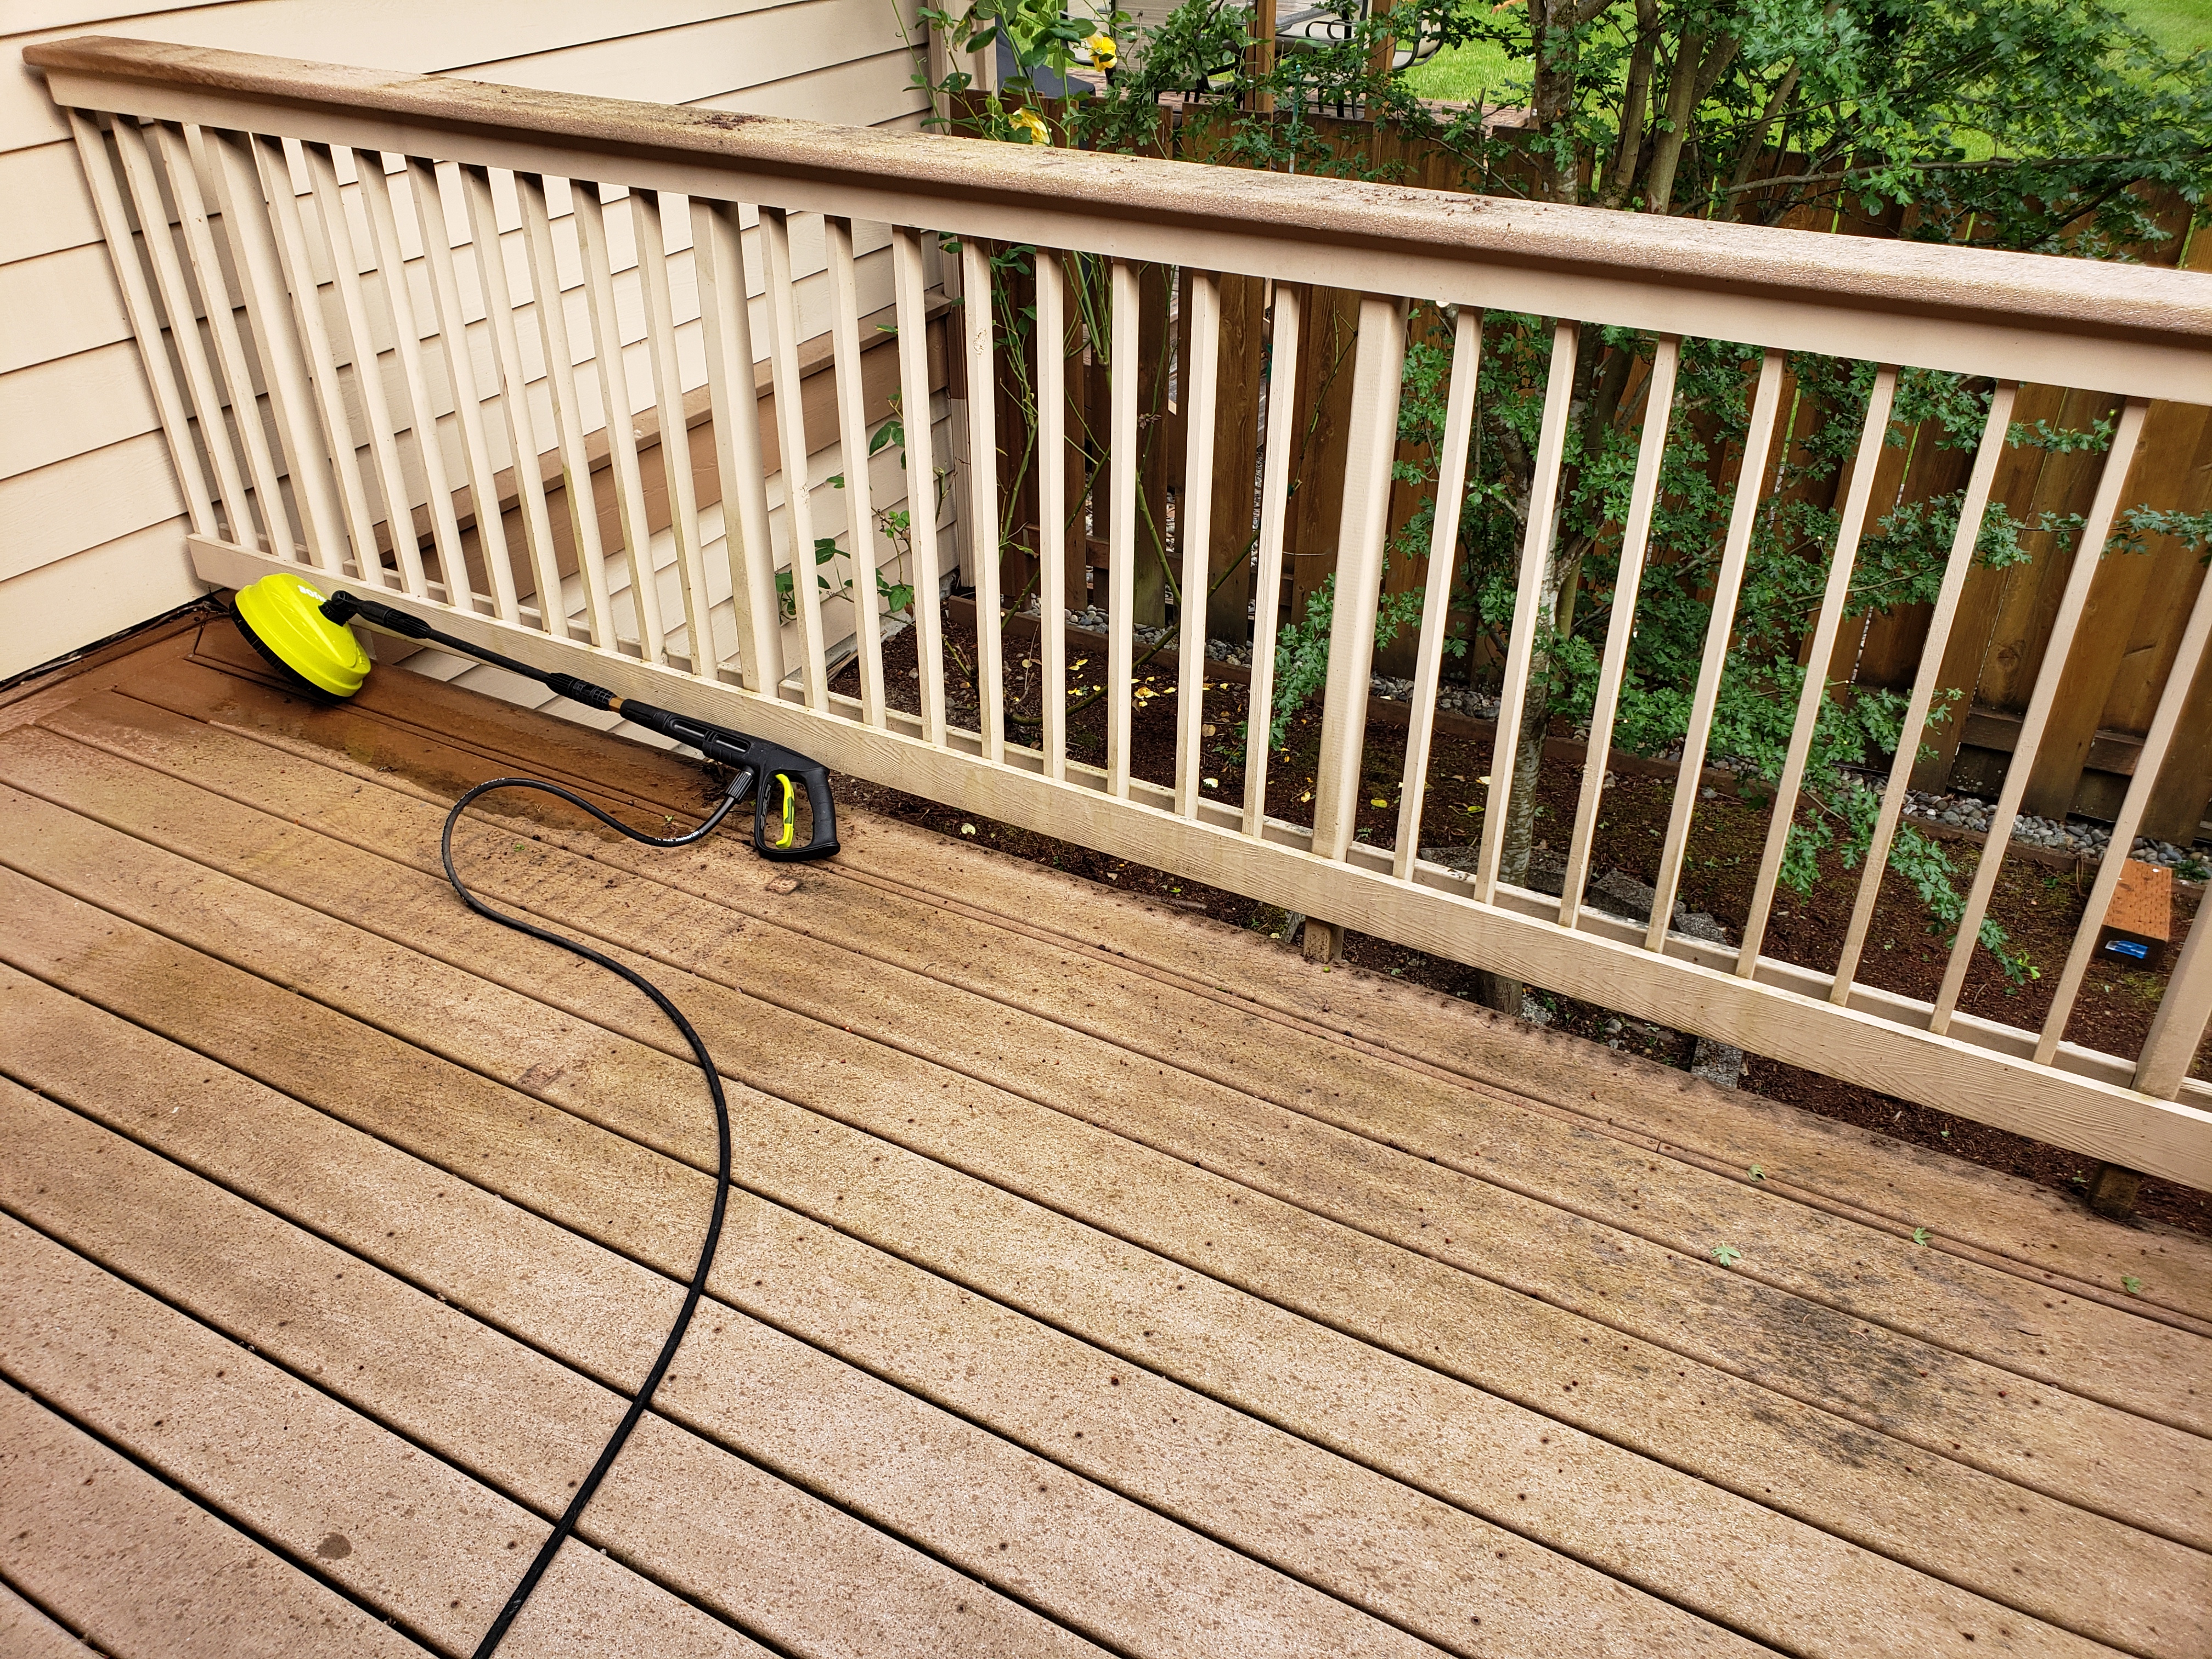
Now that we know what we’re building, and where, it’s time to prepare the location. The deck needed some refreshing, and the adjacent tree has grown a bit too large.
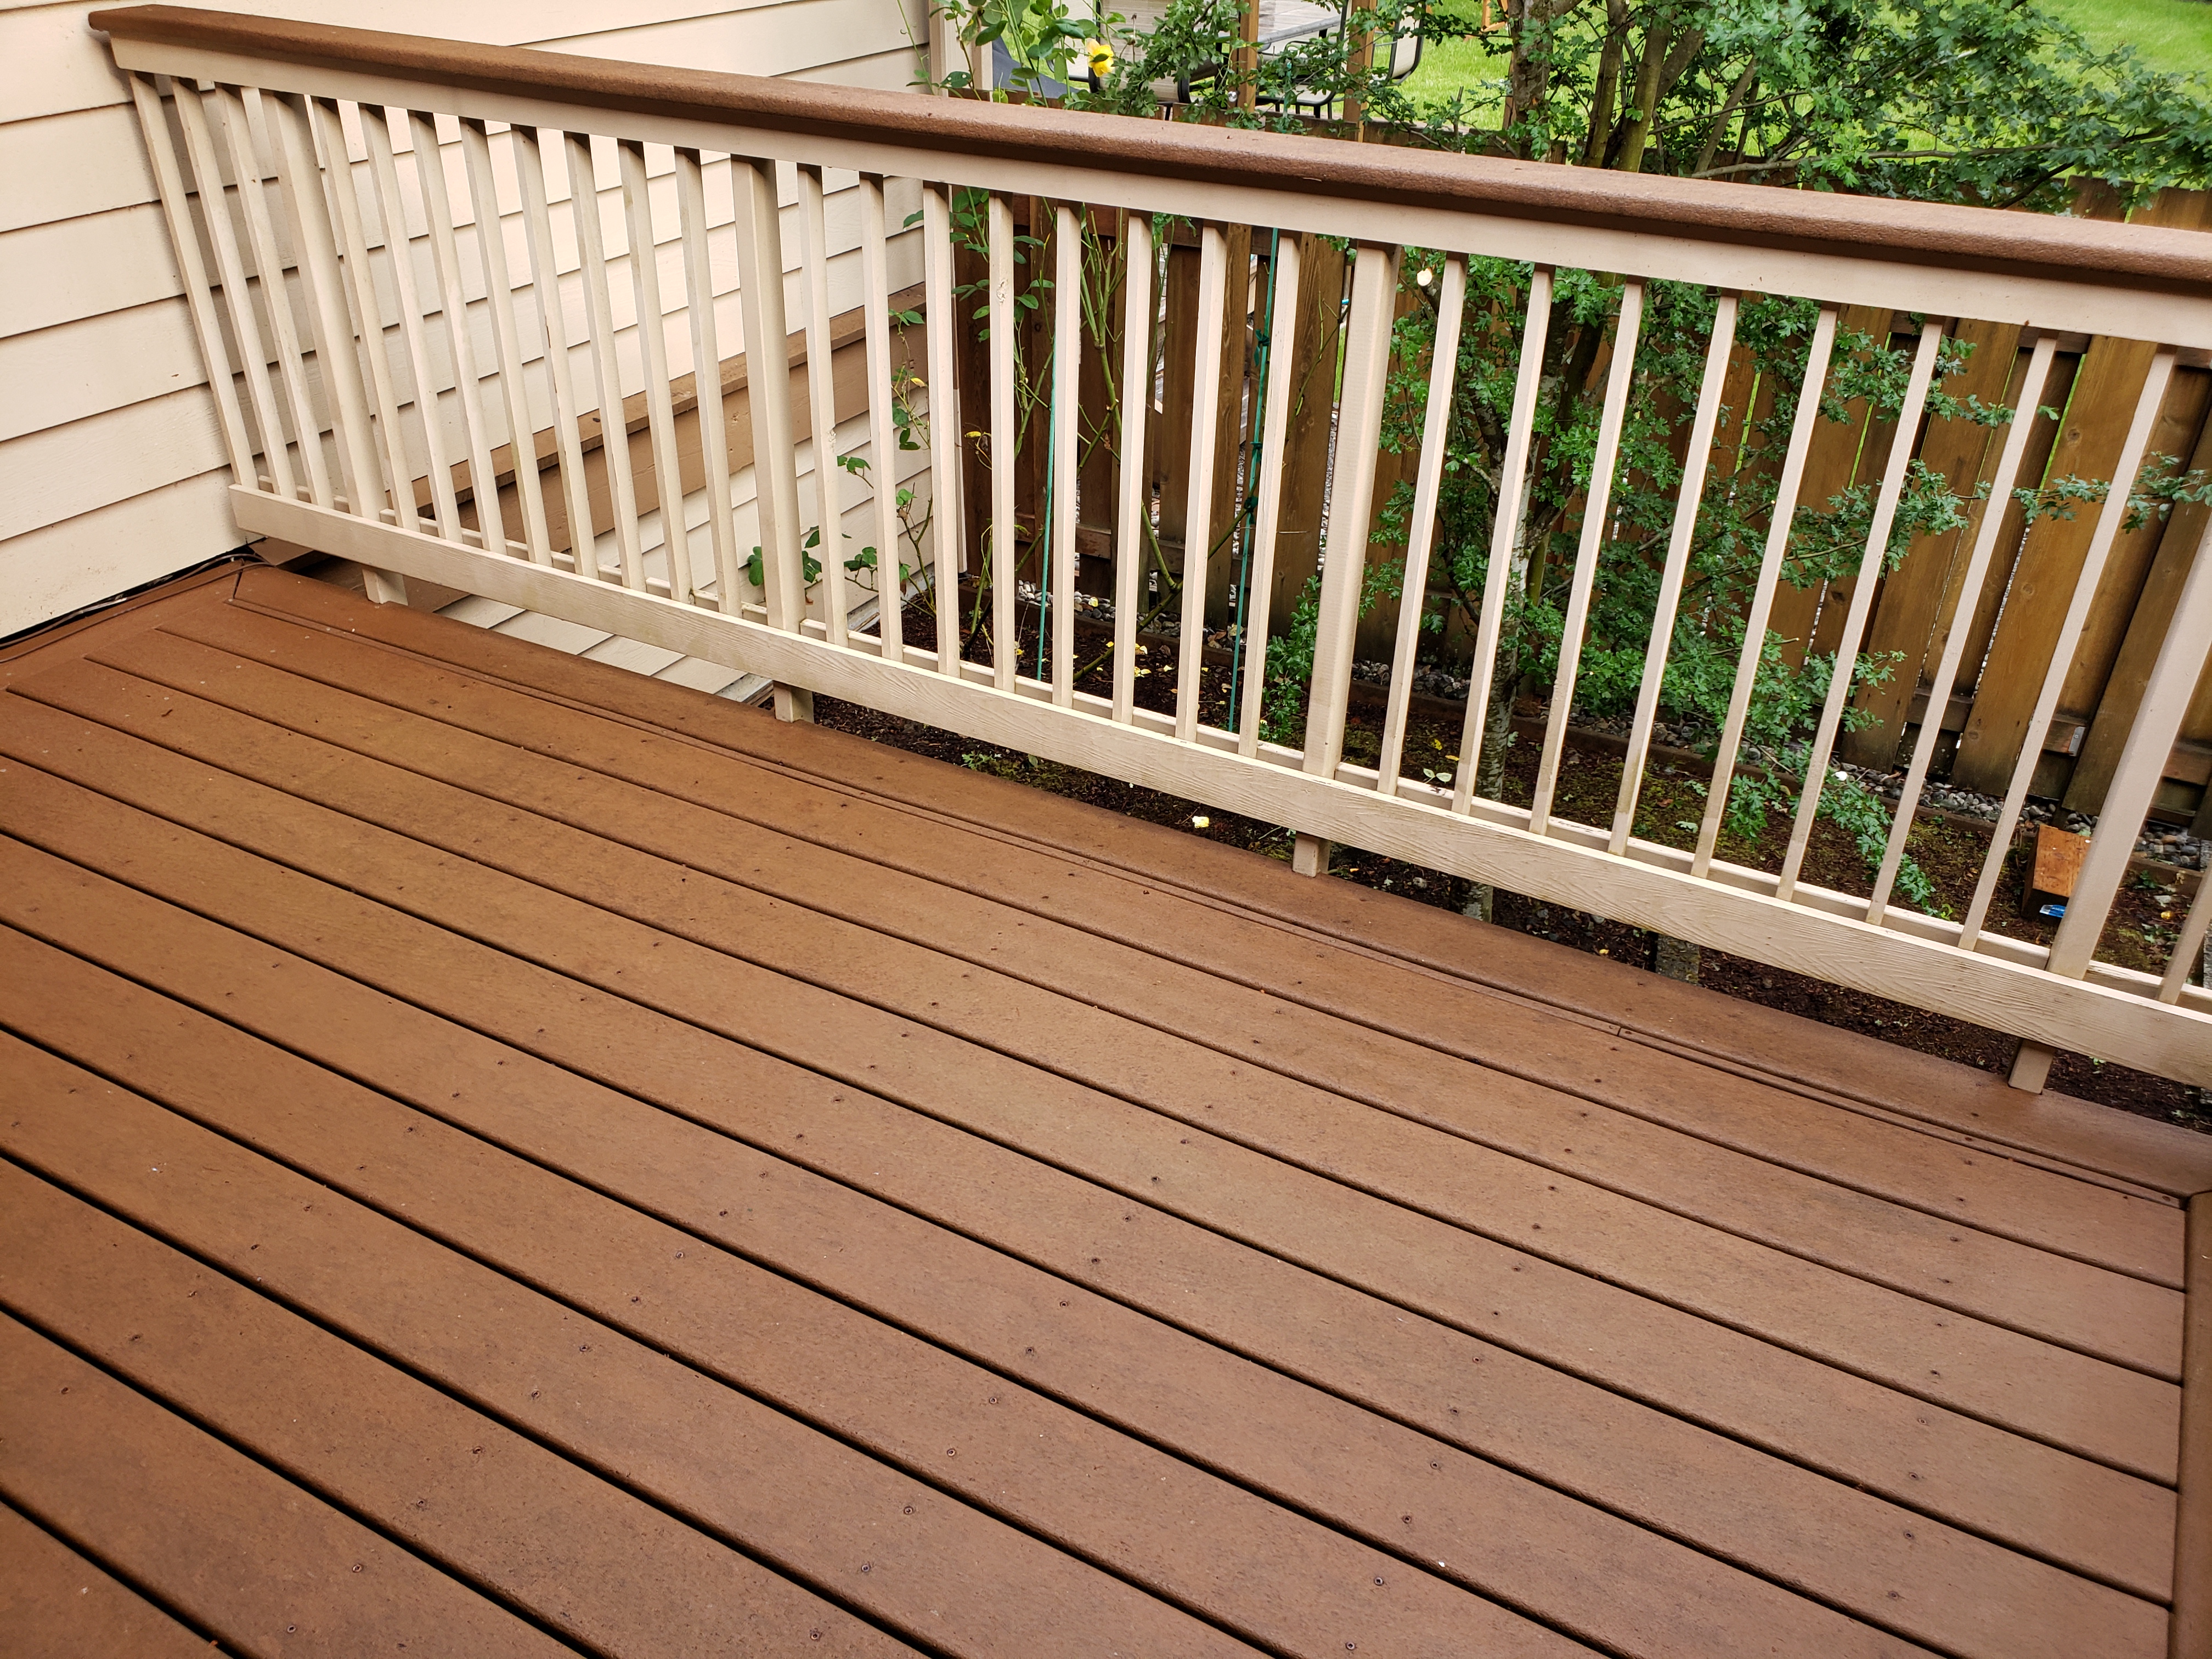
Quick pressure washing and trimming of the tree helped prepare the space for what’s coming next.
Tree – before and after trimming:


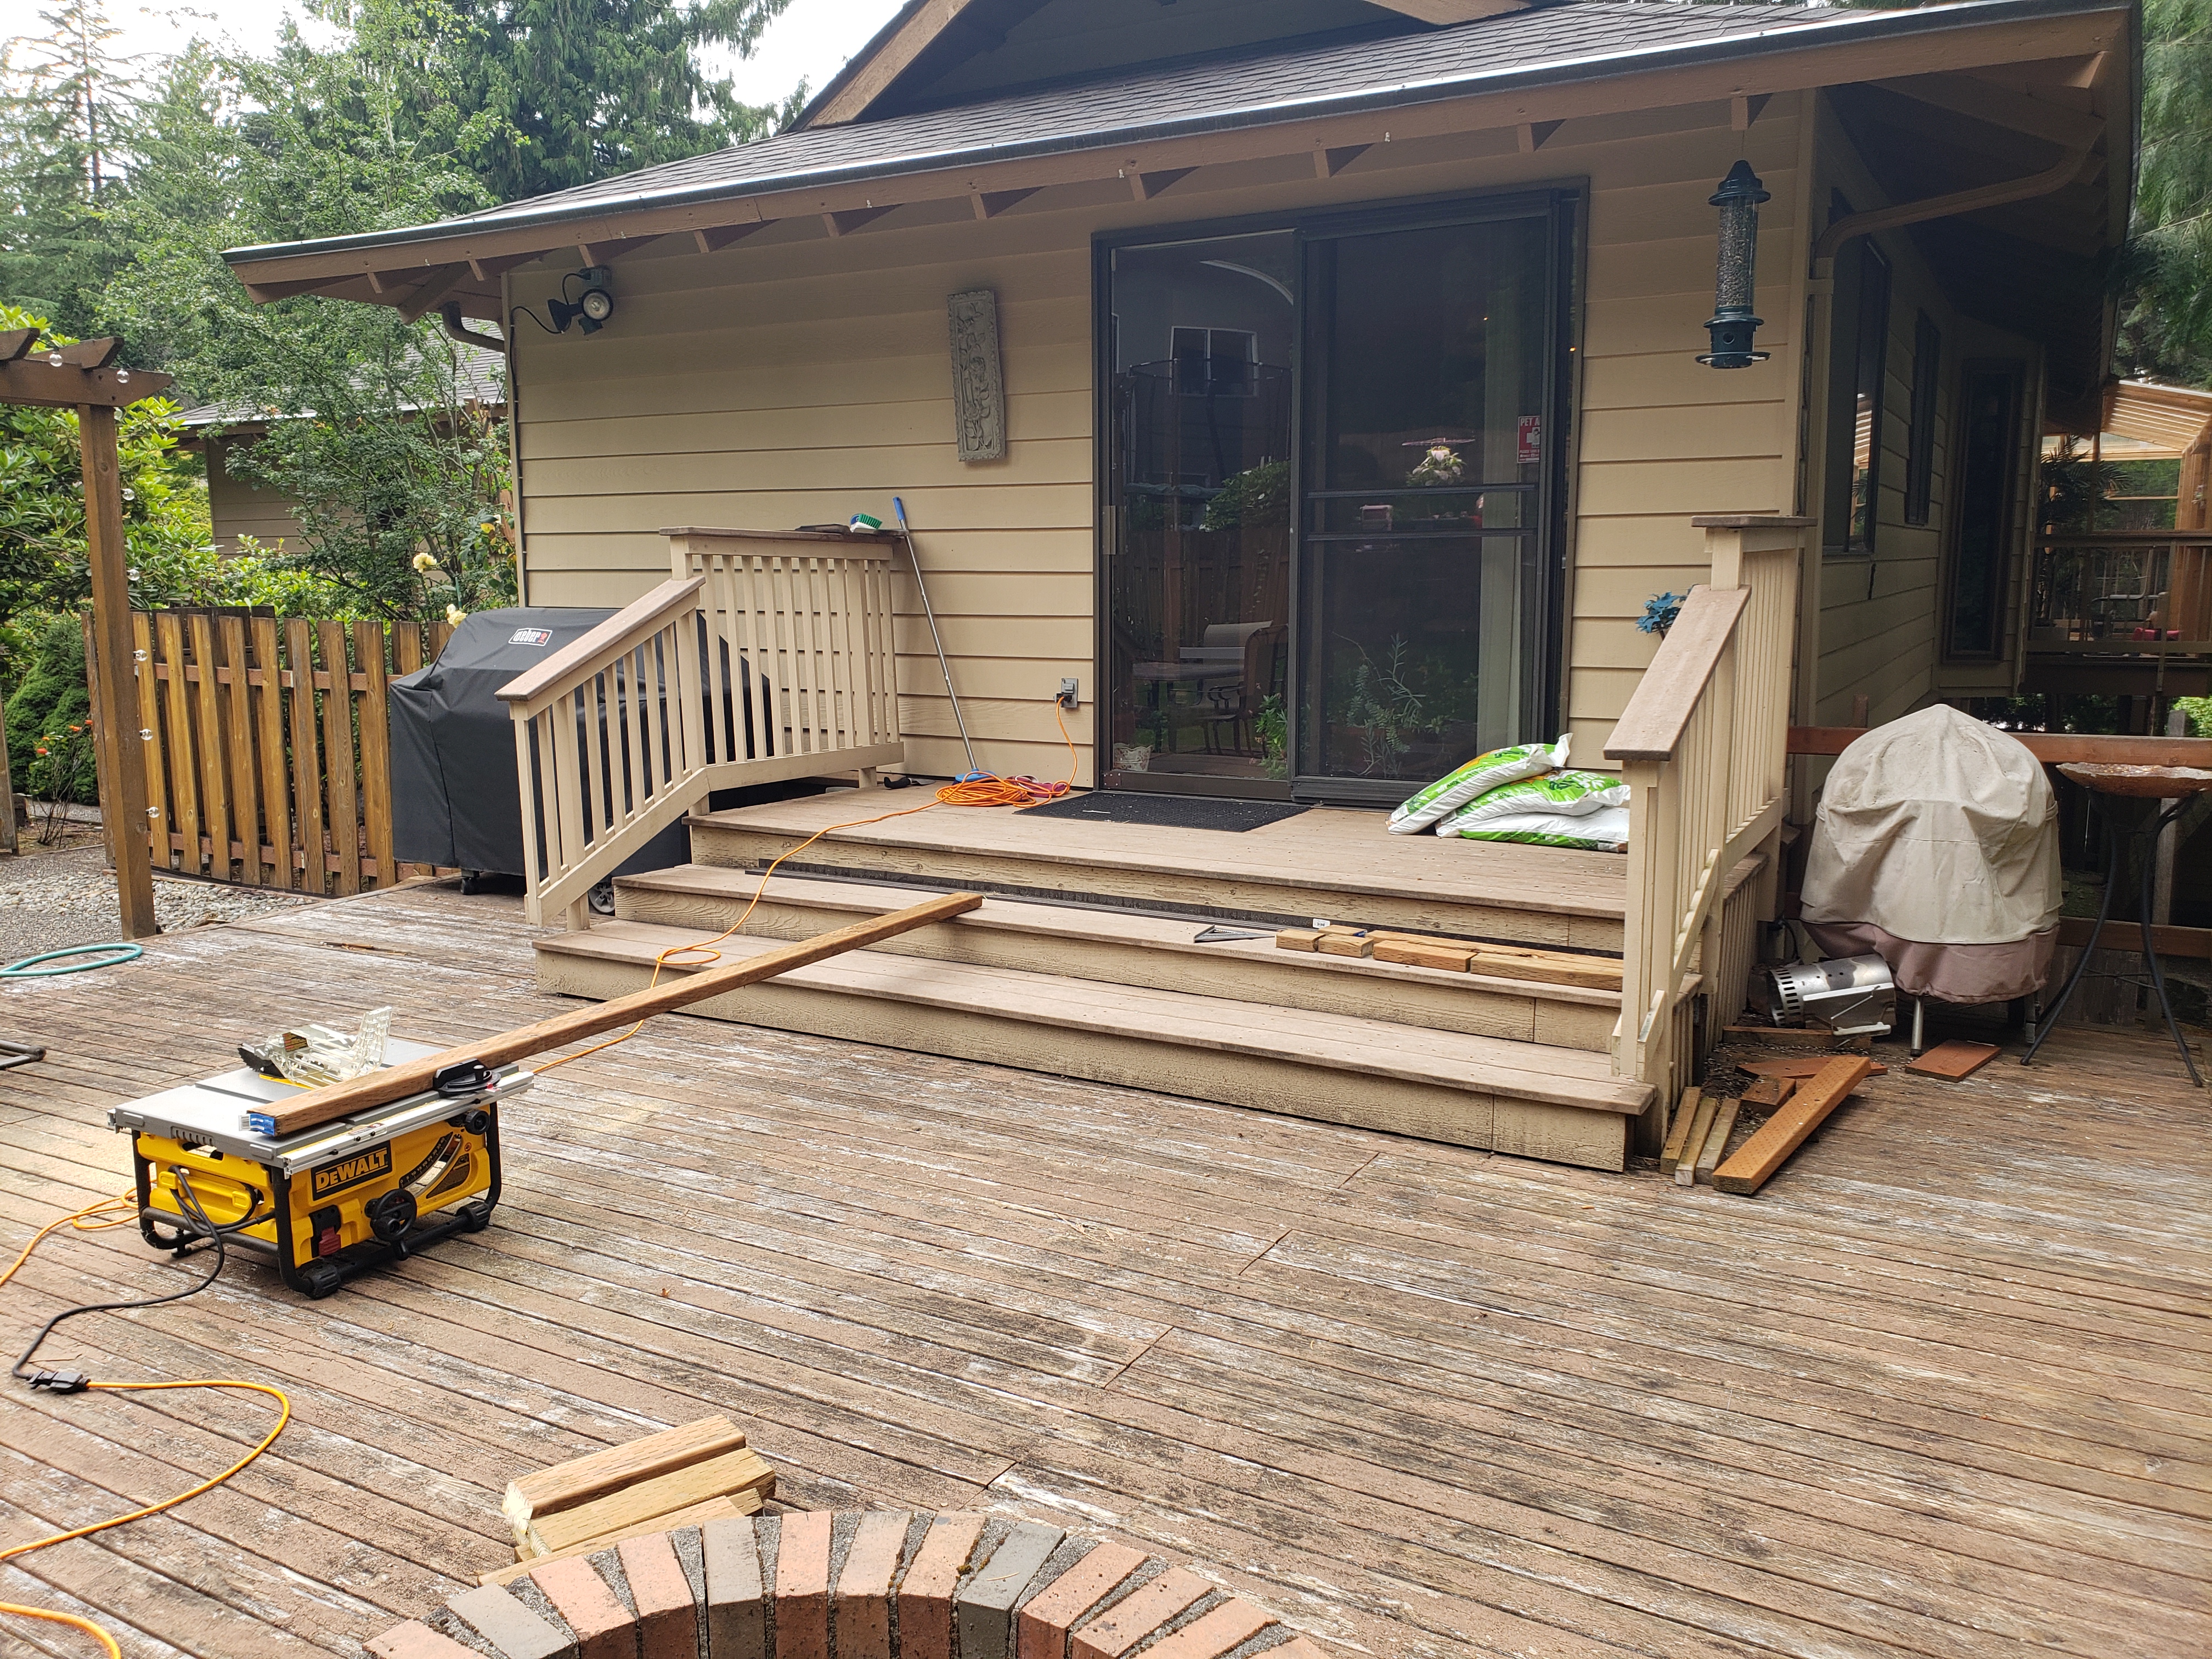
Deck – before and after pressure washing:

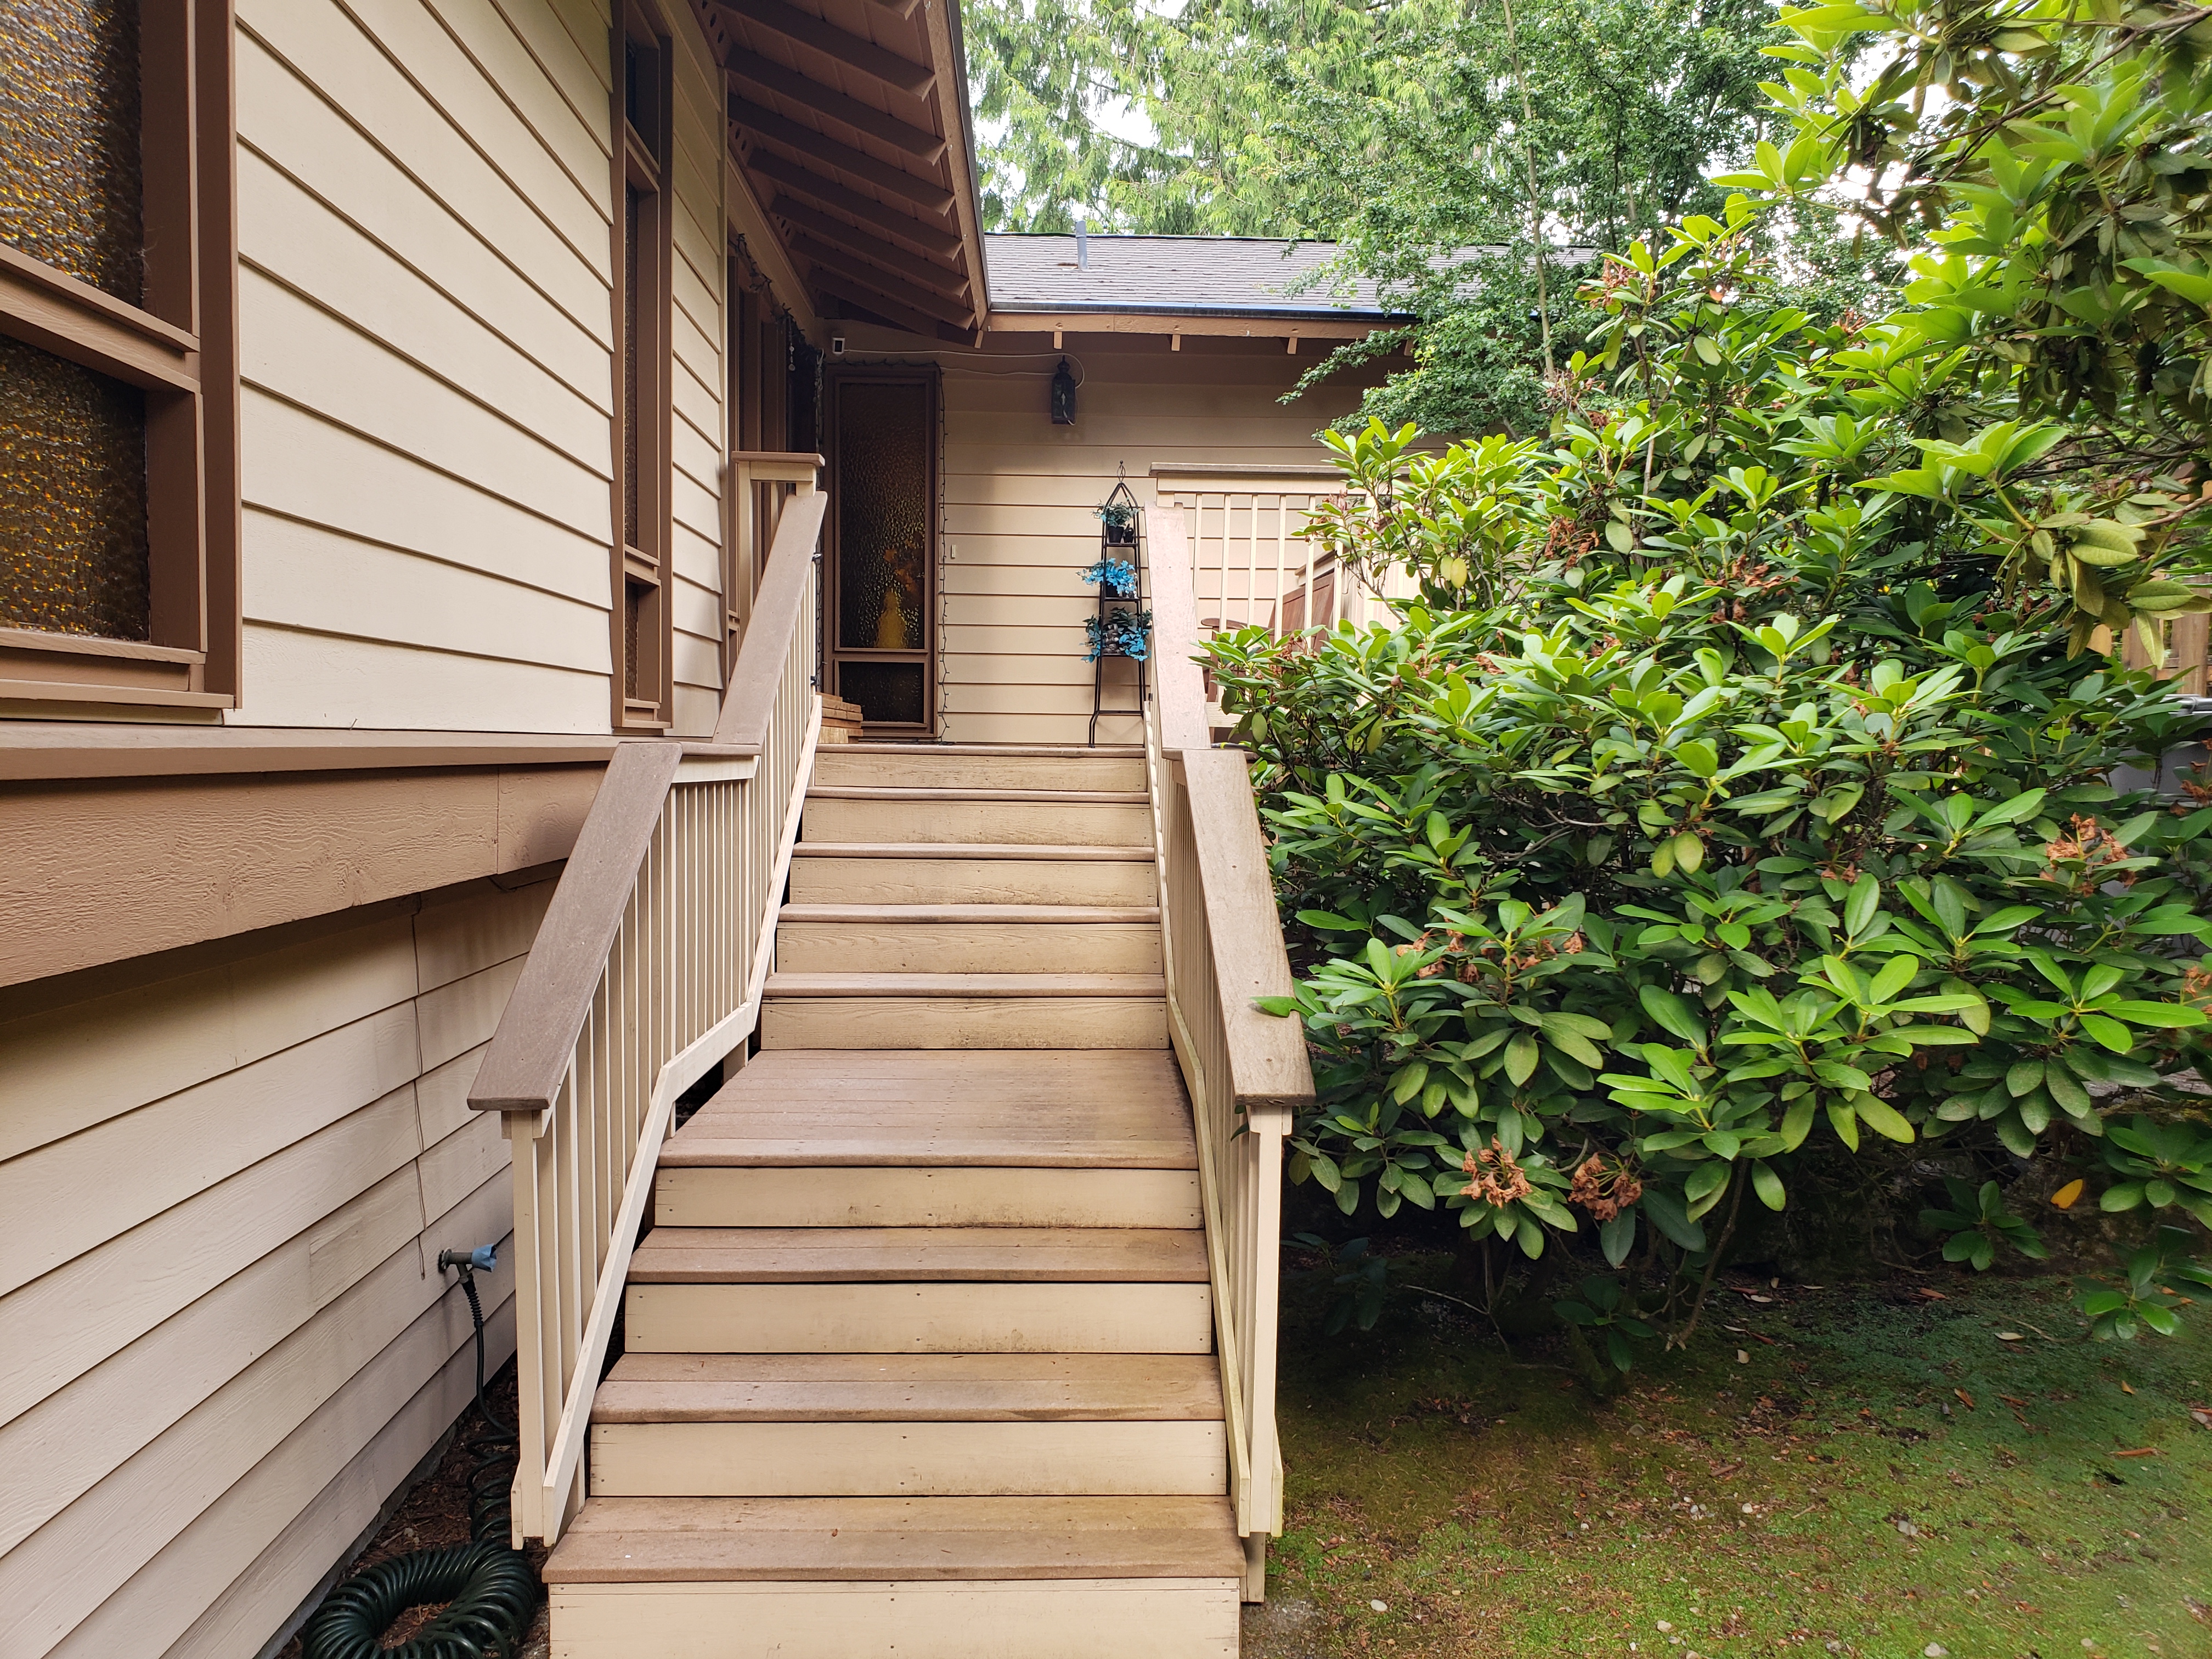
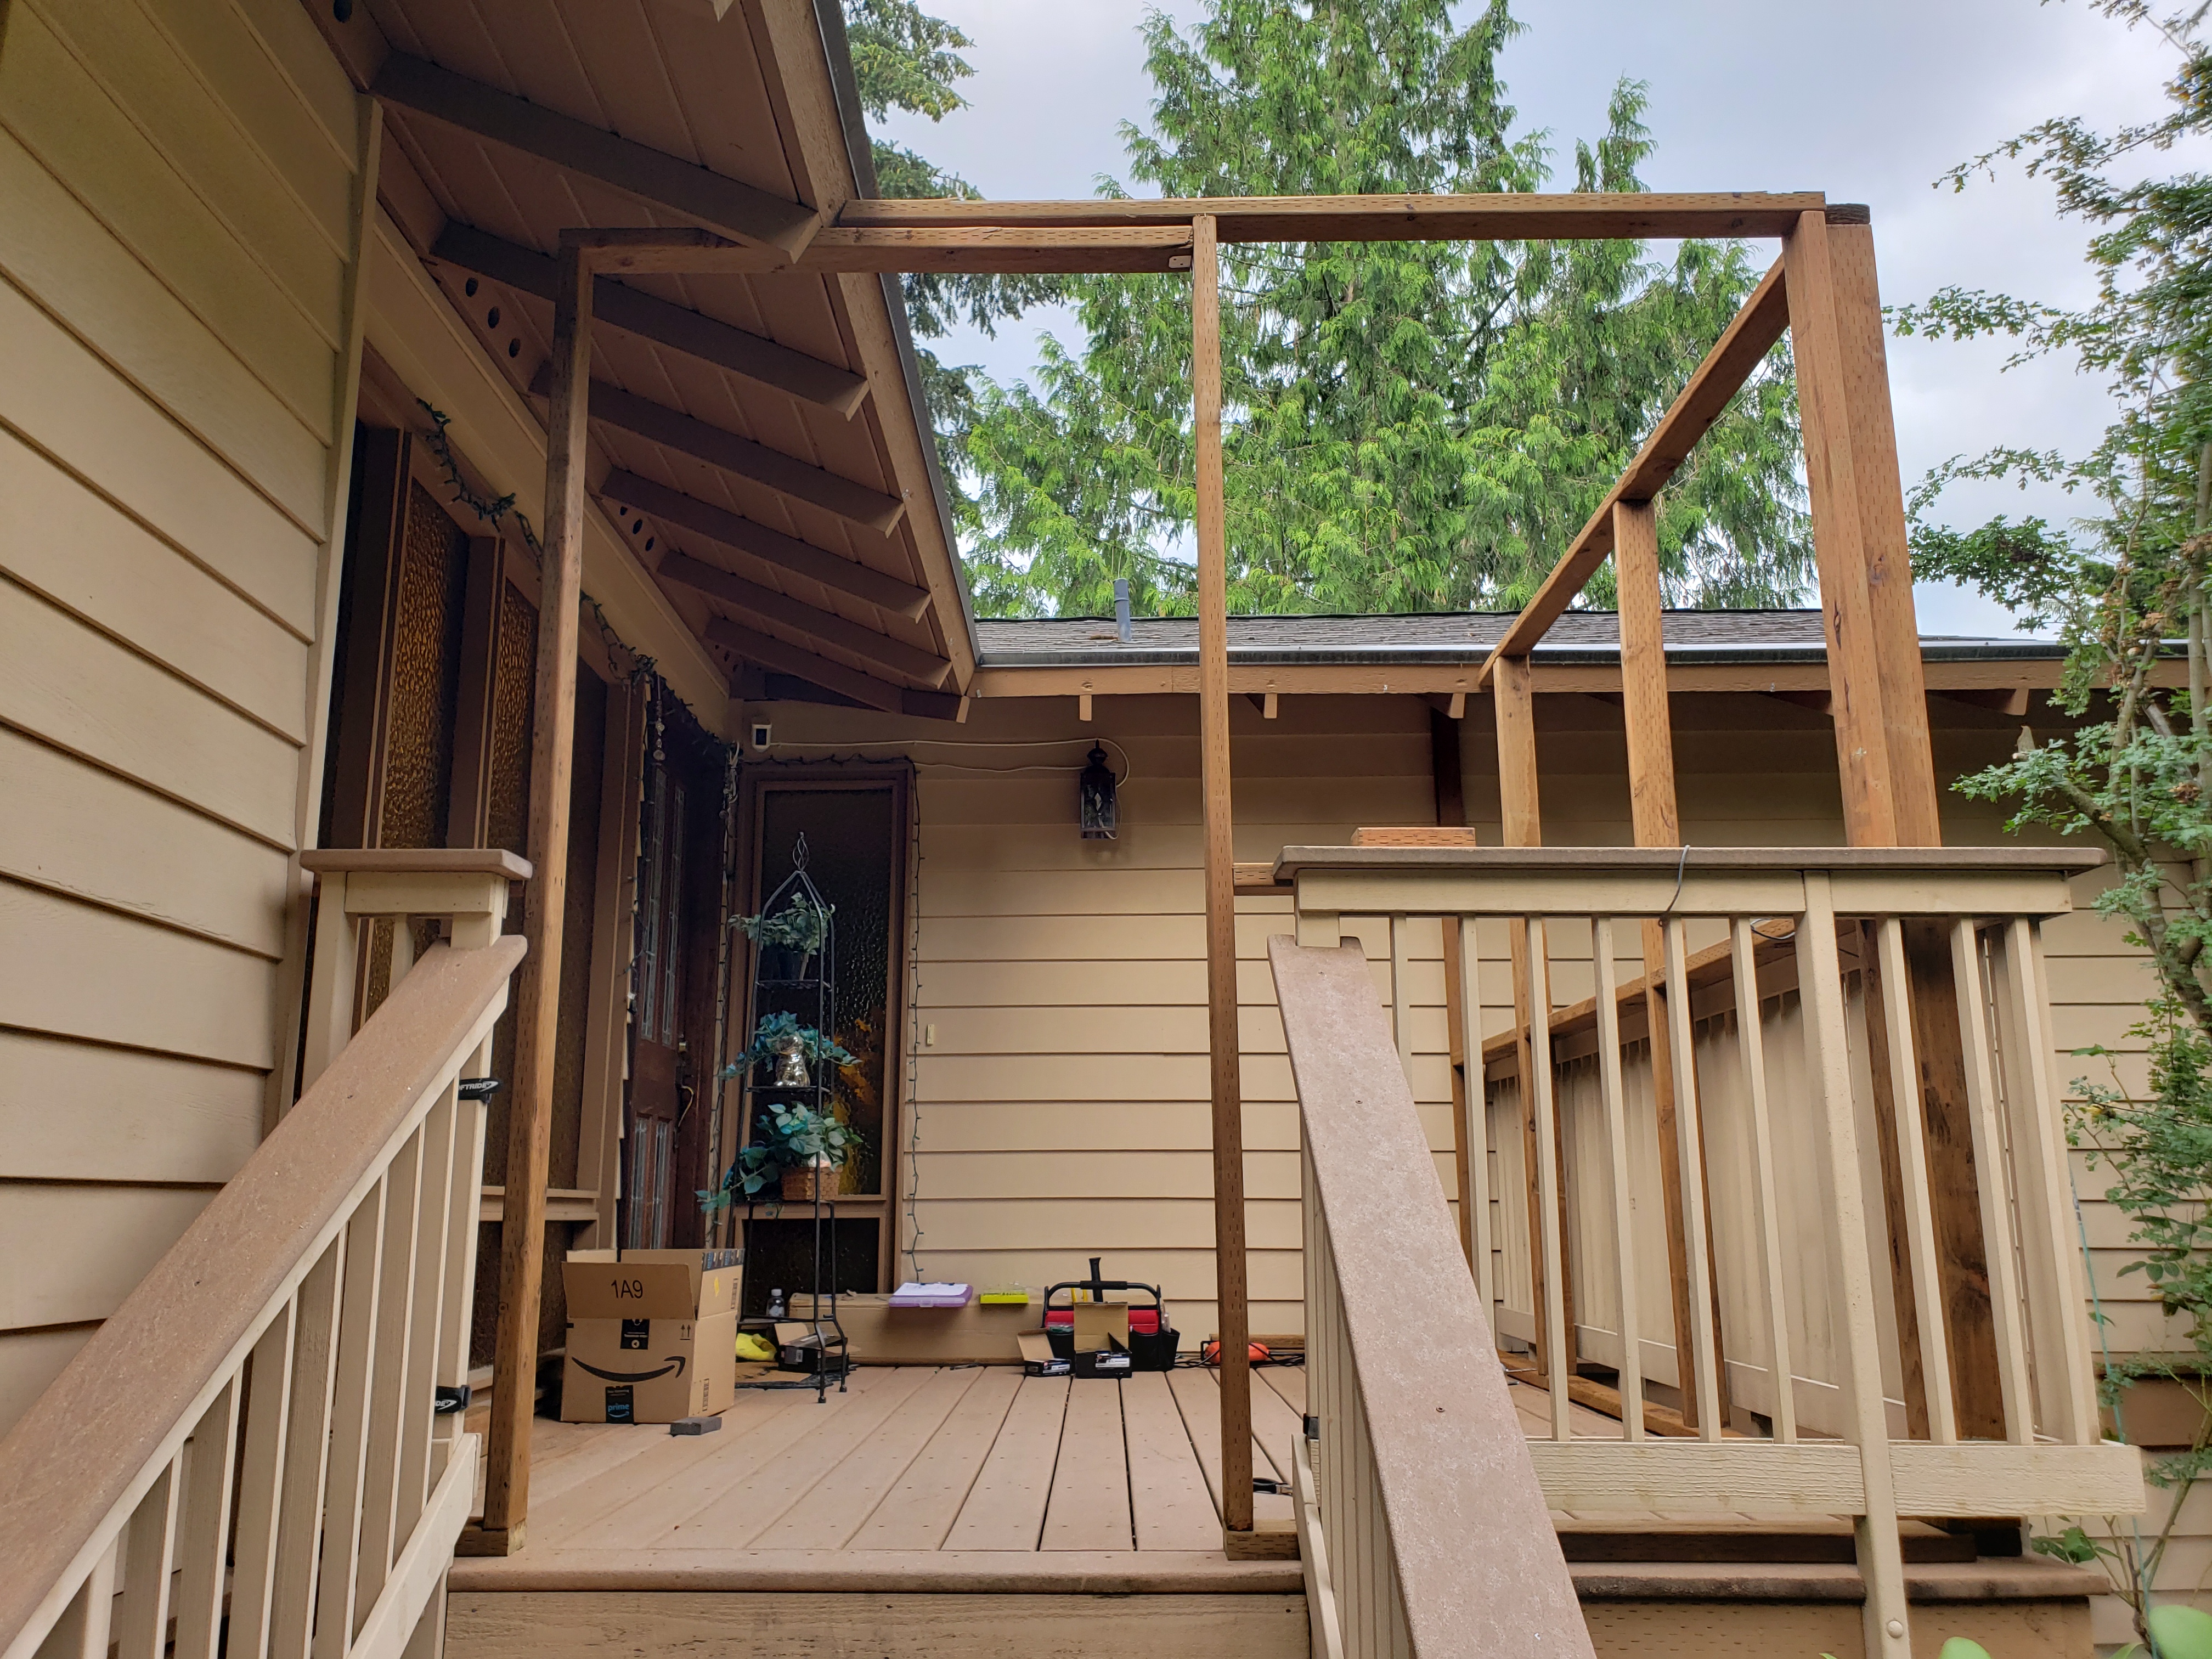
Entrance – before and after:

With the space ready, time to get to the fun part.
Building walls
This is the part of the progress where I think progress is most satisfying 🙂 With every newly added wall, the space gets better defined and feels closer to the desired outcome.
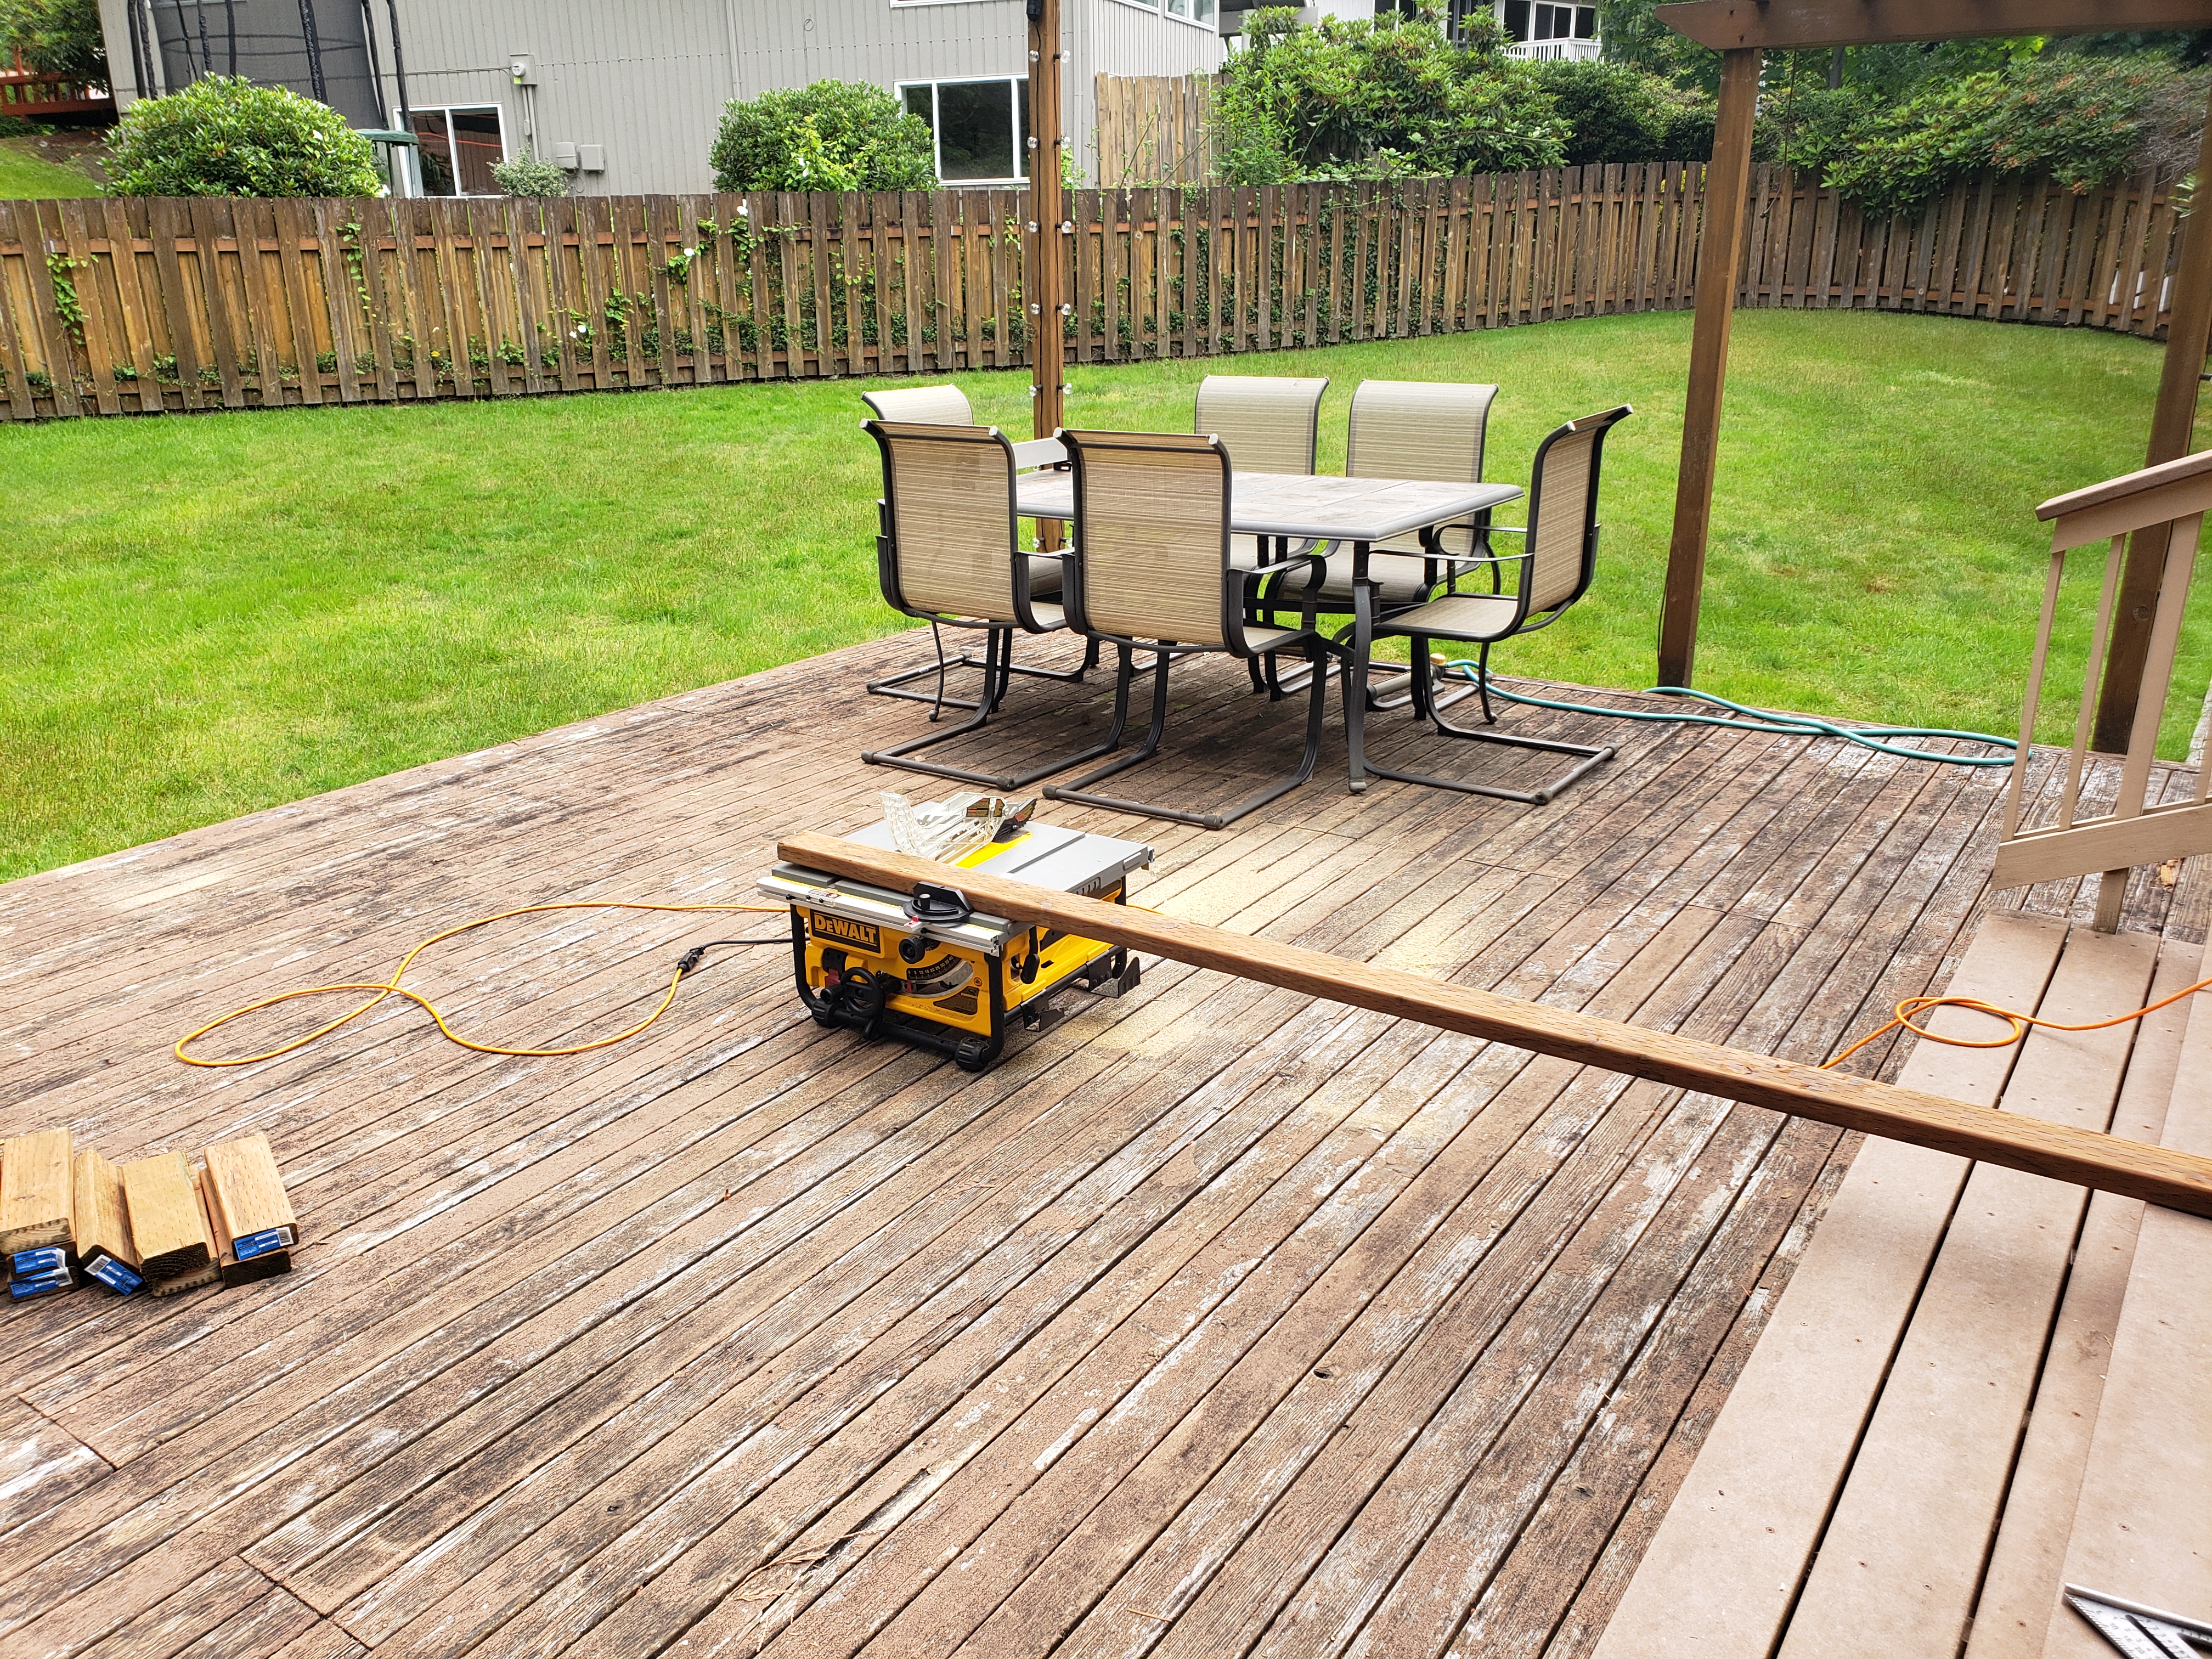
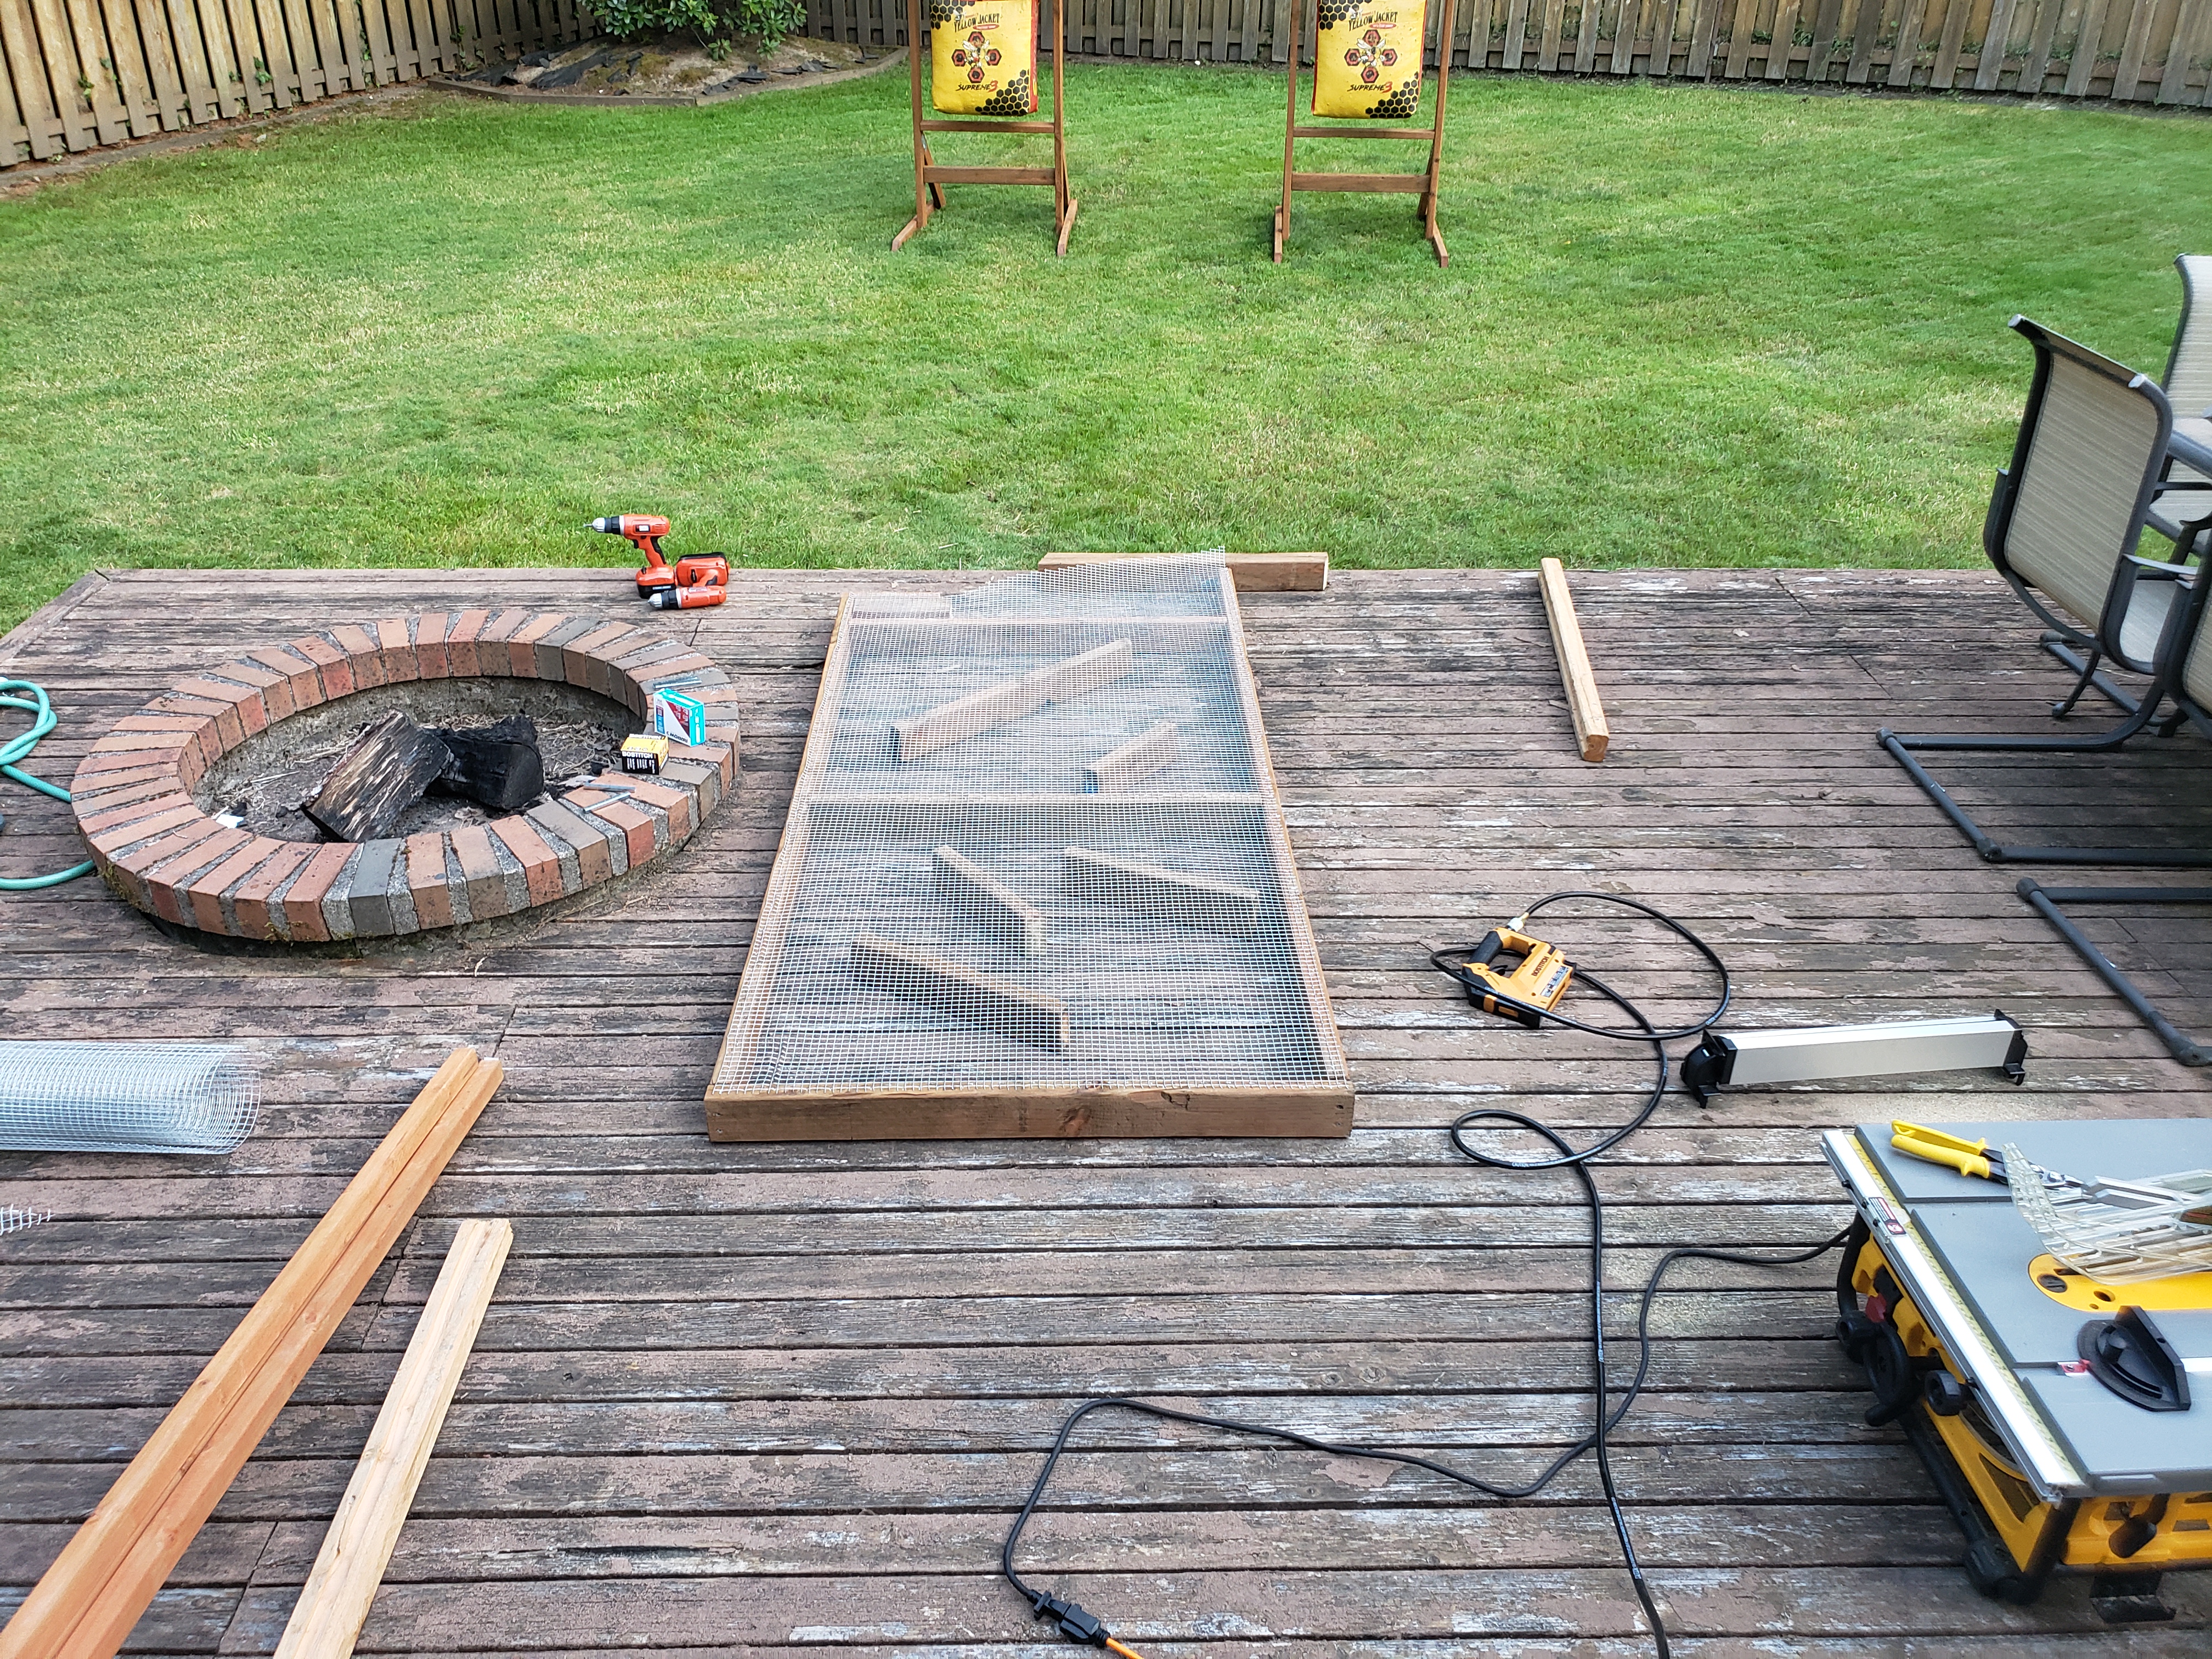
Alright – let’s get to it. I set up a “cutting station” in the backyard, to make sure I have plenty of space for safe handling of the lumber. I used a table saw, which can be tricky when dealing with long pieces, thus my creative use of steps as a saw horse 😉
With the framing pieces cut to desired lengths, it became much easier to visualize how the aviary is going to look upon completion:

At this point I started screwing the framing together. I pre-drilled every hole, to prevent wood from splitting. Having 2 drills (one with drill, one with the phillips head) helps speed this process tremendously. Here are few of the walls, you can see miscellaneous “special” pieces – either to fill in a gap under the roof, or a piece that will go above the door. Remember – it’s critical to ensure no gaps so that parrots are safe.

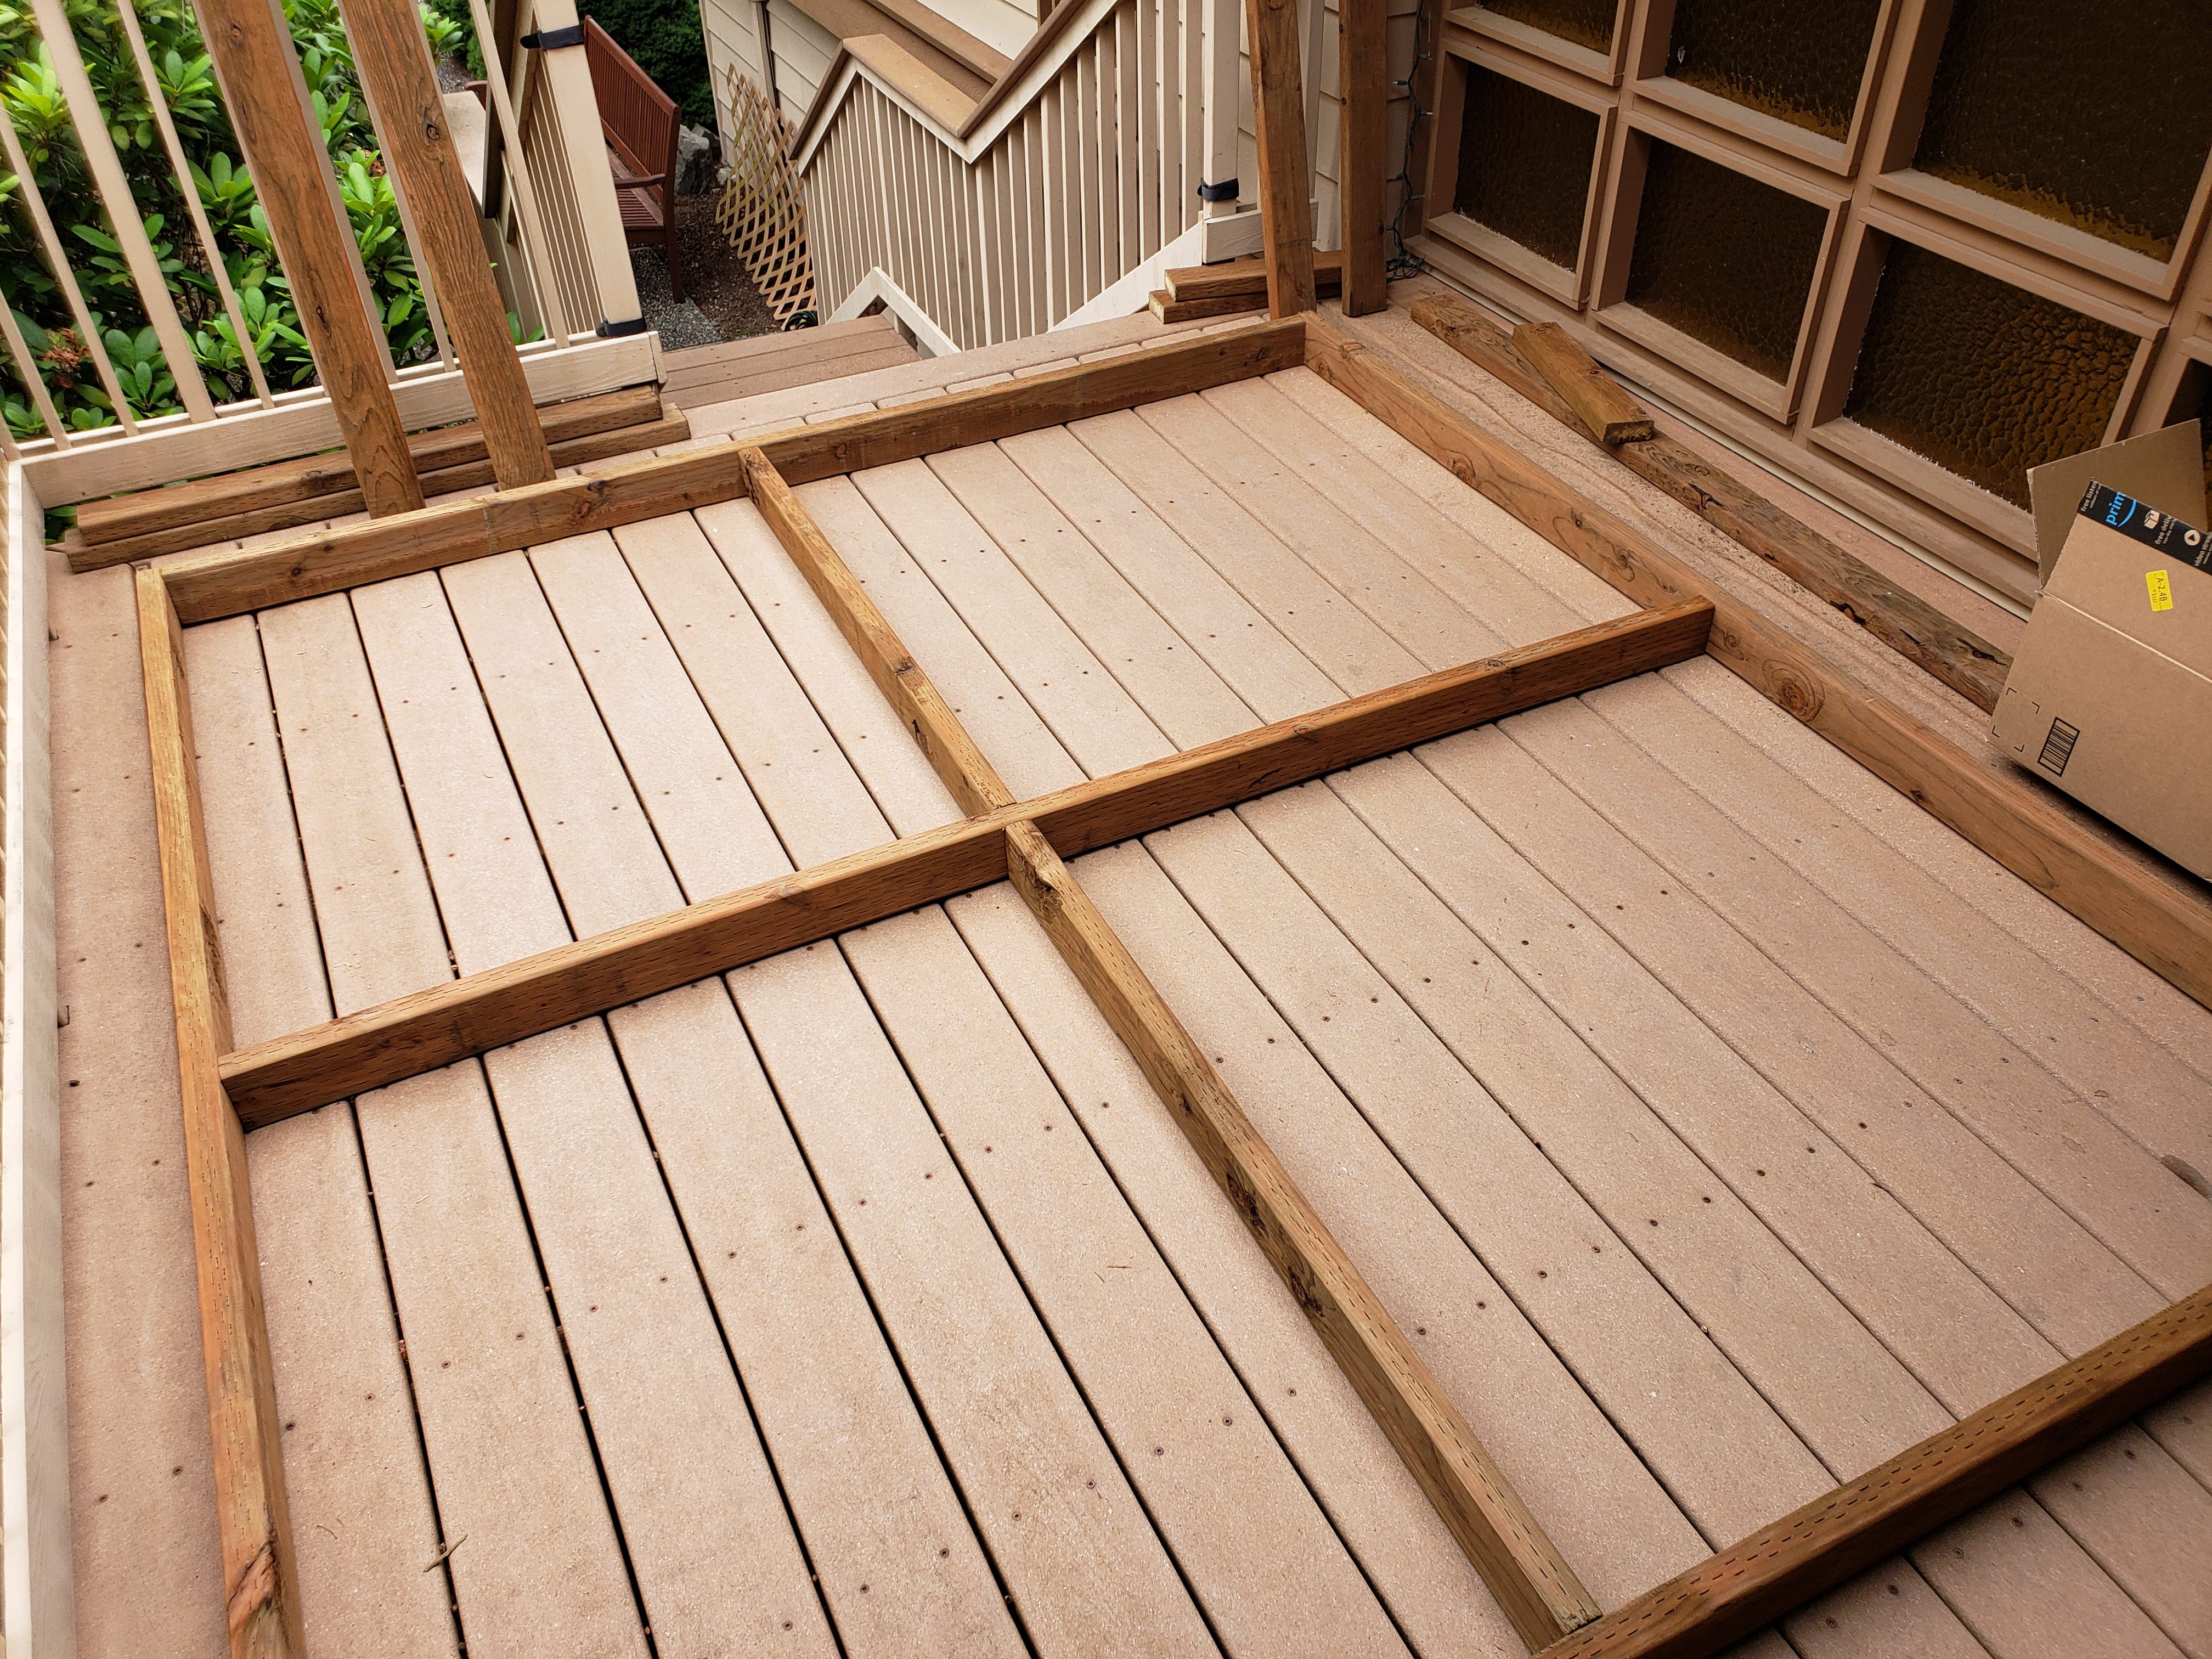
Within 1 day I was able to frame all the walls, and do all the extra custom work on the edge pieces (e.g. fill in the triangular shape under the roof):

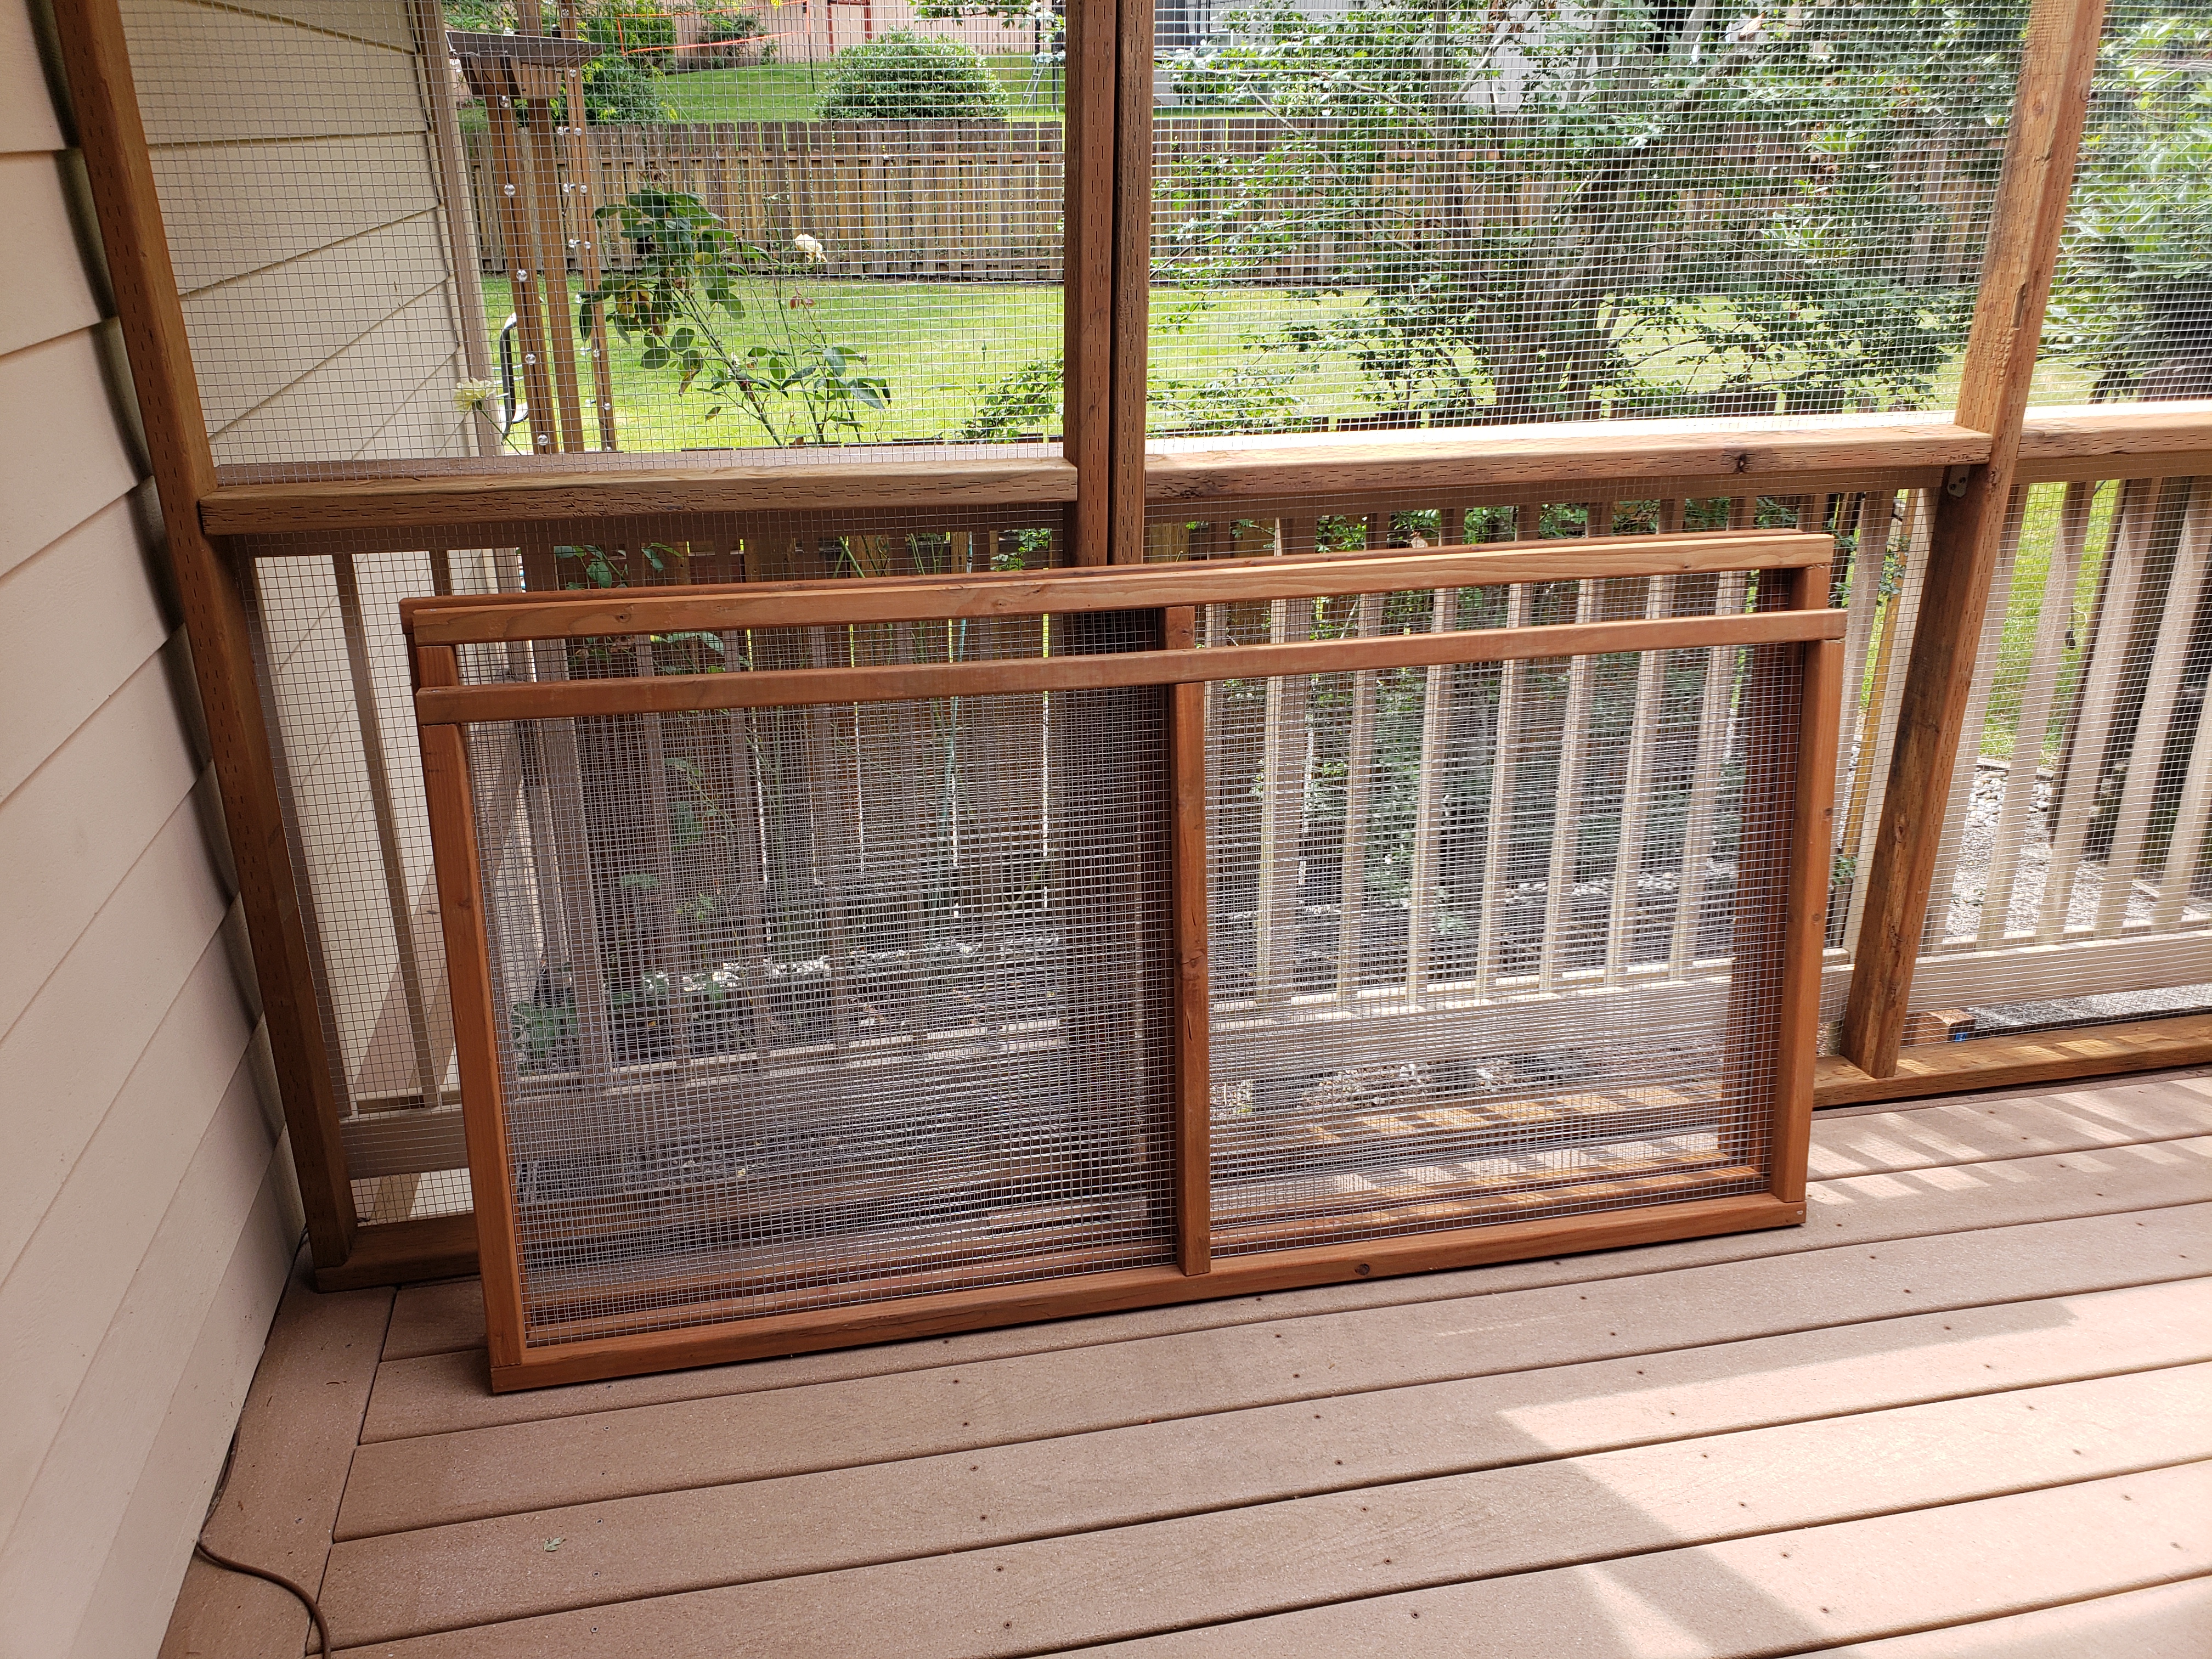
Note that the walls were not screwed into place just yet. I did a fit test of all the elements first, to ensure it all aligns properly, and with it being perfect, I took the walls one by one and began to add a mesh to them:
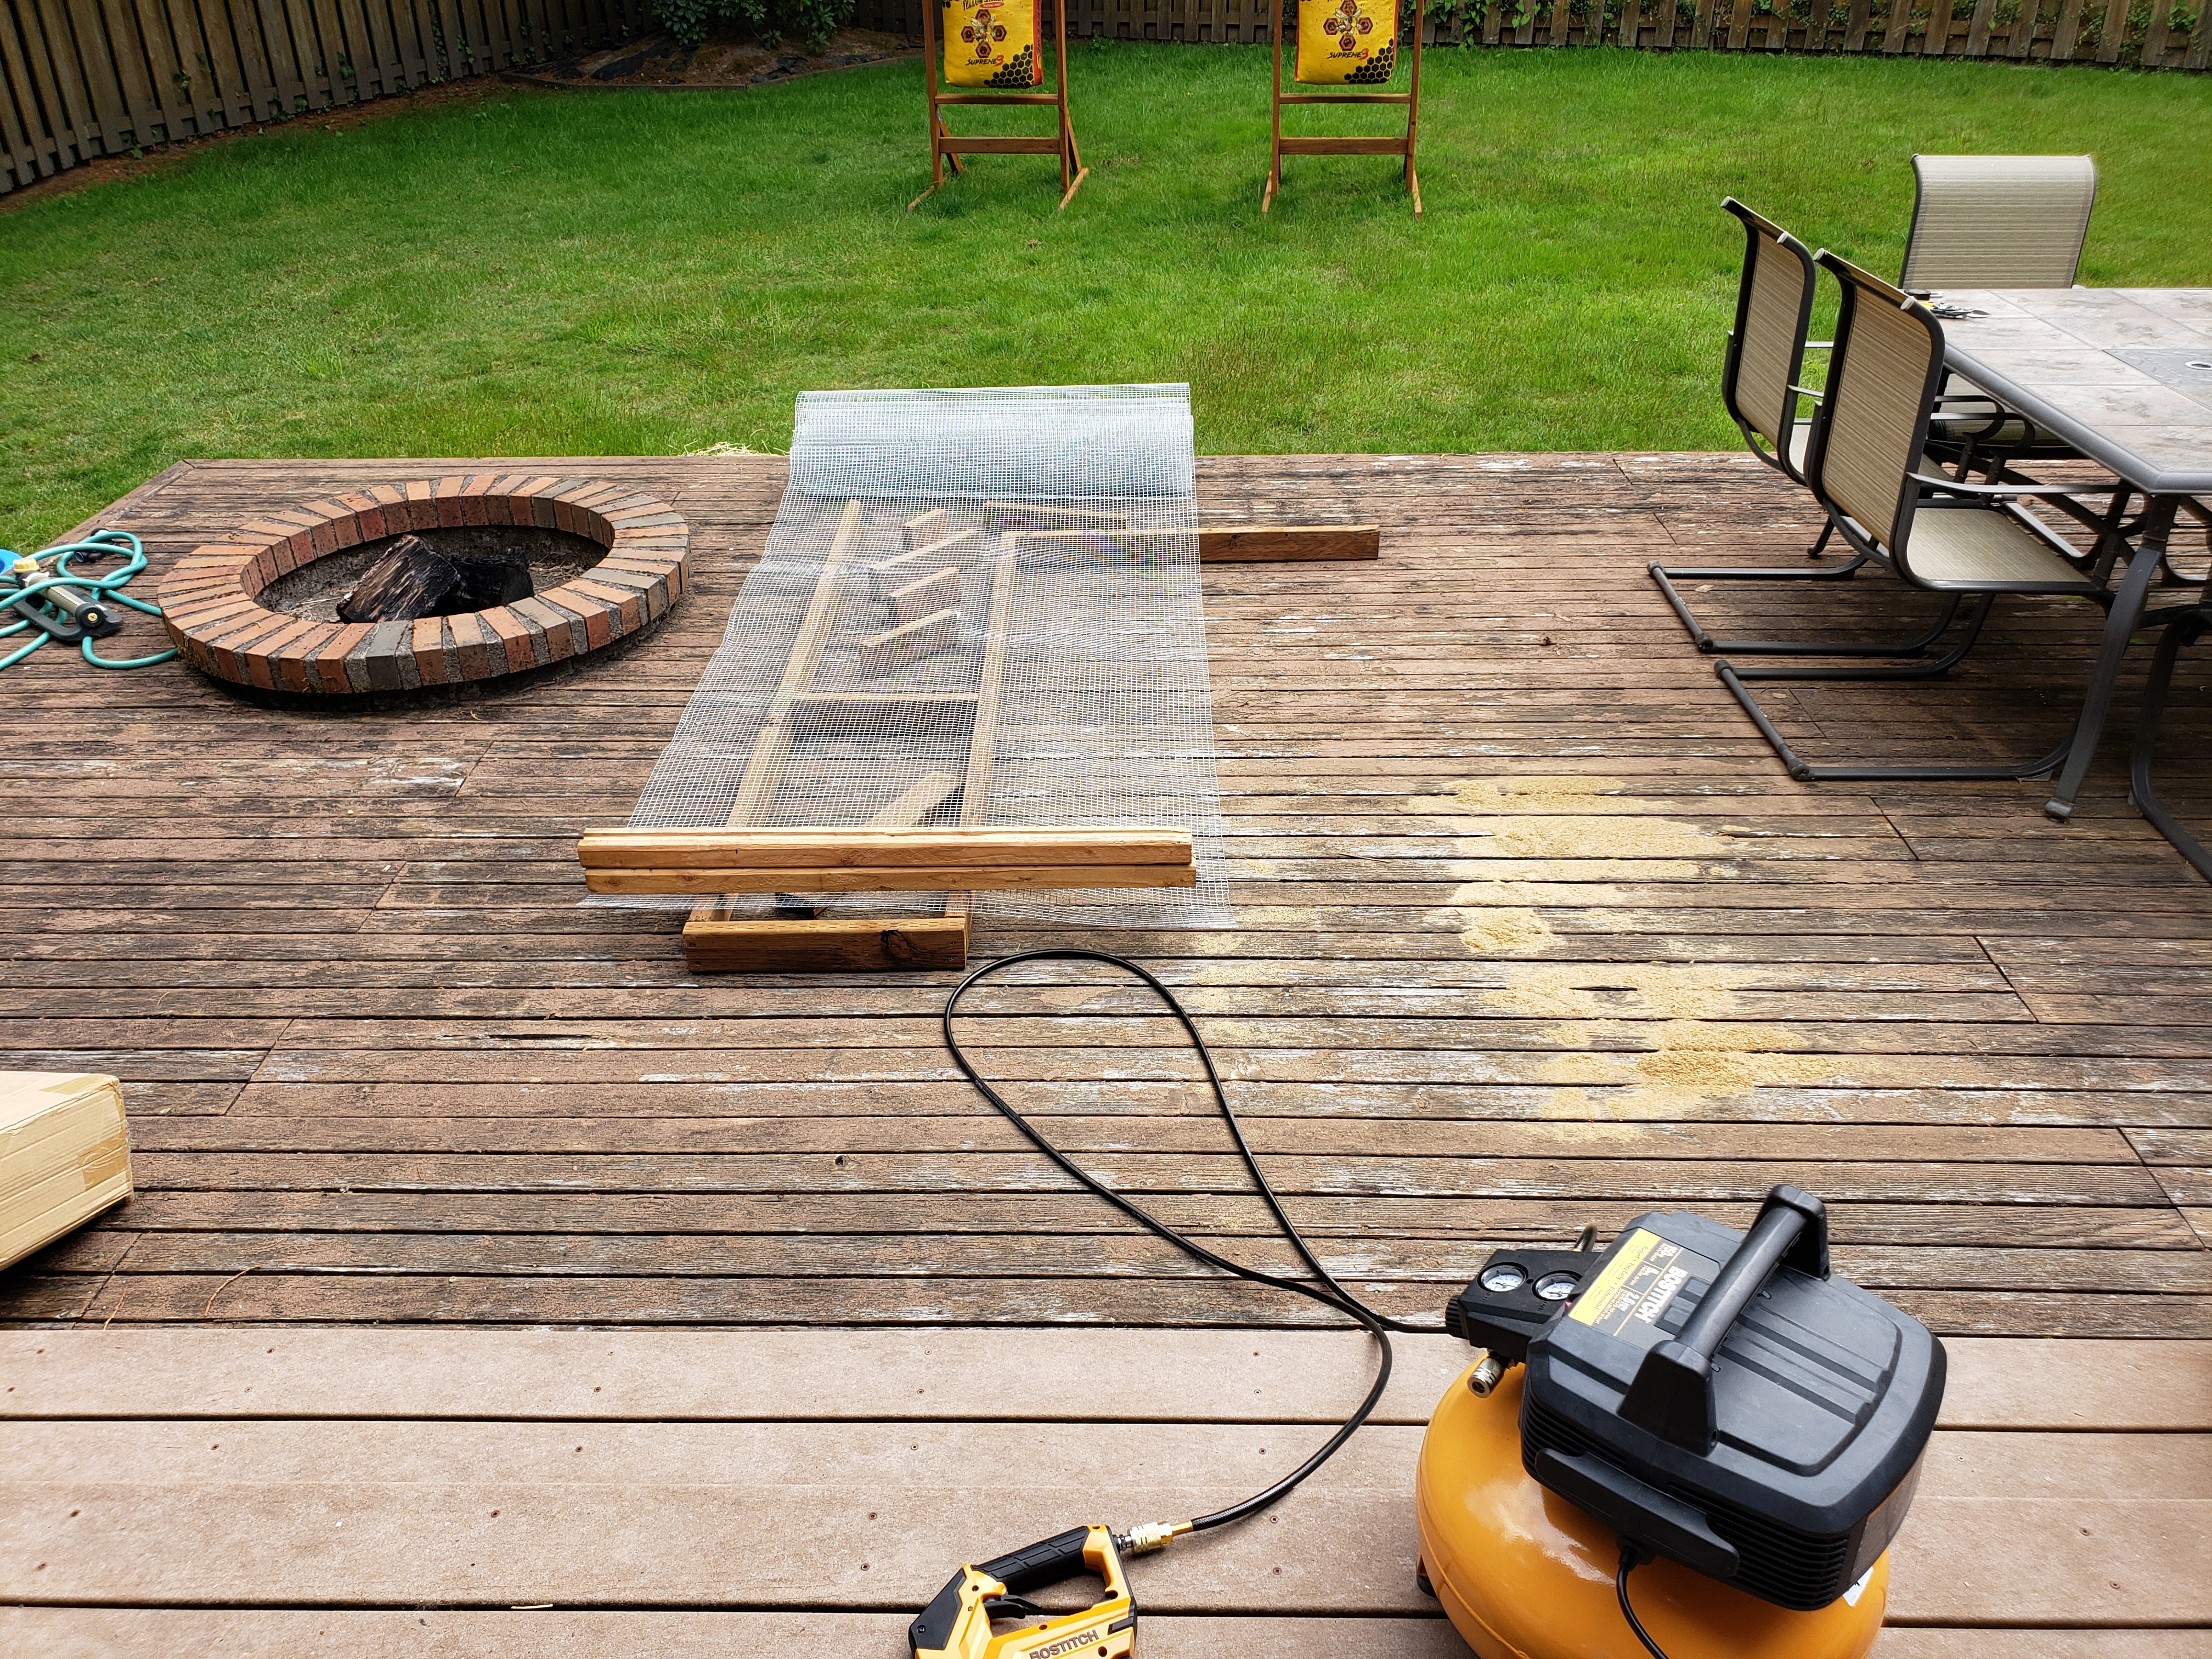
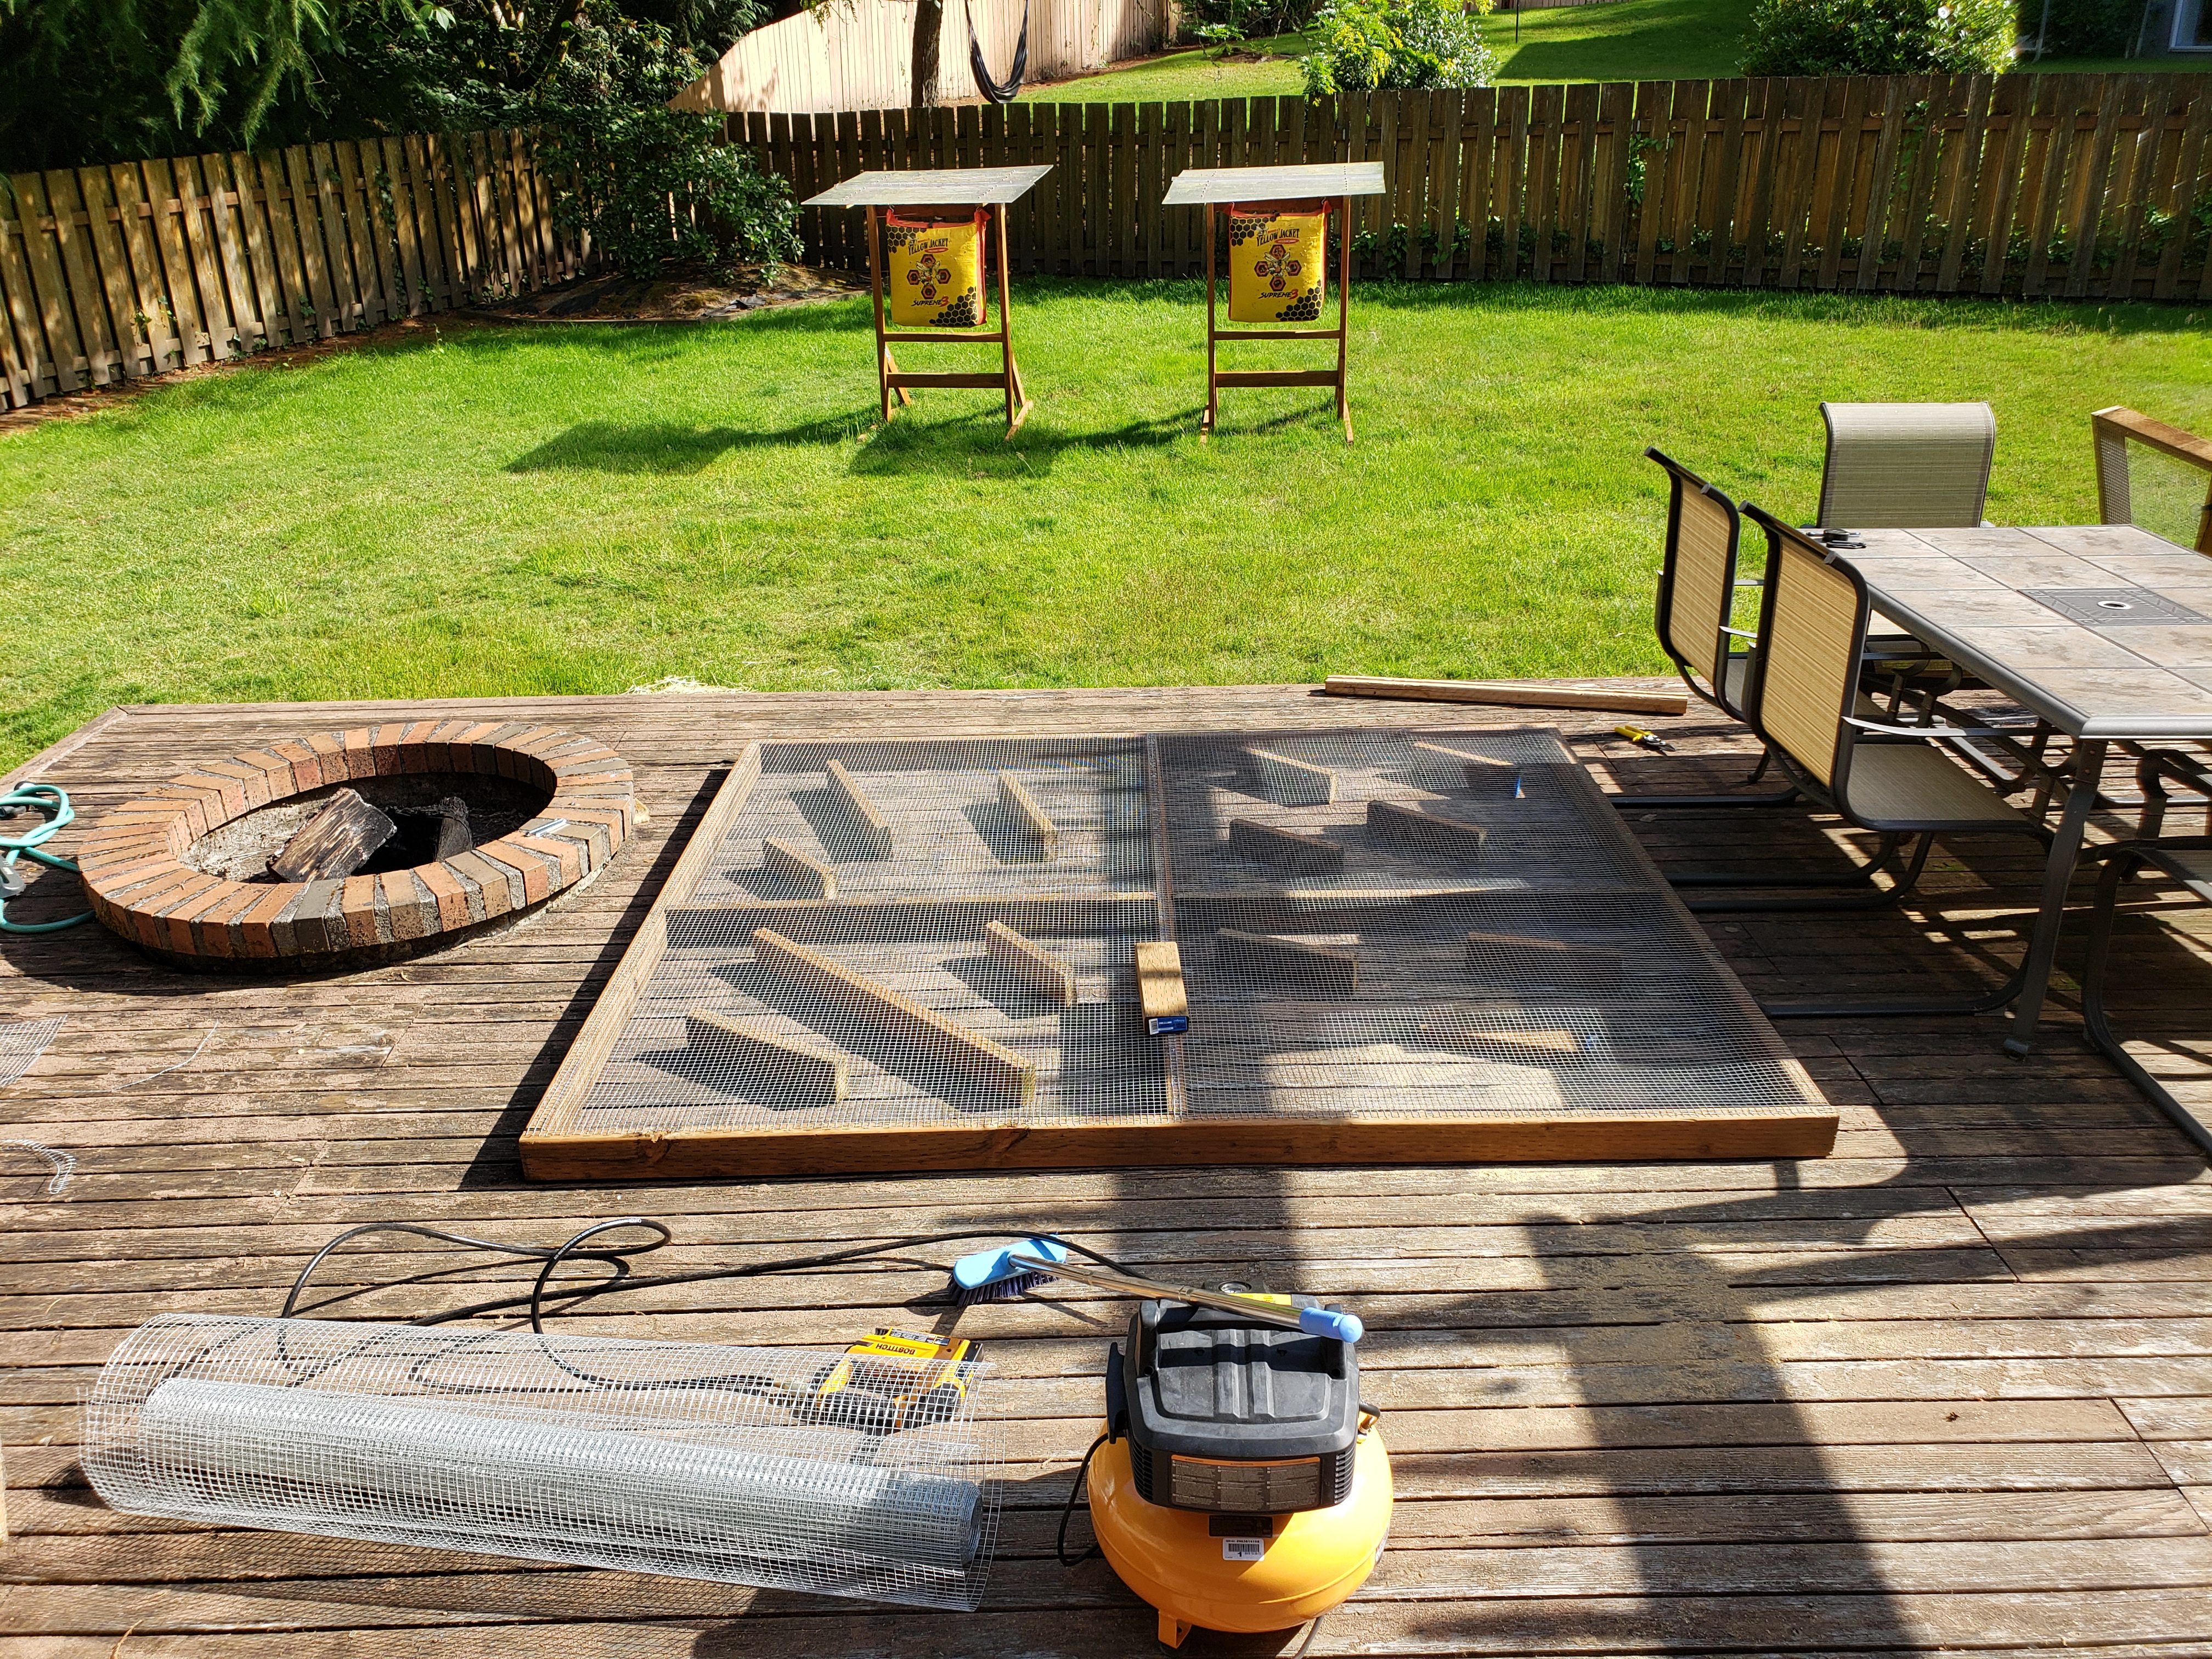
When building an aviary, the quality of mesh is very important. We need to consider the thickness (gauge), spacing, and materials/process that it’s been made with. Stainless steel is by far the best, but not as easily available and quite expensive. When purchasing galvanized mesh, be sure the galvanization process took place after the mesh has been welded together (reverse order supposedly creates more harmful chemicals that can linger on the mesh), and always give it a good scrub to clean any dust and debris. One might think that since the mesh will be exposed to elements (rain, wind) it will get cleaned up naturally, but I really prefer not to take chances with the health of our birdies 🙂
Finally, one more tip – while it’s possible to use a manual stapler to attach the mesh to the framing, it gets very tiring really quickly. Thus I highly recommend using a pneumatic stapler (with a compressor). This speeds things up greatly, even if that means you’ll finish the project without super-human grip strength (which is nearly guaranteed if you were to just use manual stapler through-out 😉 ).
And here are all the walls back in place after adding the mesh:
On most tricky pieces (like the previously mentioned wall parts under the roof) I finalized the forming of the mesh with walls on their final spot (again – ensuring there are no gaps that would pose risks to parrots):

I found end of this stage of the project very motivating – the aviary started to look the part, and we were only a roof and a door away from it being fully functional!
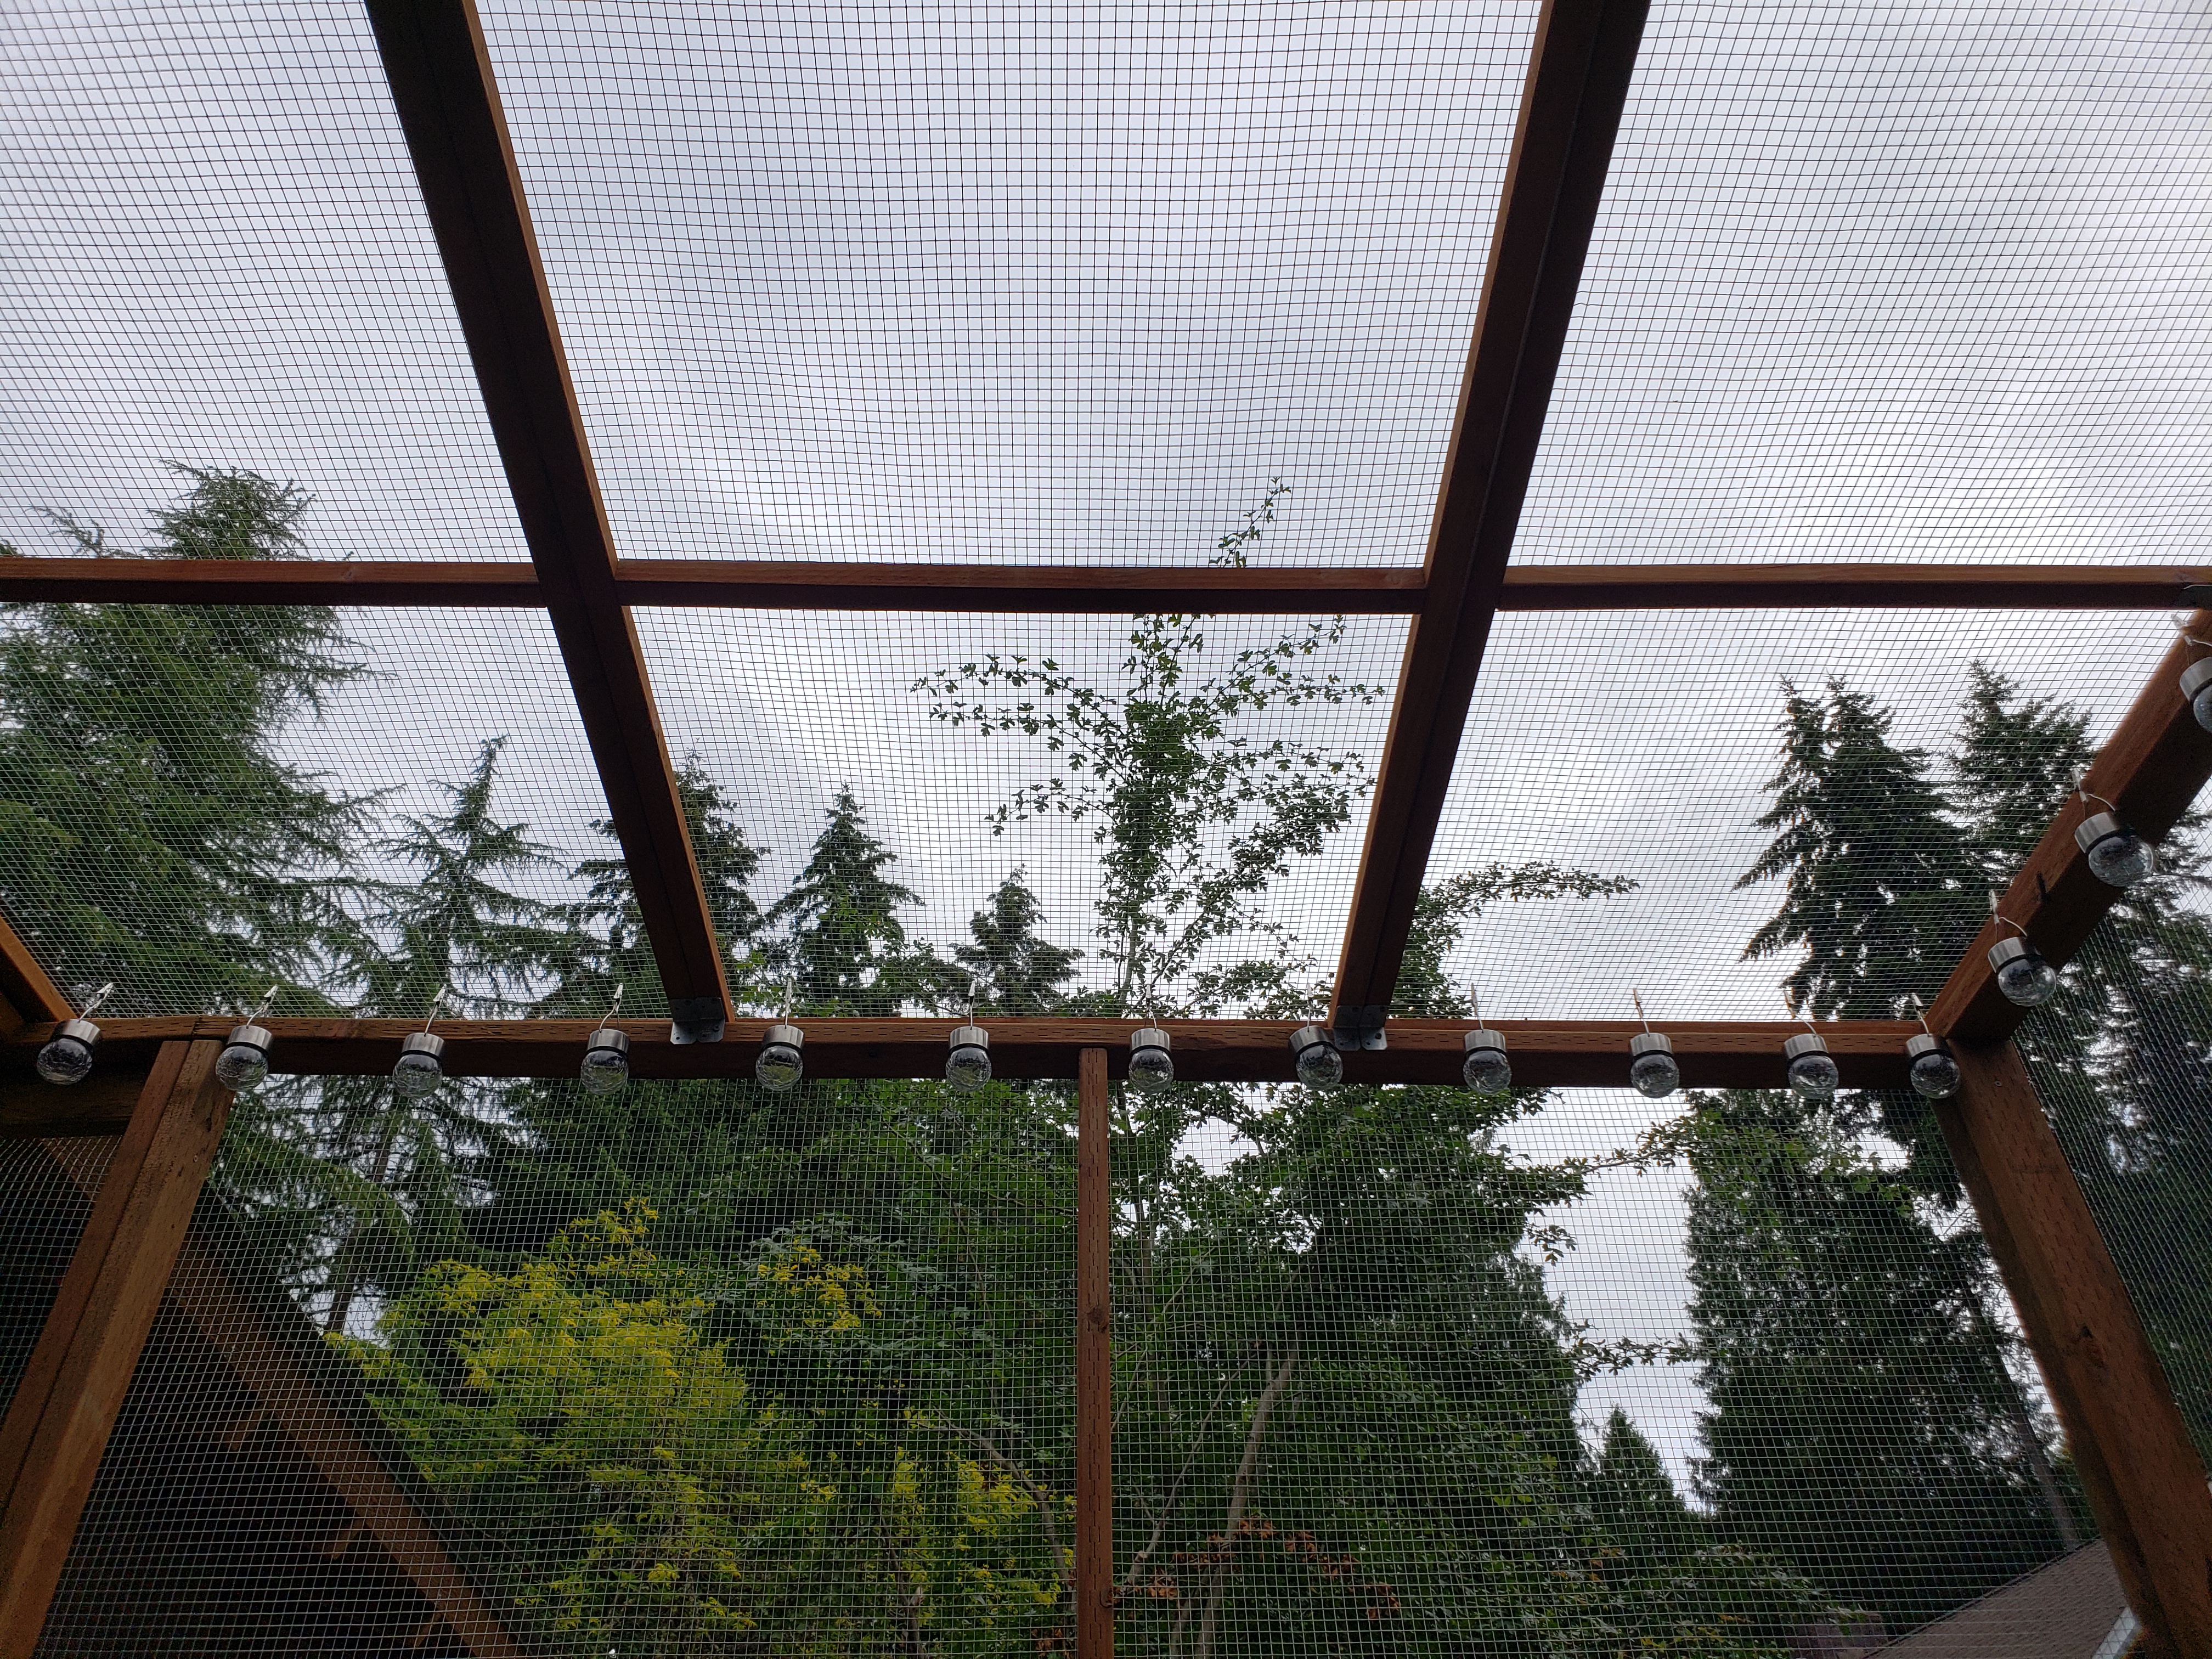
Building roof
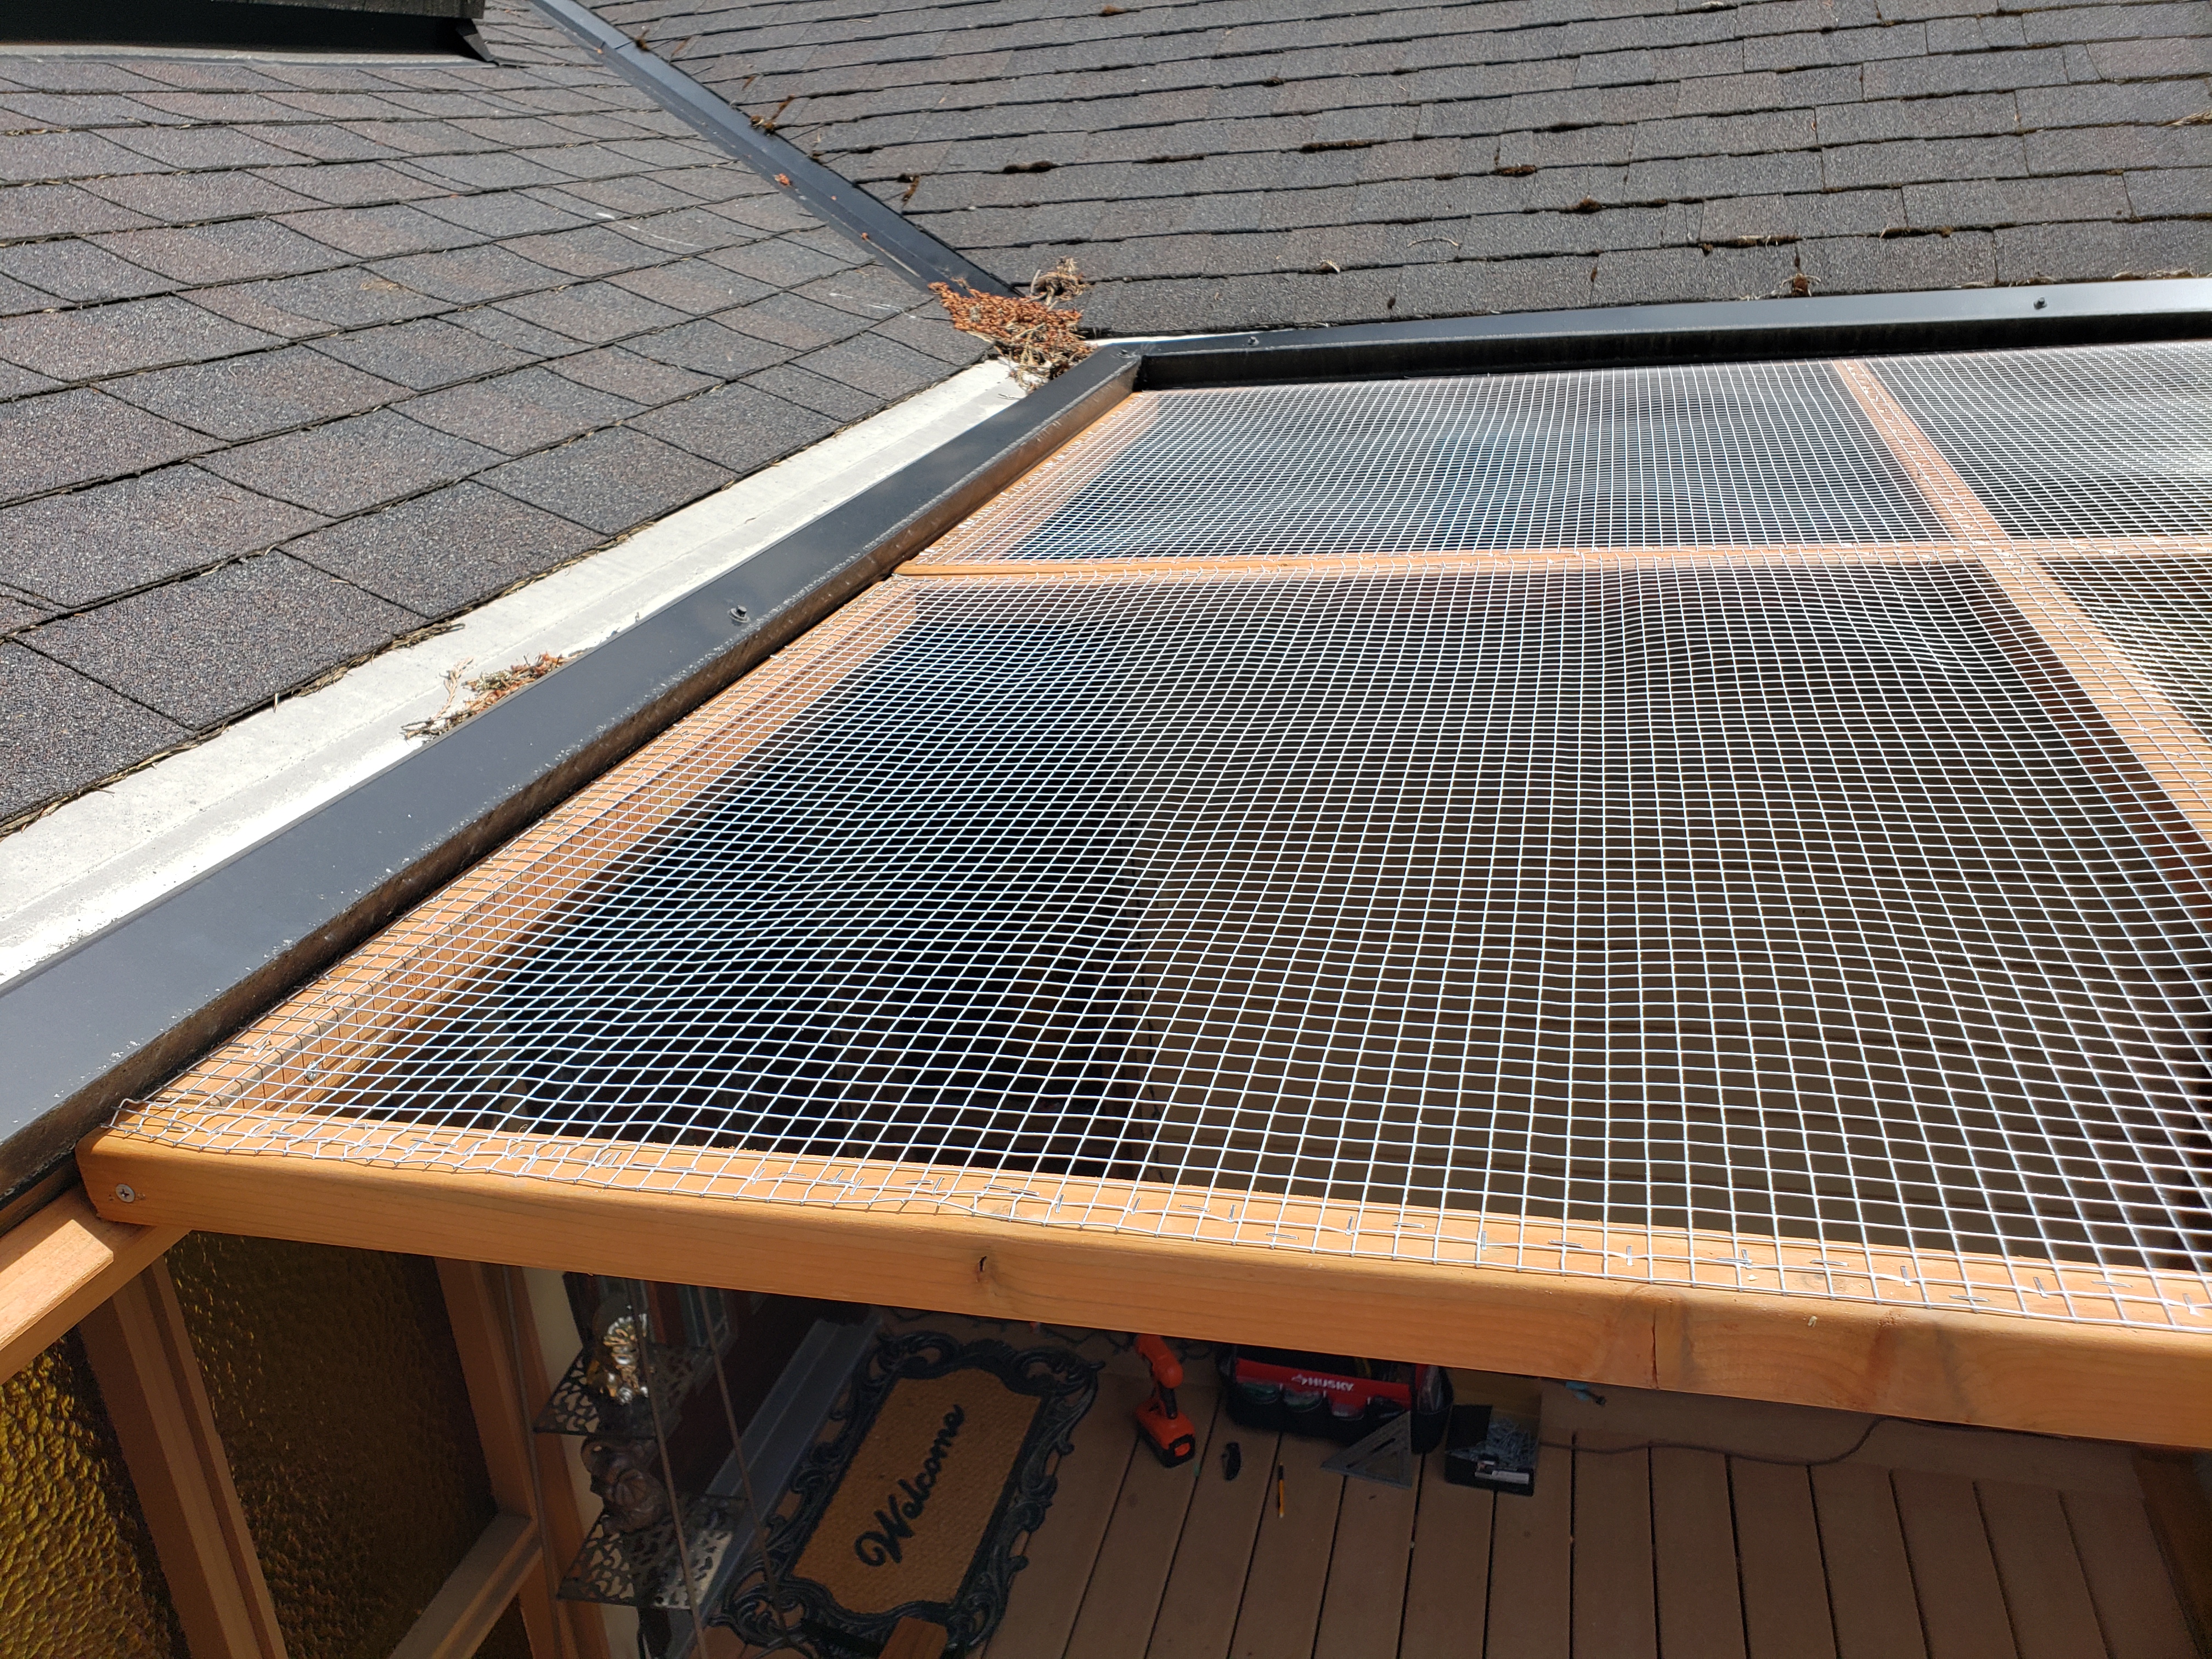
Roof construction is very simple – since the roof won’t be solid, and instead just filled in with mesh just as the walls, I was able to use 2x2s to make the light-weight framing. We wanted to allow for more air/breeze, and we’re not concerned about the need to cover from rain, as this aviary will only be used on sunny days, thus time time I’m not using polycarbonate panels (I used them for the first aviary).
The length of the roofing panels was measured after putting in the walls, to make sure everything fits perfectly.
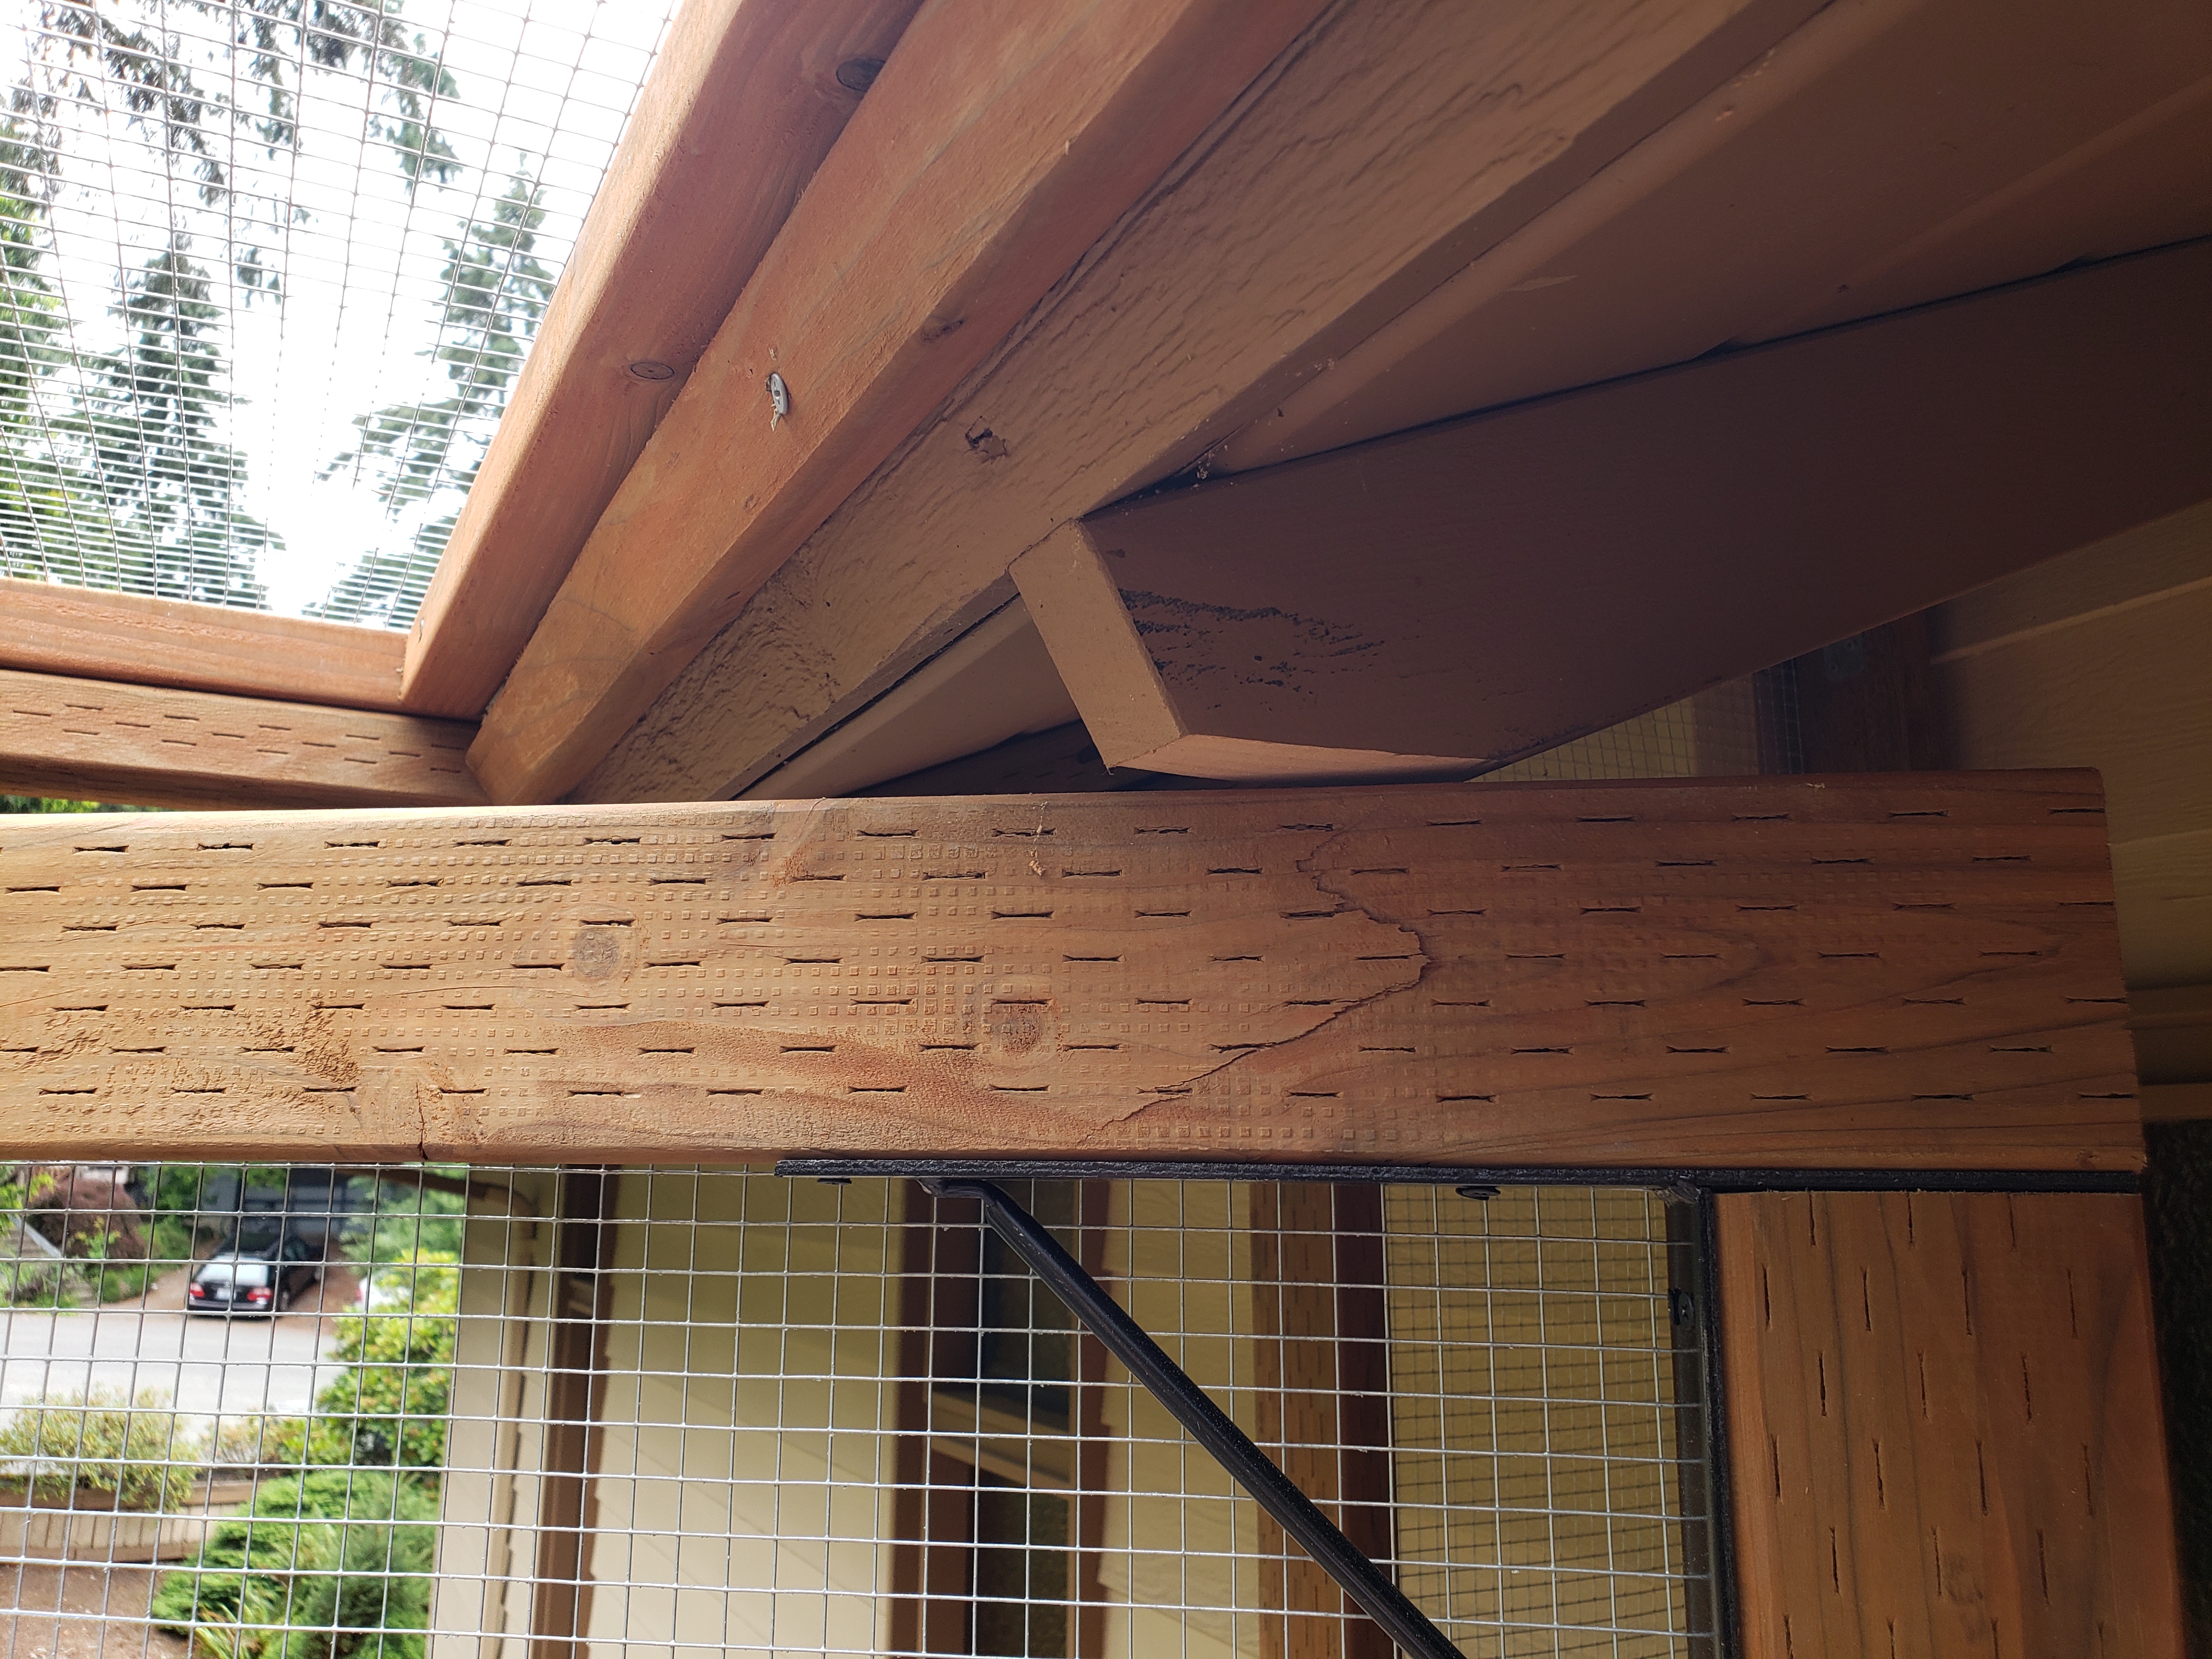
The roof rests on one side on the newly framed aviary walls (attached to them using A21 strong-ties), and on the other side connects to the existing building’s roof. To secure it on that end, I added a “lip” from a 2×2, which ensures that the load is spread evenly and adds additional support (and peace of mind 🙂 ).

The roof is done. Time to think how do we add a door…
Building the door
That was a problem I never had to solve before – I’m not using any prefabs for the threshold, and can’t just pick up a door from home improvement store (also, a door like that for this purpose would just look weird 😉 ), so I needed to decide how to make a stable, sturdy door.
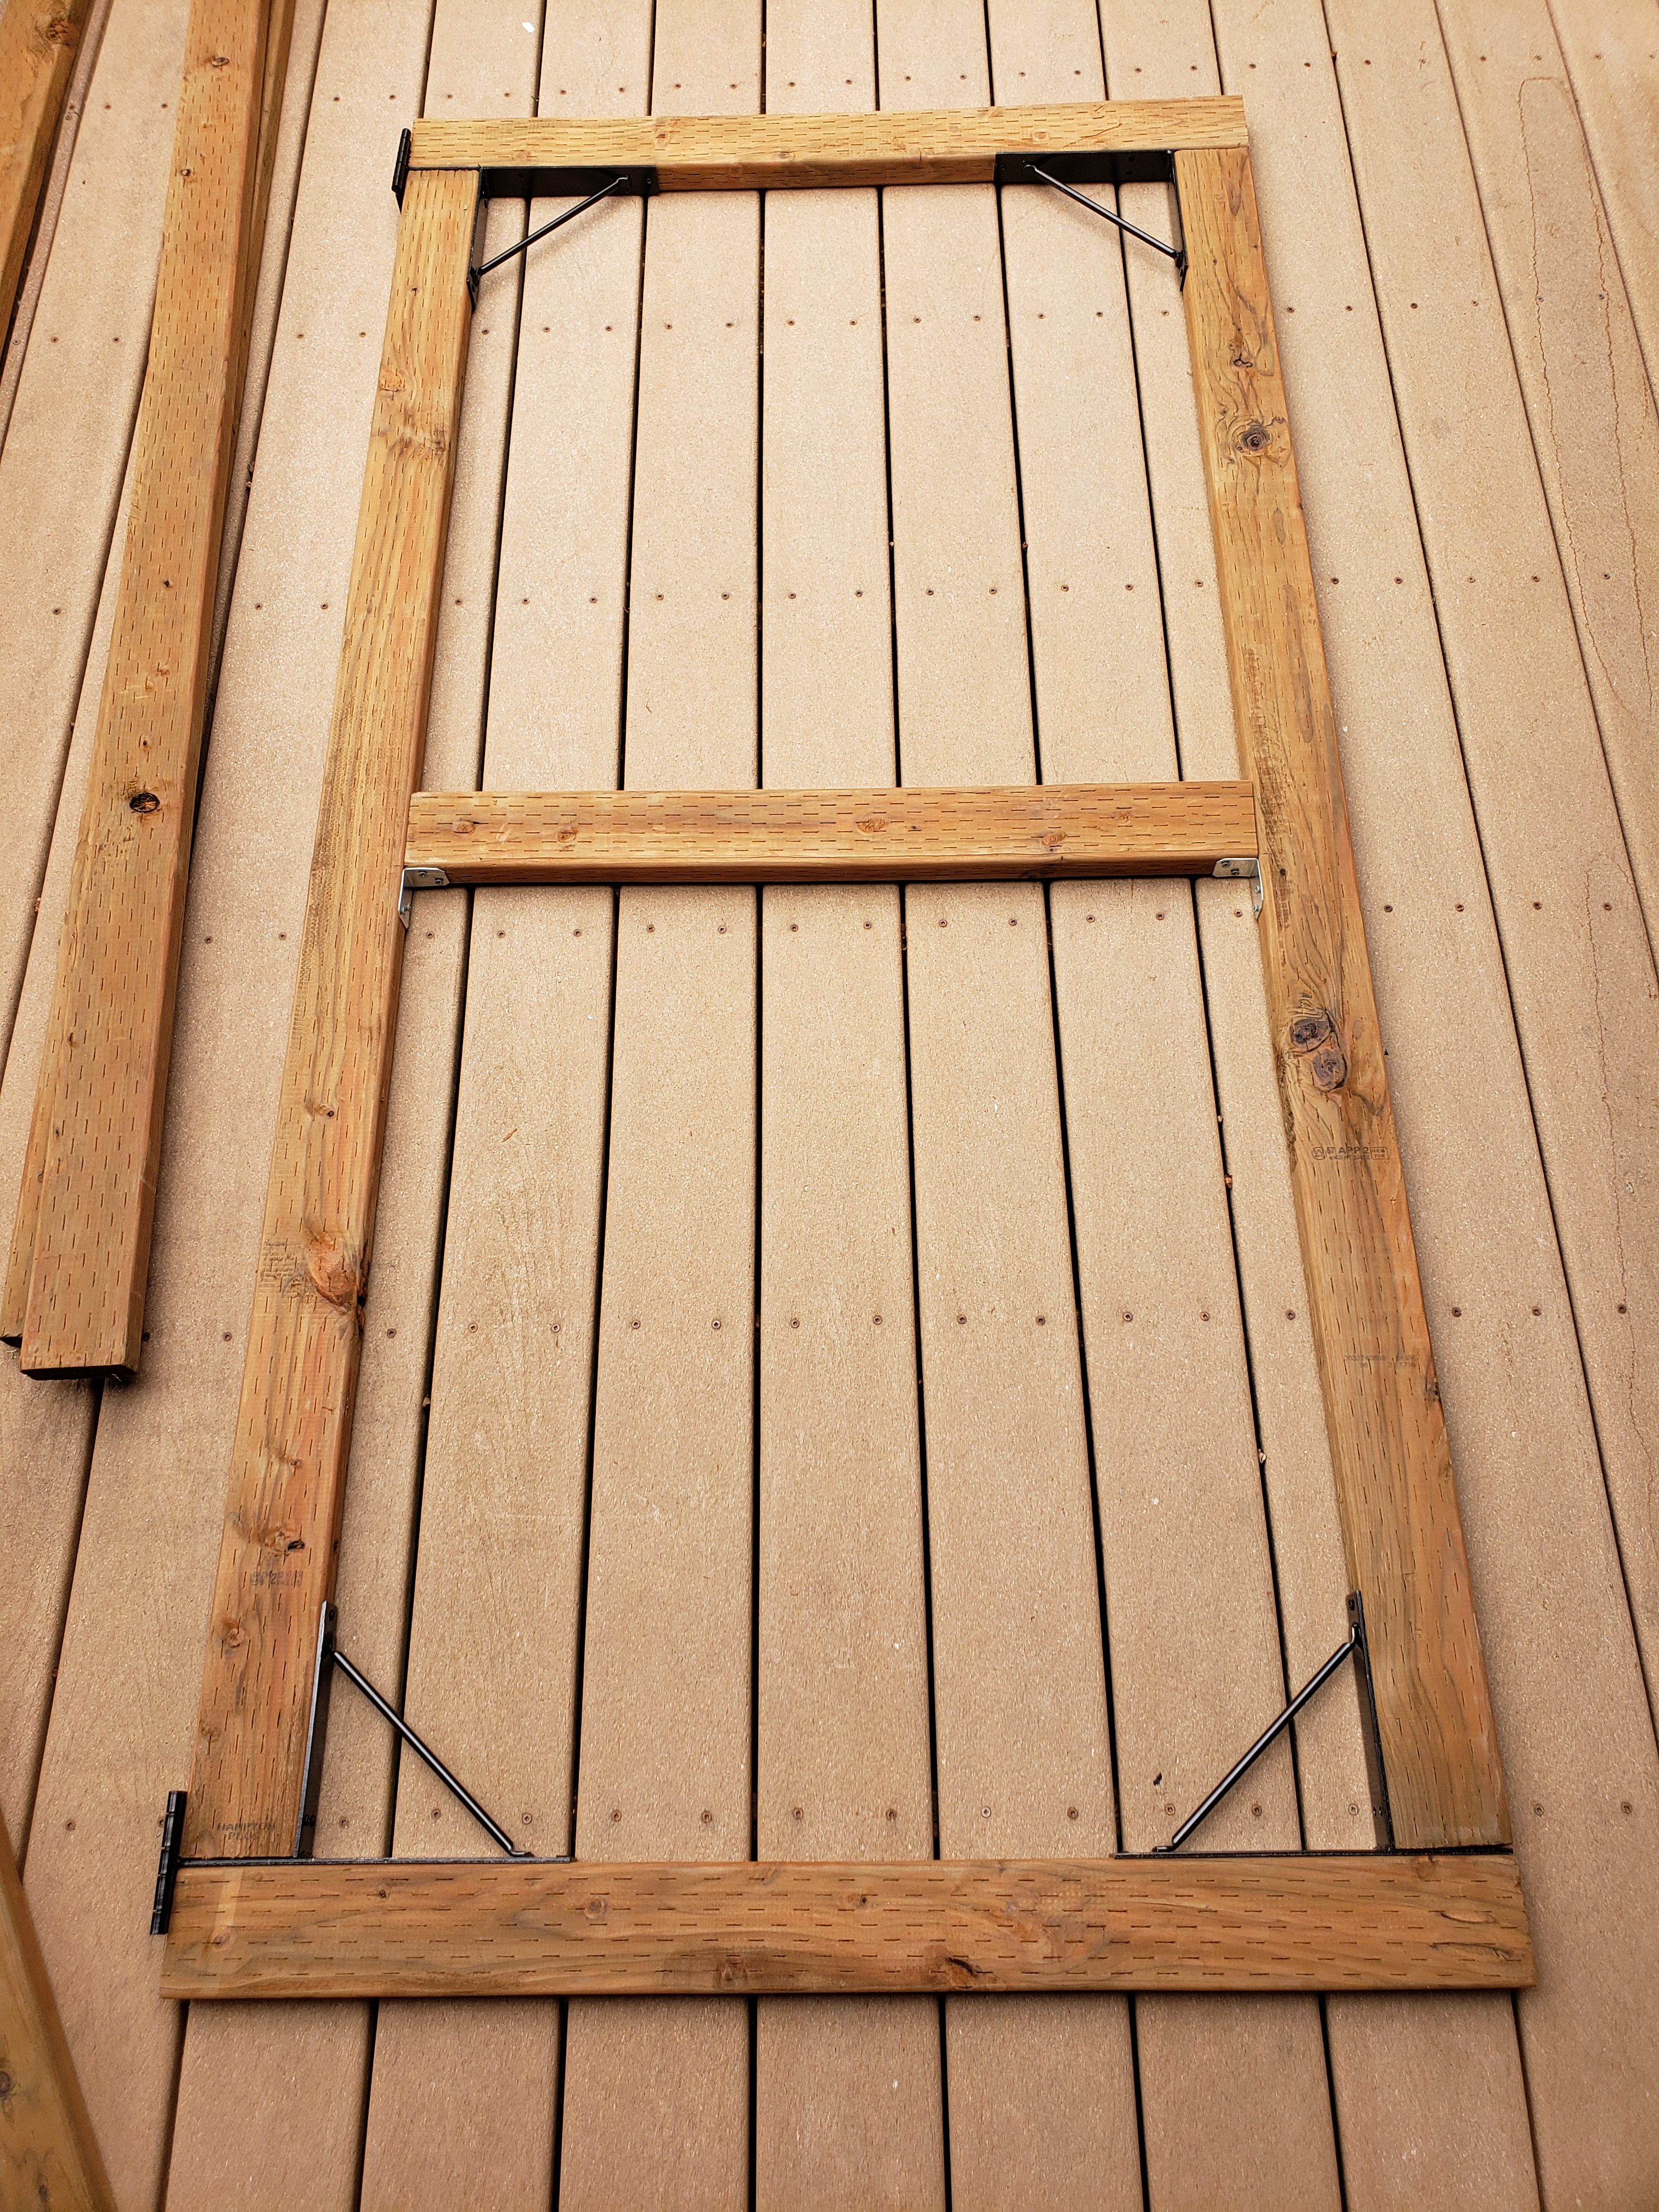
After some online browsing, I decided to buy a set of angle-brackets made for this purpose – with that hardware, you provide the wood (cut to the needed size) and you can put it all together. And supposedly, this mechanism should help prevent sagging of the door over time – fingers crossed.
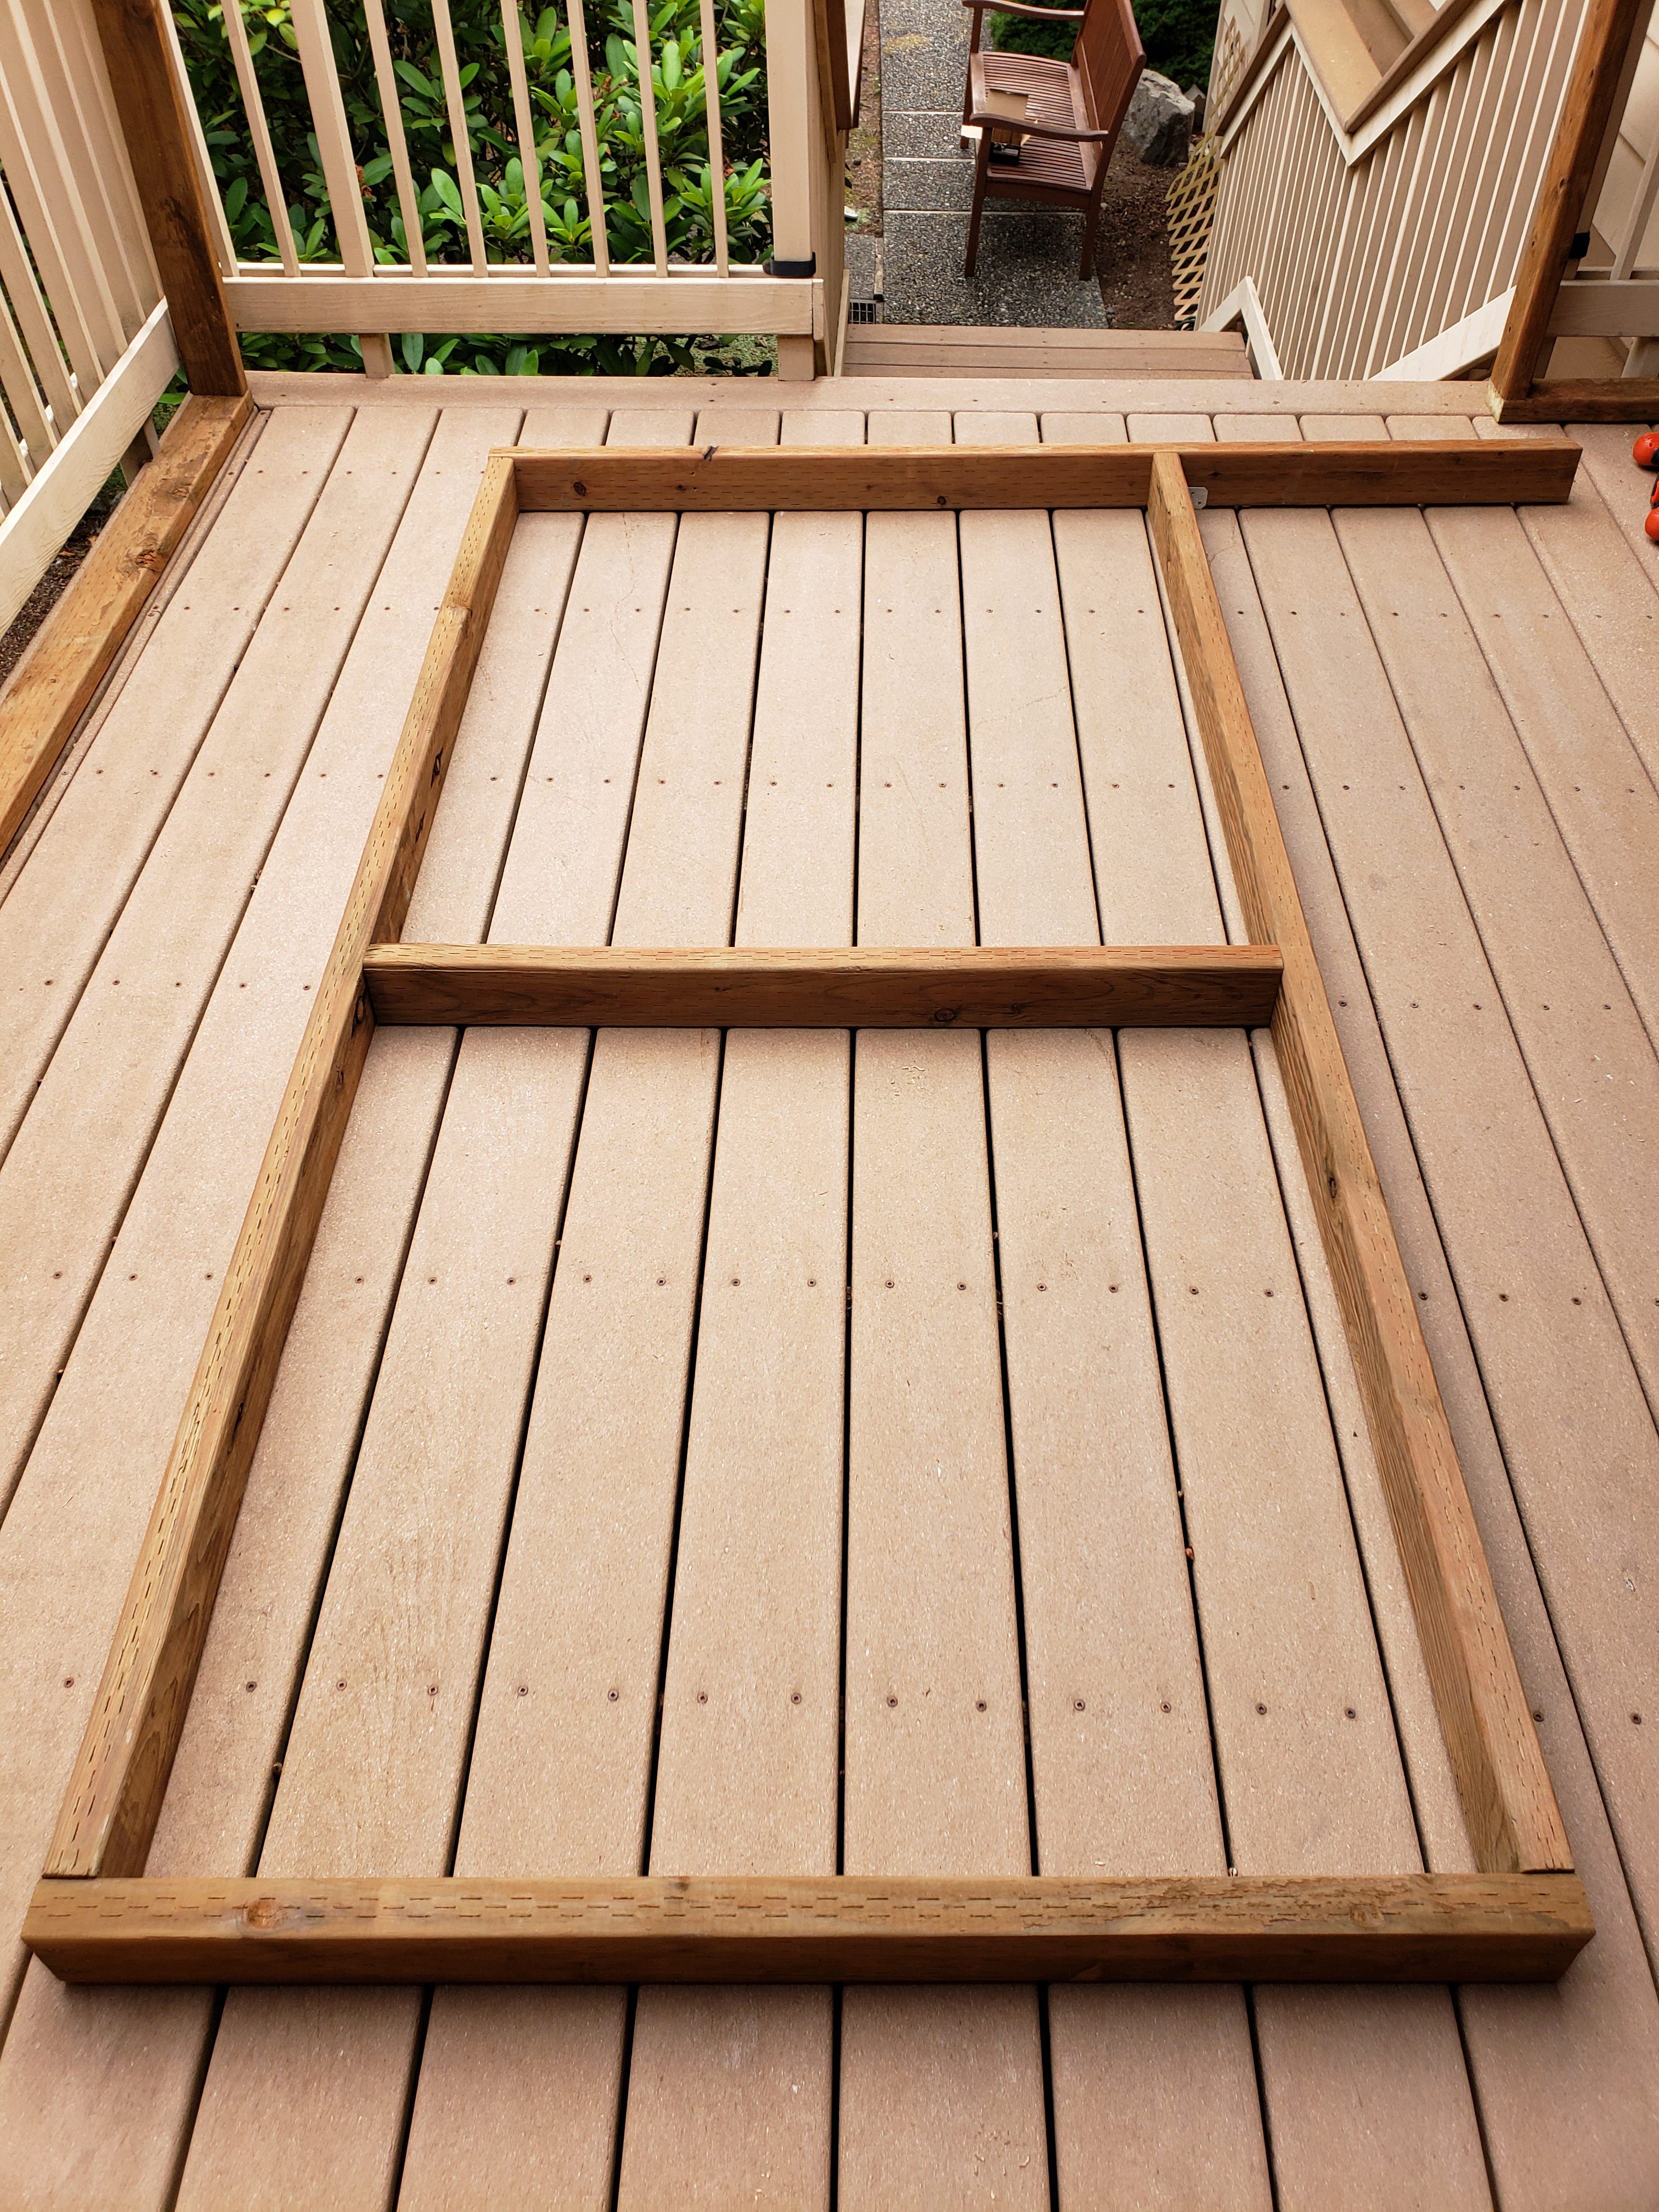
I cut all the pieces after measuring the size of the door I’d like to put in (and making sure the opening I left in between the wall framing is square), I did a test fit:
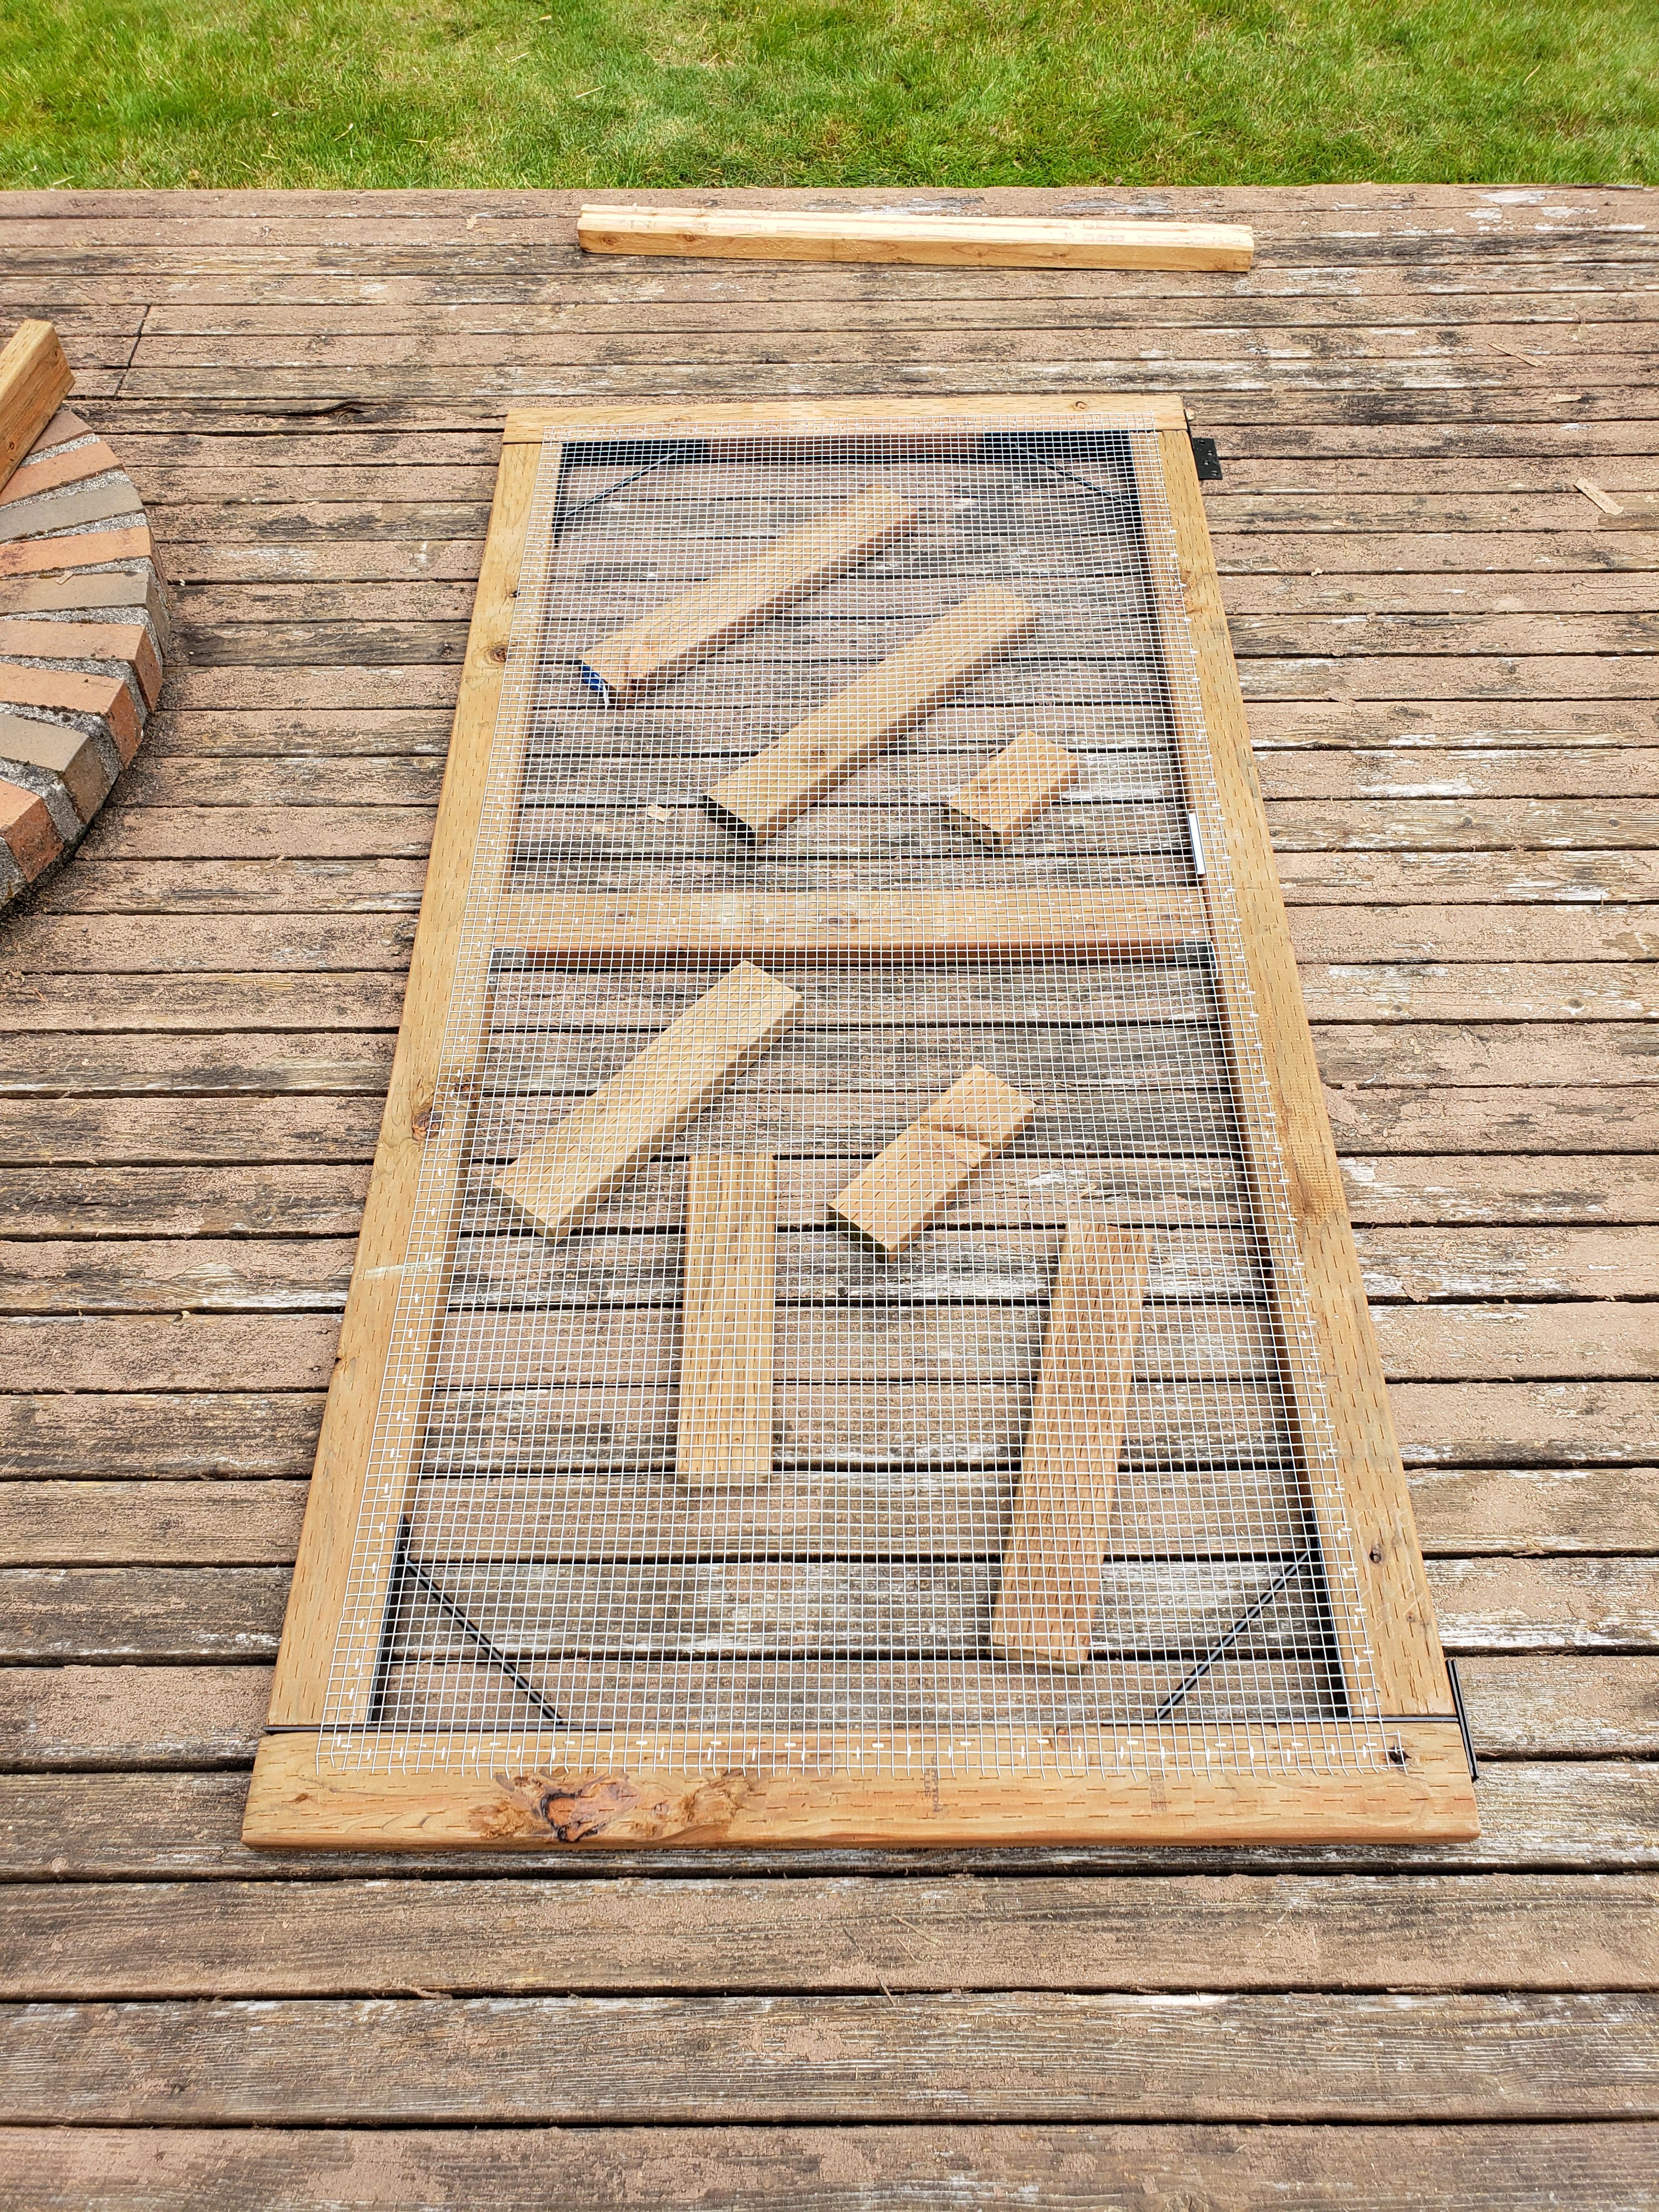
And then filled in the door with mesh, just as with all the walls:
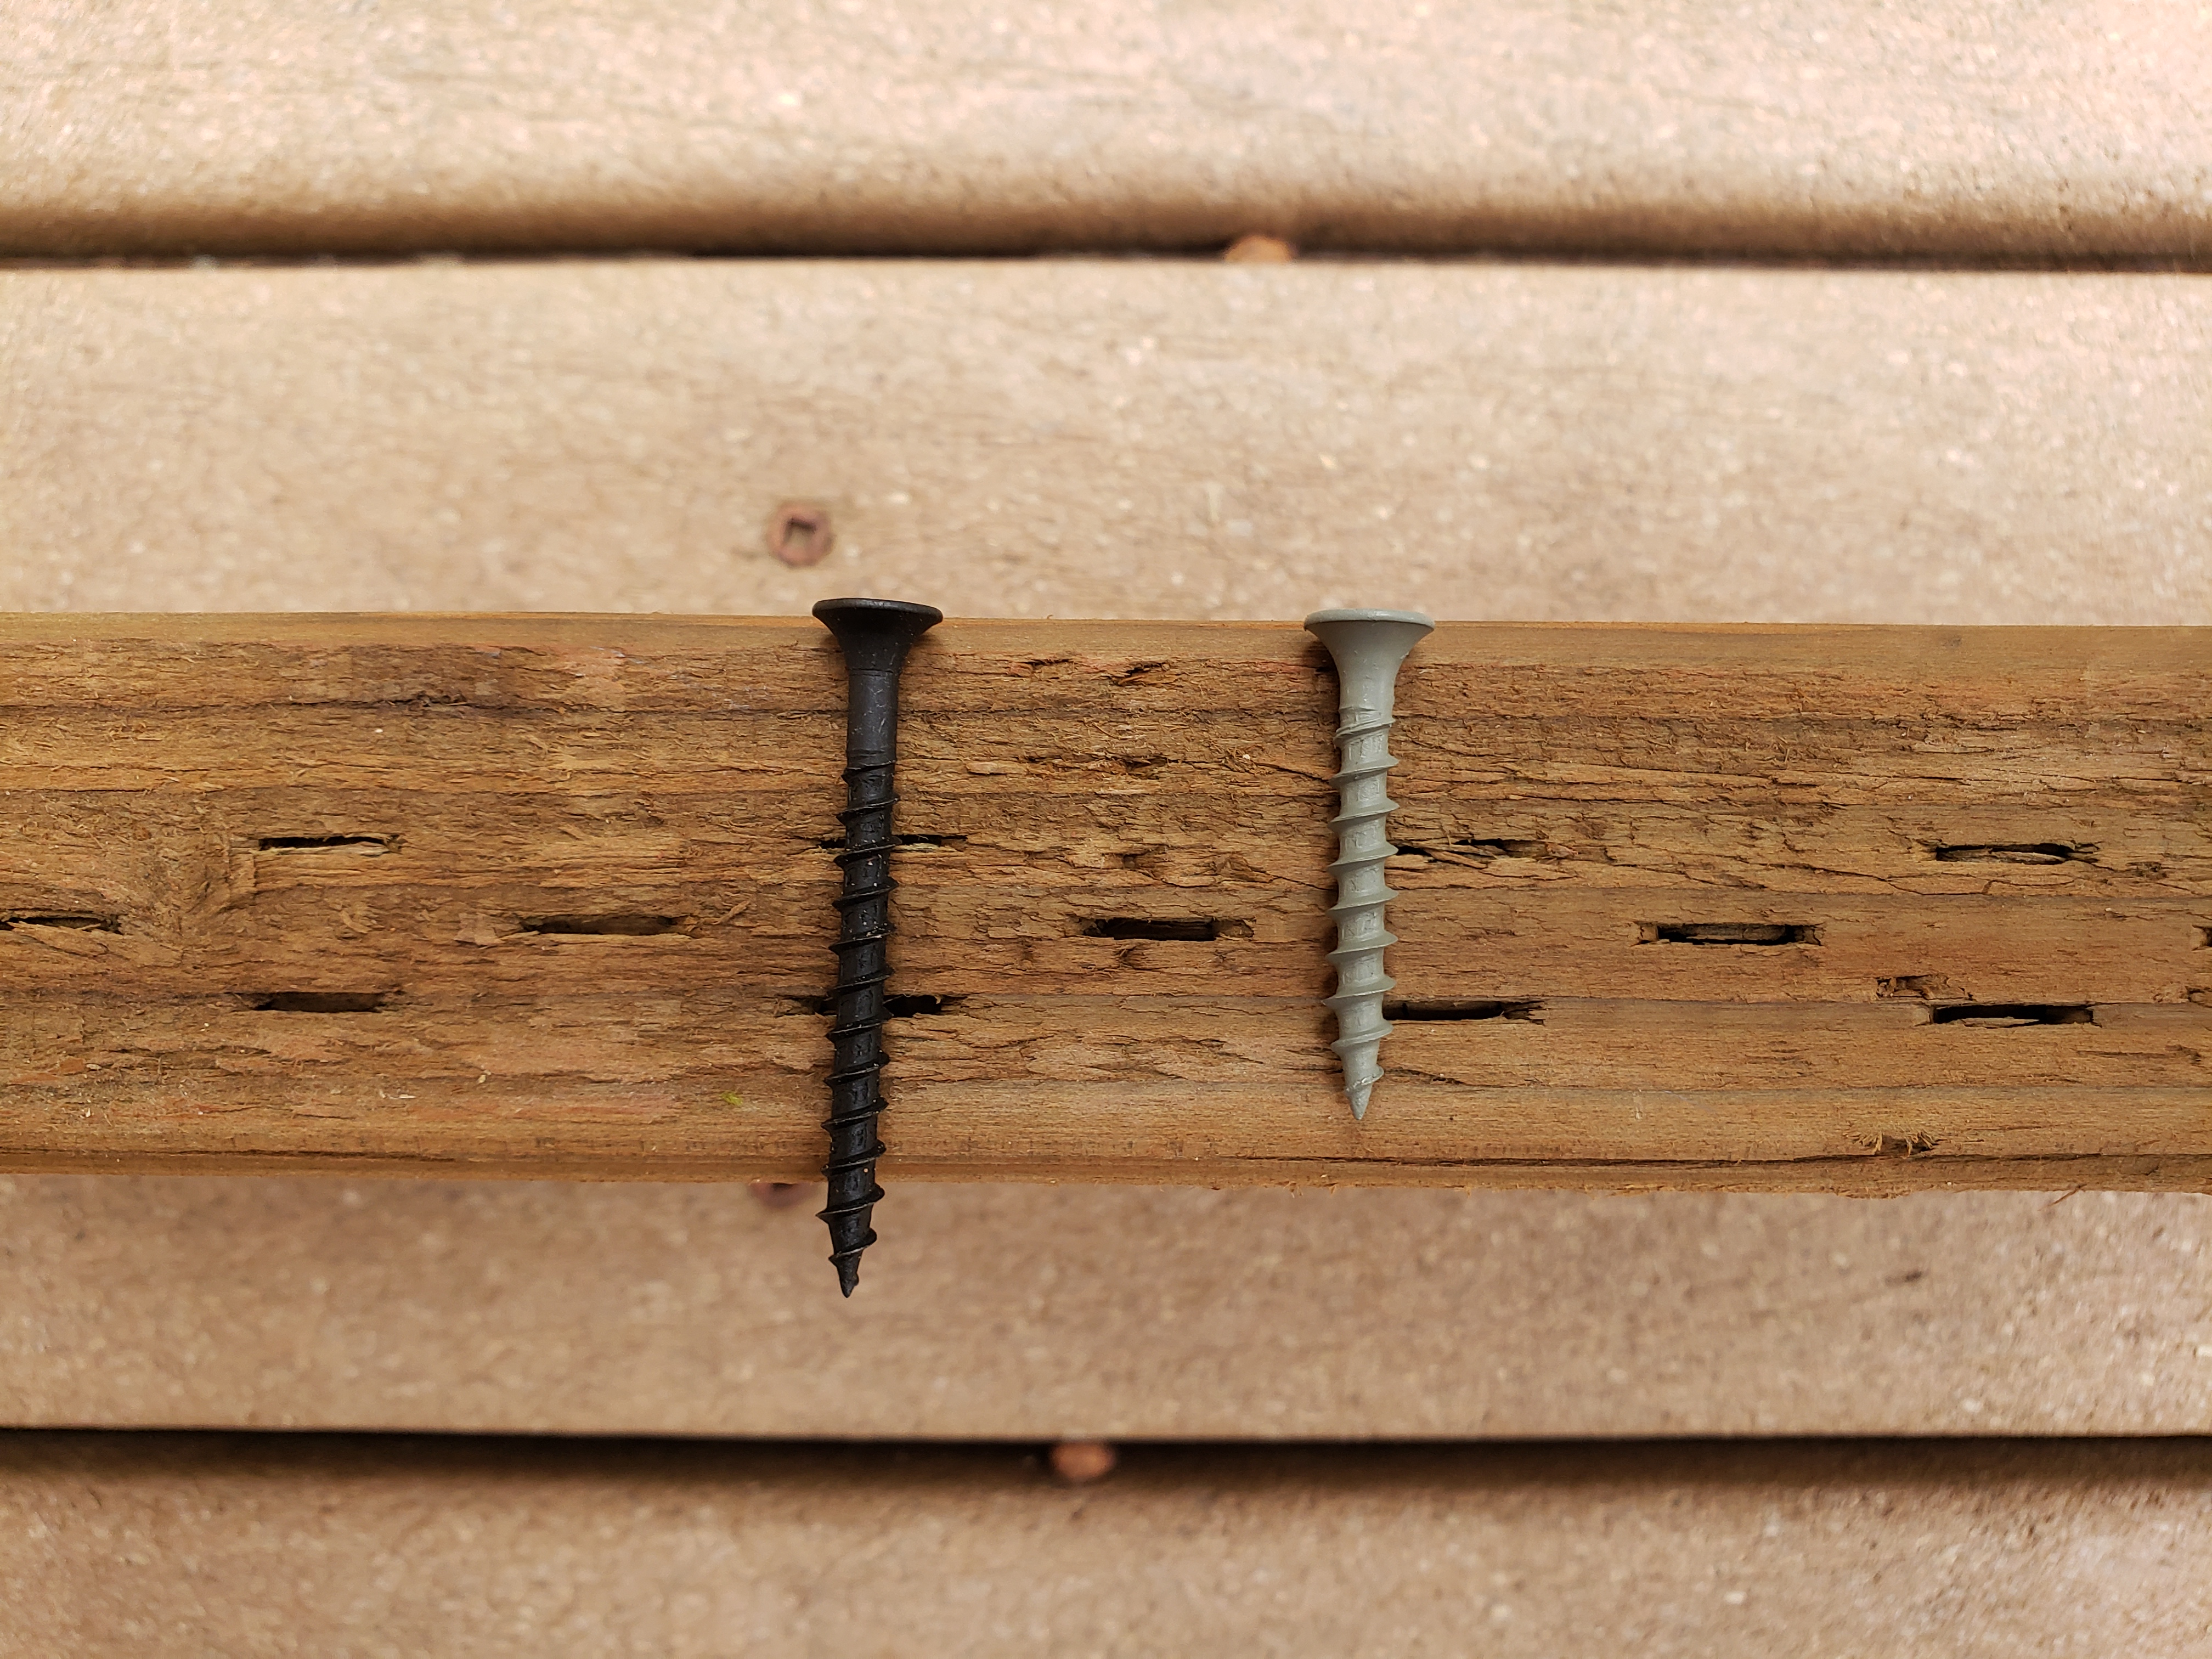
Now, before getting into screwing all the hardware and wood together, small call-out – be sure you’re using screws of a correct length (e.g. when attaching the hinges to the door) to avoid unpleasant surprises and ending up with screws sticking out from the other side:
In order to screw the door onto the frame, I used small shims to prop it around 1/4″ above the floor (to ensure clearance for opening, but not too big that it would pose danger to the parrots):
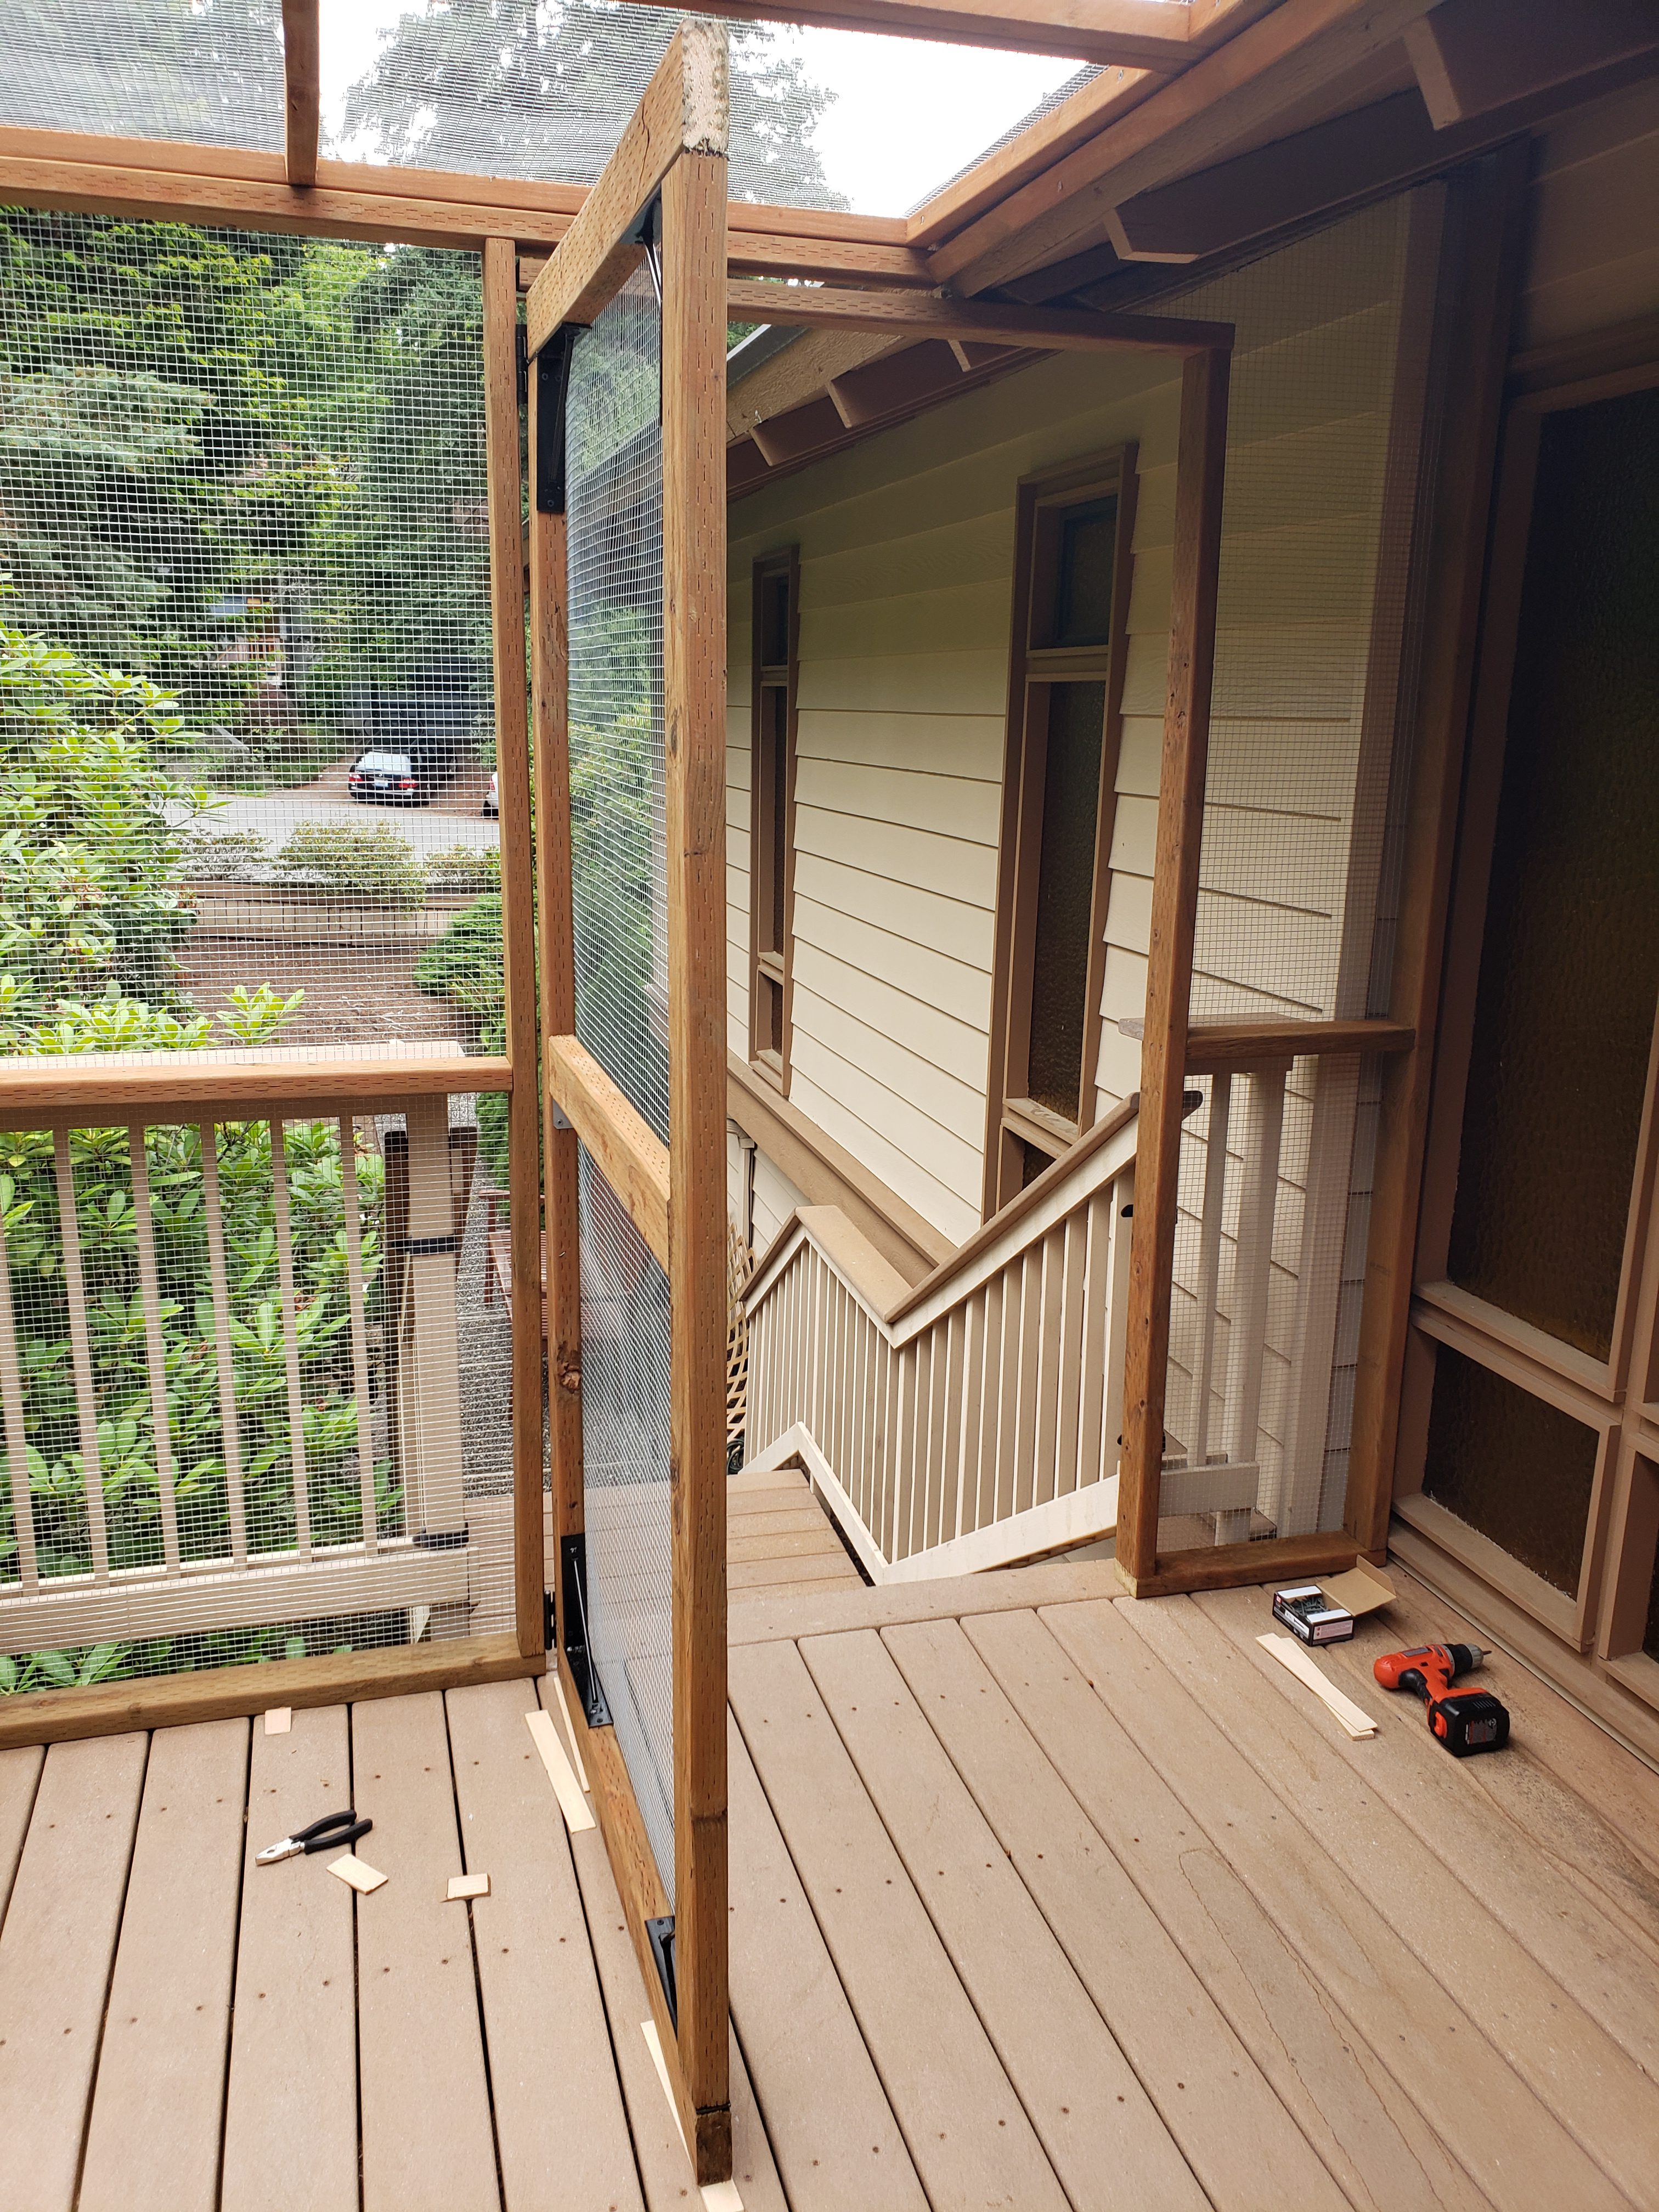
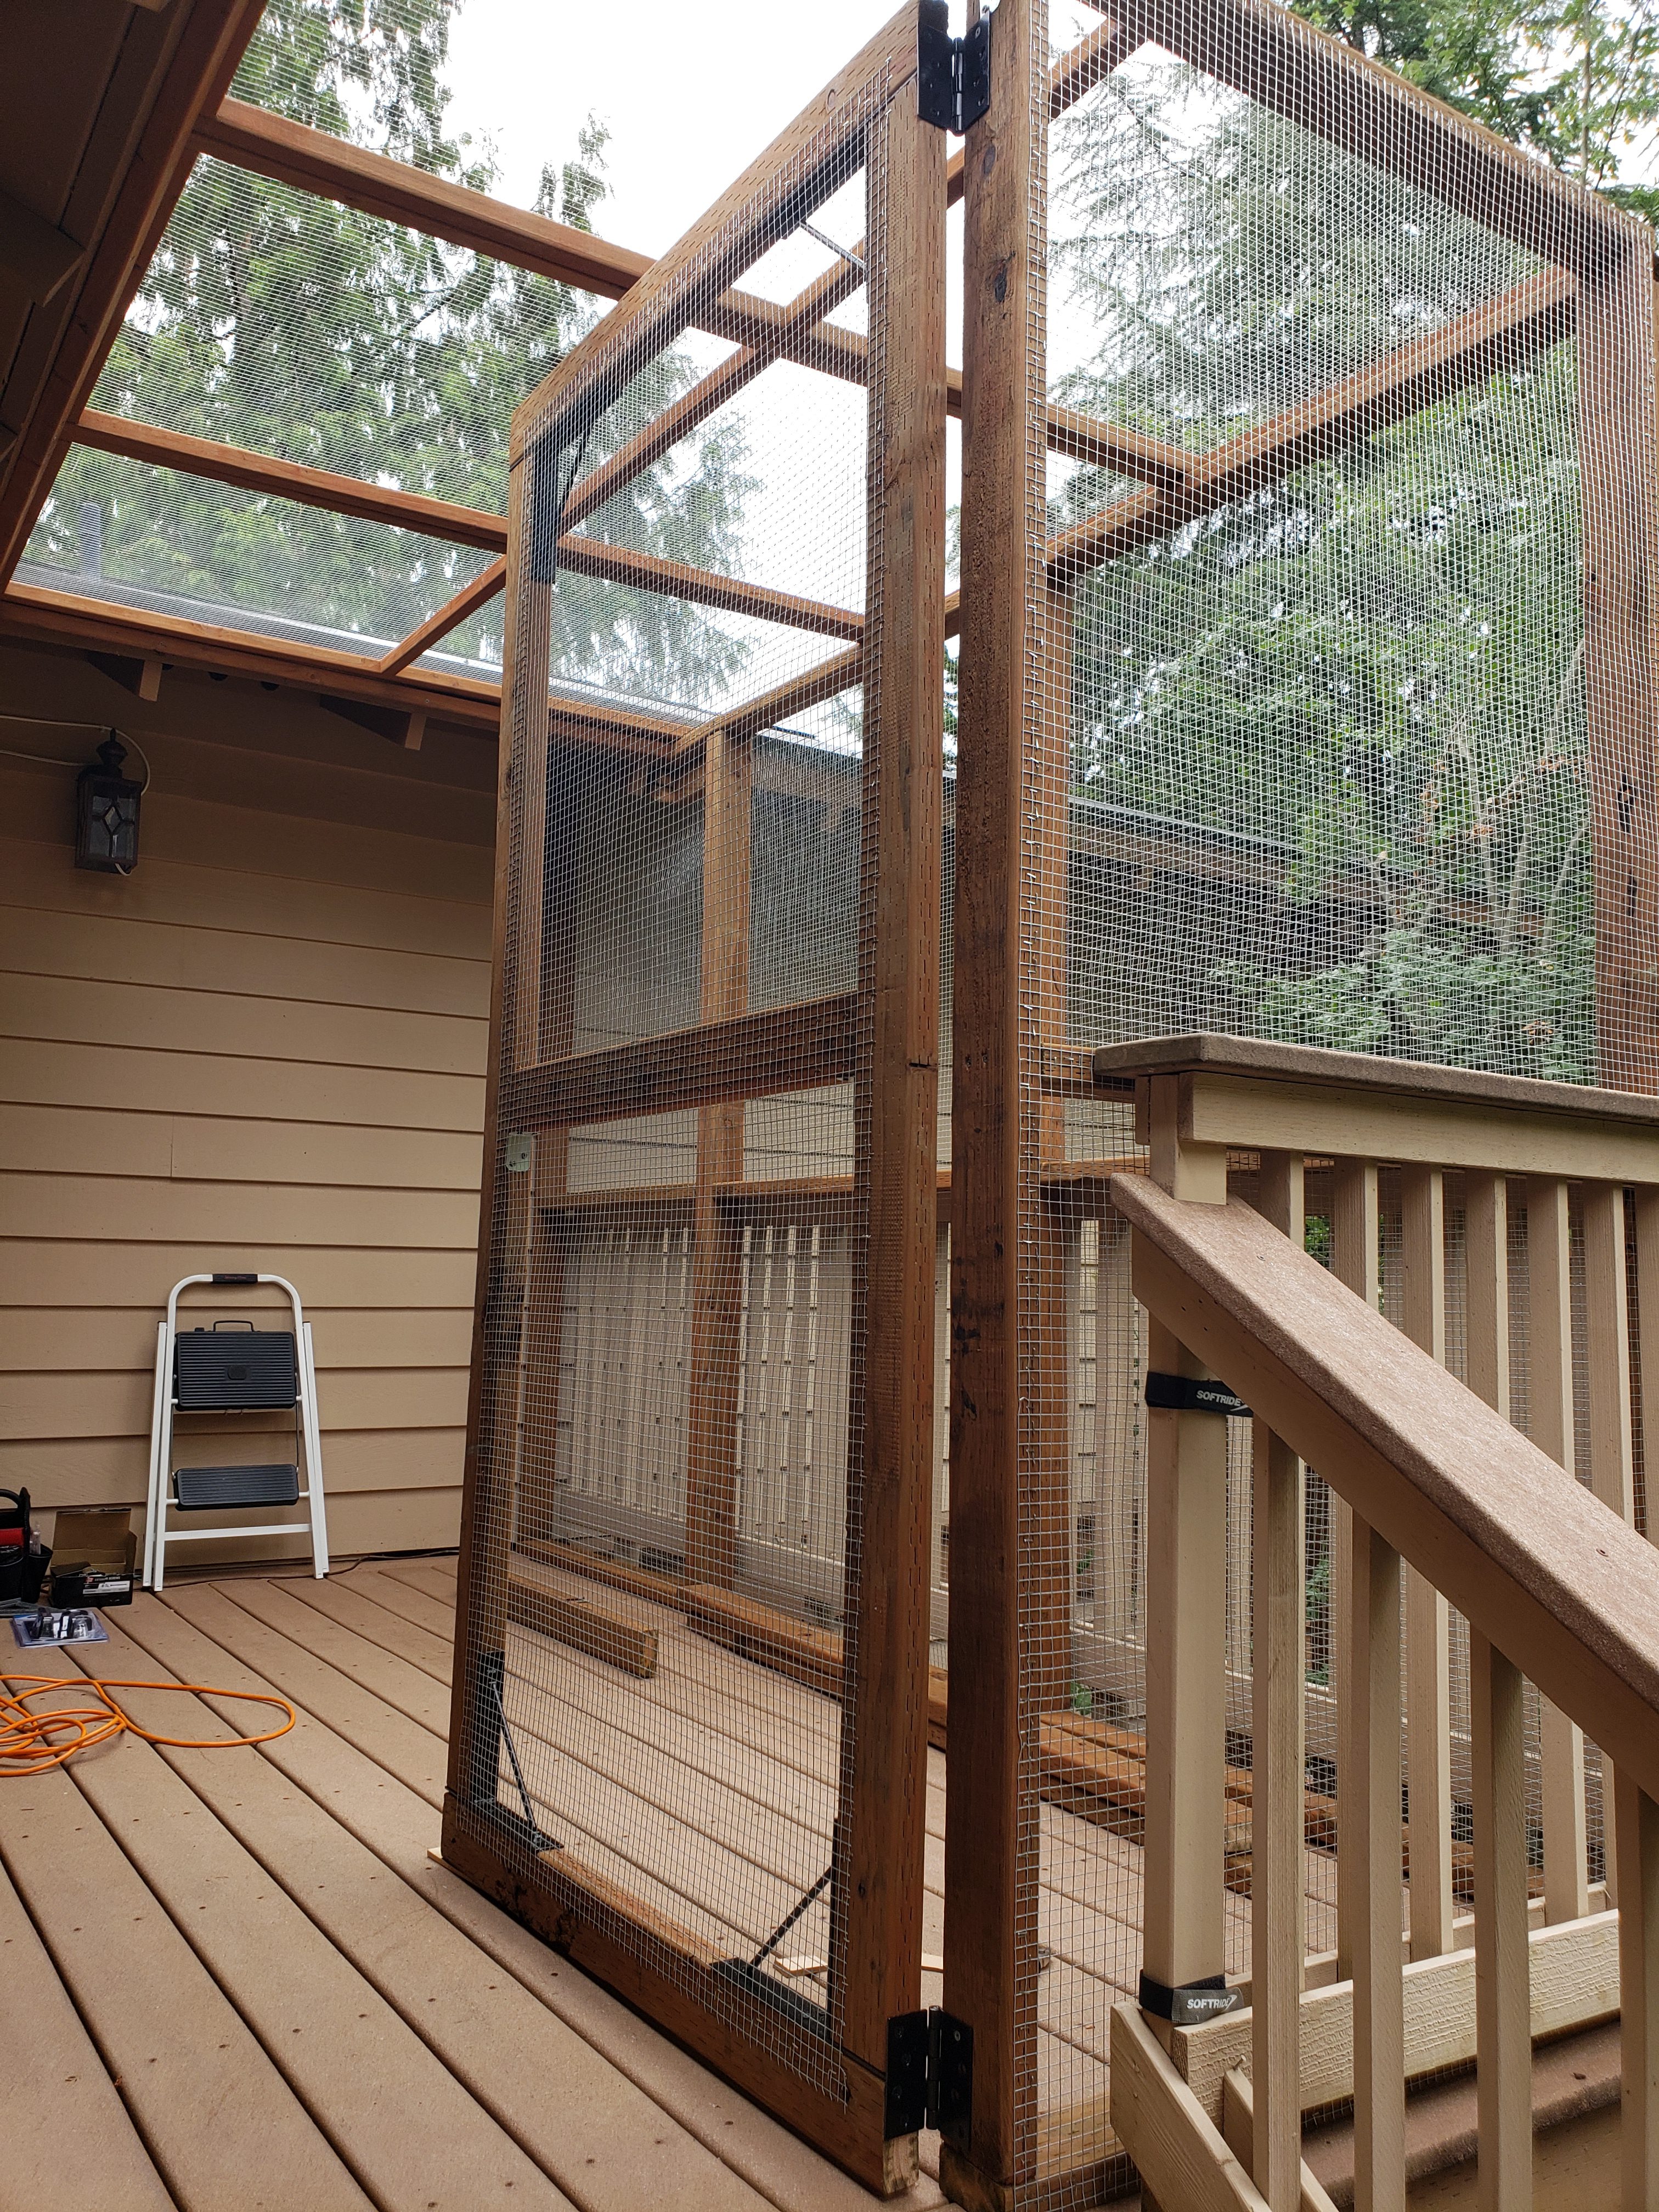
And this is how it looks with door mounted in place:
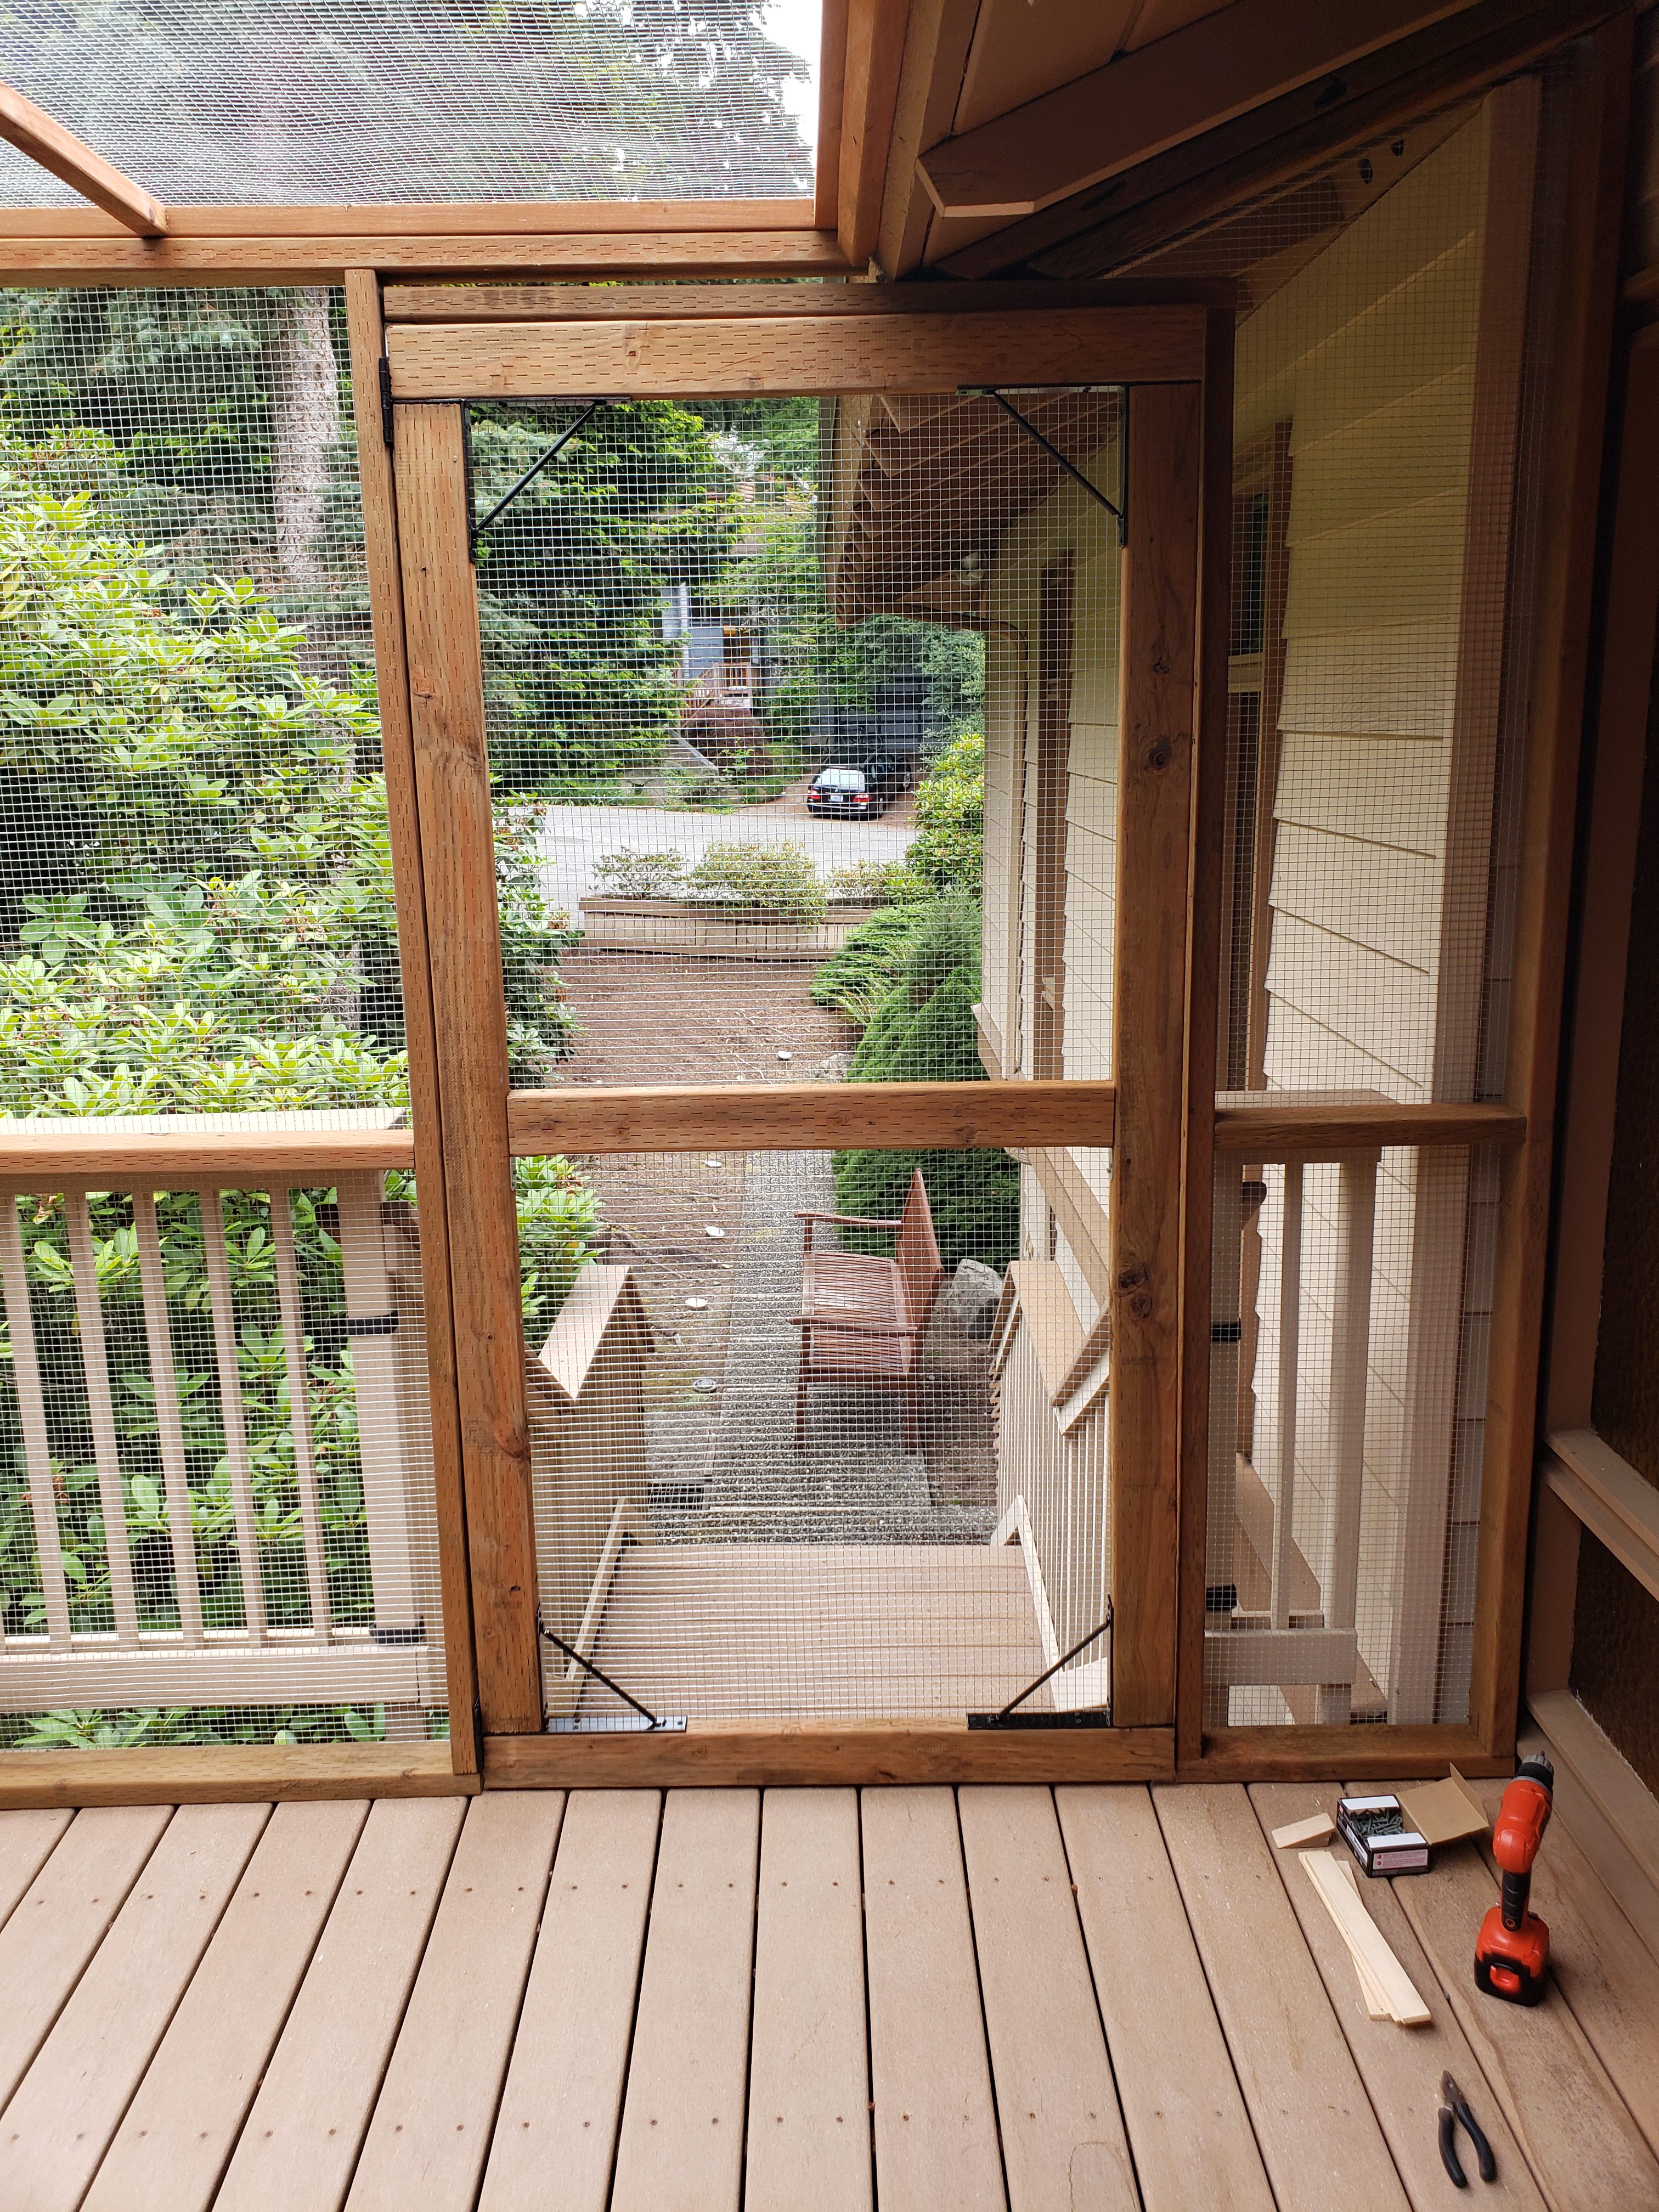
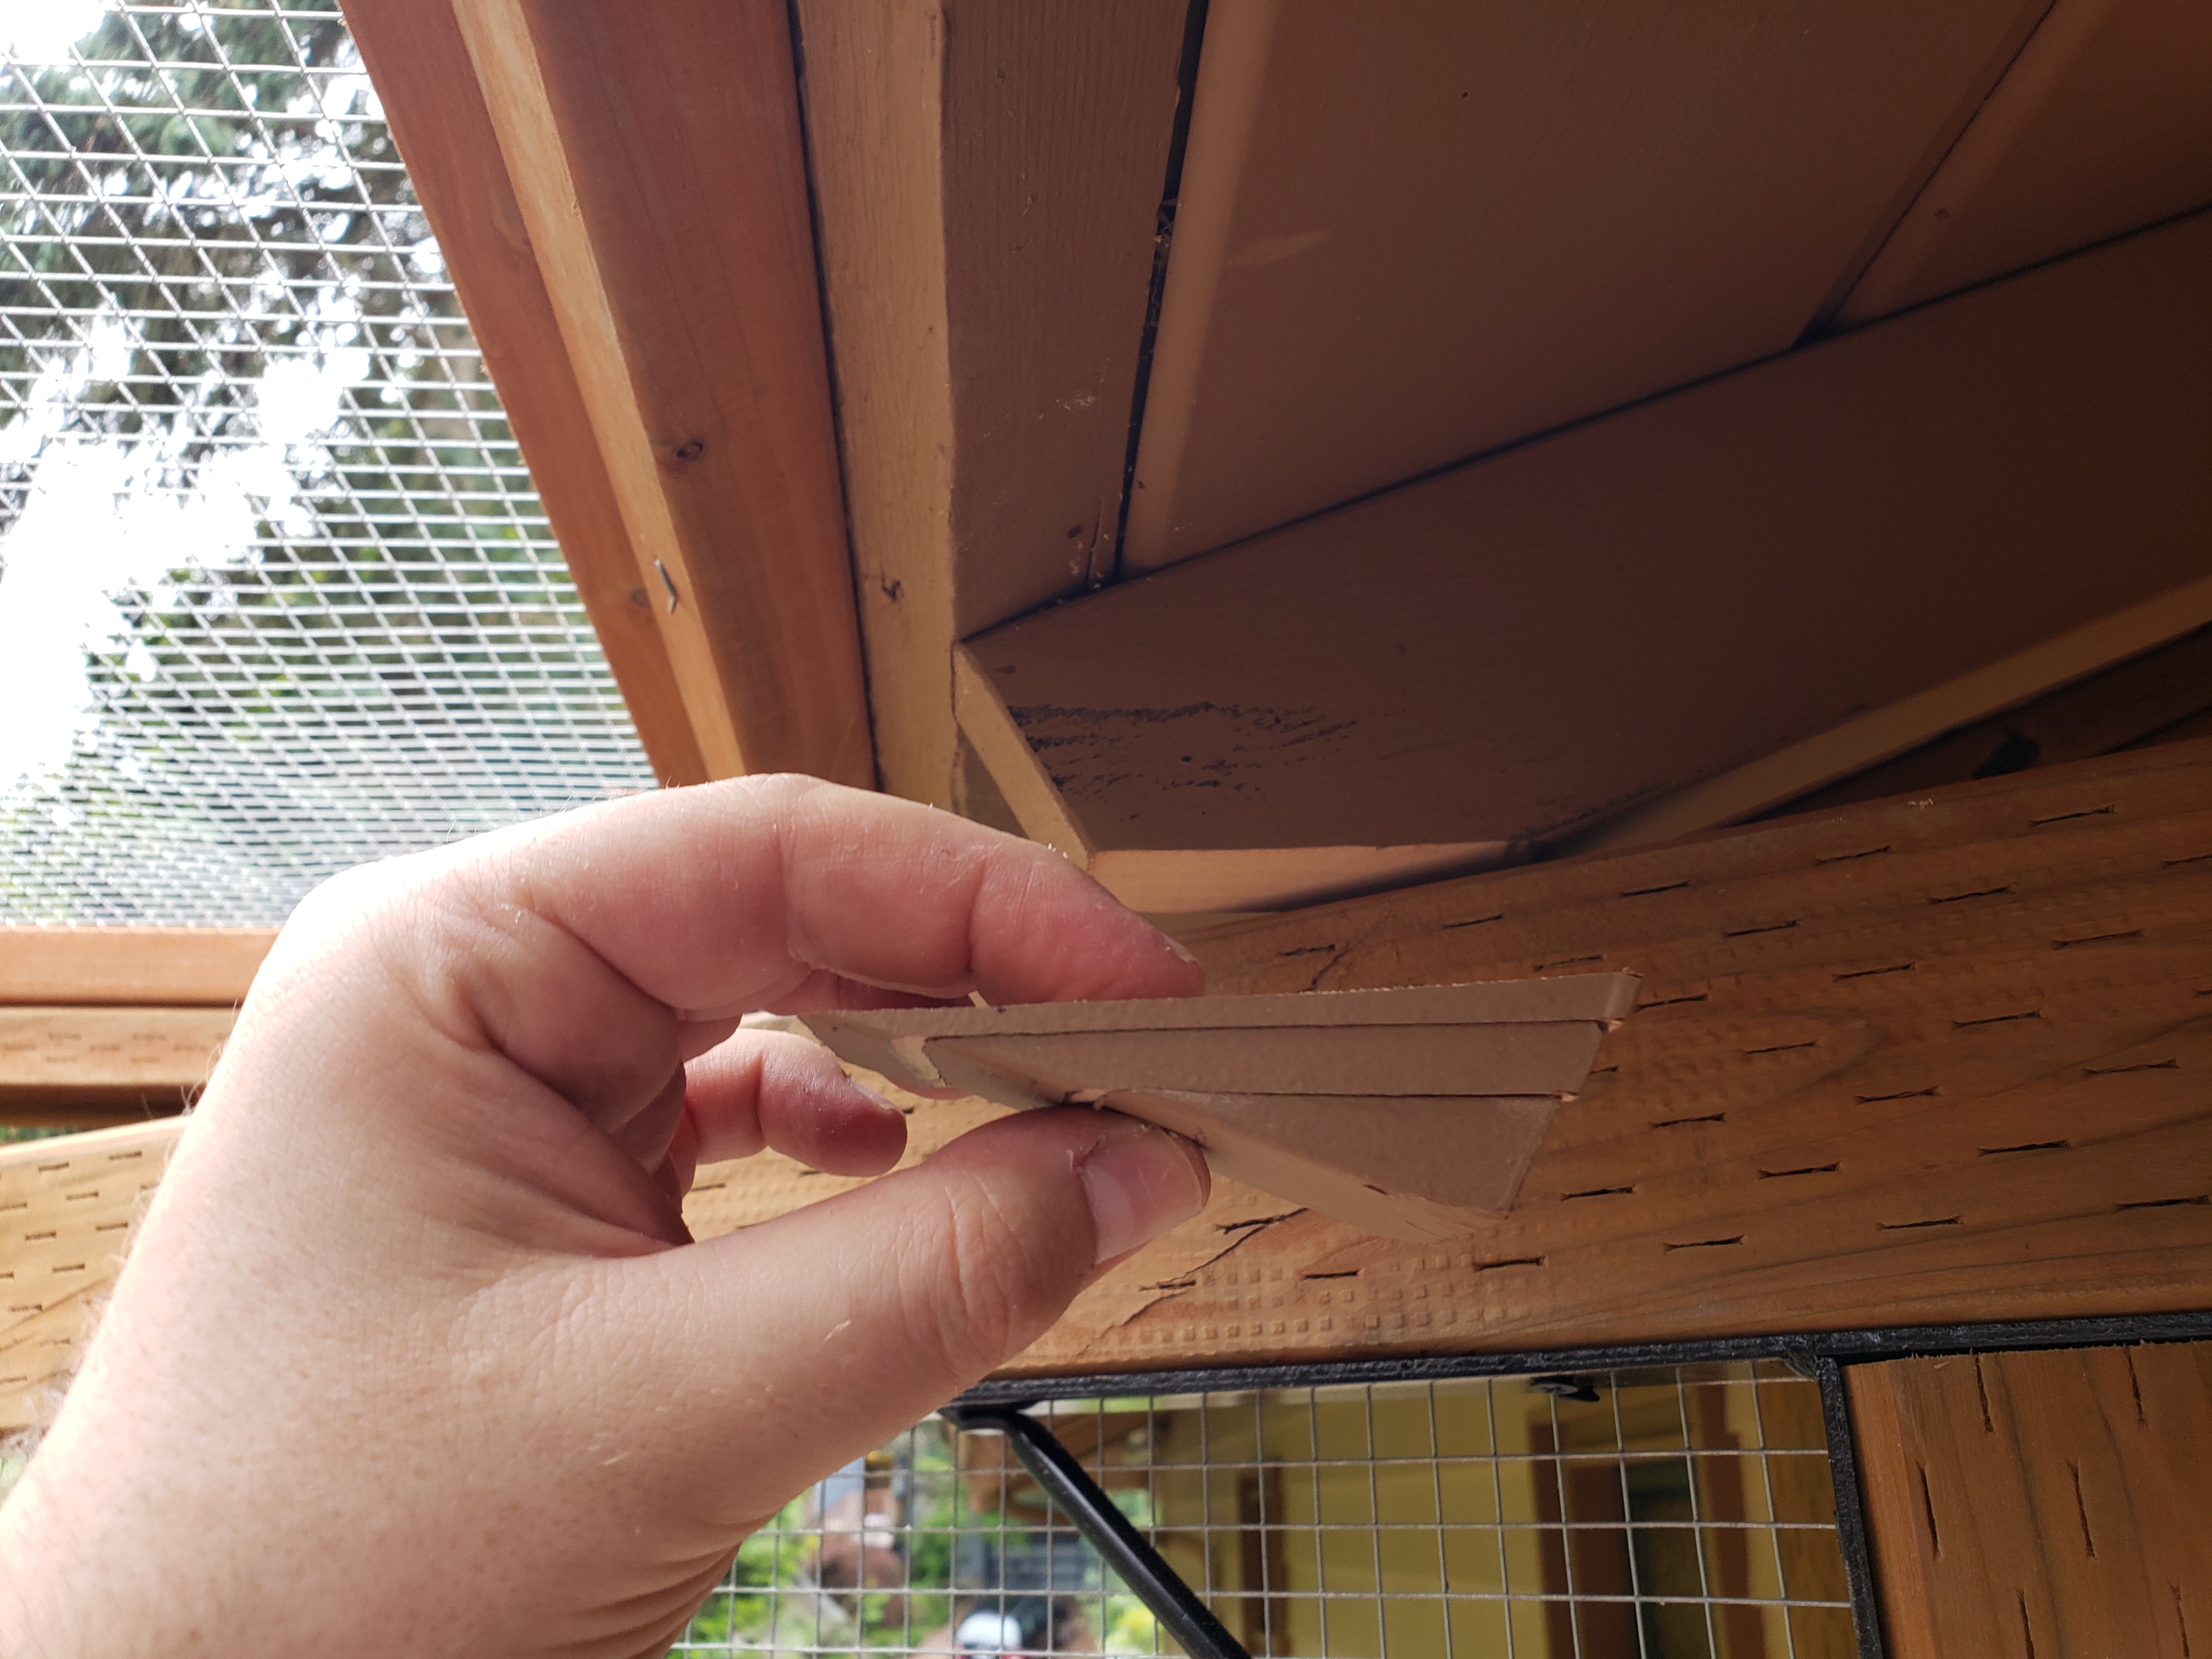
Since I wanted to maximize the usable space in the aviary, including the height of the roof and the door, I needed to trim one of the protruding roof truss’, as the door wouldn’t have sufficient clearance to open otherwise:
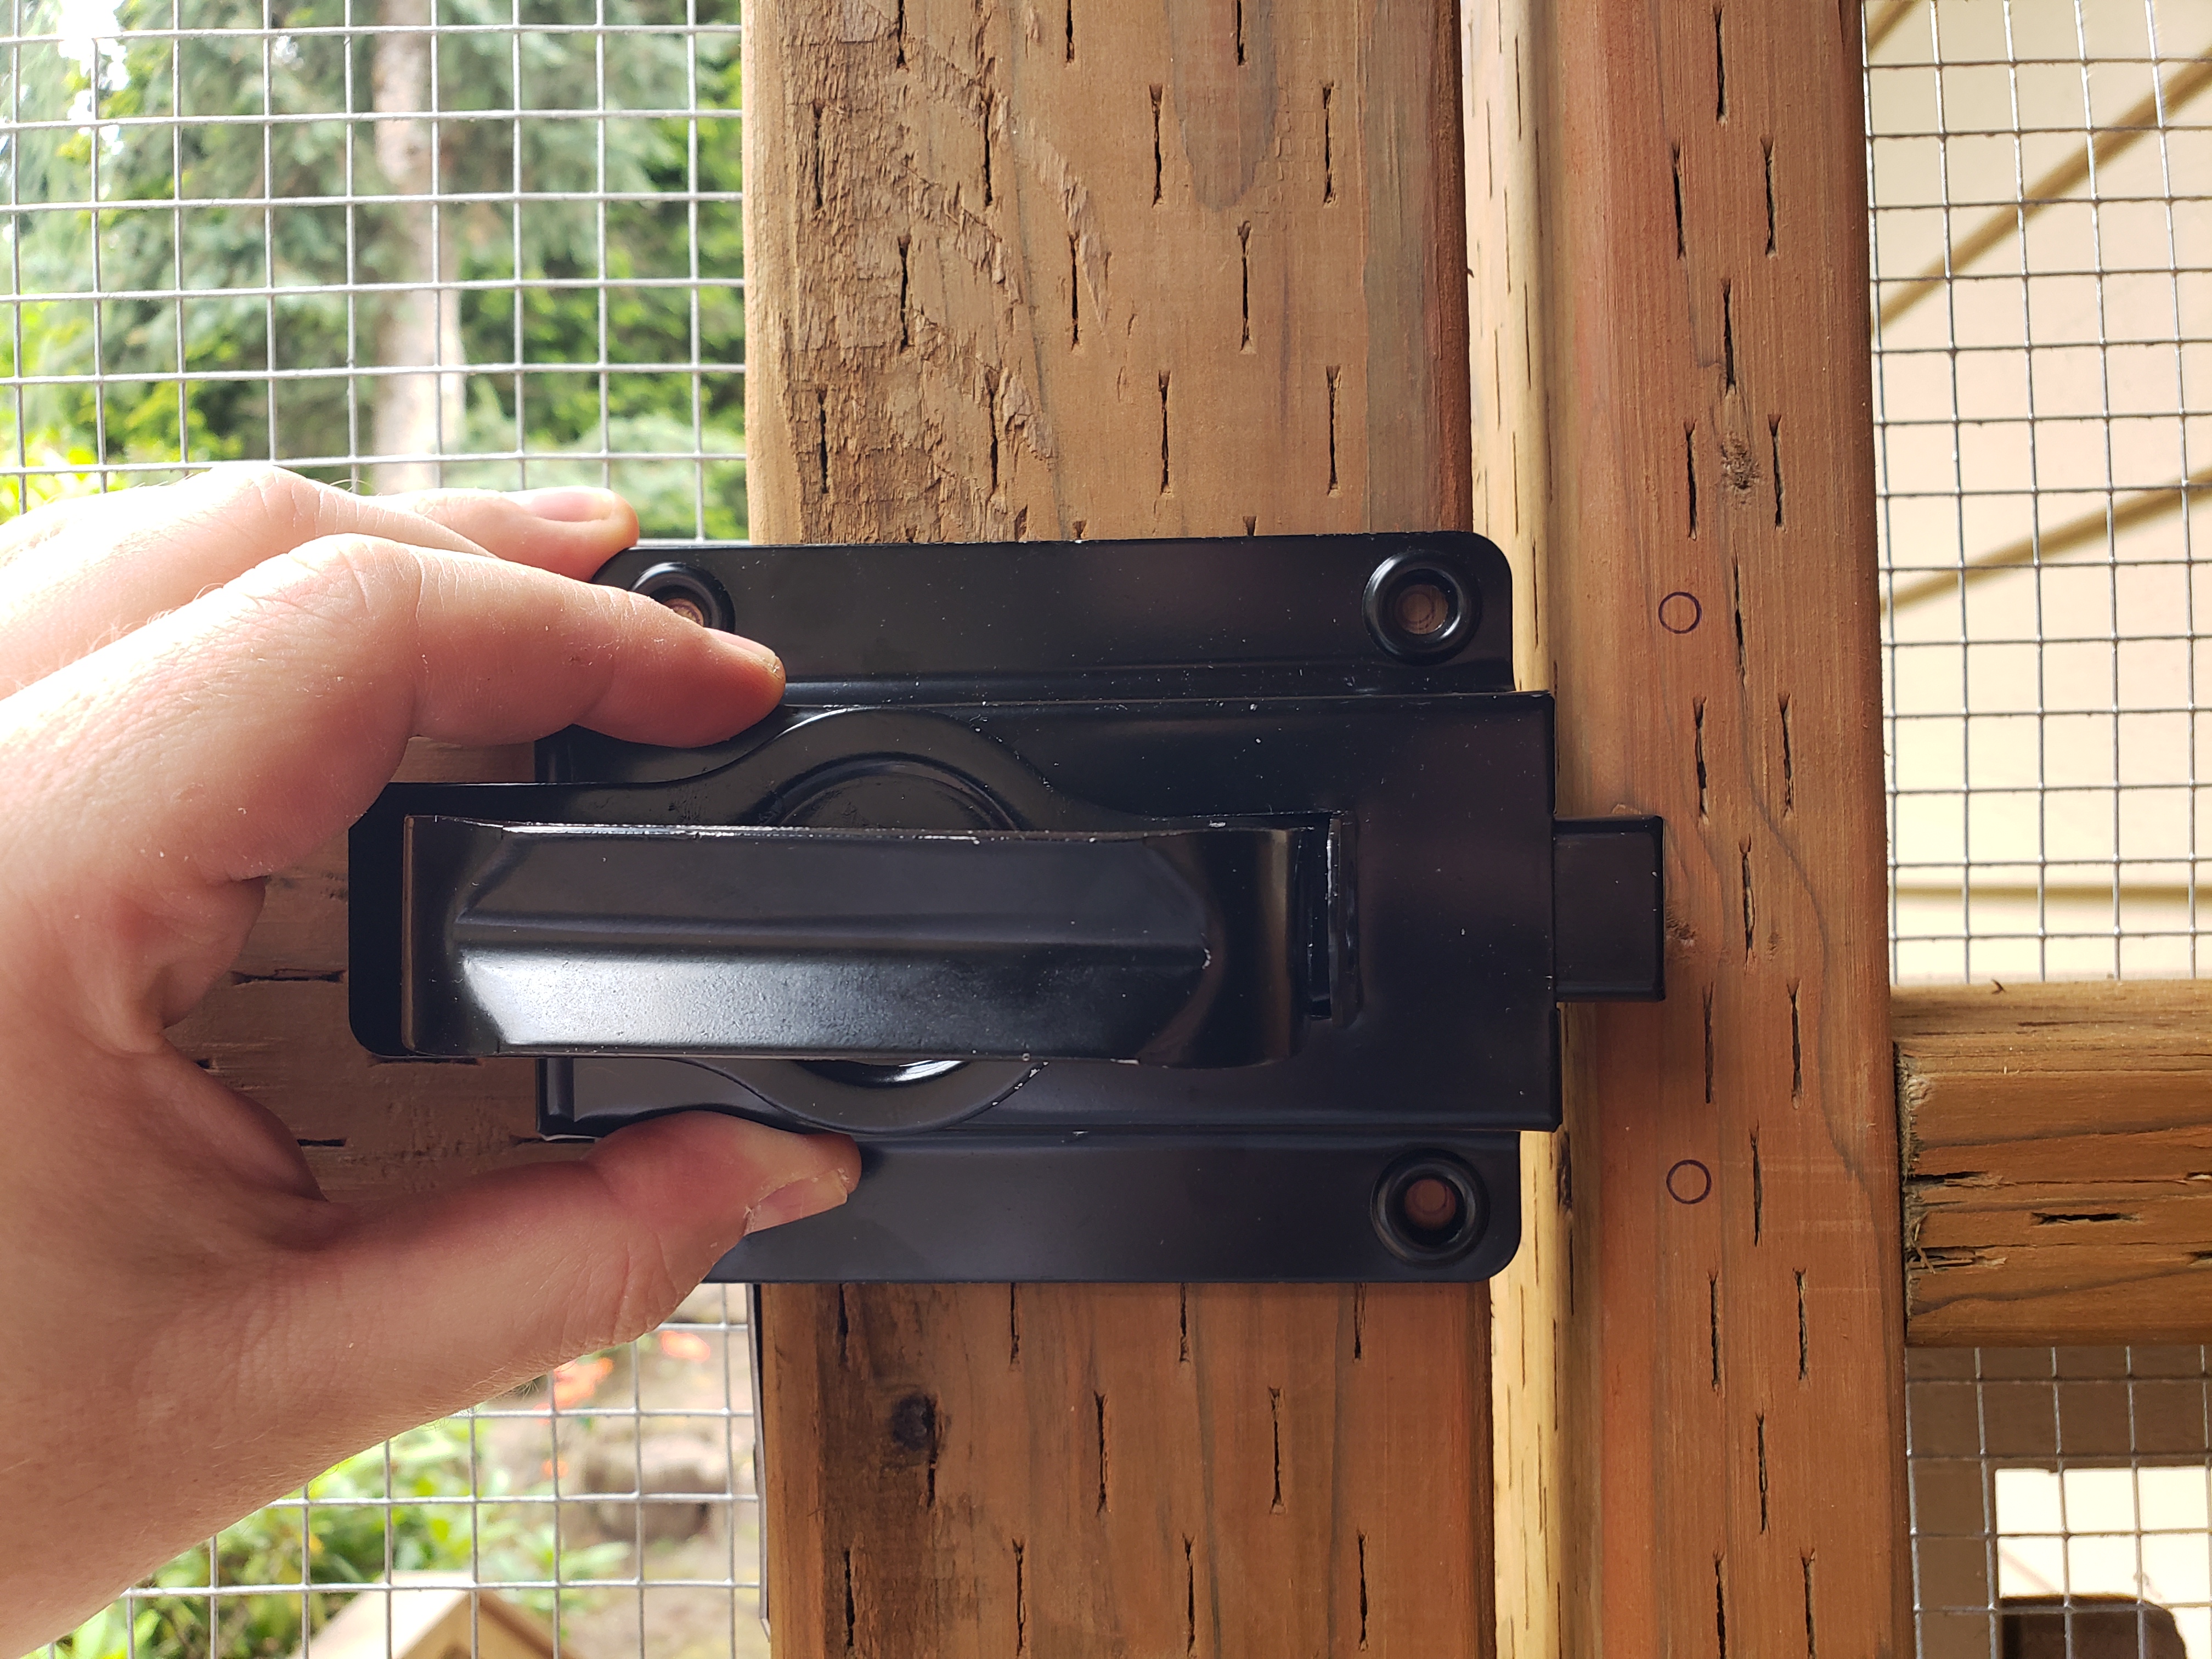
With the door in place, it was time to add the knobs and locking mechanism. I did a test fit and marked the holes for screws, and also marked where the hole for bolt needs to be drilled:
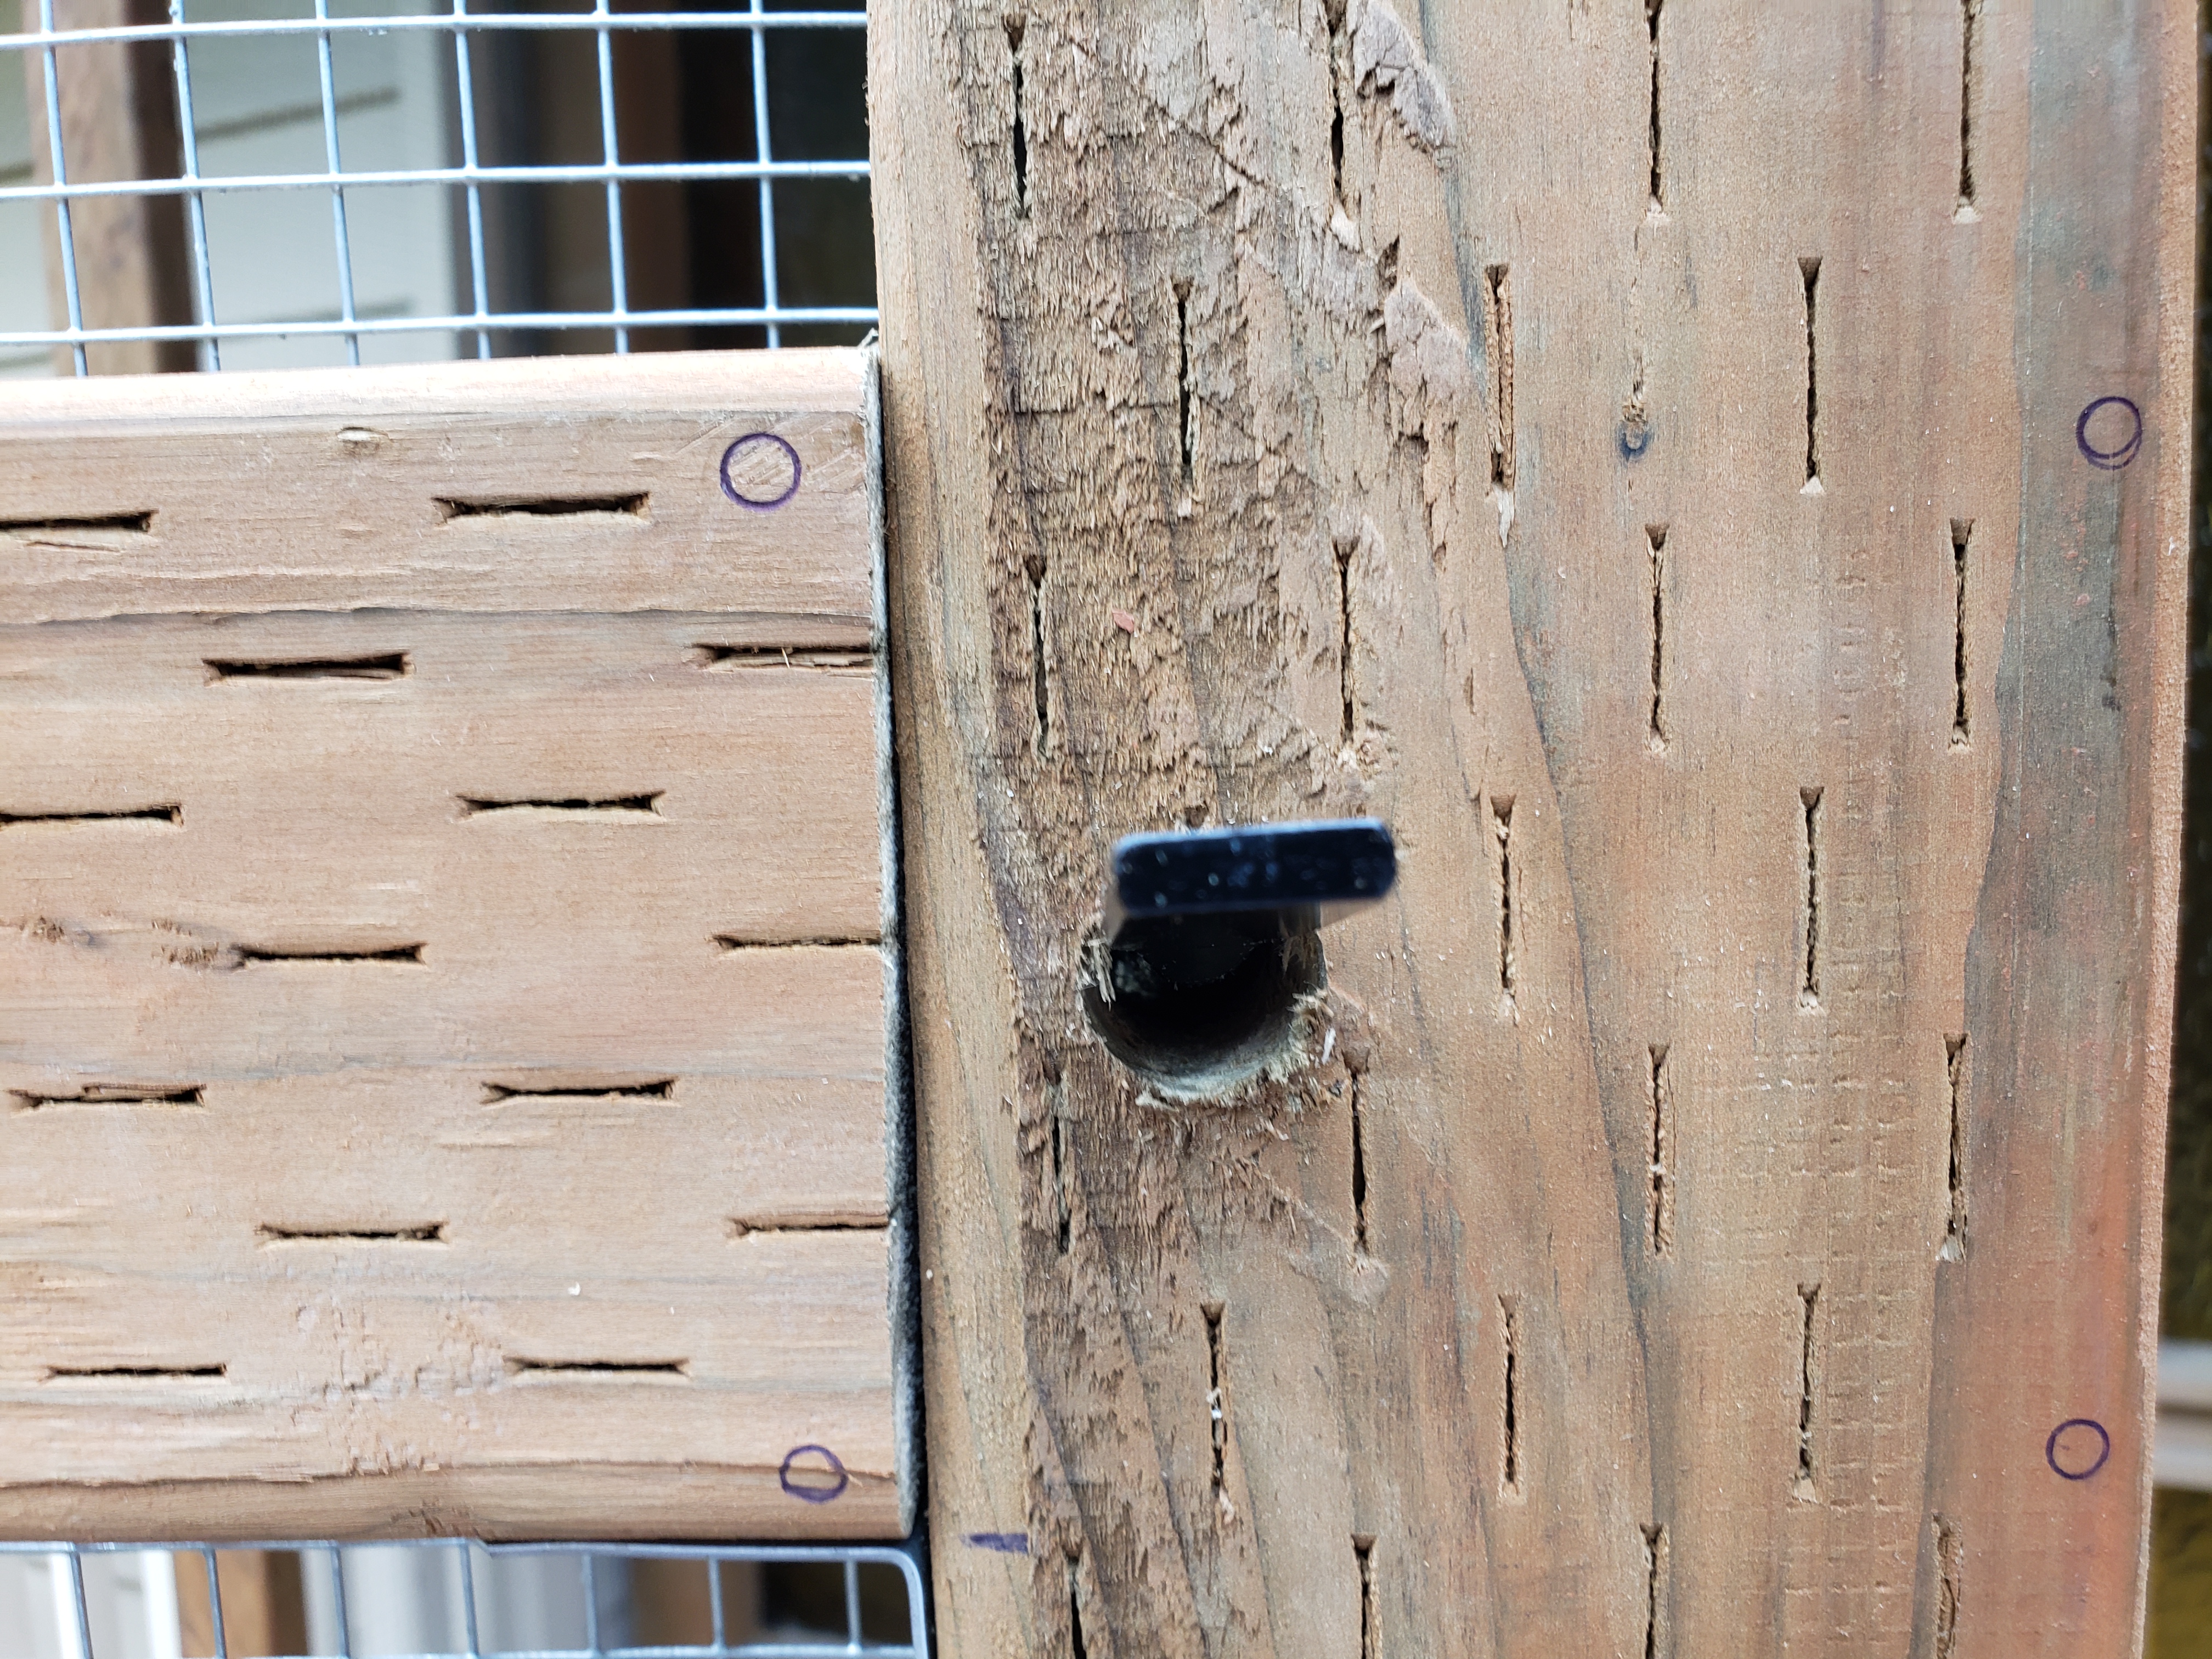
I wish the locking pin (not sure what the real name of that part is, to be fair) that extends from the lock mechanism installed on the door into the door frame, was a bit longer, to allow for wider range of door clearance and easier adjustment, but I was able to make it work fairly easily:


You can also see that the door lock mechanism I purchased allows for adding a padlock (from the inside side of the door, of course 🙂 ). That’s a great addition, since it’s critical to keep parrots safe, and I’d like to make sure that e.g. postman doesn’t open the door accidentally when delivering a package.
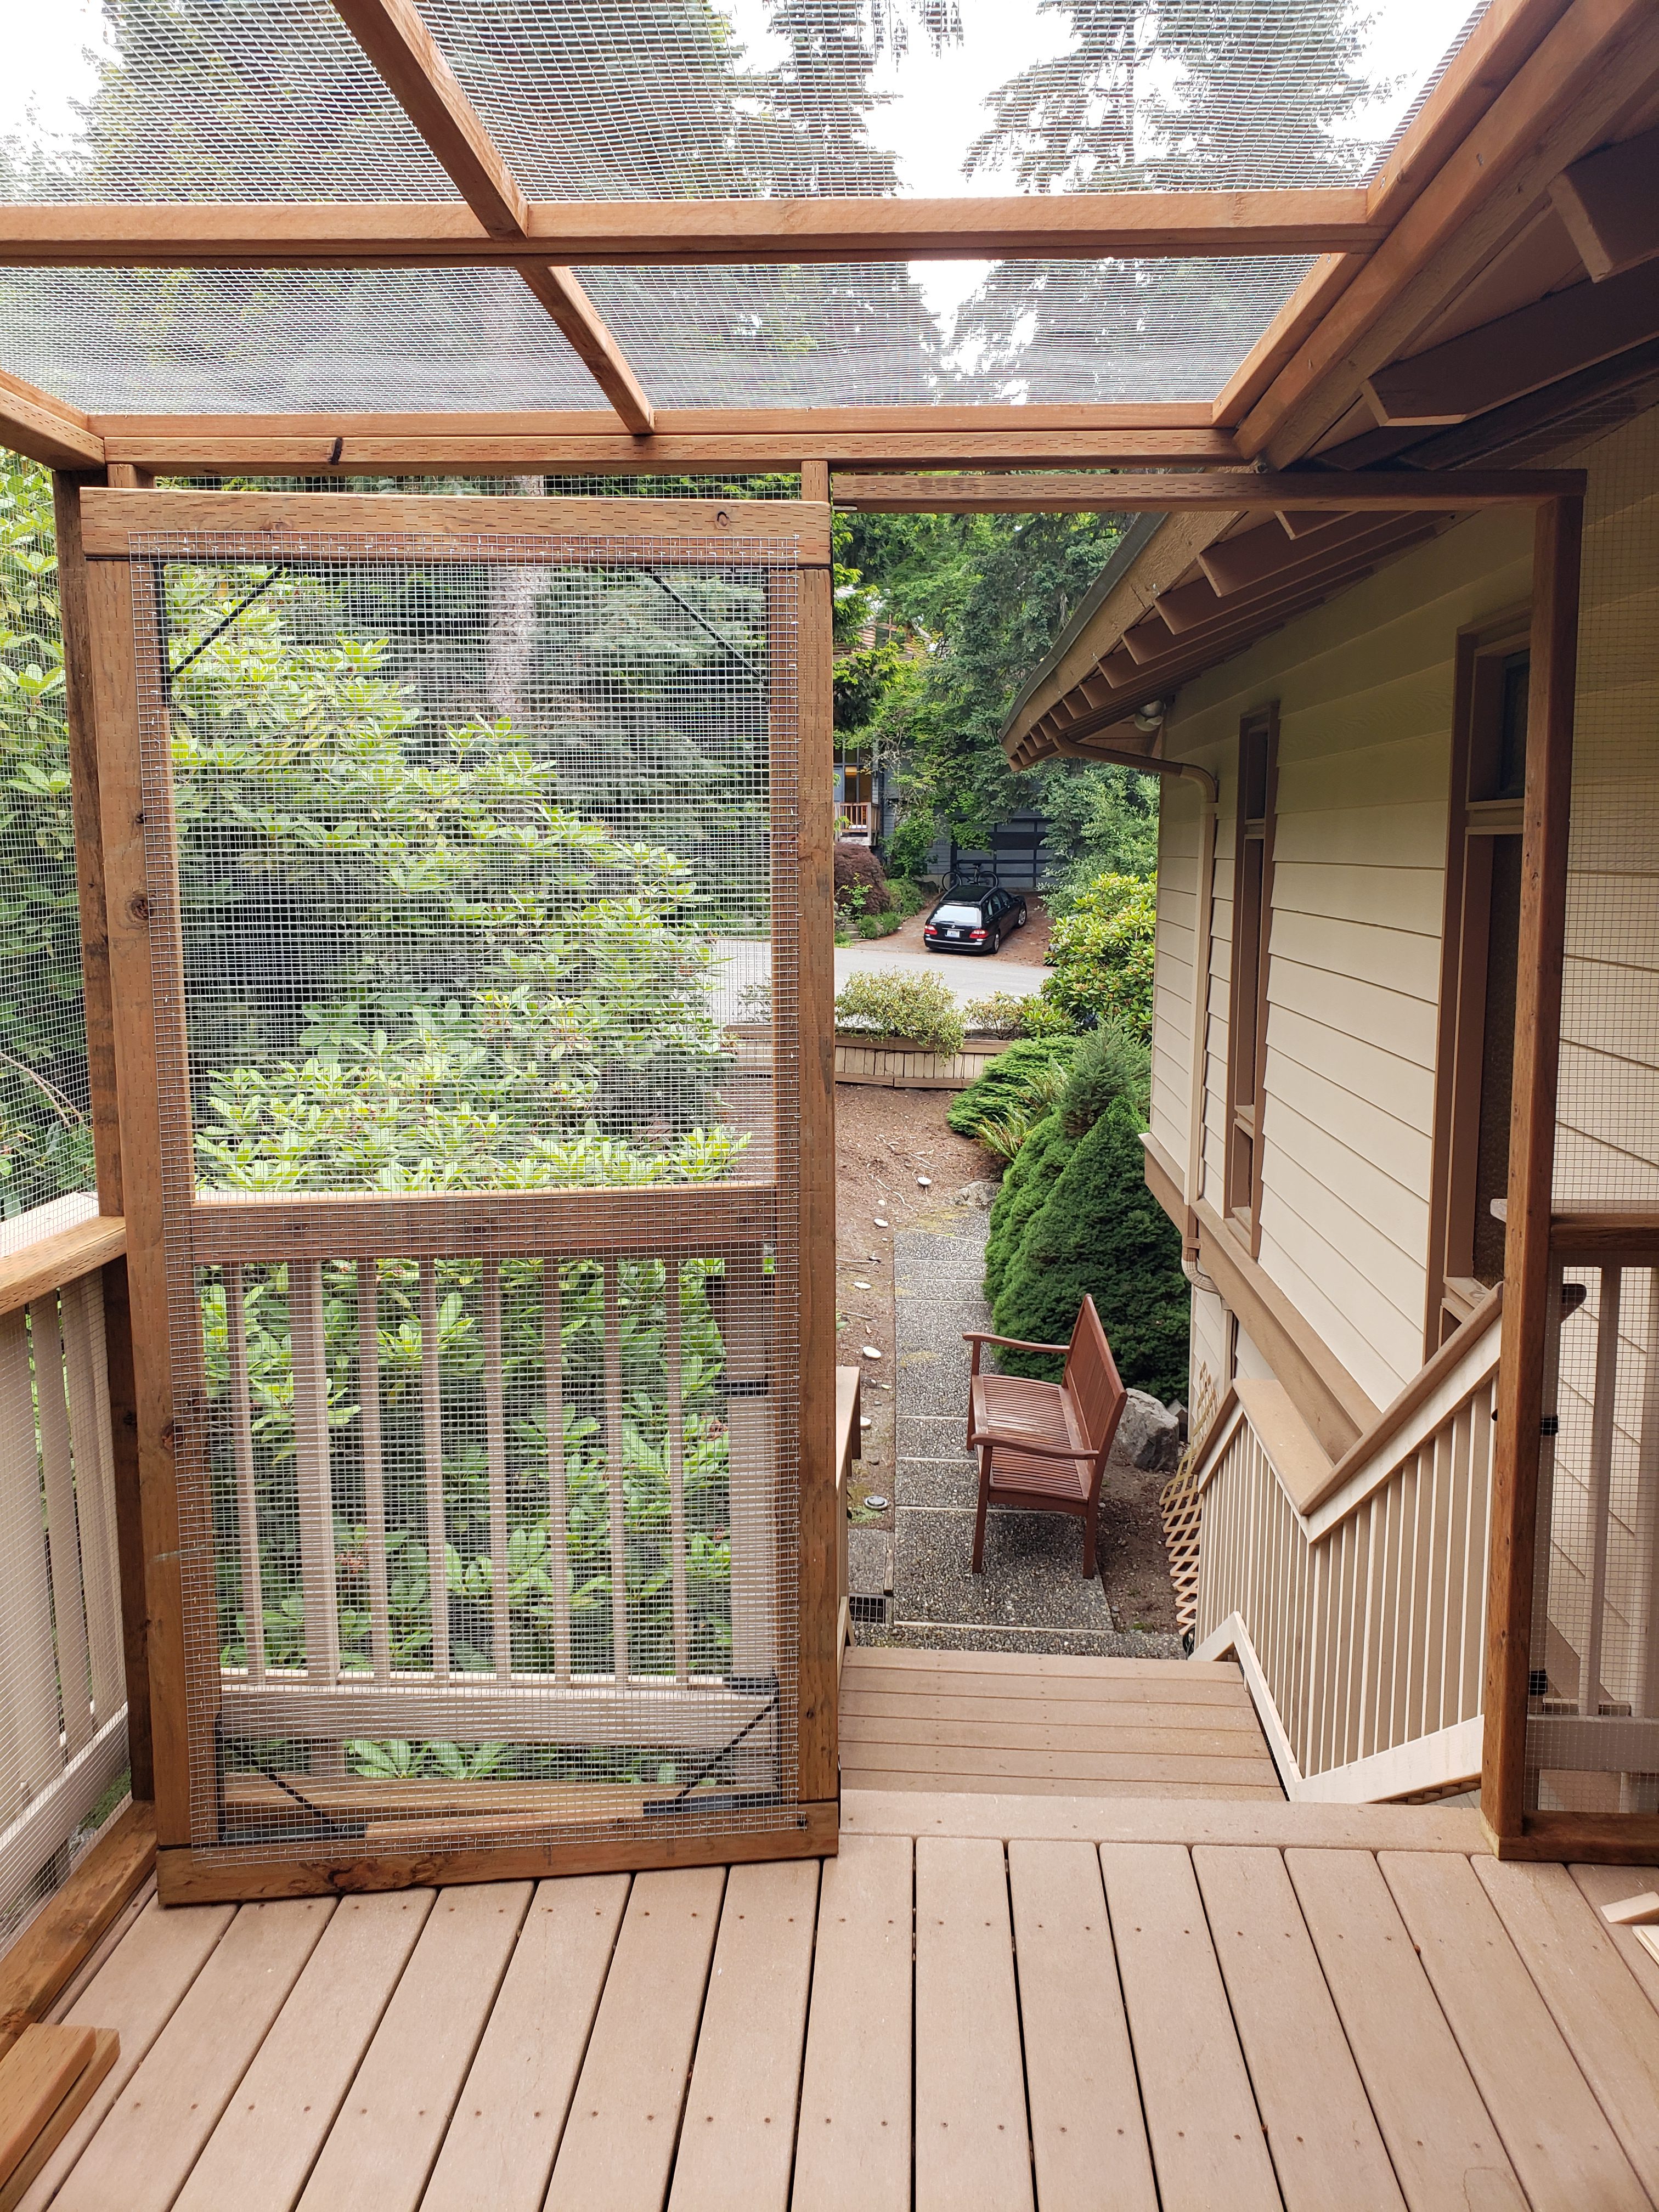
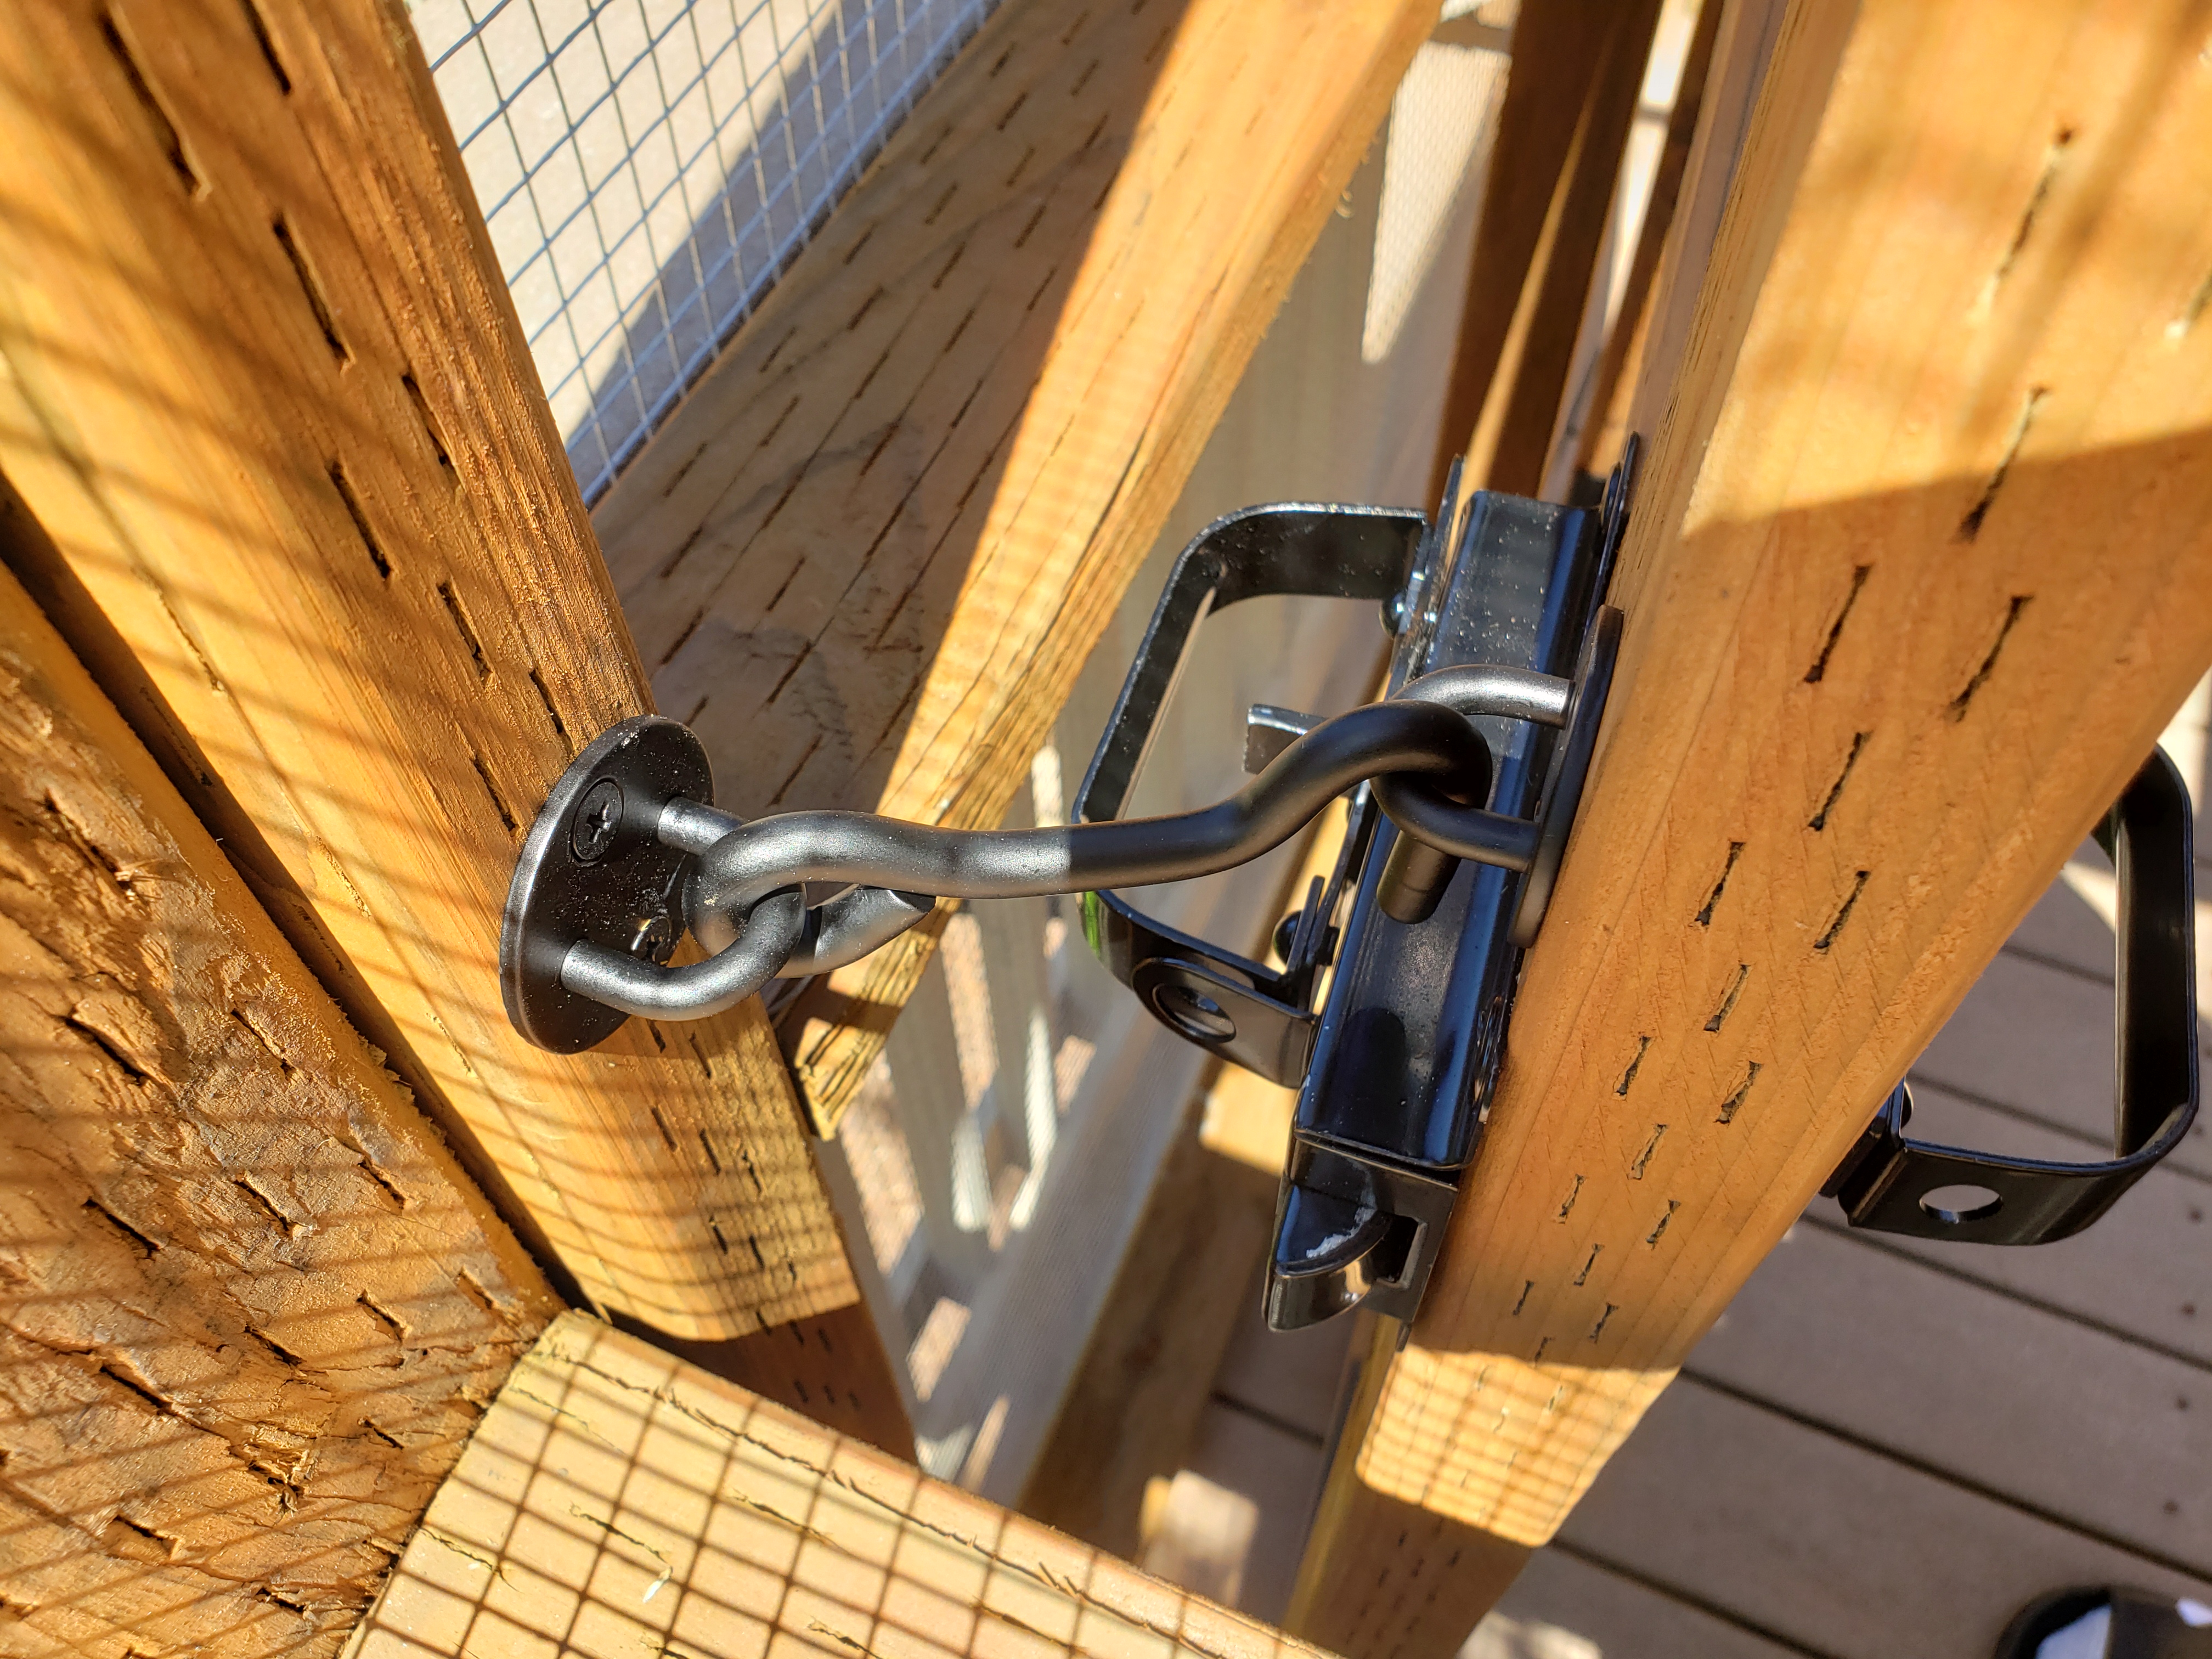
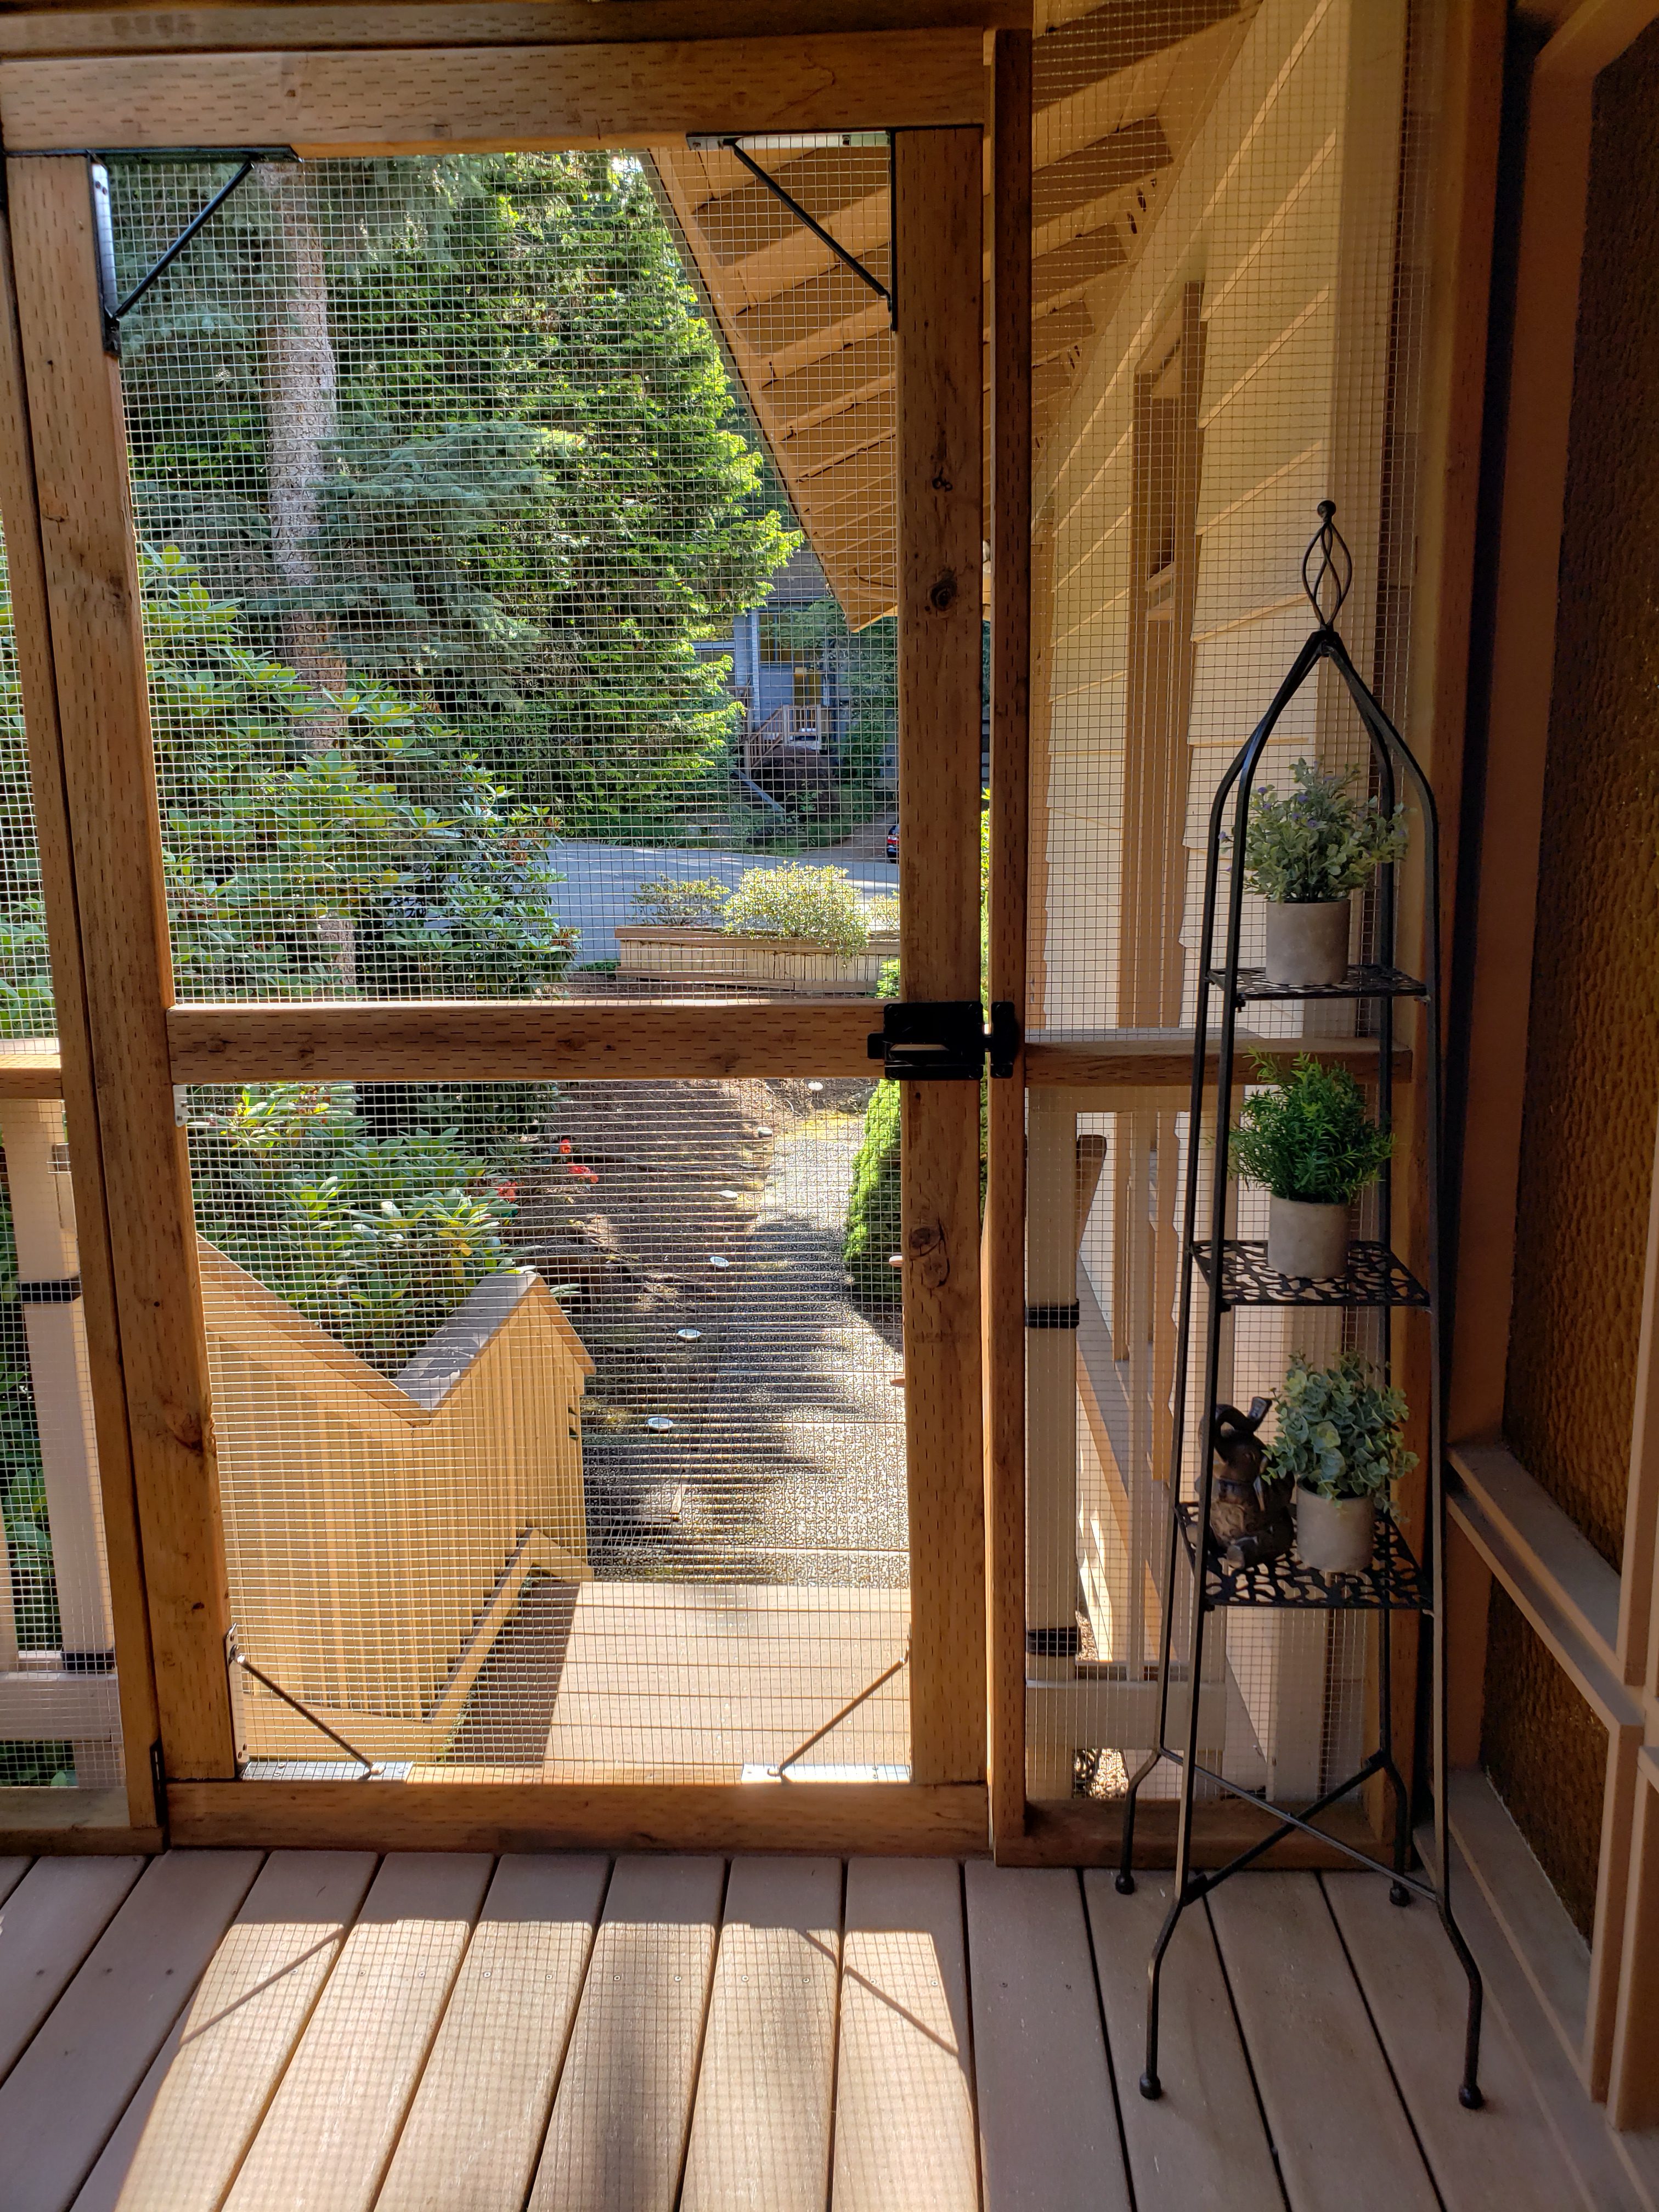
Because of the location of this newly added door (at the top flight of the stairs in fron of the house) and the fact it’s now on the way between the outside and the main door, I wanted to have a handy way to keep it open (e.g. when carrying lots of groceries, or moving things in or out of the house), so I added a small latch. It’s an easy to use and handy way to keep doors locked open, and prevent them from shutting unexpectedly:

And here’s the complete and functional door!
After first few days of use, I came to realization – what about doorbell?! 🙂
Since I’d like to keep aviary closed, for safety of the parrots, our guests wouldn’t be able to use the doorbell, unless it was made available at the newly added door. So I bought a new button and wired it up:

You’ll also notice 2 more elements on the above photo:
- The piece of wood attached to the frame next to doorbell is very important – in a regular door frame, the door can’t naturally swing too far in the direction of closing (because of the surrounding frame), but in the construction I decided to go with, there needs to be a “door stop” element that prevents it from swinging too far and starting to open in the opposite direction. In addition to unnecessary strain on the hinges, it makes it feel unnatural to attempt to close the door with the feeling of “overshooting”. This is somewhat hard to explain, but adding this piece makes the door feel like a door (when closing) 😉
- A printout informing guests that the door is locked. I mentioned previously that we’re keeping it locked for safety of the parrots (if the weather is nice, we simply open main door so they can use this space). Thus it’s important to set the expectations for any guests or deliveries arriving at our house.
Finishing touches
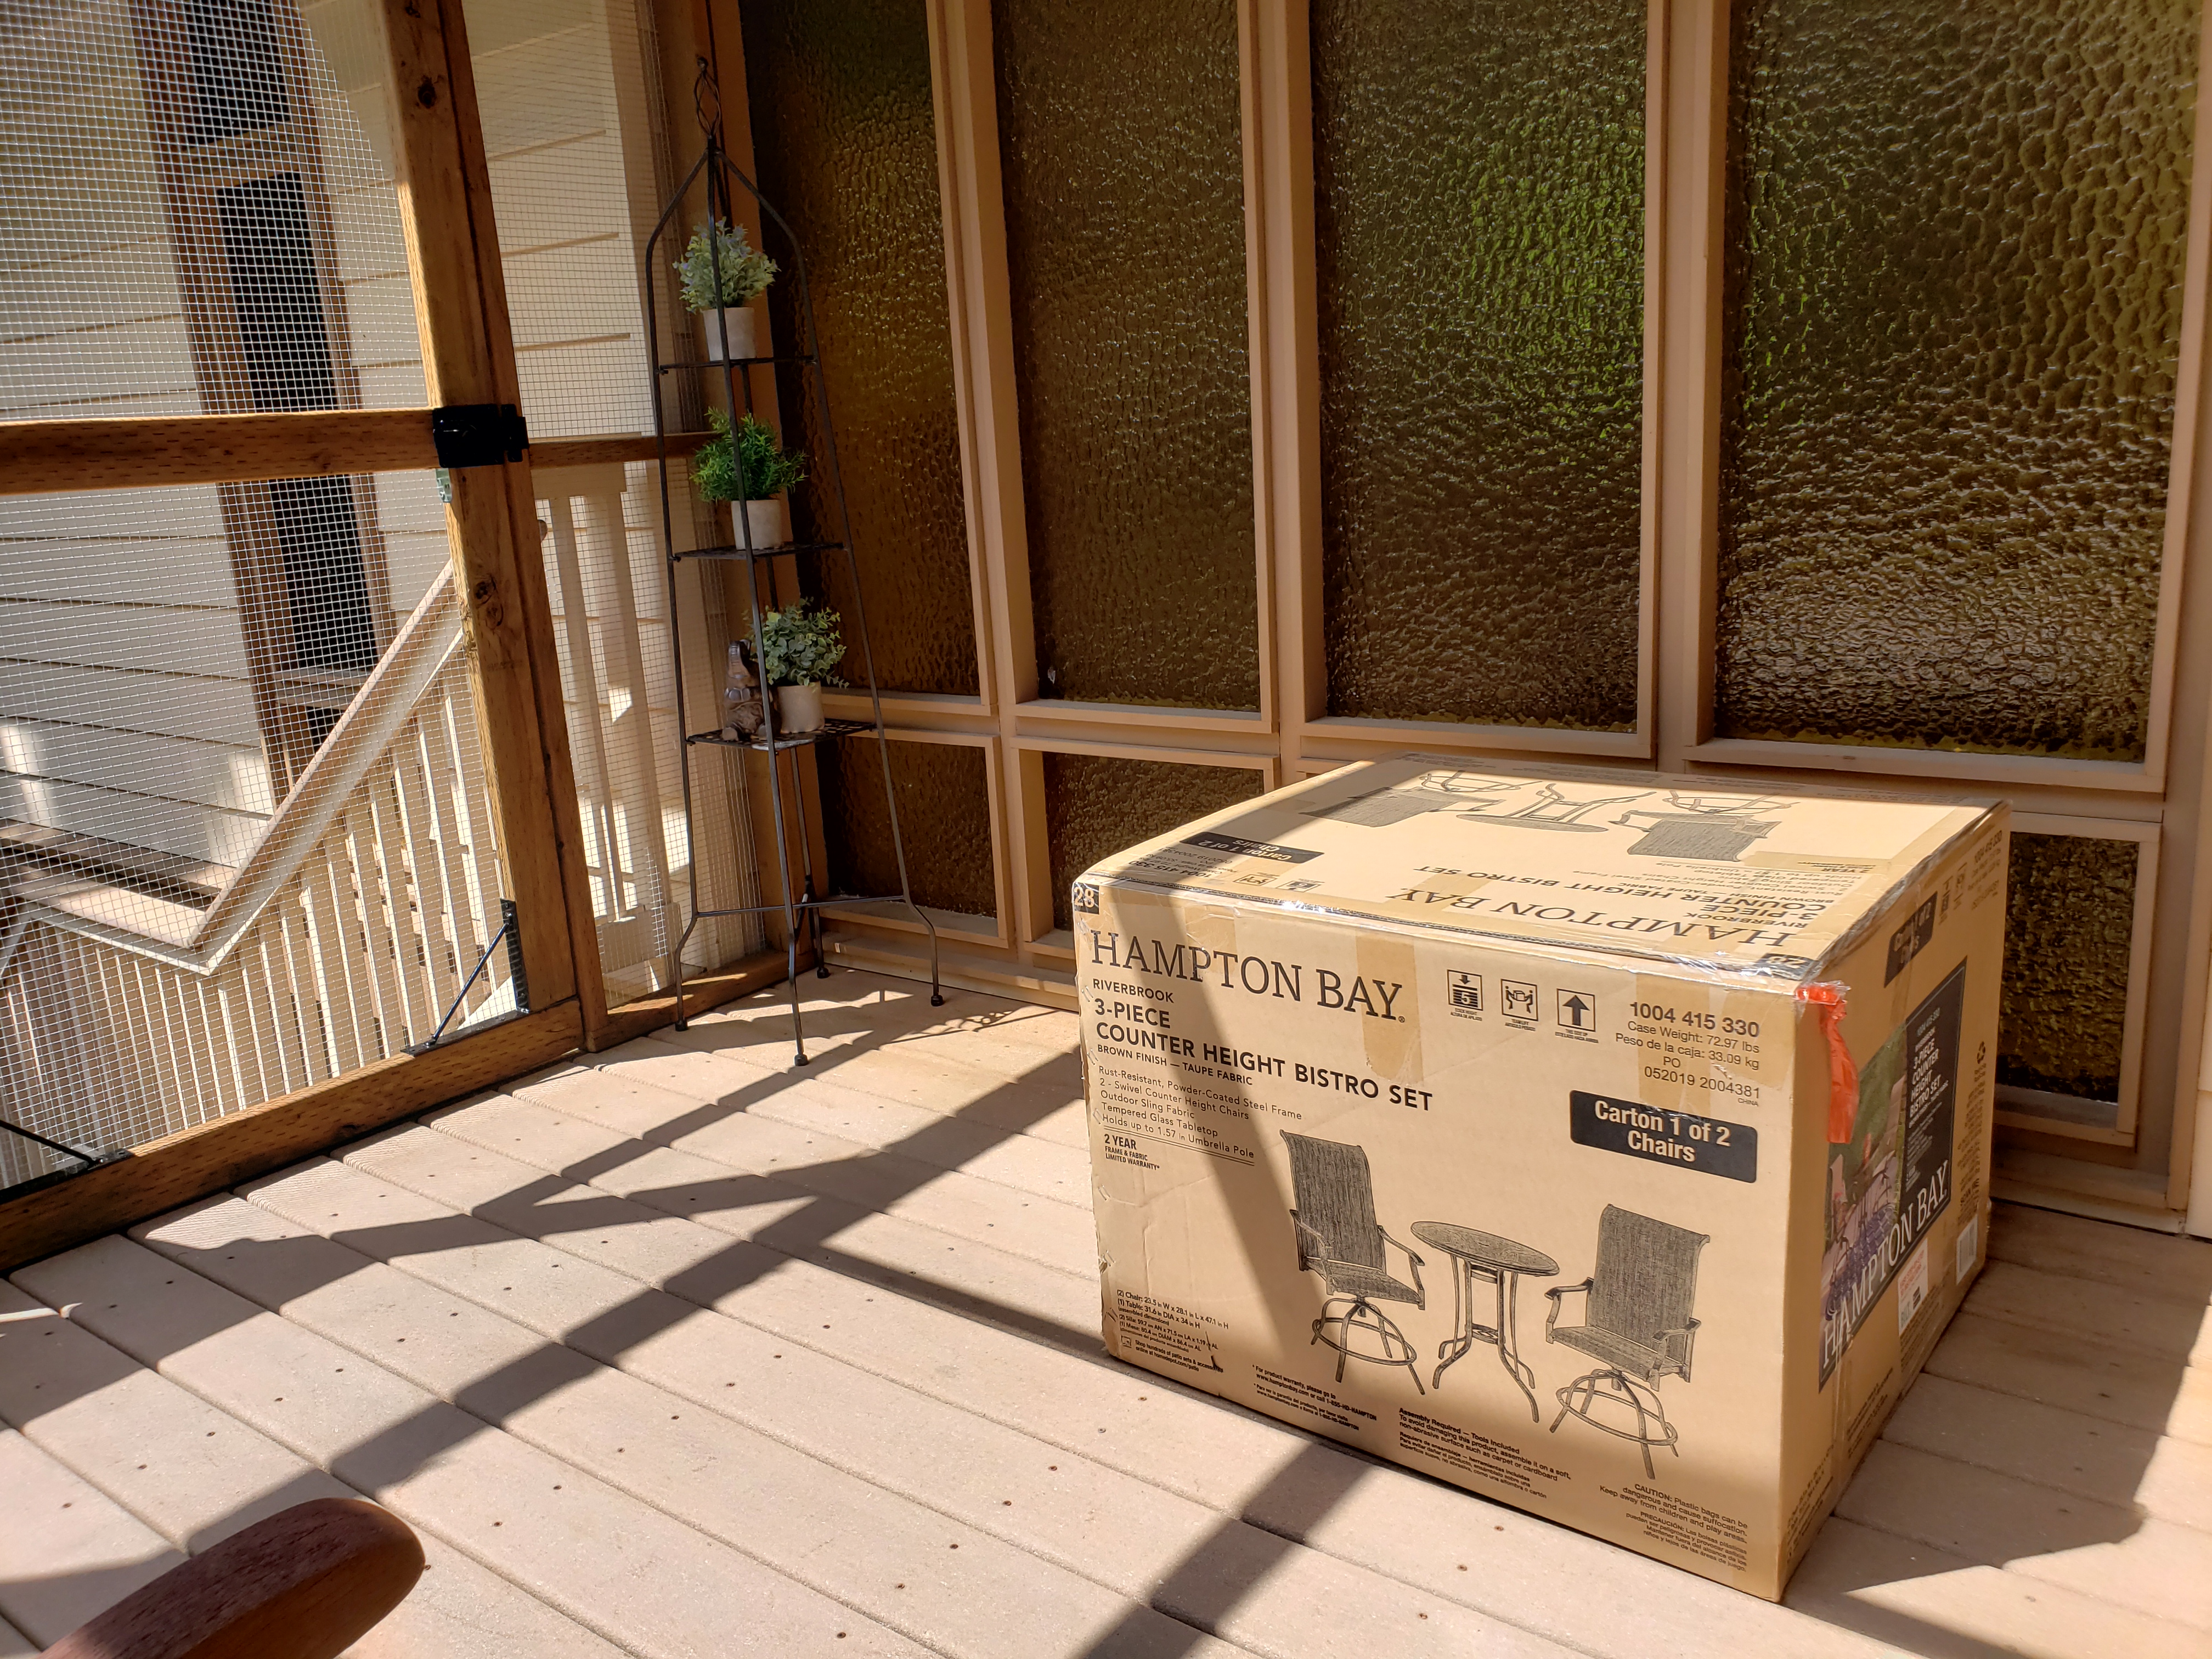
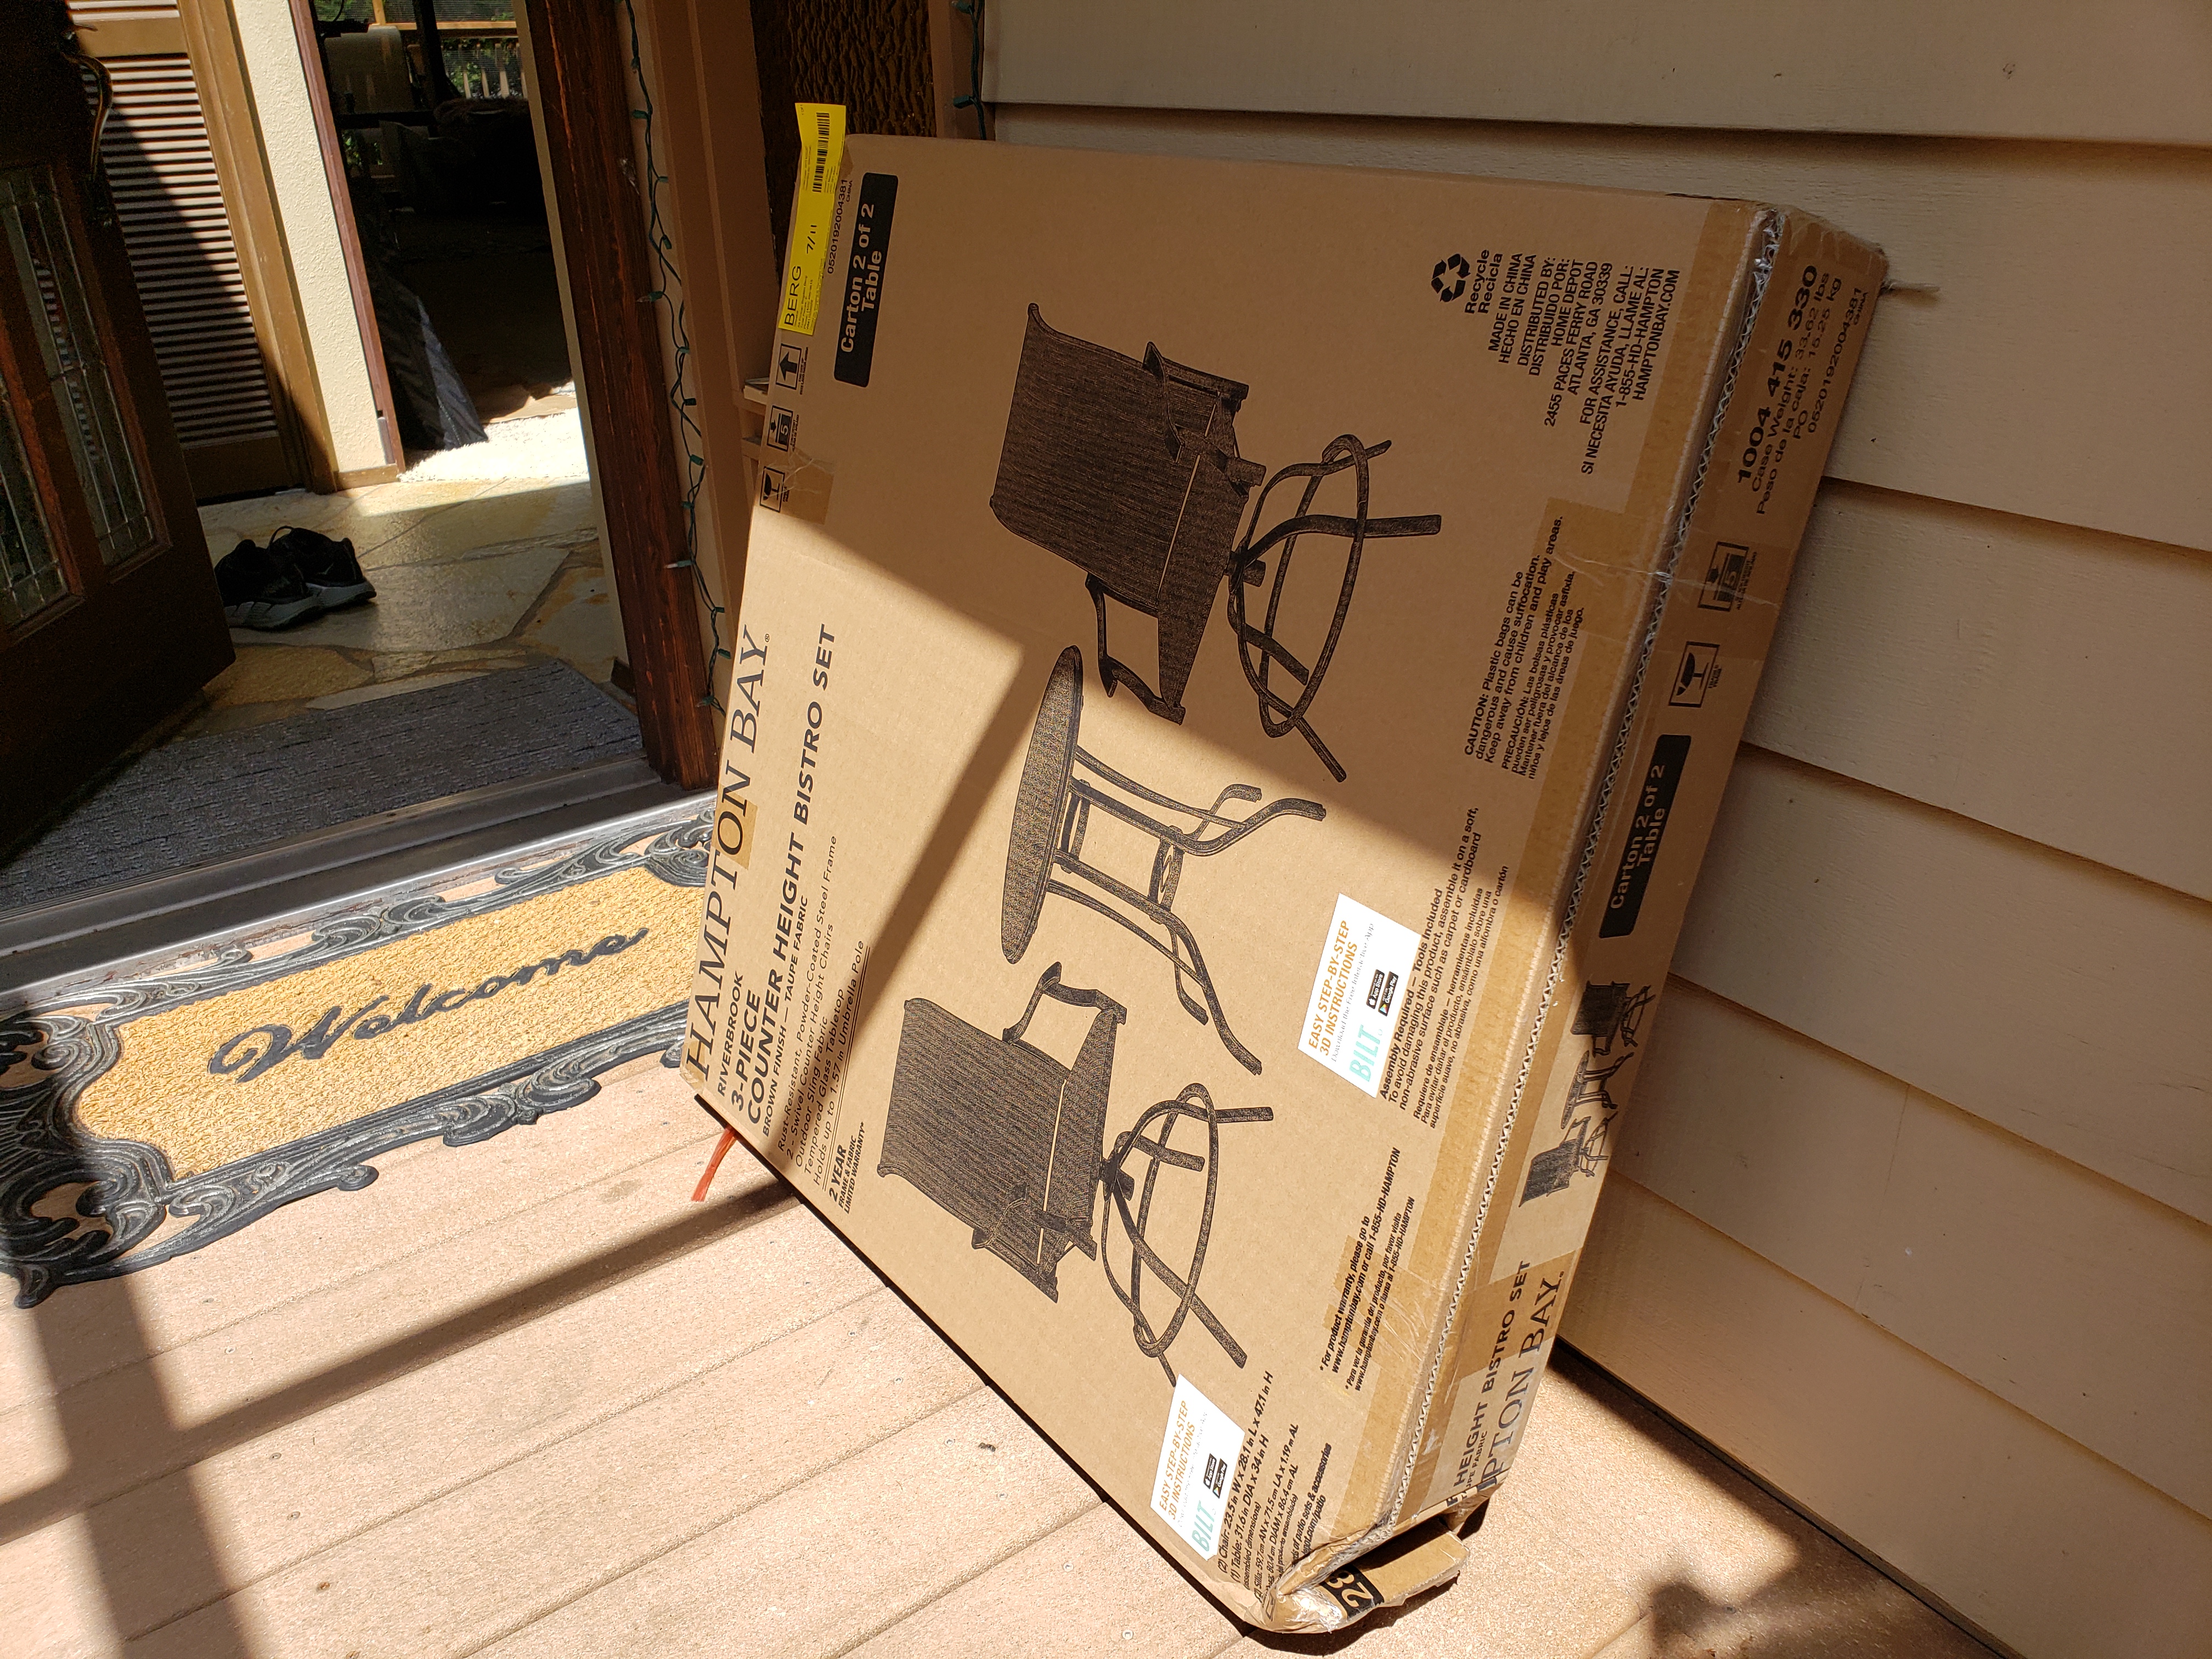
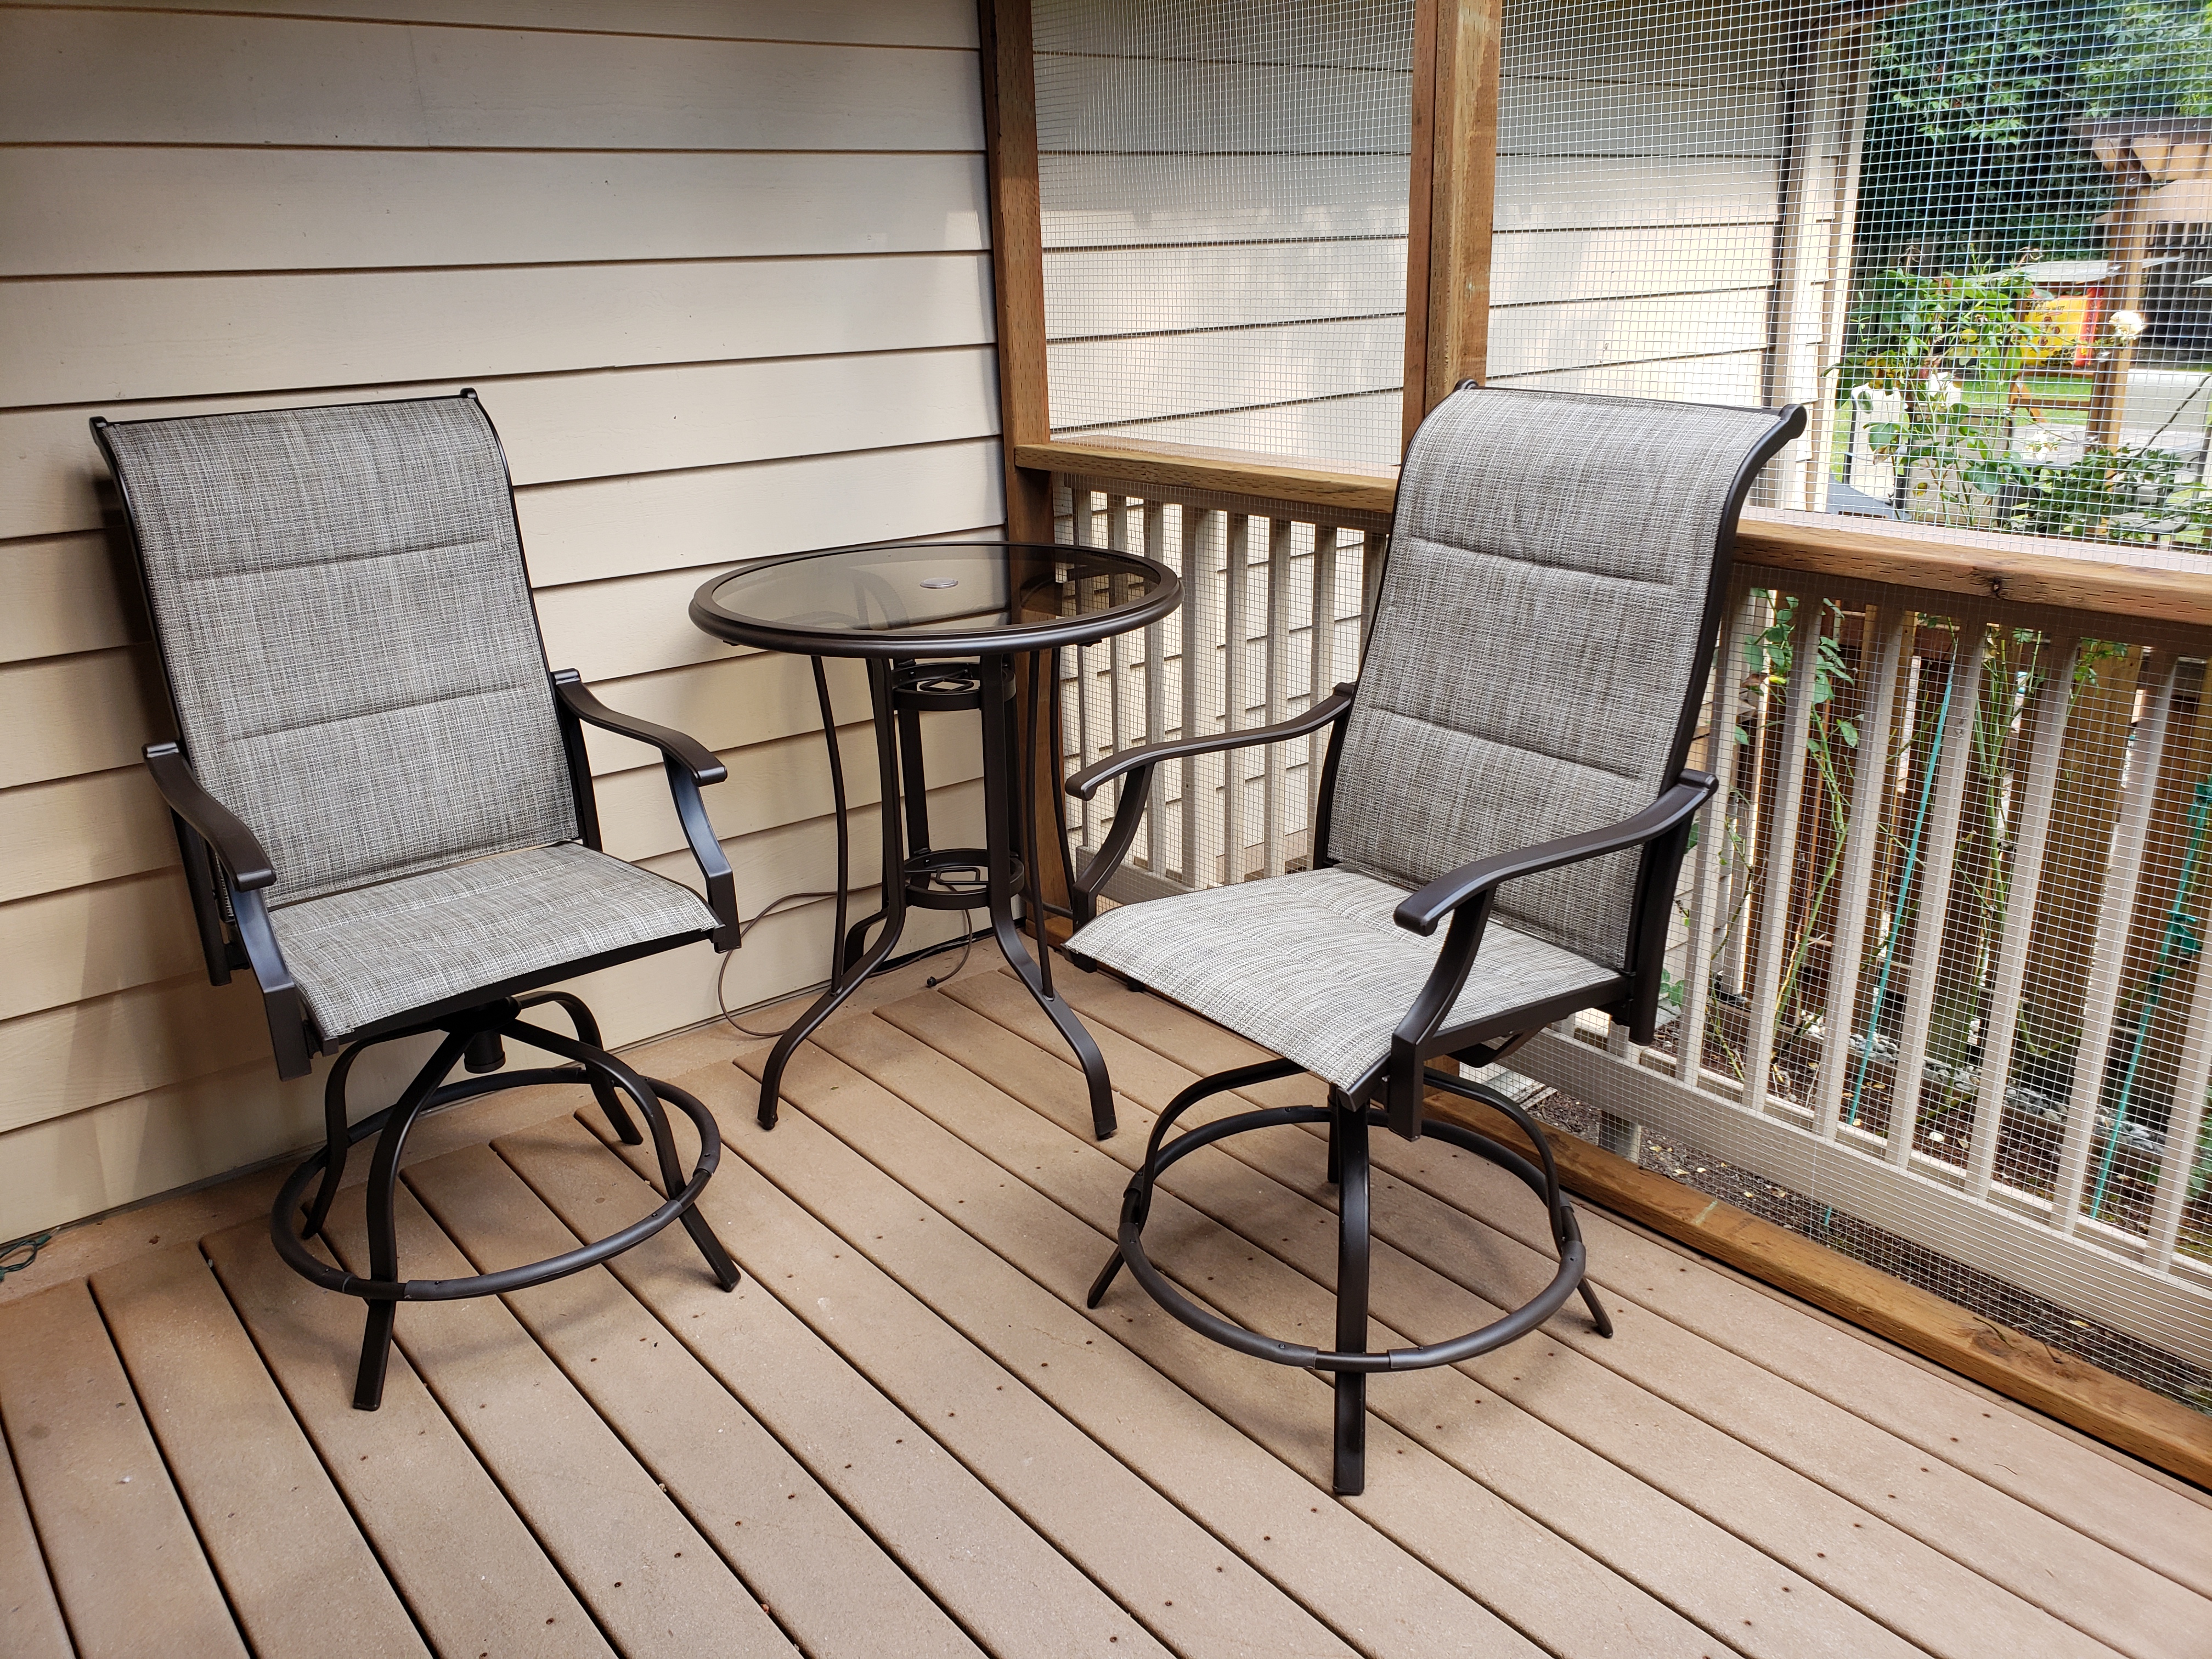
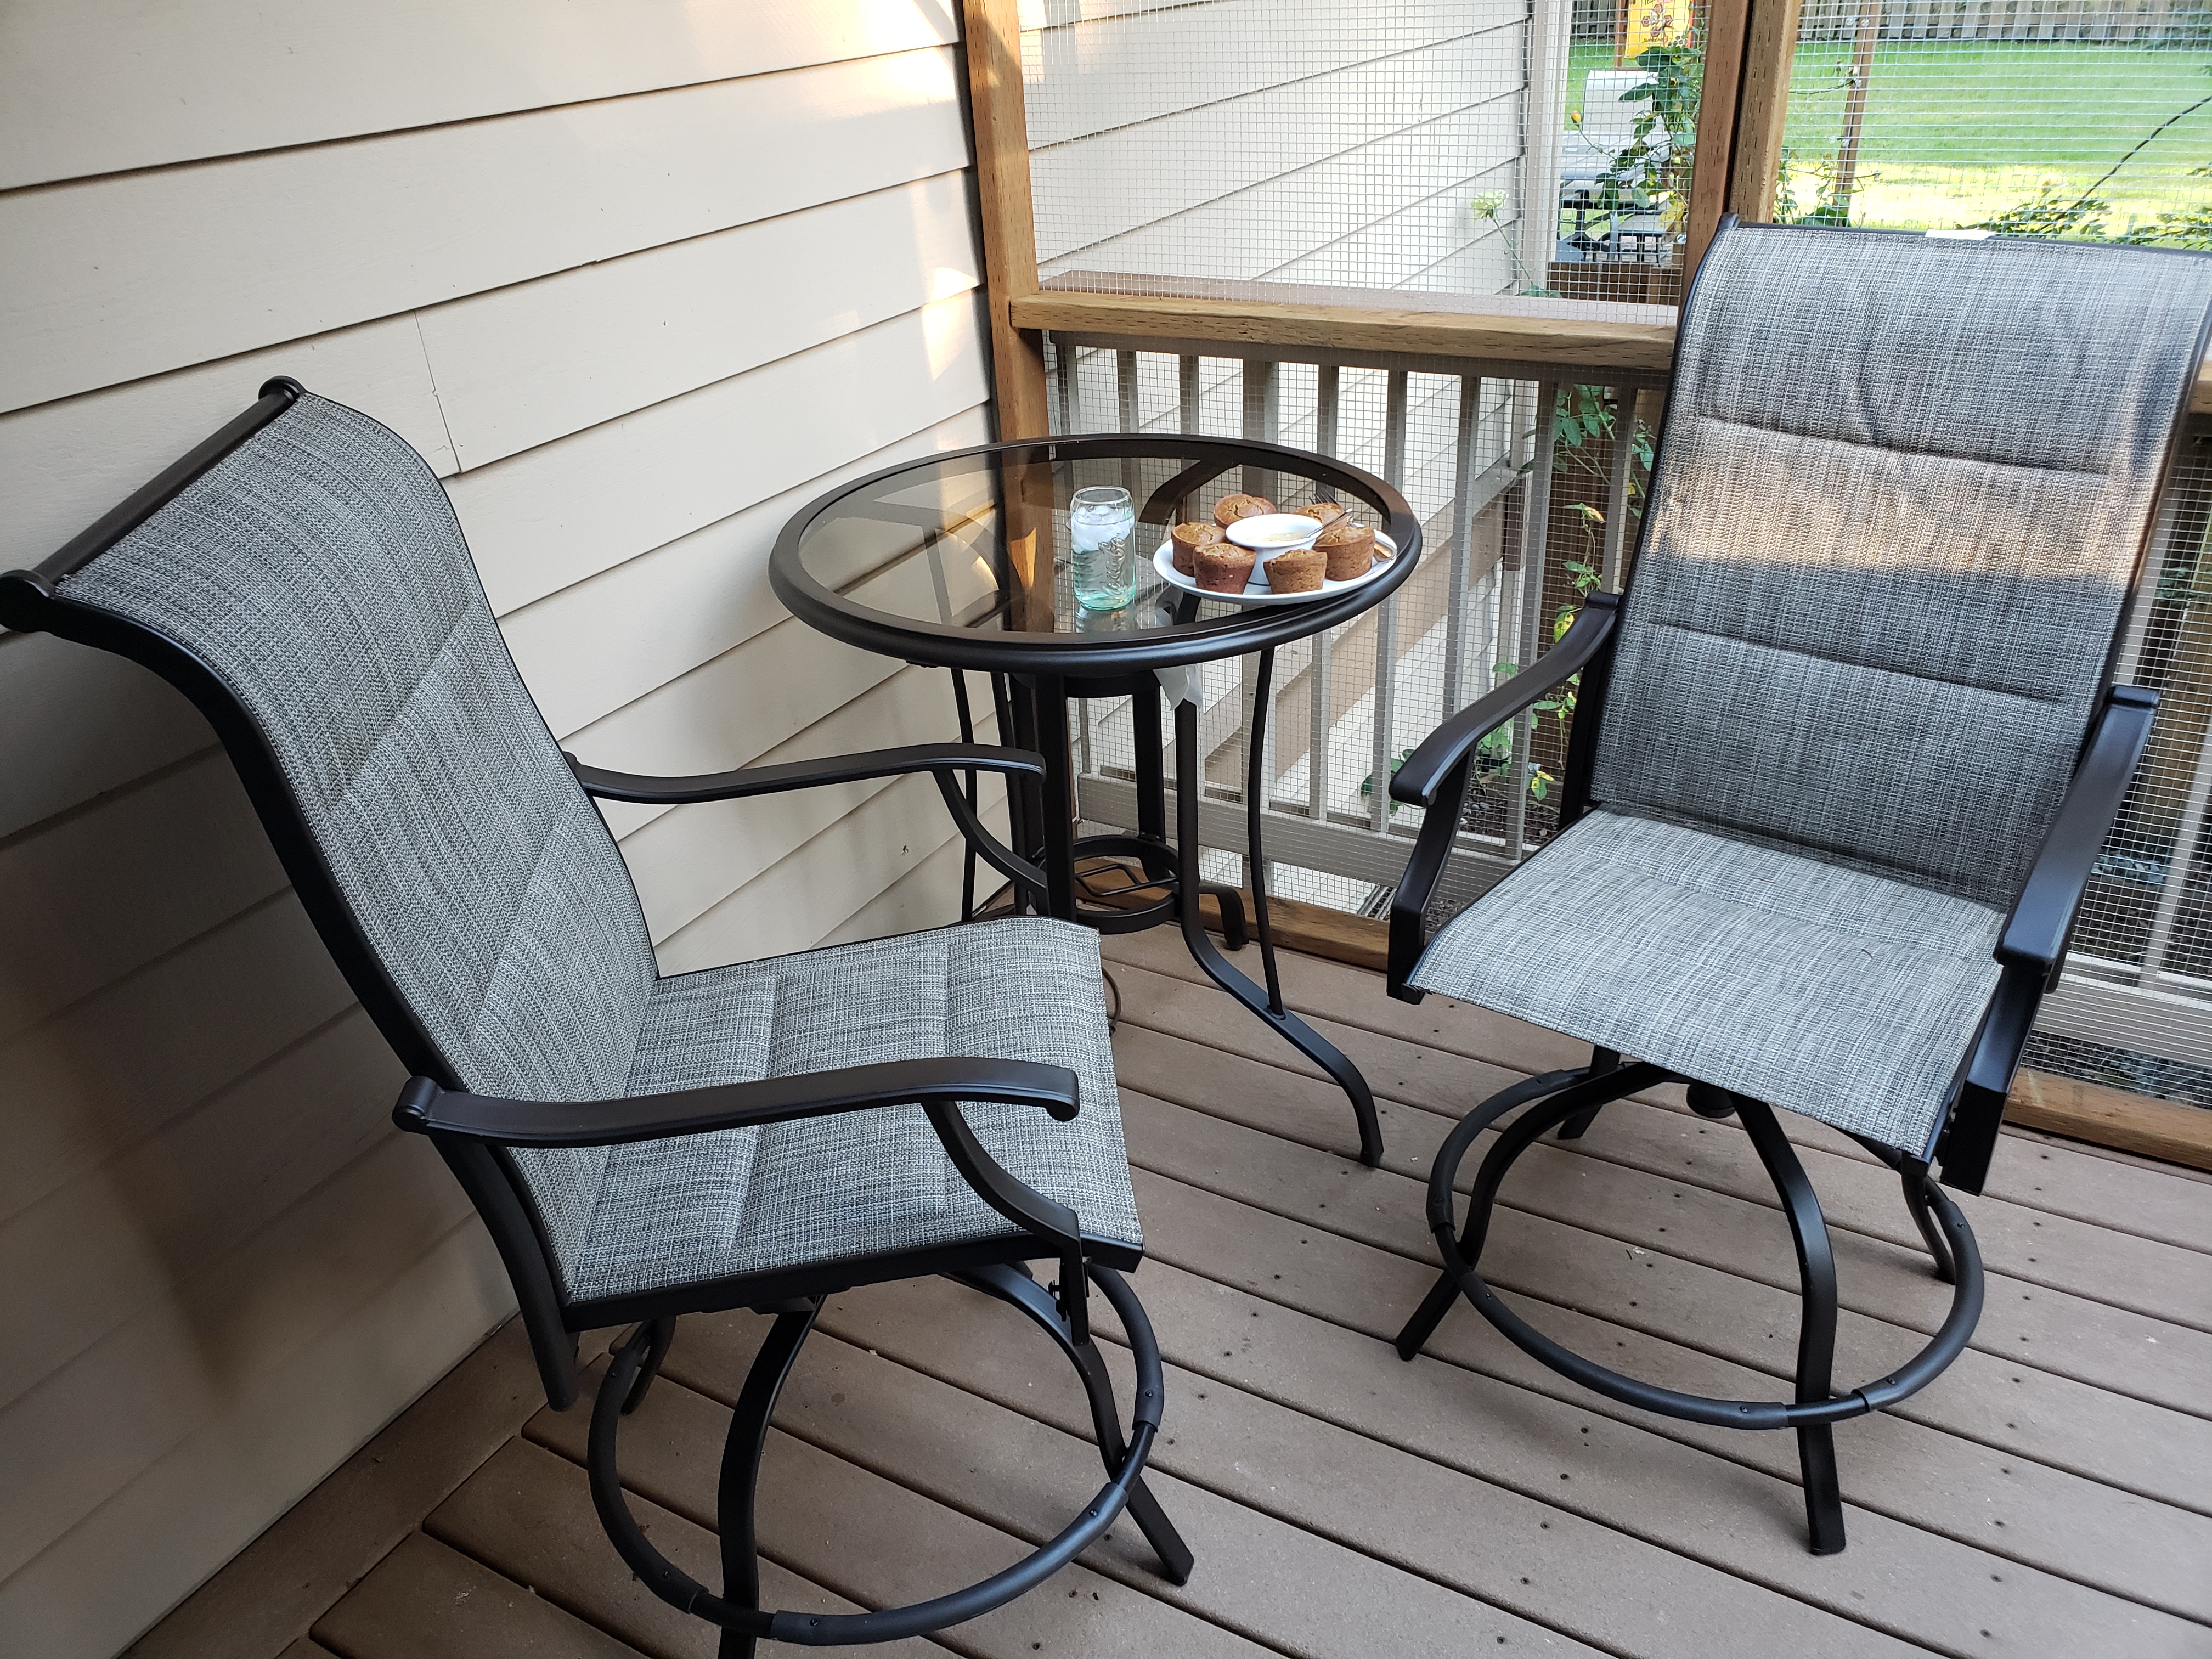
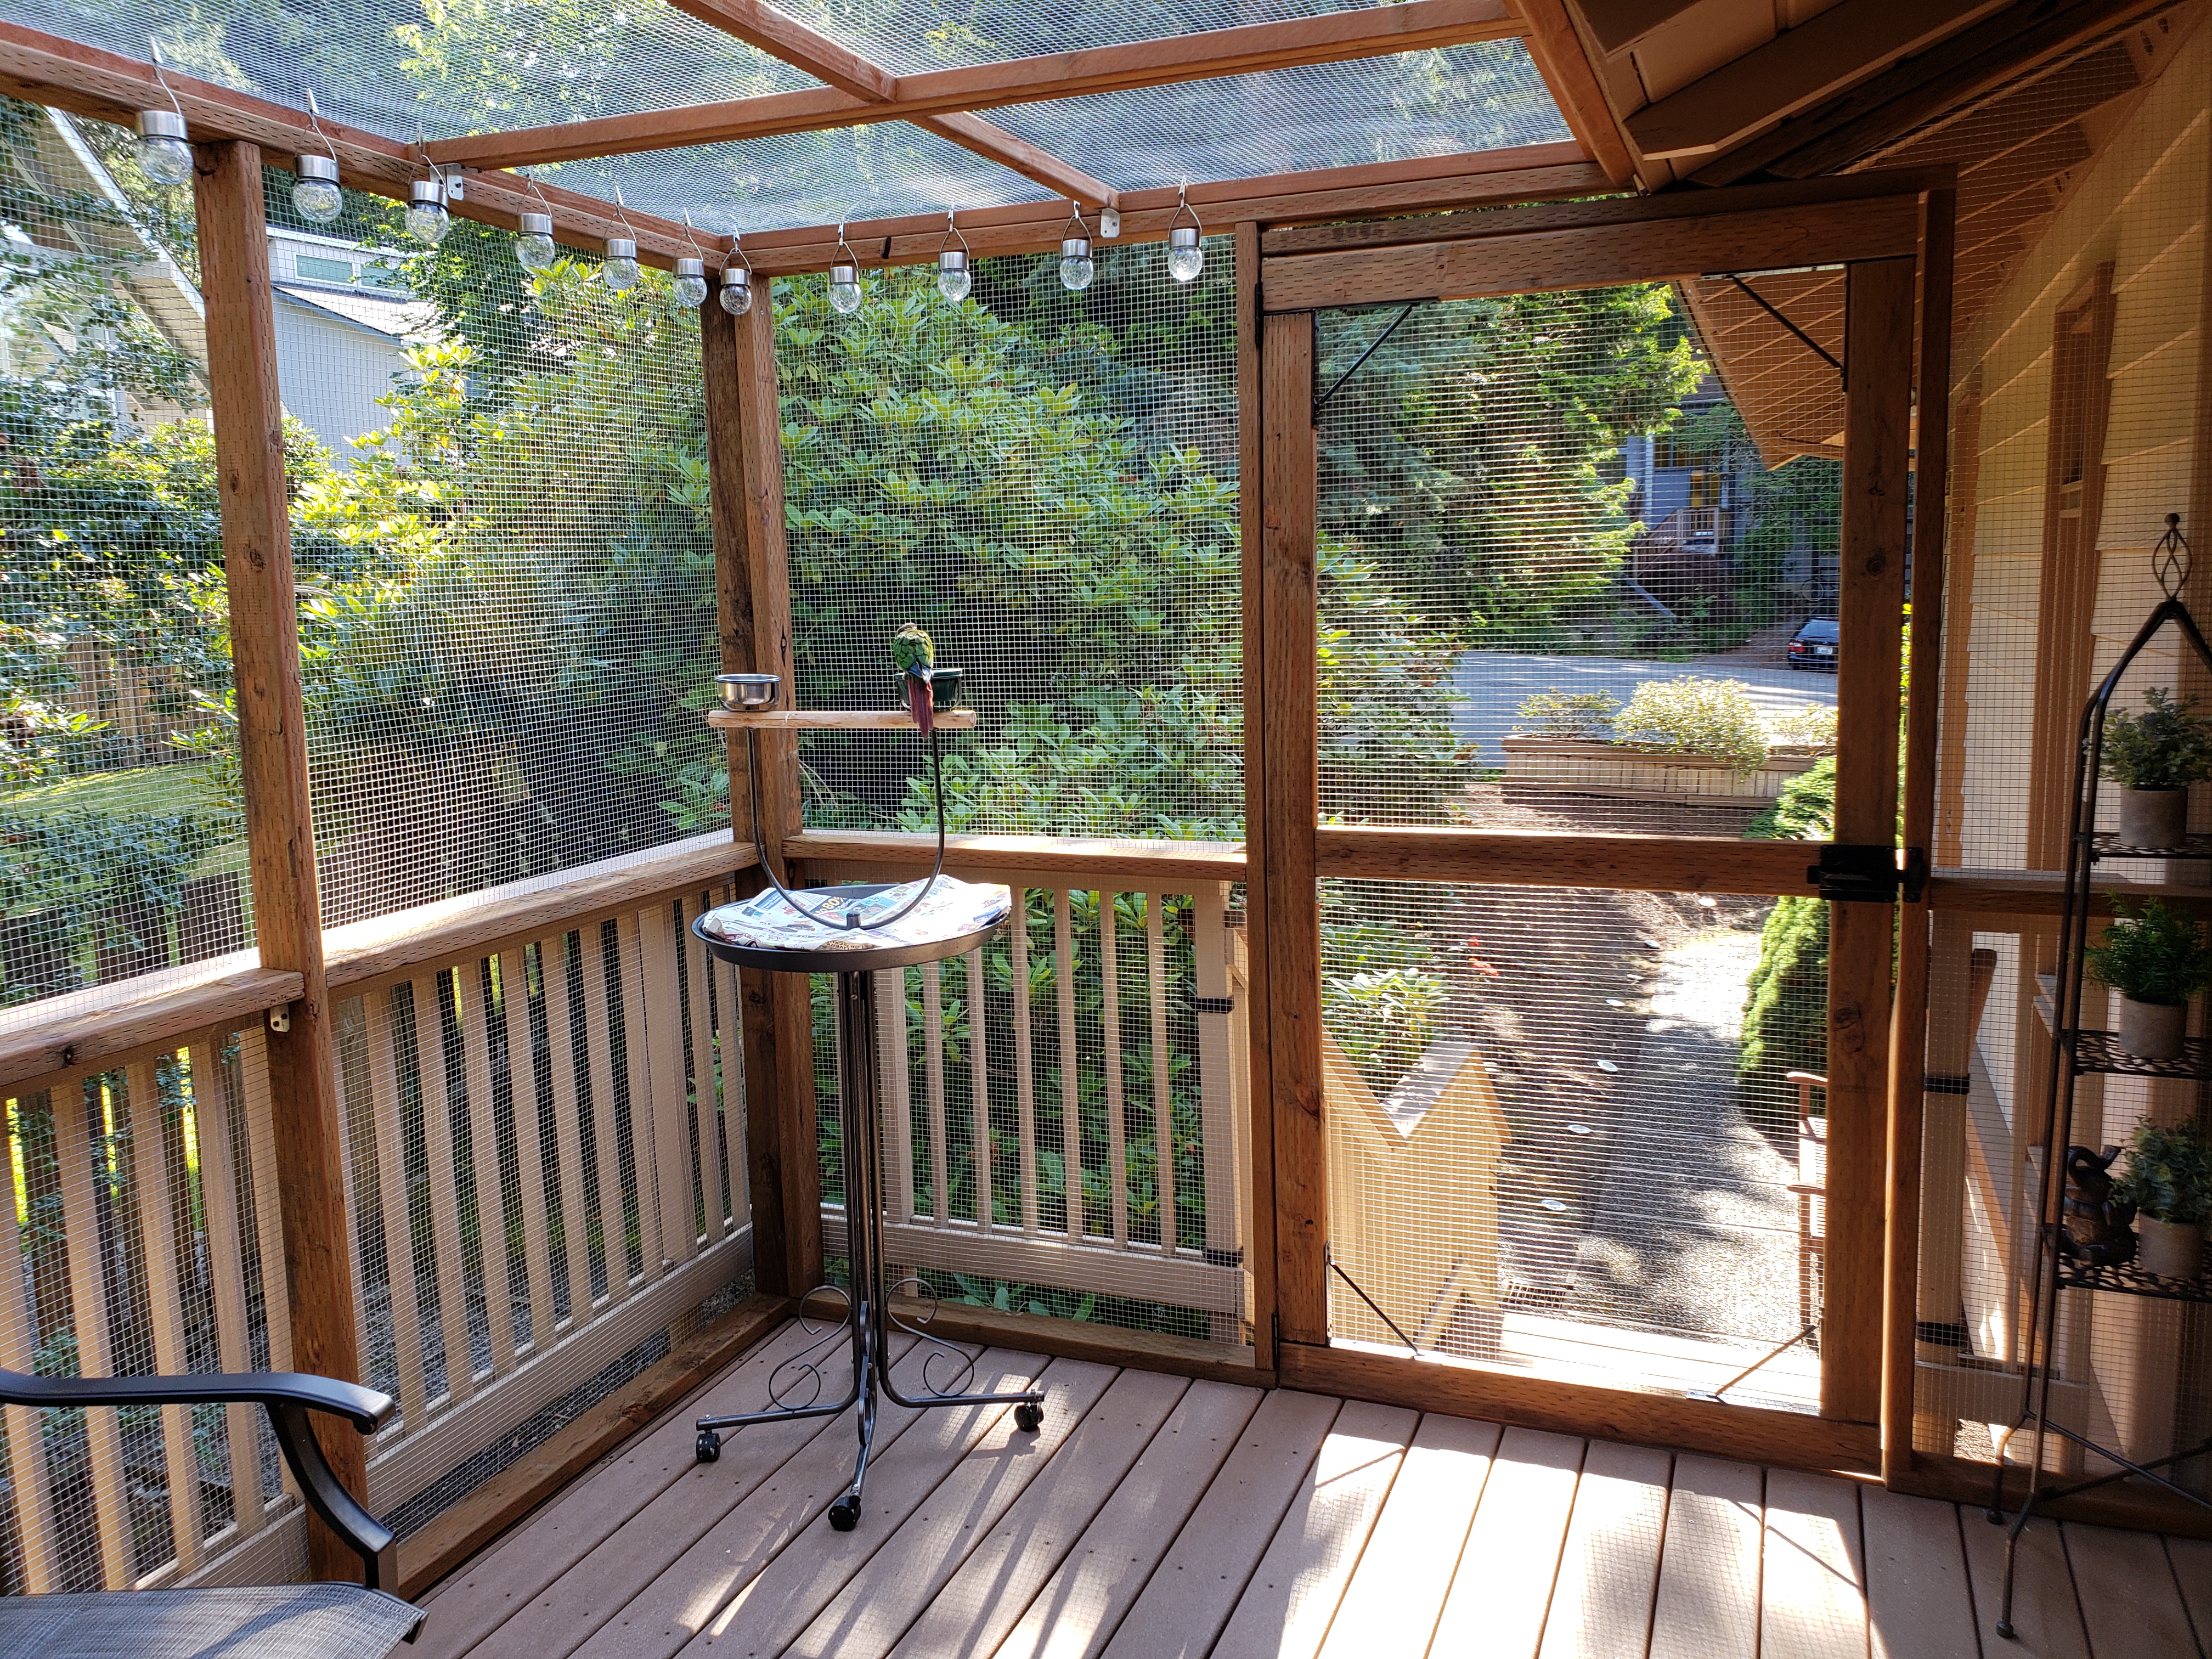
There are few more steps needed to make the new space feel cozy and functional. First one is: furniture!
We ordered a set of 2 chairs with a round table – not too big to overwhelm the space, but comfortable and functional. It came in 2 boxes and took around 2 hours of family time to assemble 😉
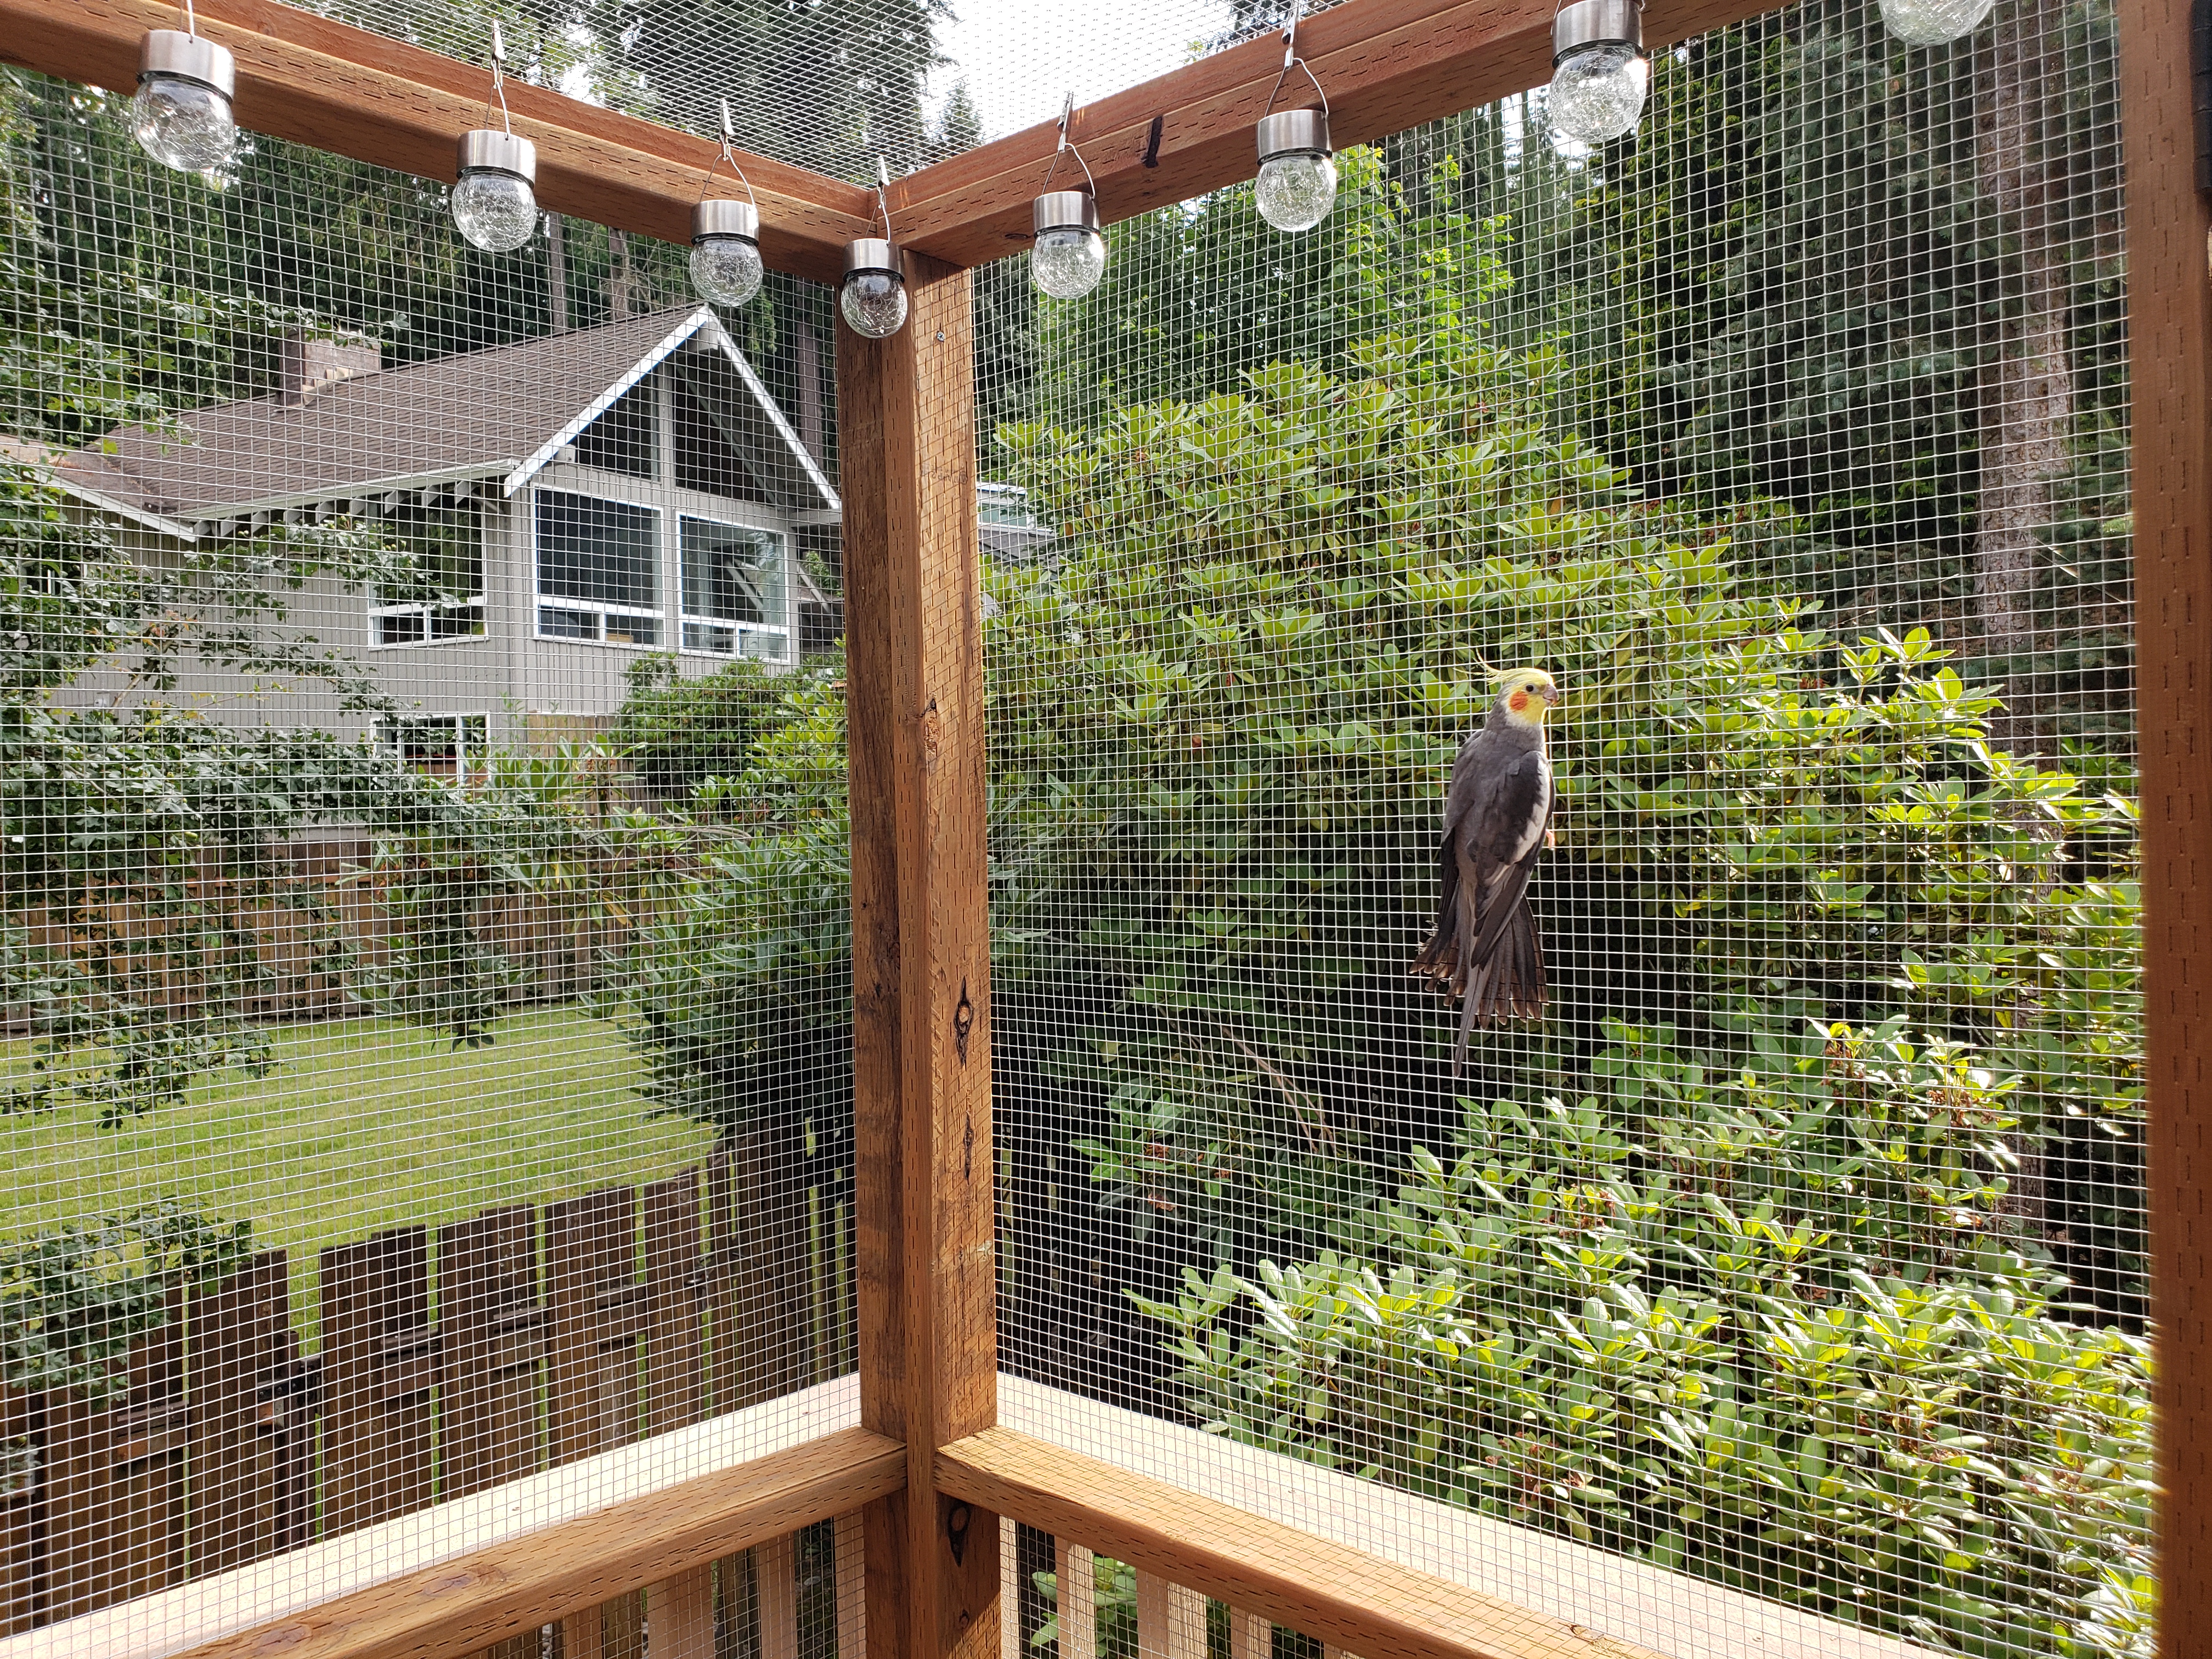
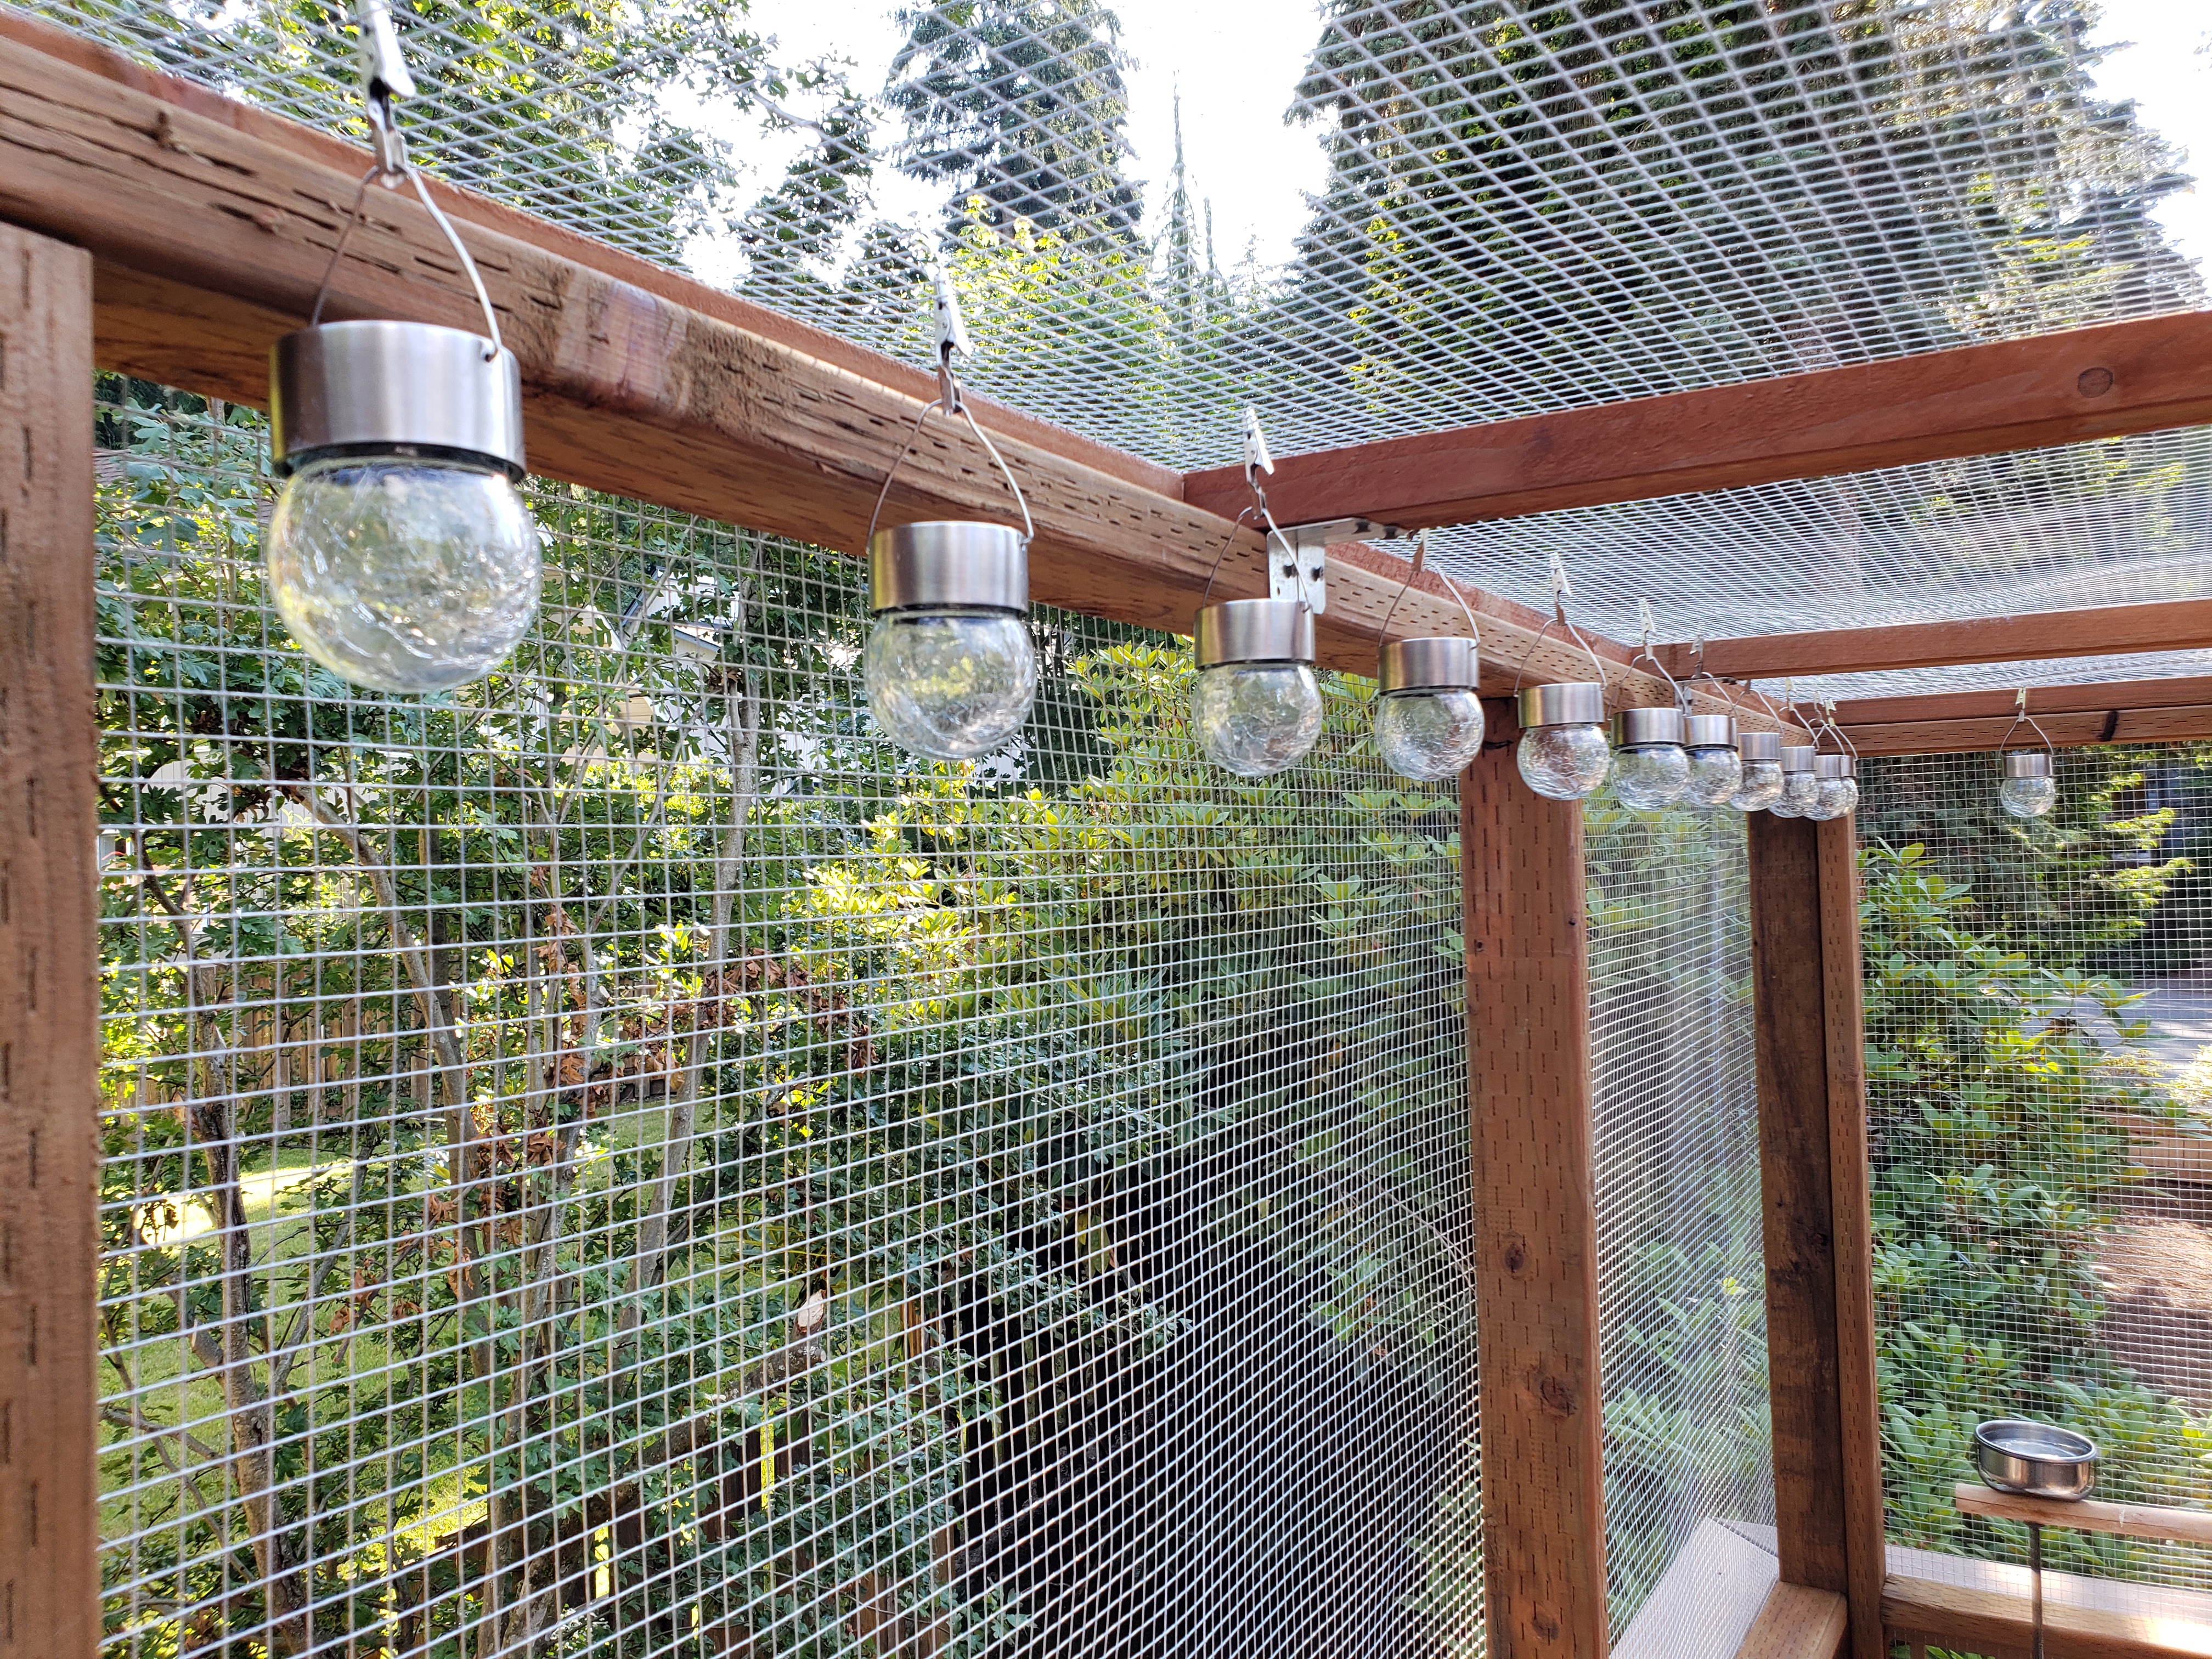
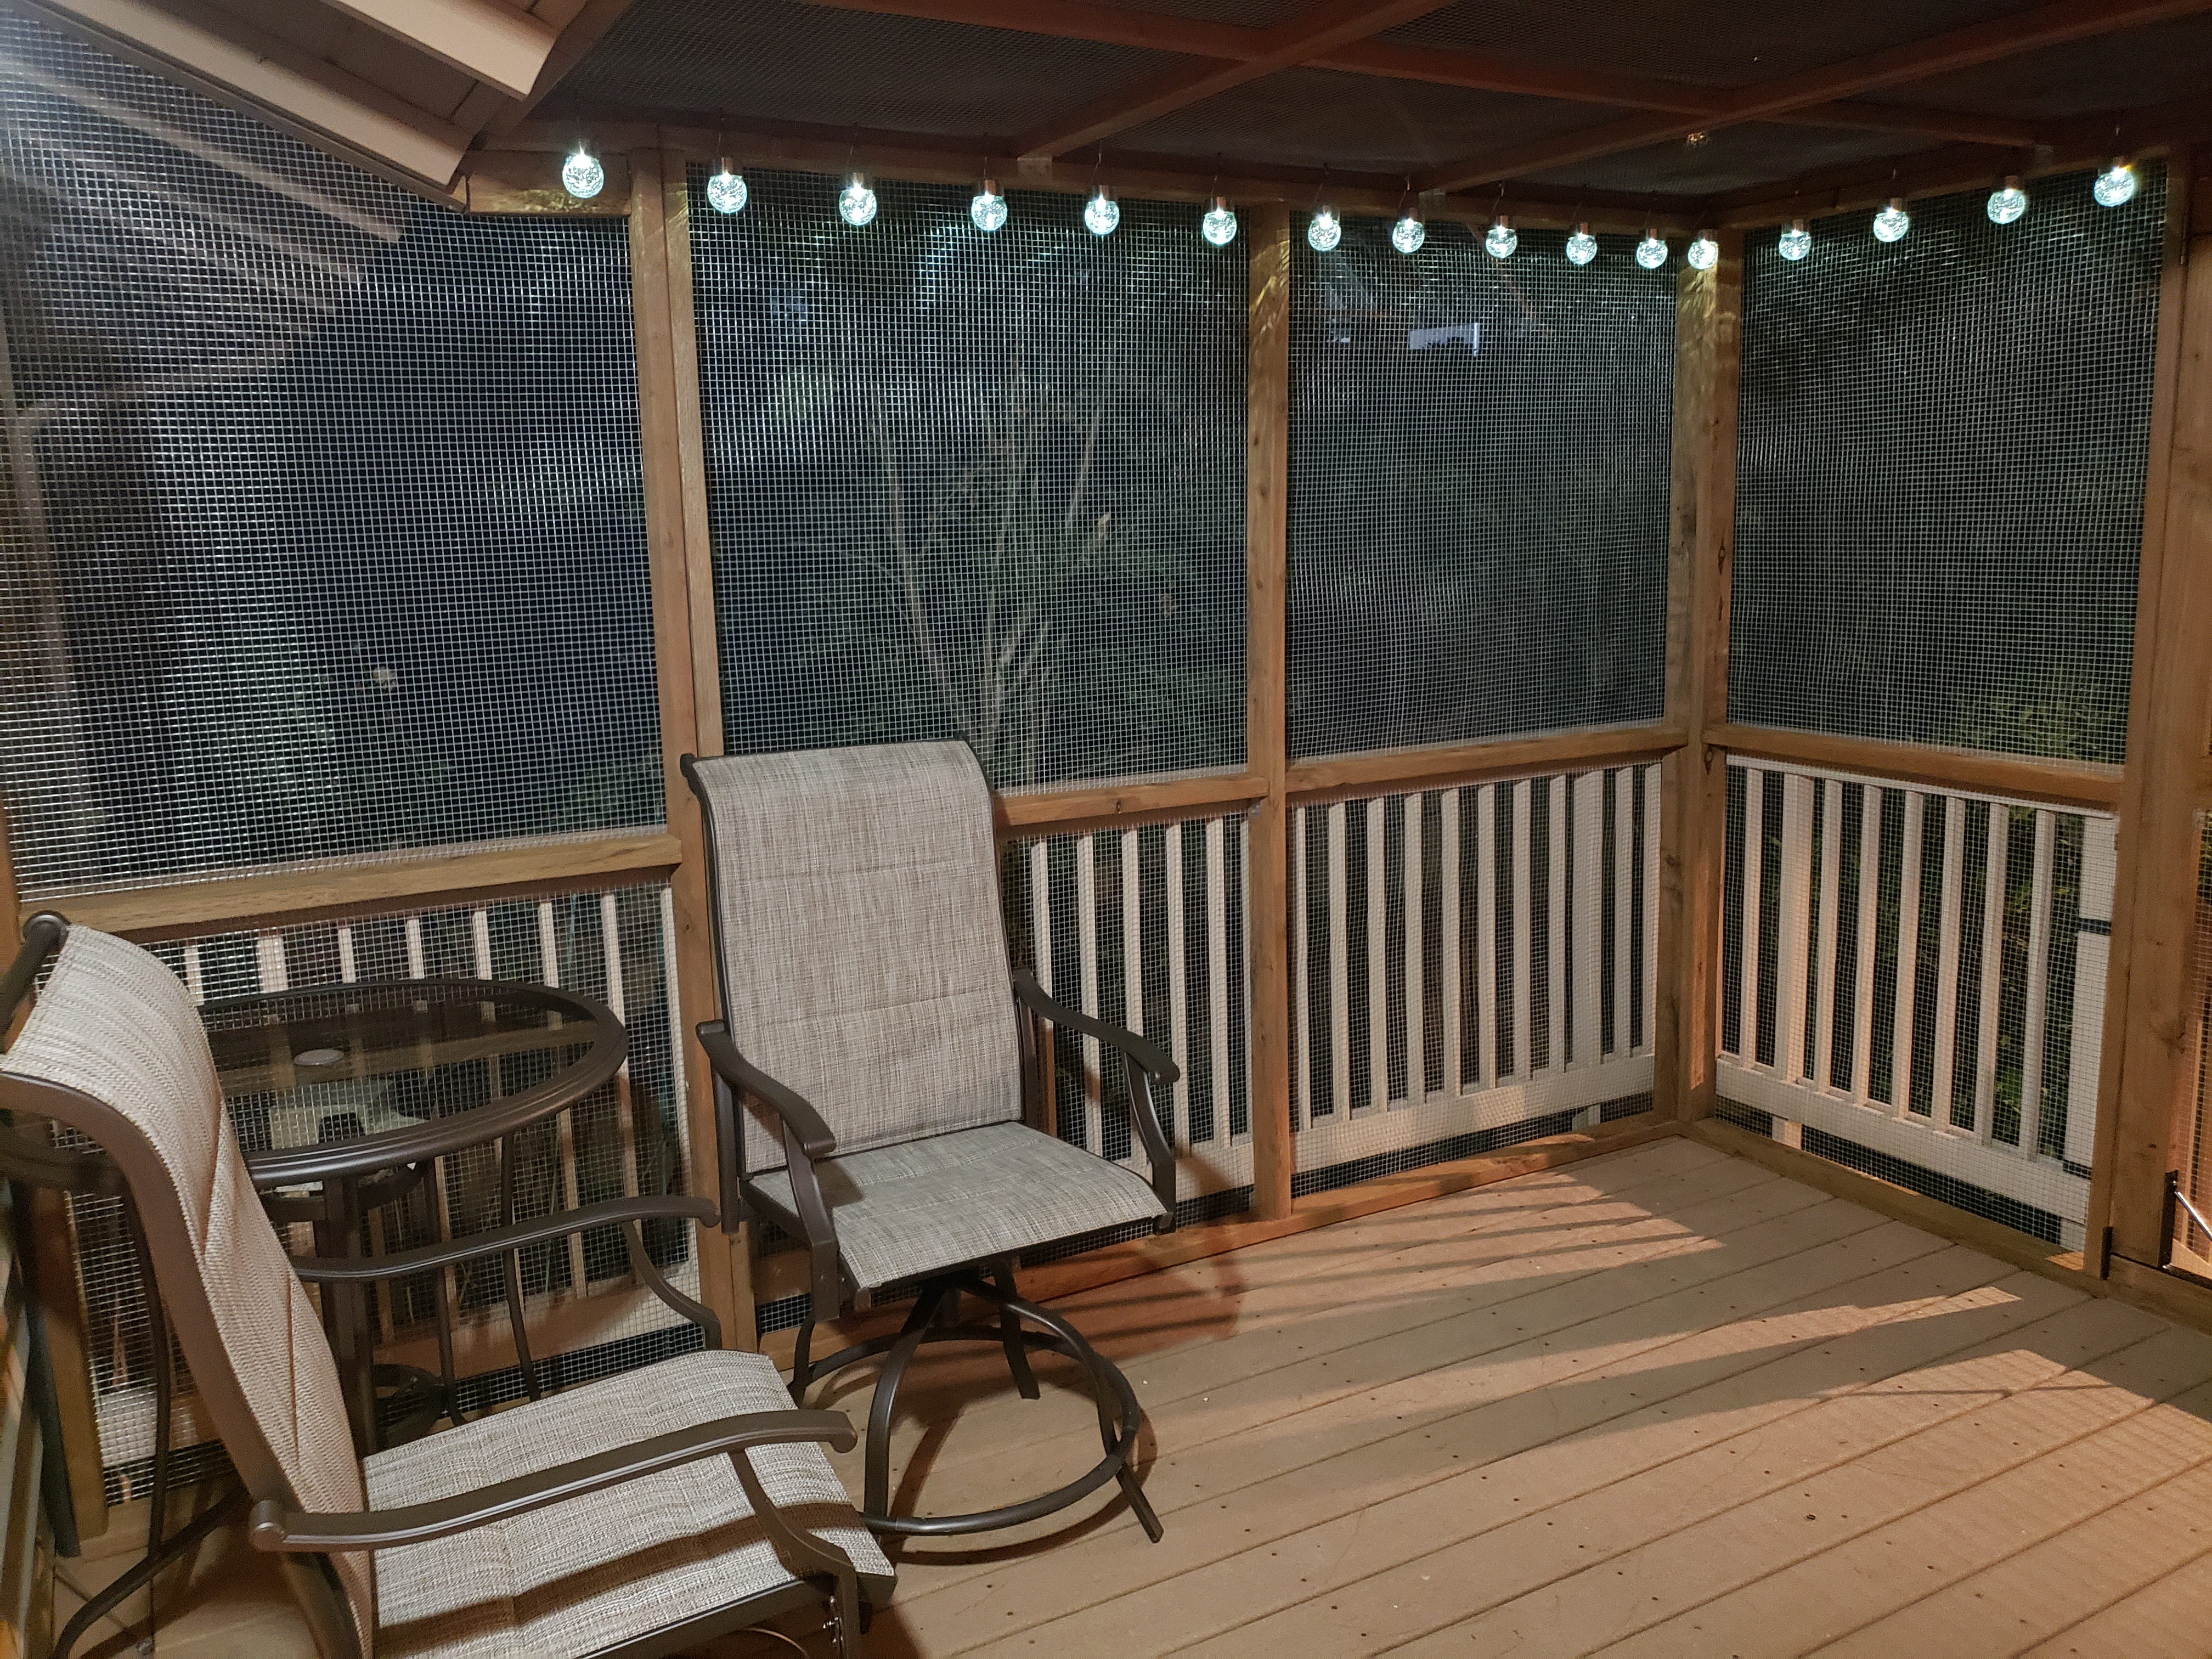
Next, we’ve added some solar-powered lights to bring that extra sparkles in the evenings:

They can be really appreciated when it starts getting dark on warm evenings:

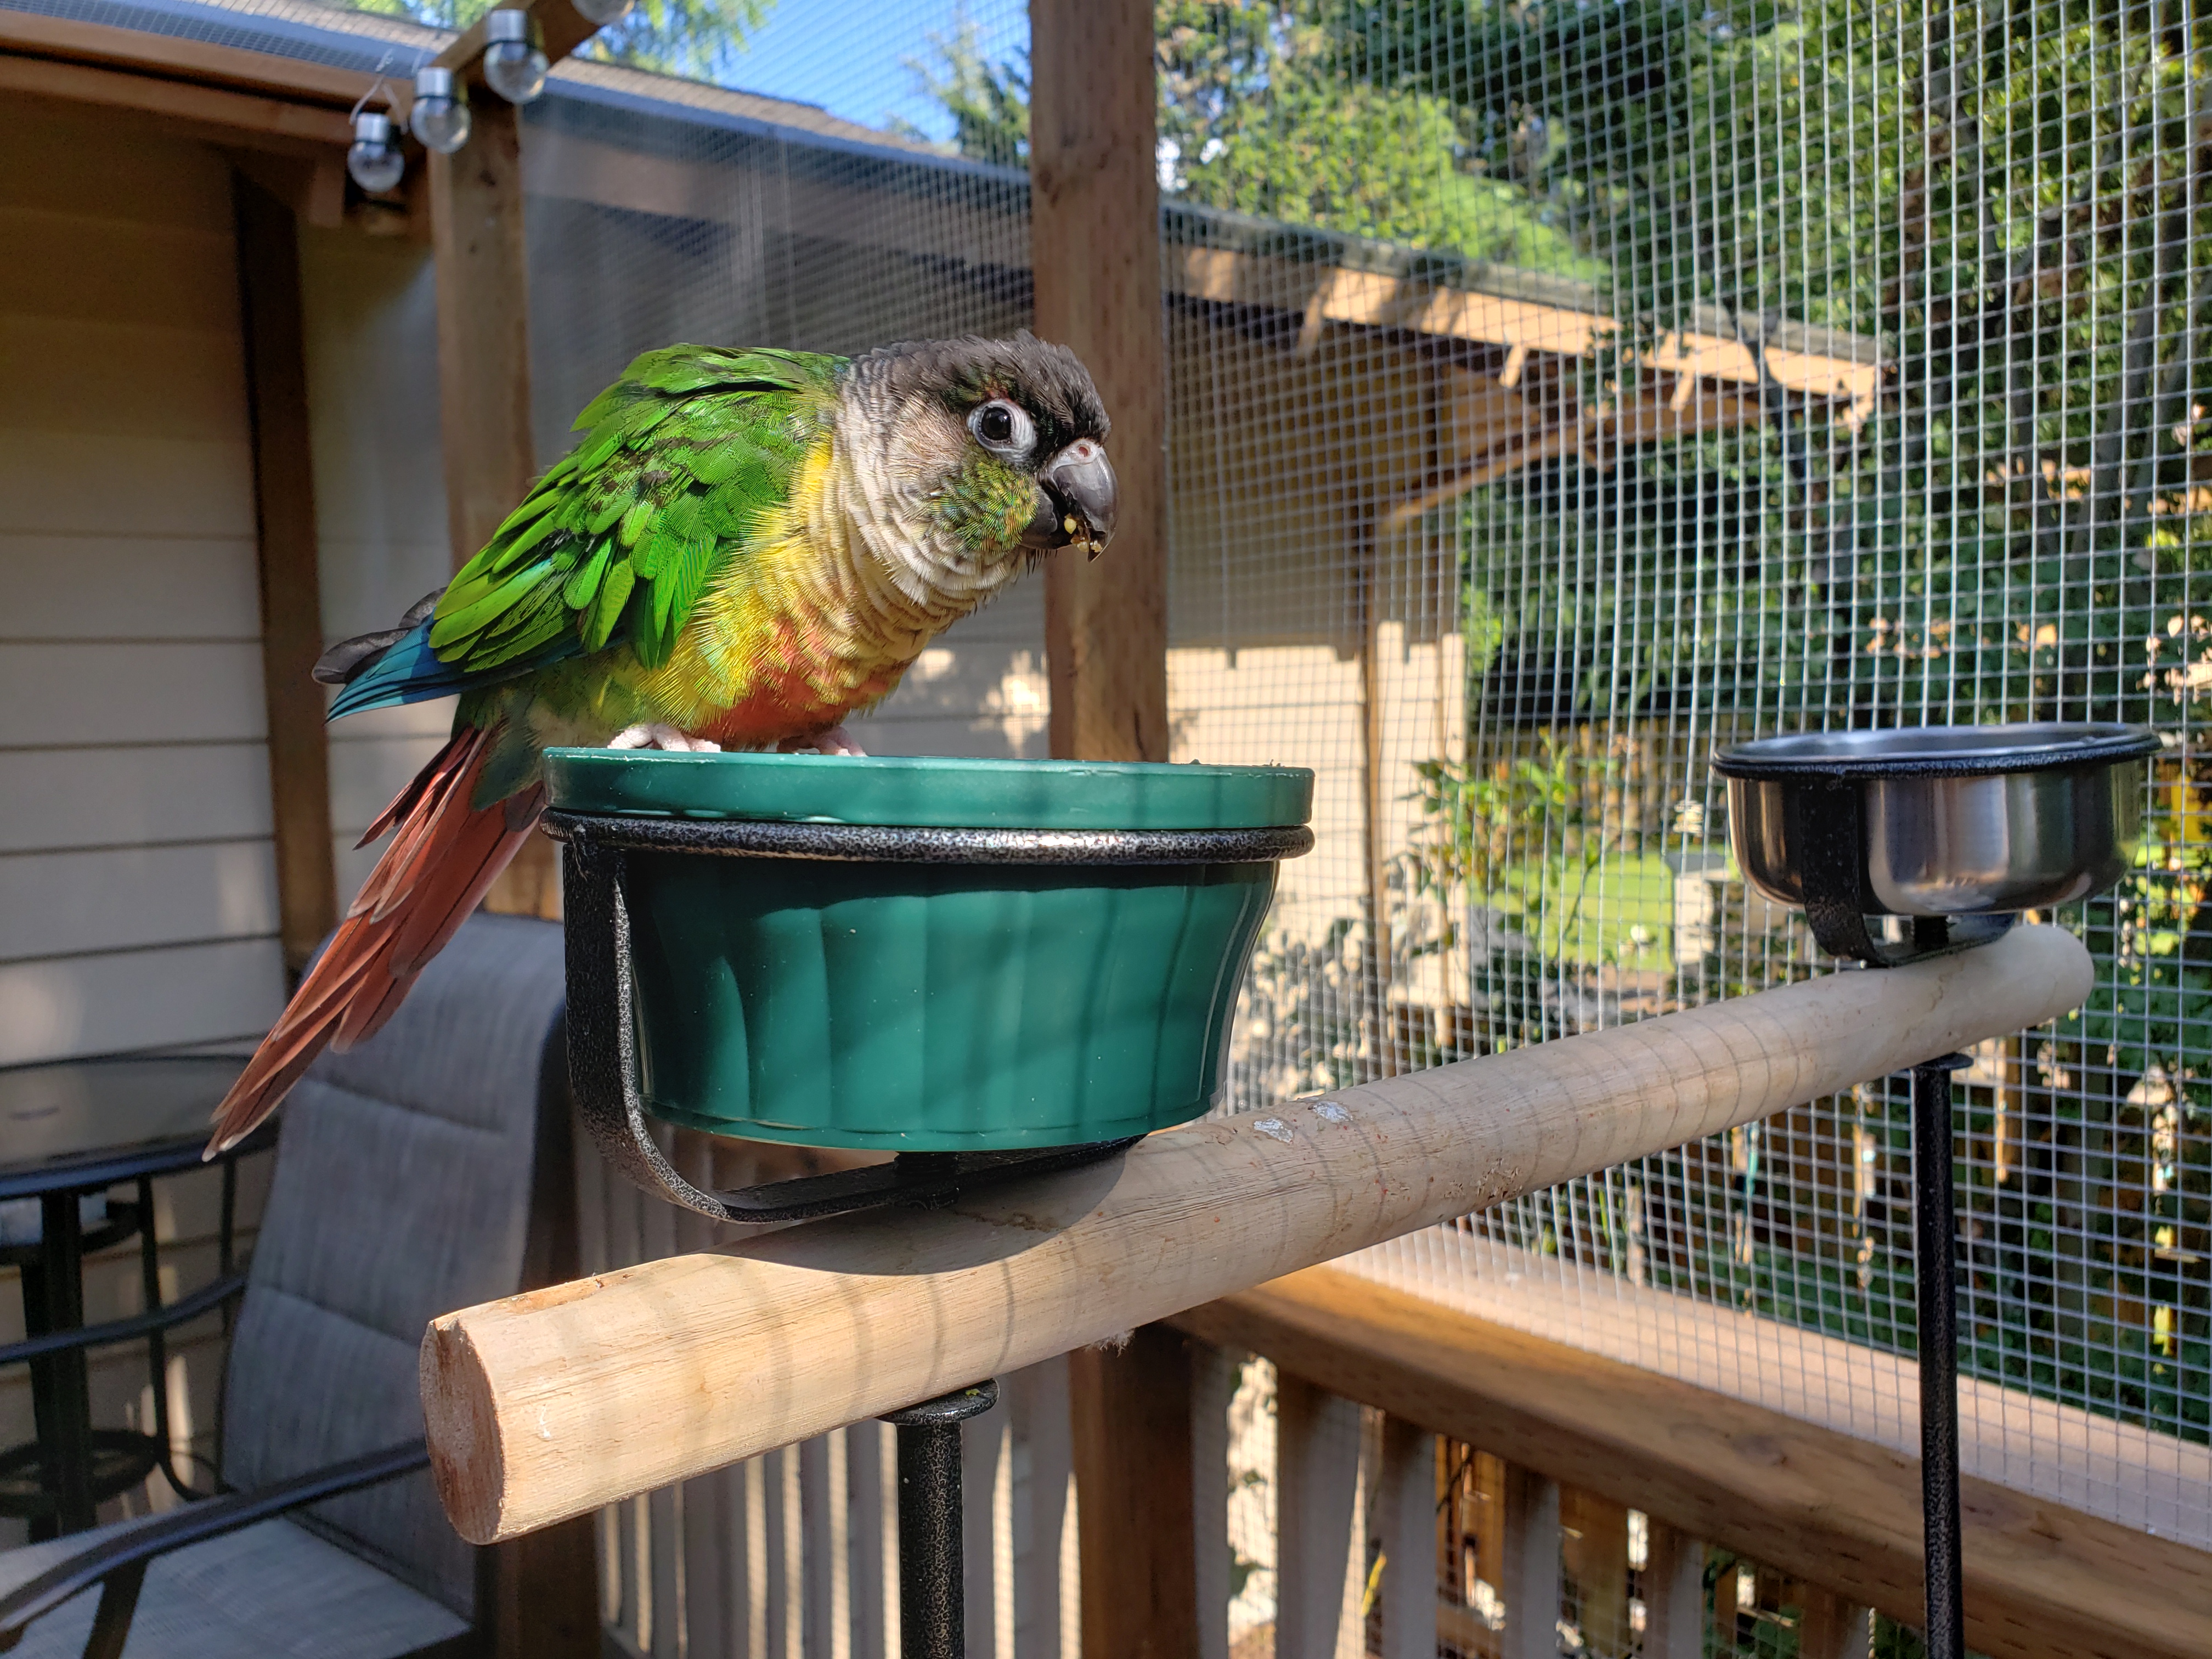
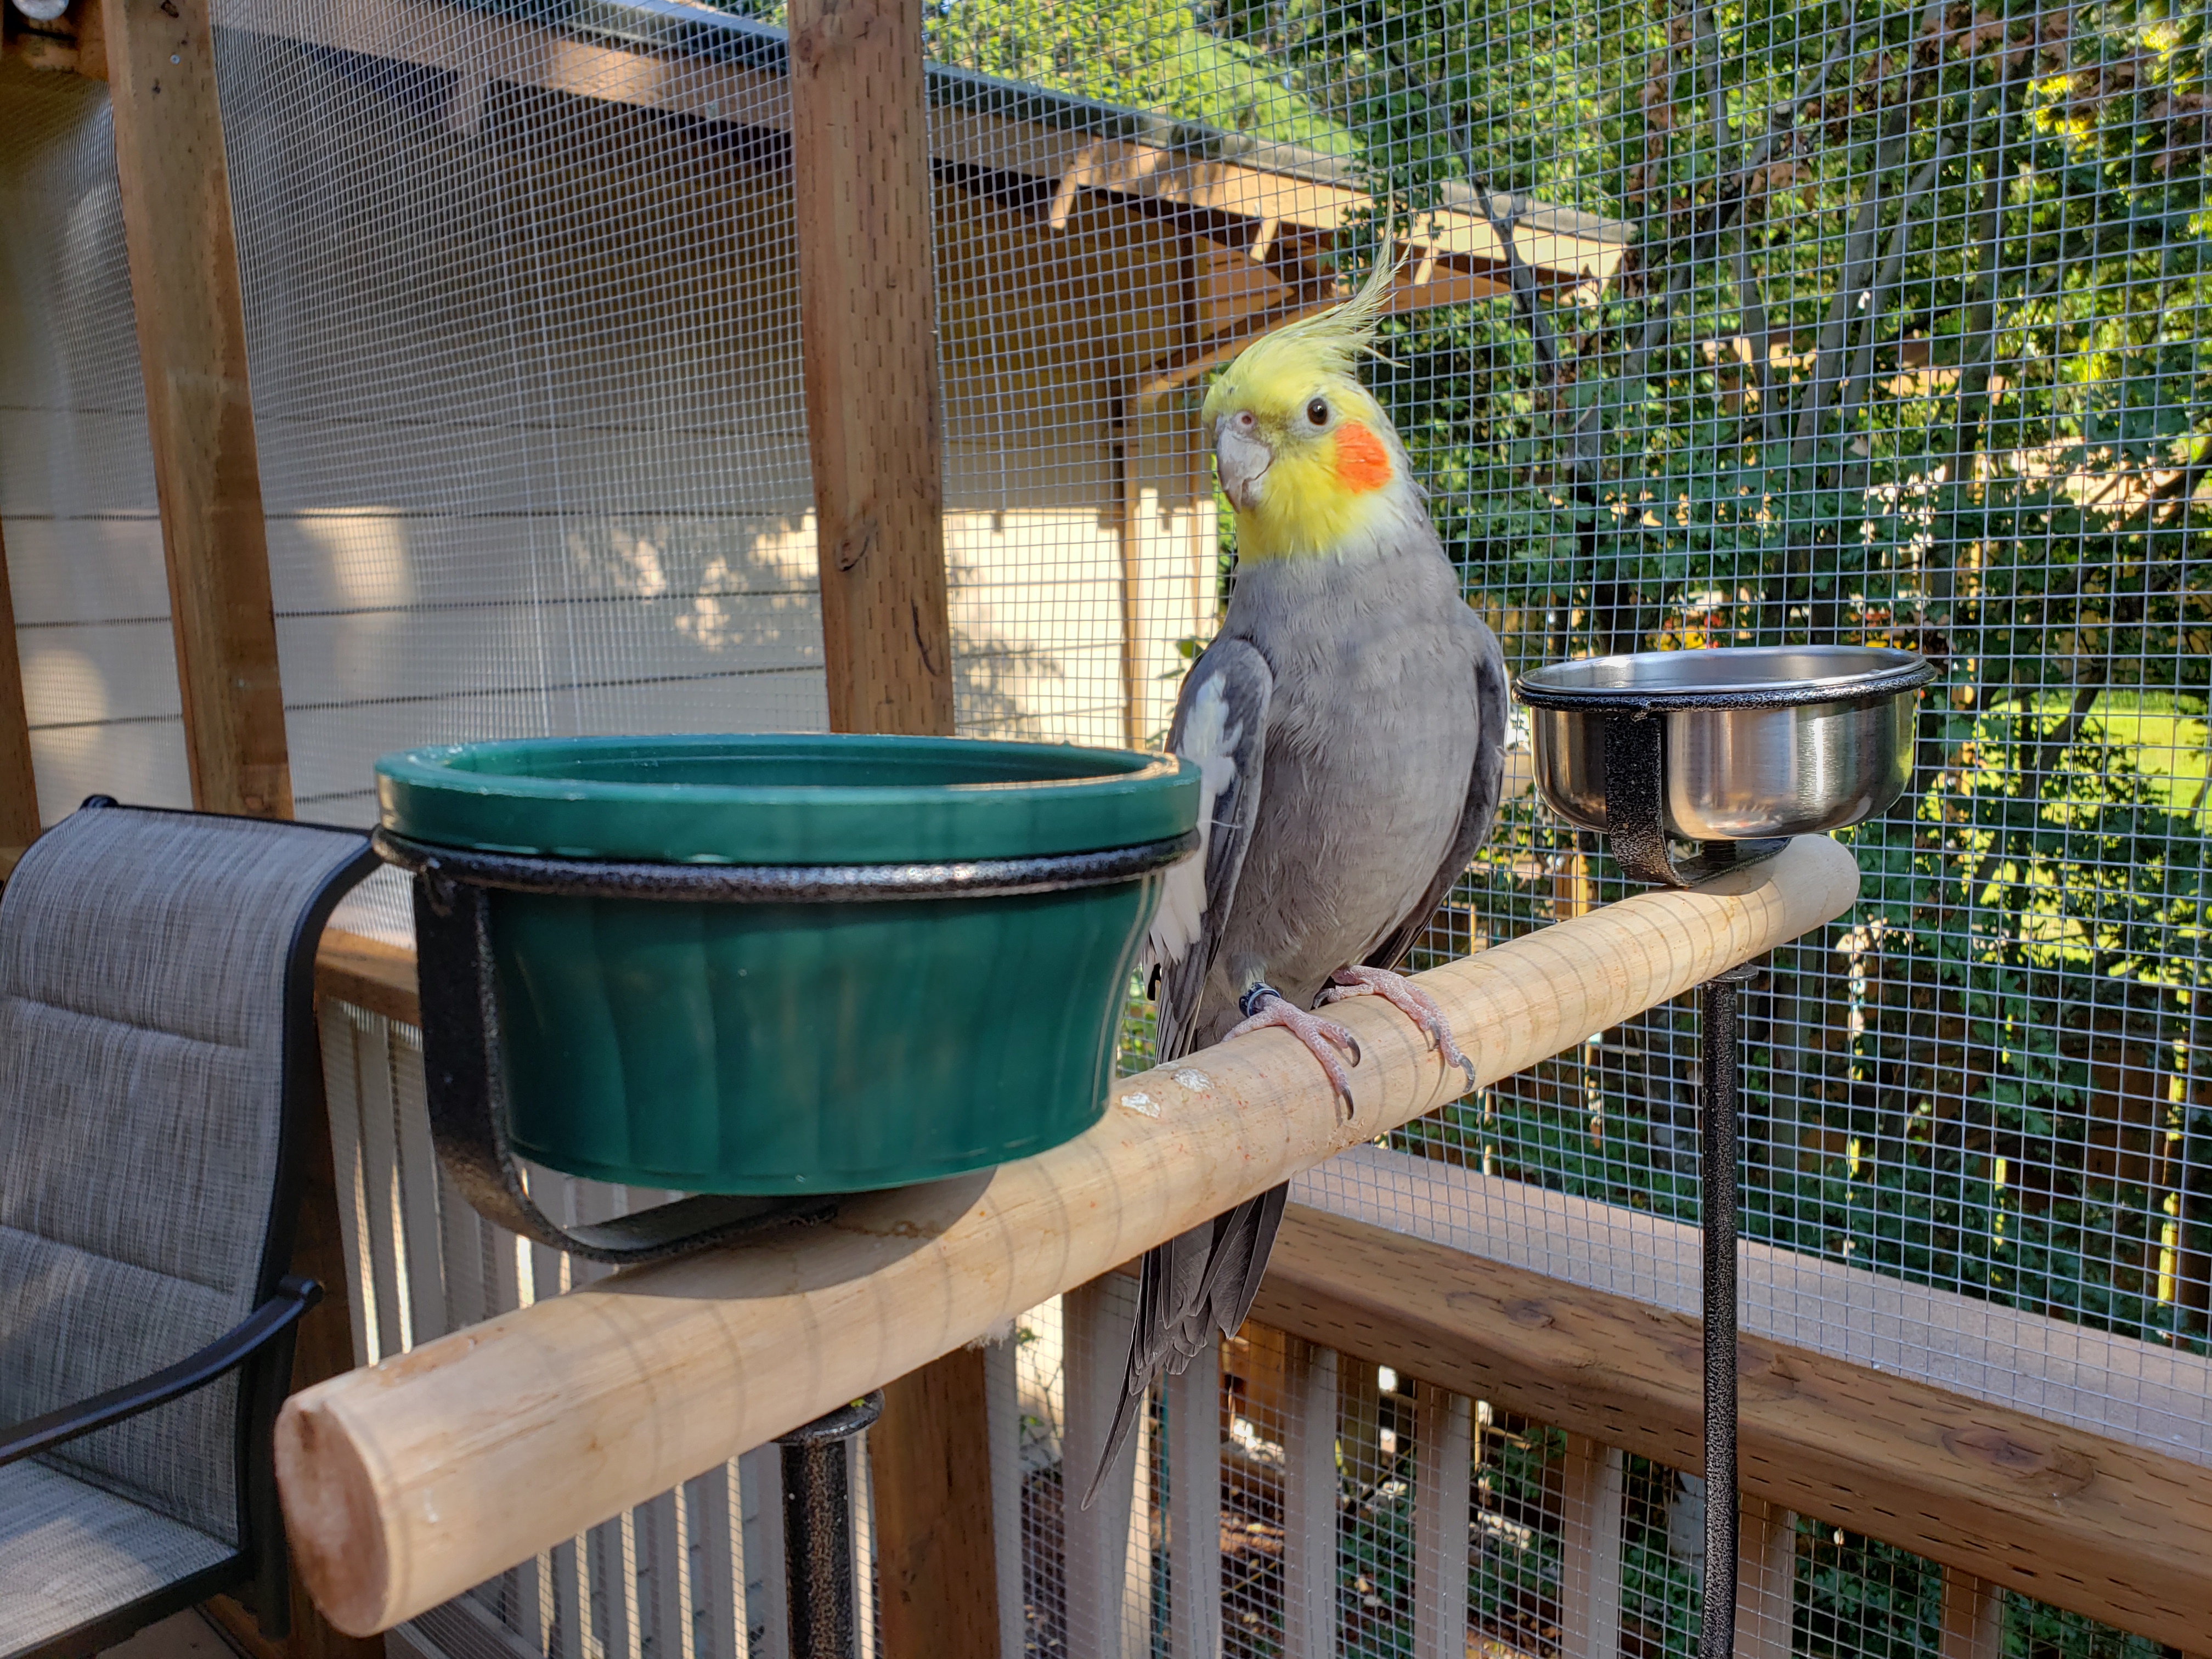
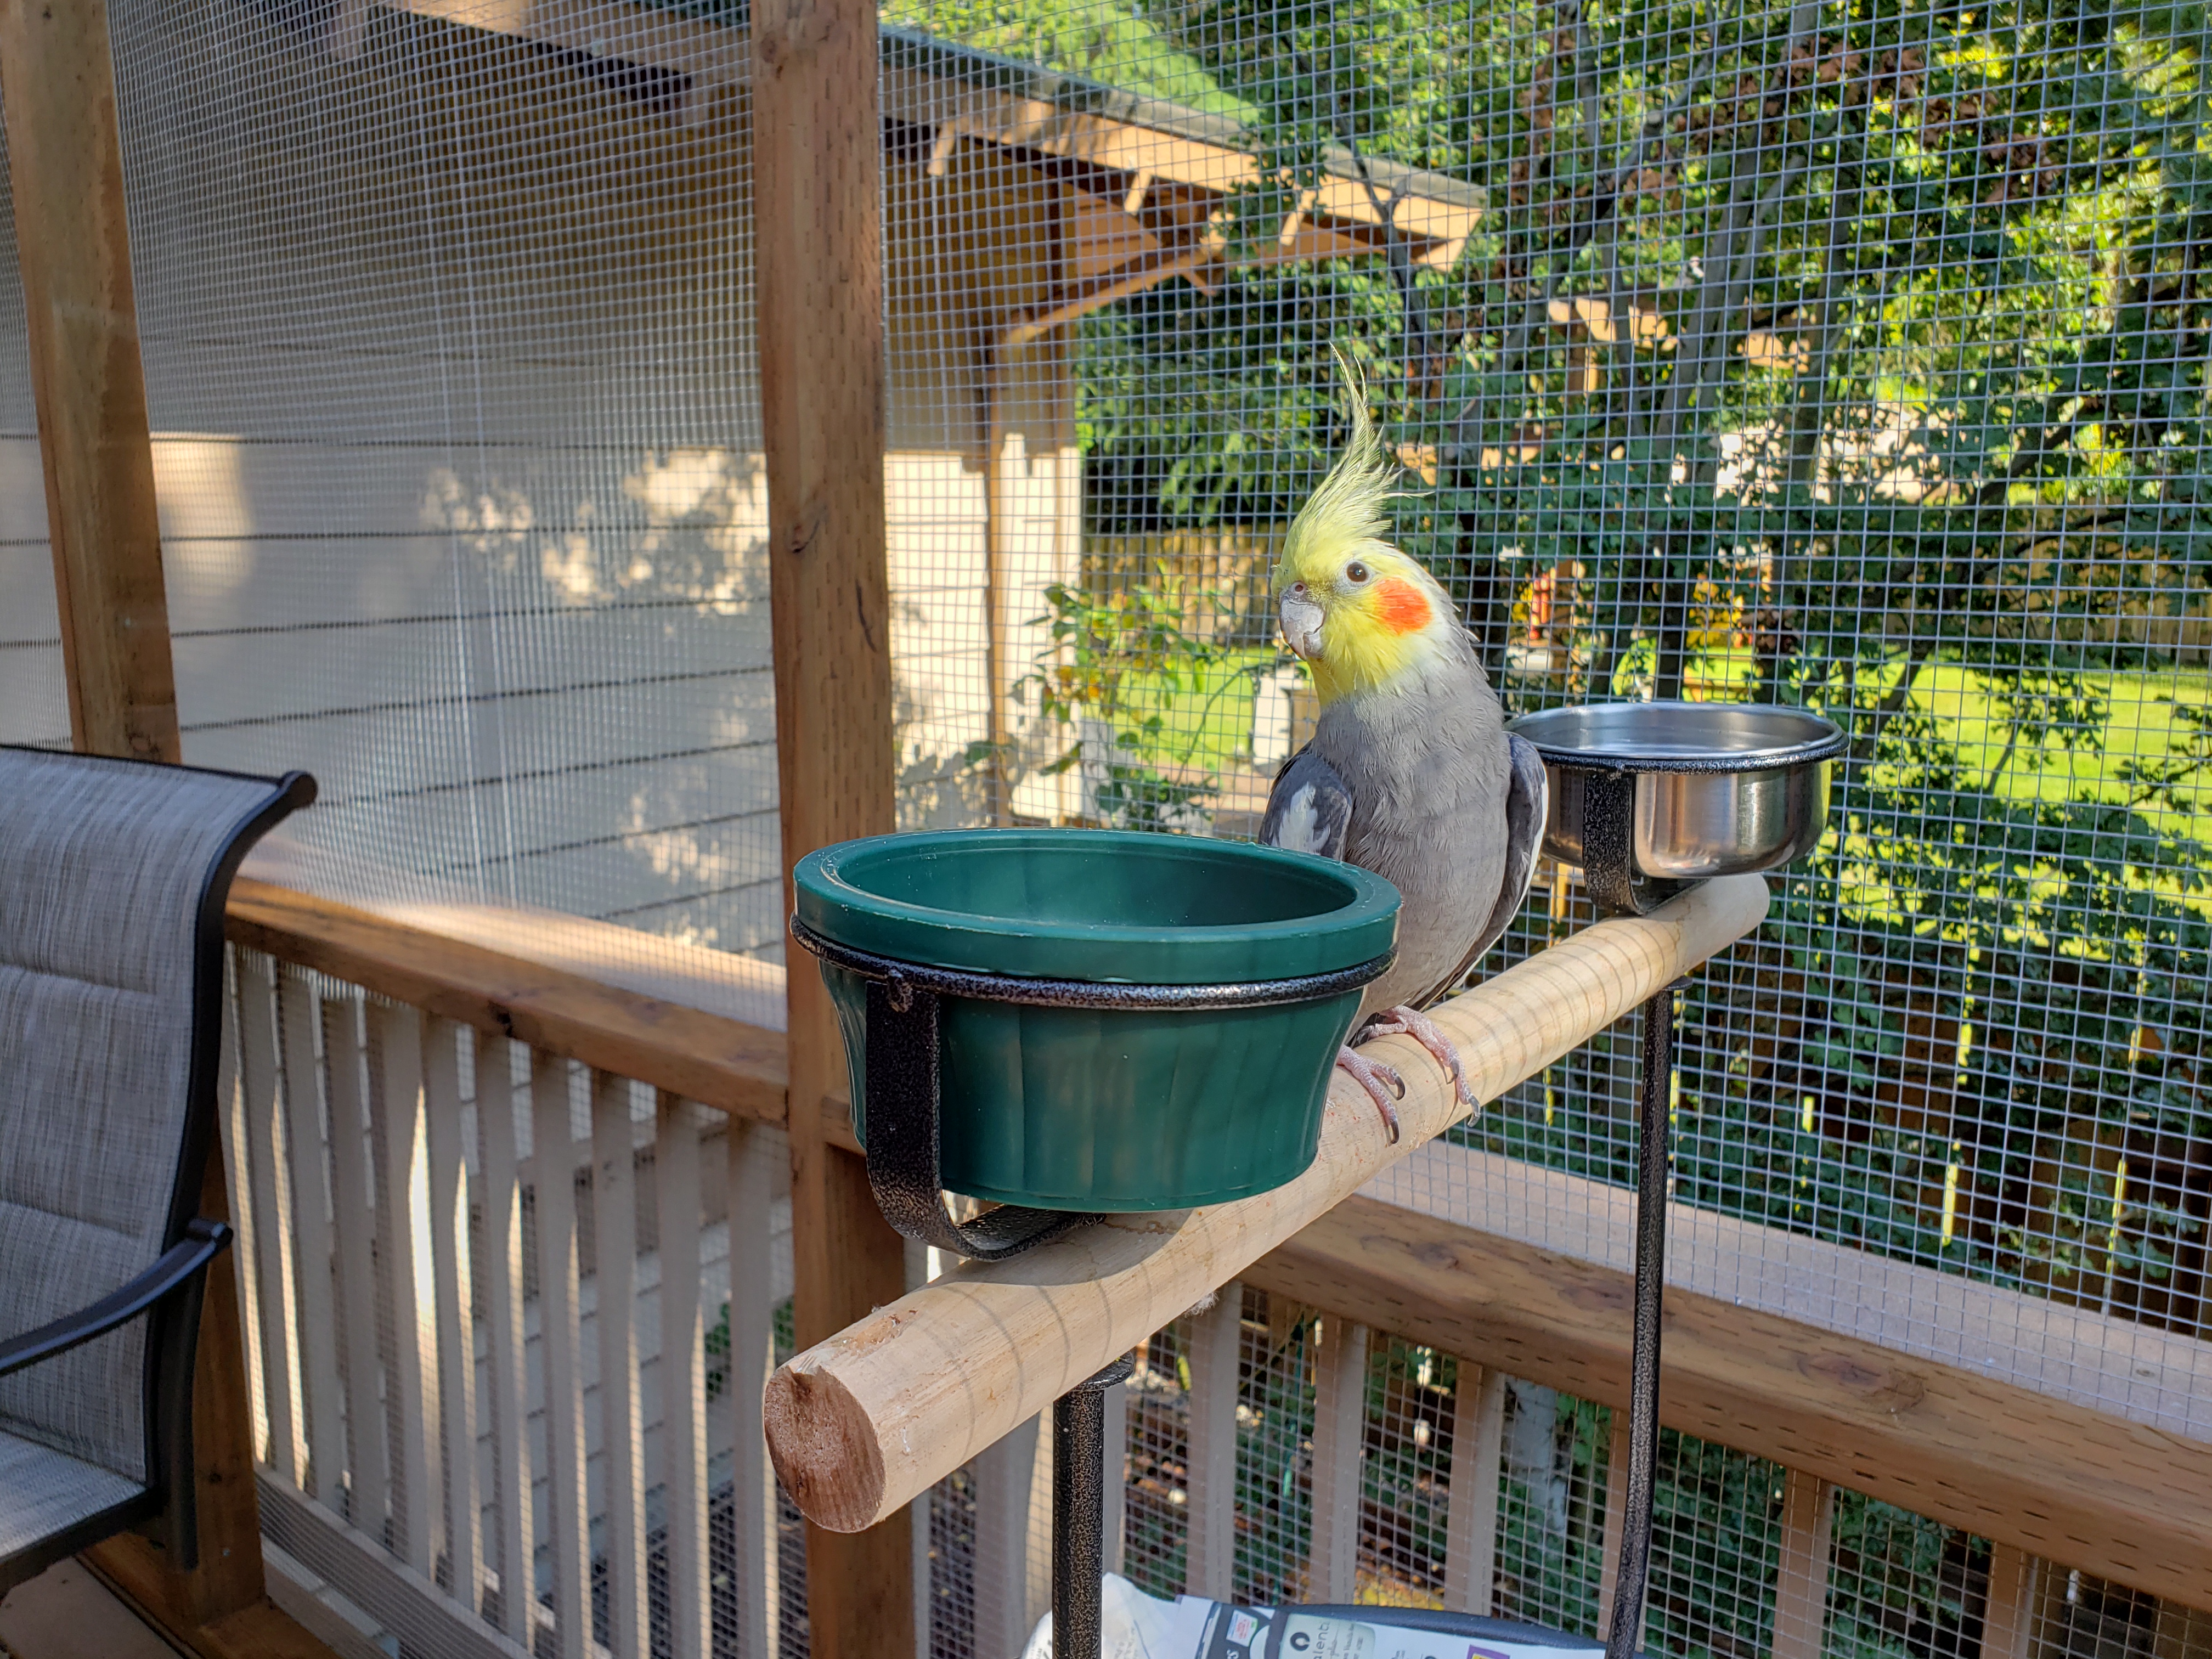
Finally, we needed some perches:
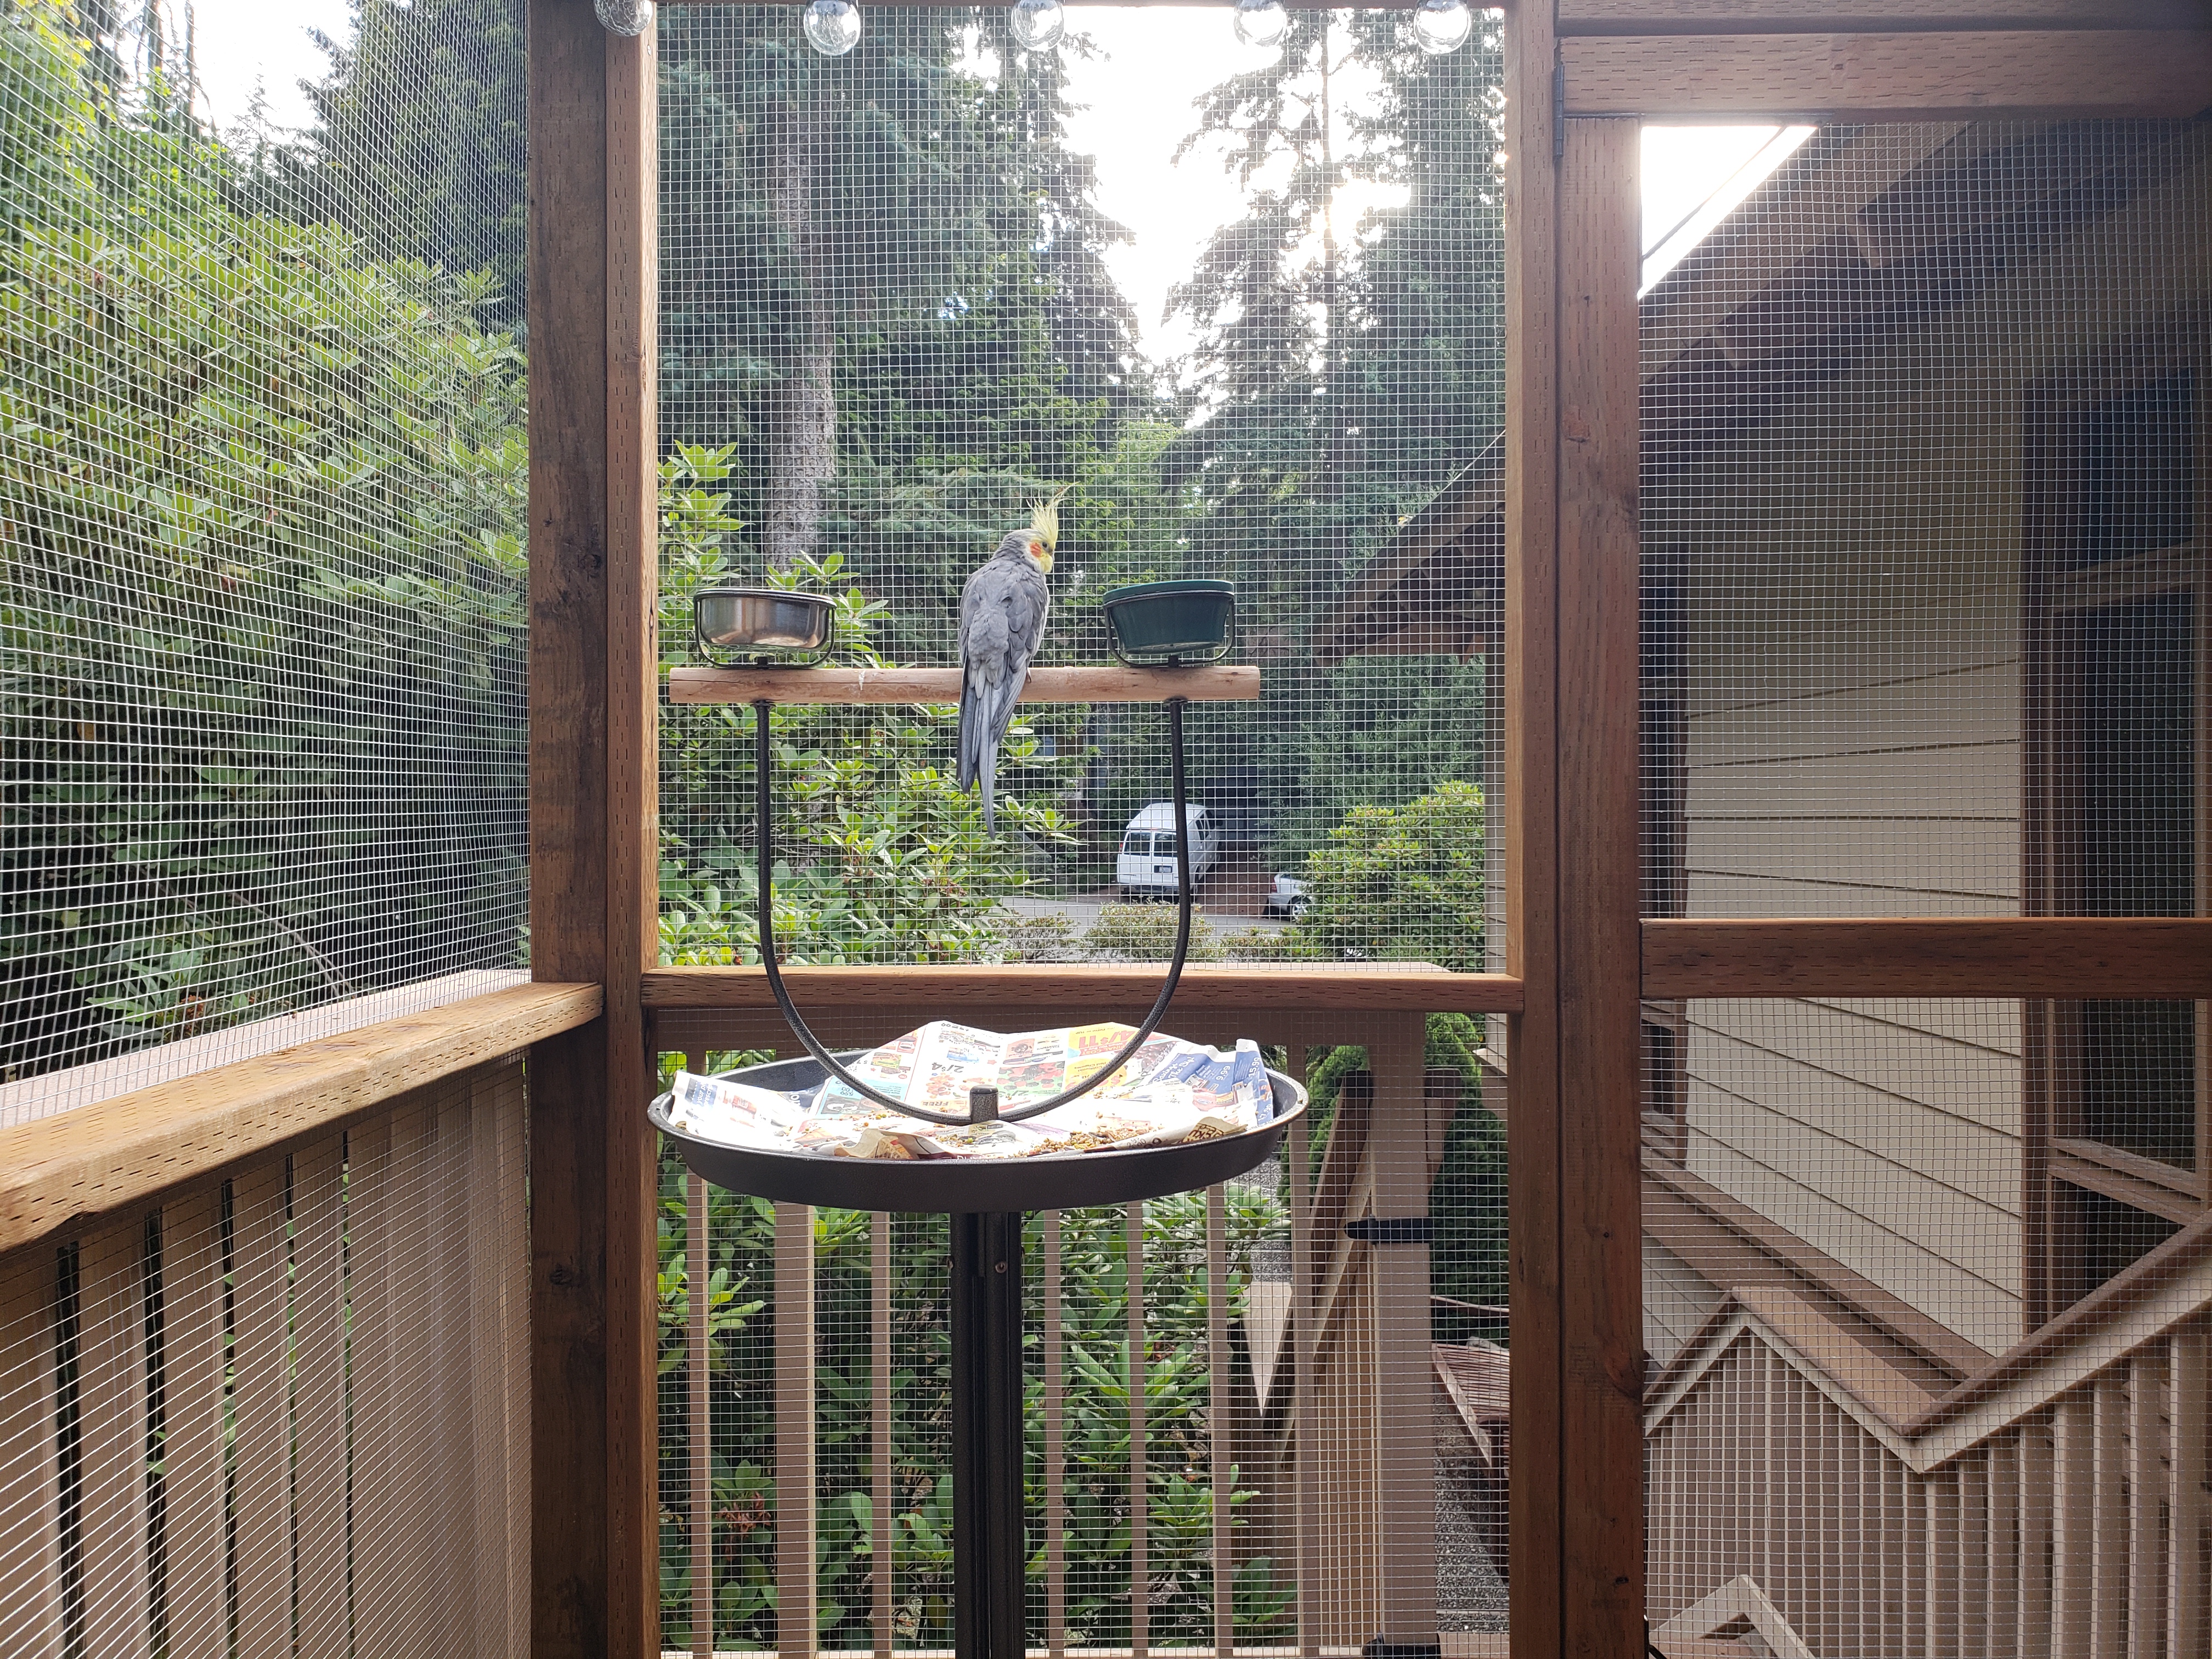
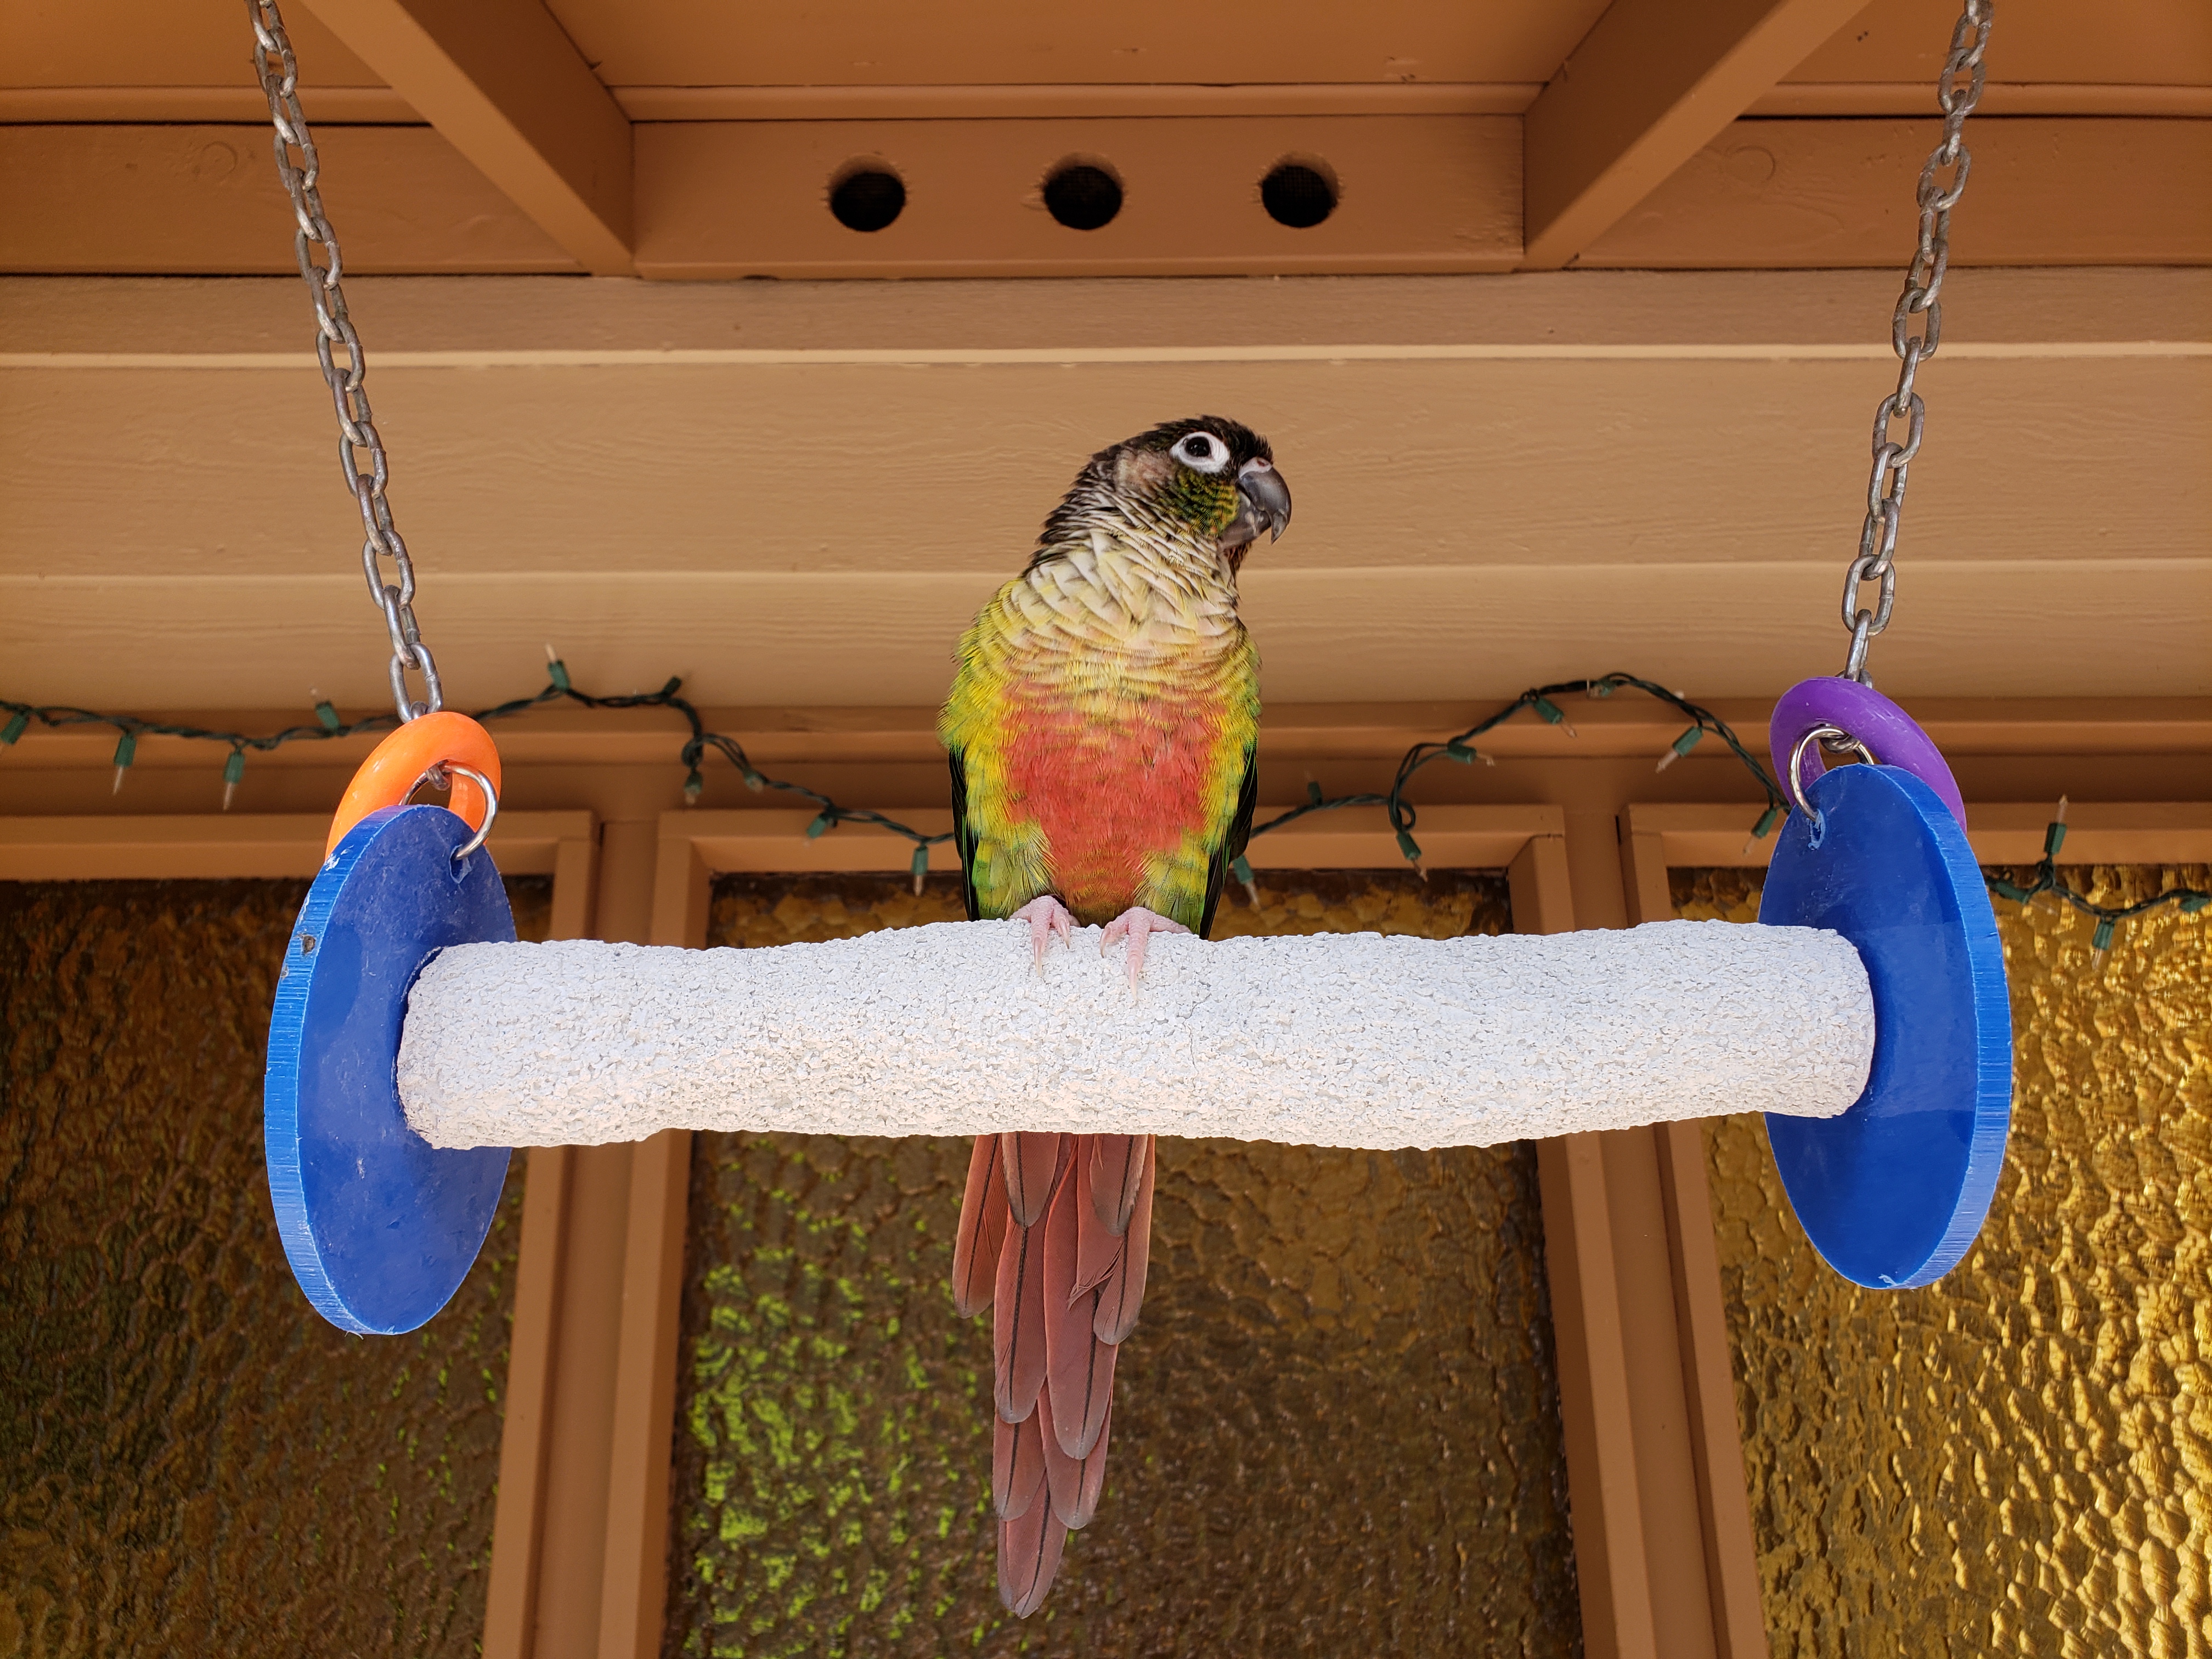
And here we are!
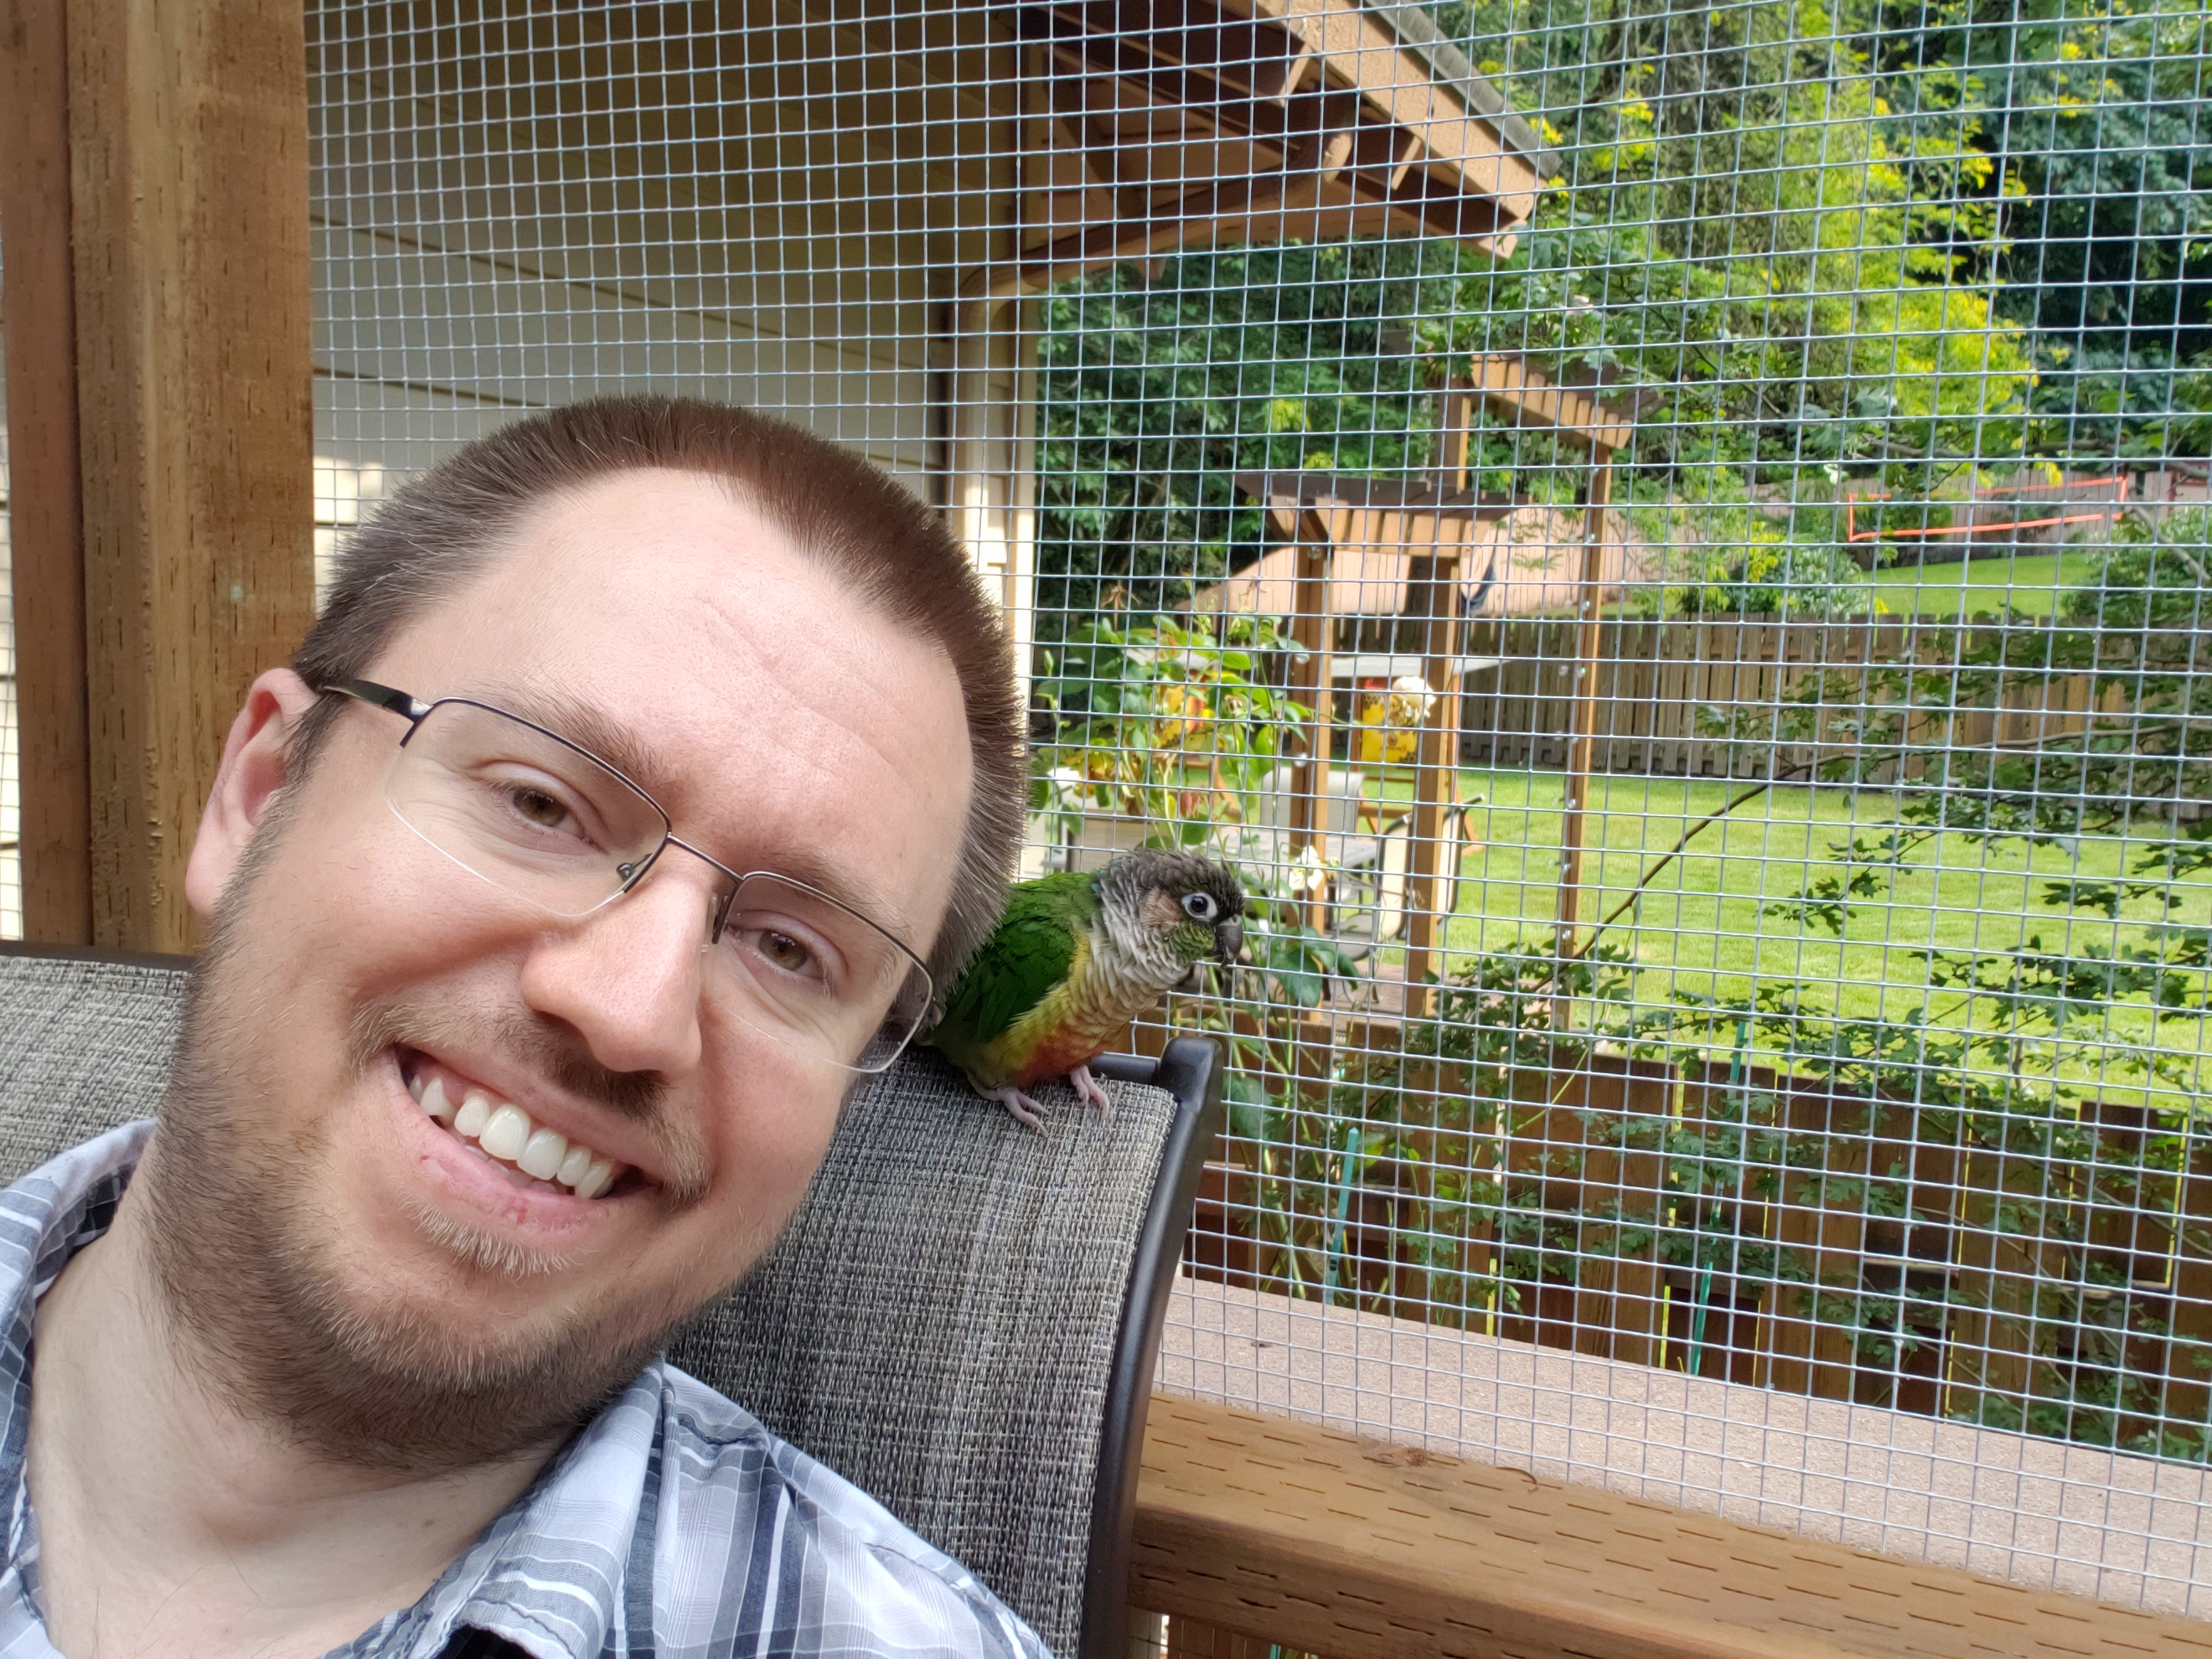
Now the whole family has even more outdoor space to enjoy during Seattle summers 🙂 And everyone loves to hang out in this space!
Thank you for reading through this article. I hope it made you smile and maybe inspired to take on a similar project. Which I always highly encourage – the satisfaction from building something can only be beaten by the enjoyment from then having to use it… 🙂
Sweetie says “thanks for visiting!” 😉


Leave a Reply