

Just last month, I bought a new laptop to get my portable gaming machine back to modern performance standards 🙂
You can see my review of MSI GS66 right here:
Quite quickly I realized that I may have been too optimistic with the storage needs (no surprises, I also blame CoD MW/Warzone for devouring almost 200GB of disk space from the get-go!). Luckily, there’s an NVme M.2 port available, so adding extra space is easy.
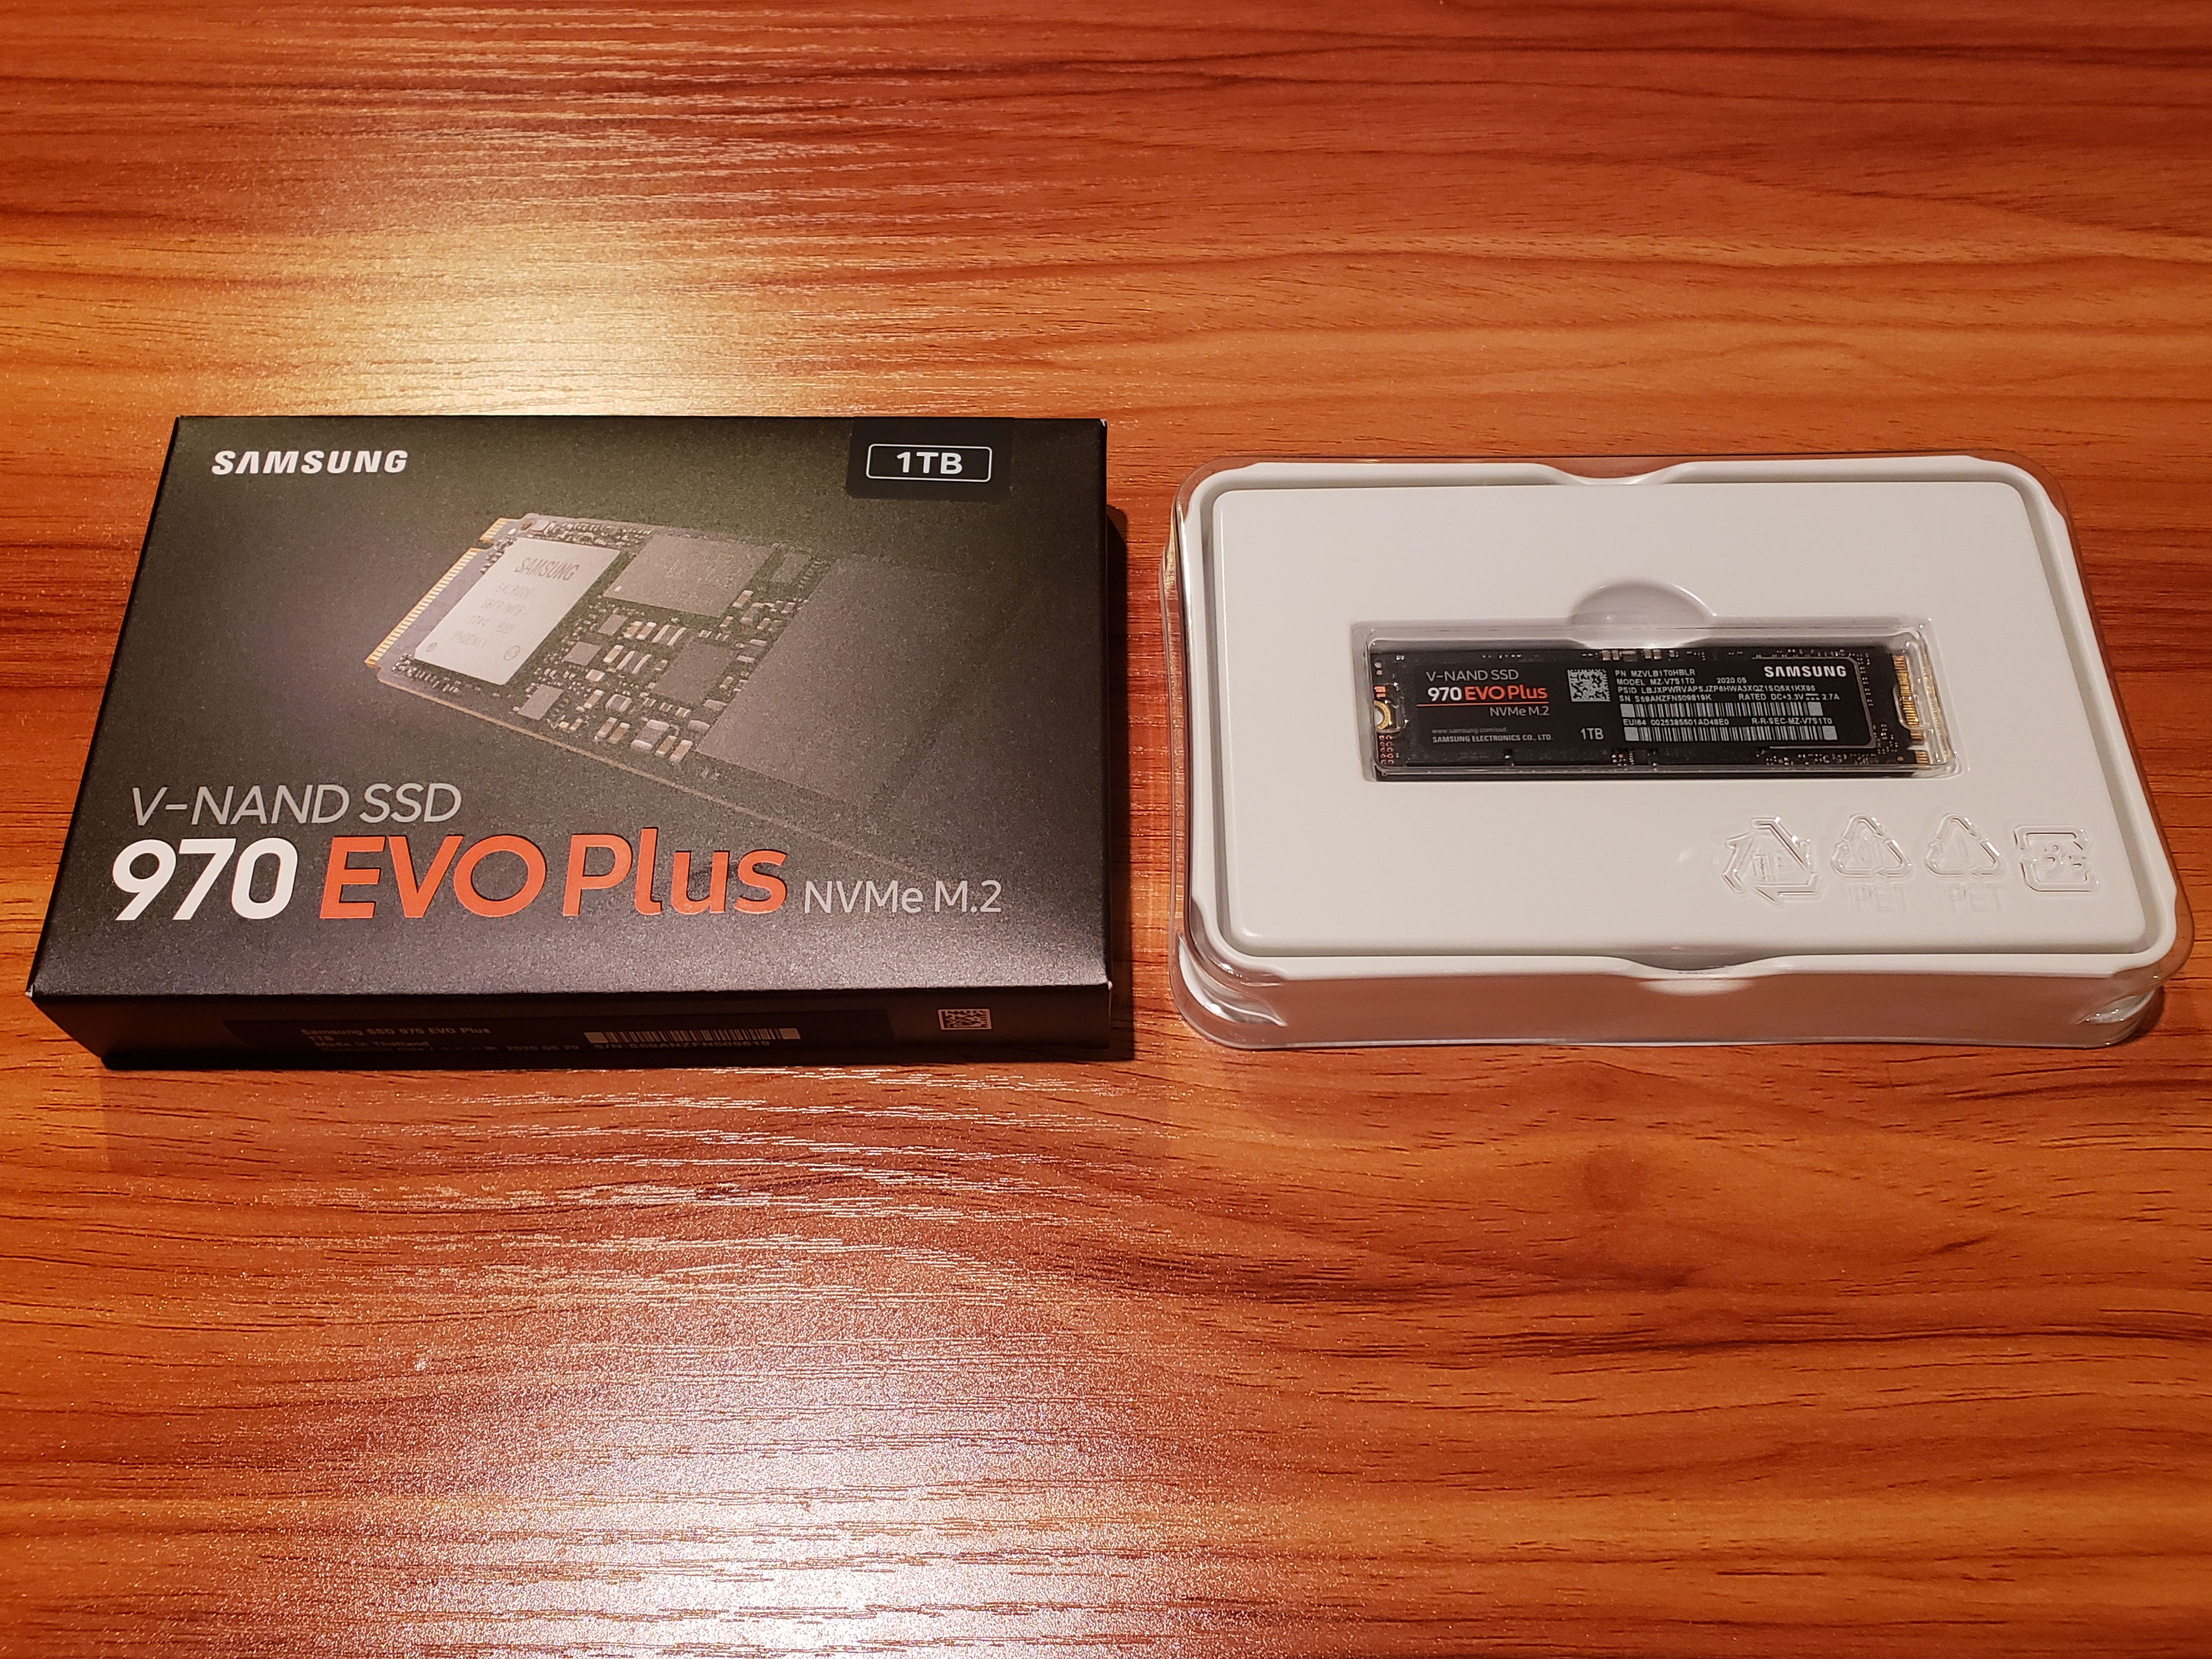
Here’s the drive I purchased:
Samsung 970 EVO Plus SSD 1TB – M.2 NVMe – Purchase on Amazon

I felt like 1TB is the sweet spot – it’s a laptop I use for entertainment, thus that should be sufficient. If I were editing more videos and working with large set of media files, I’d probably go at least 2TB, but then – desktop PC with large monitor(s) is often more suitable for such workstreams.
Opening the laptop
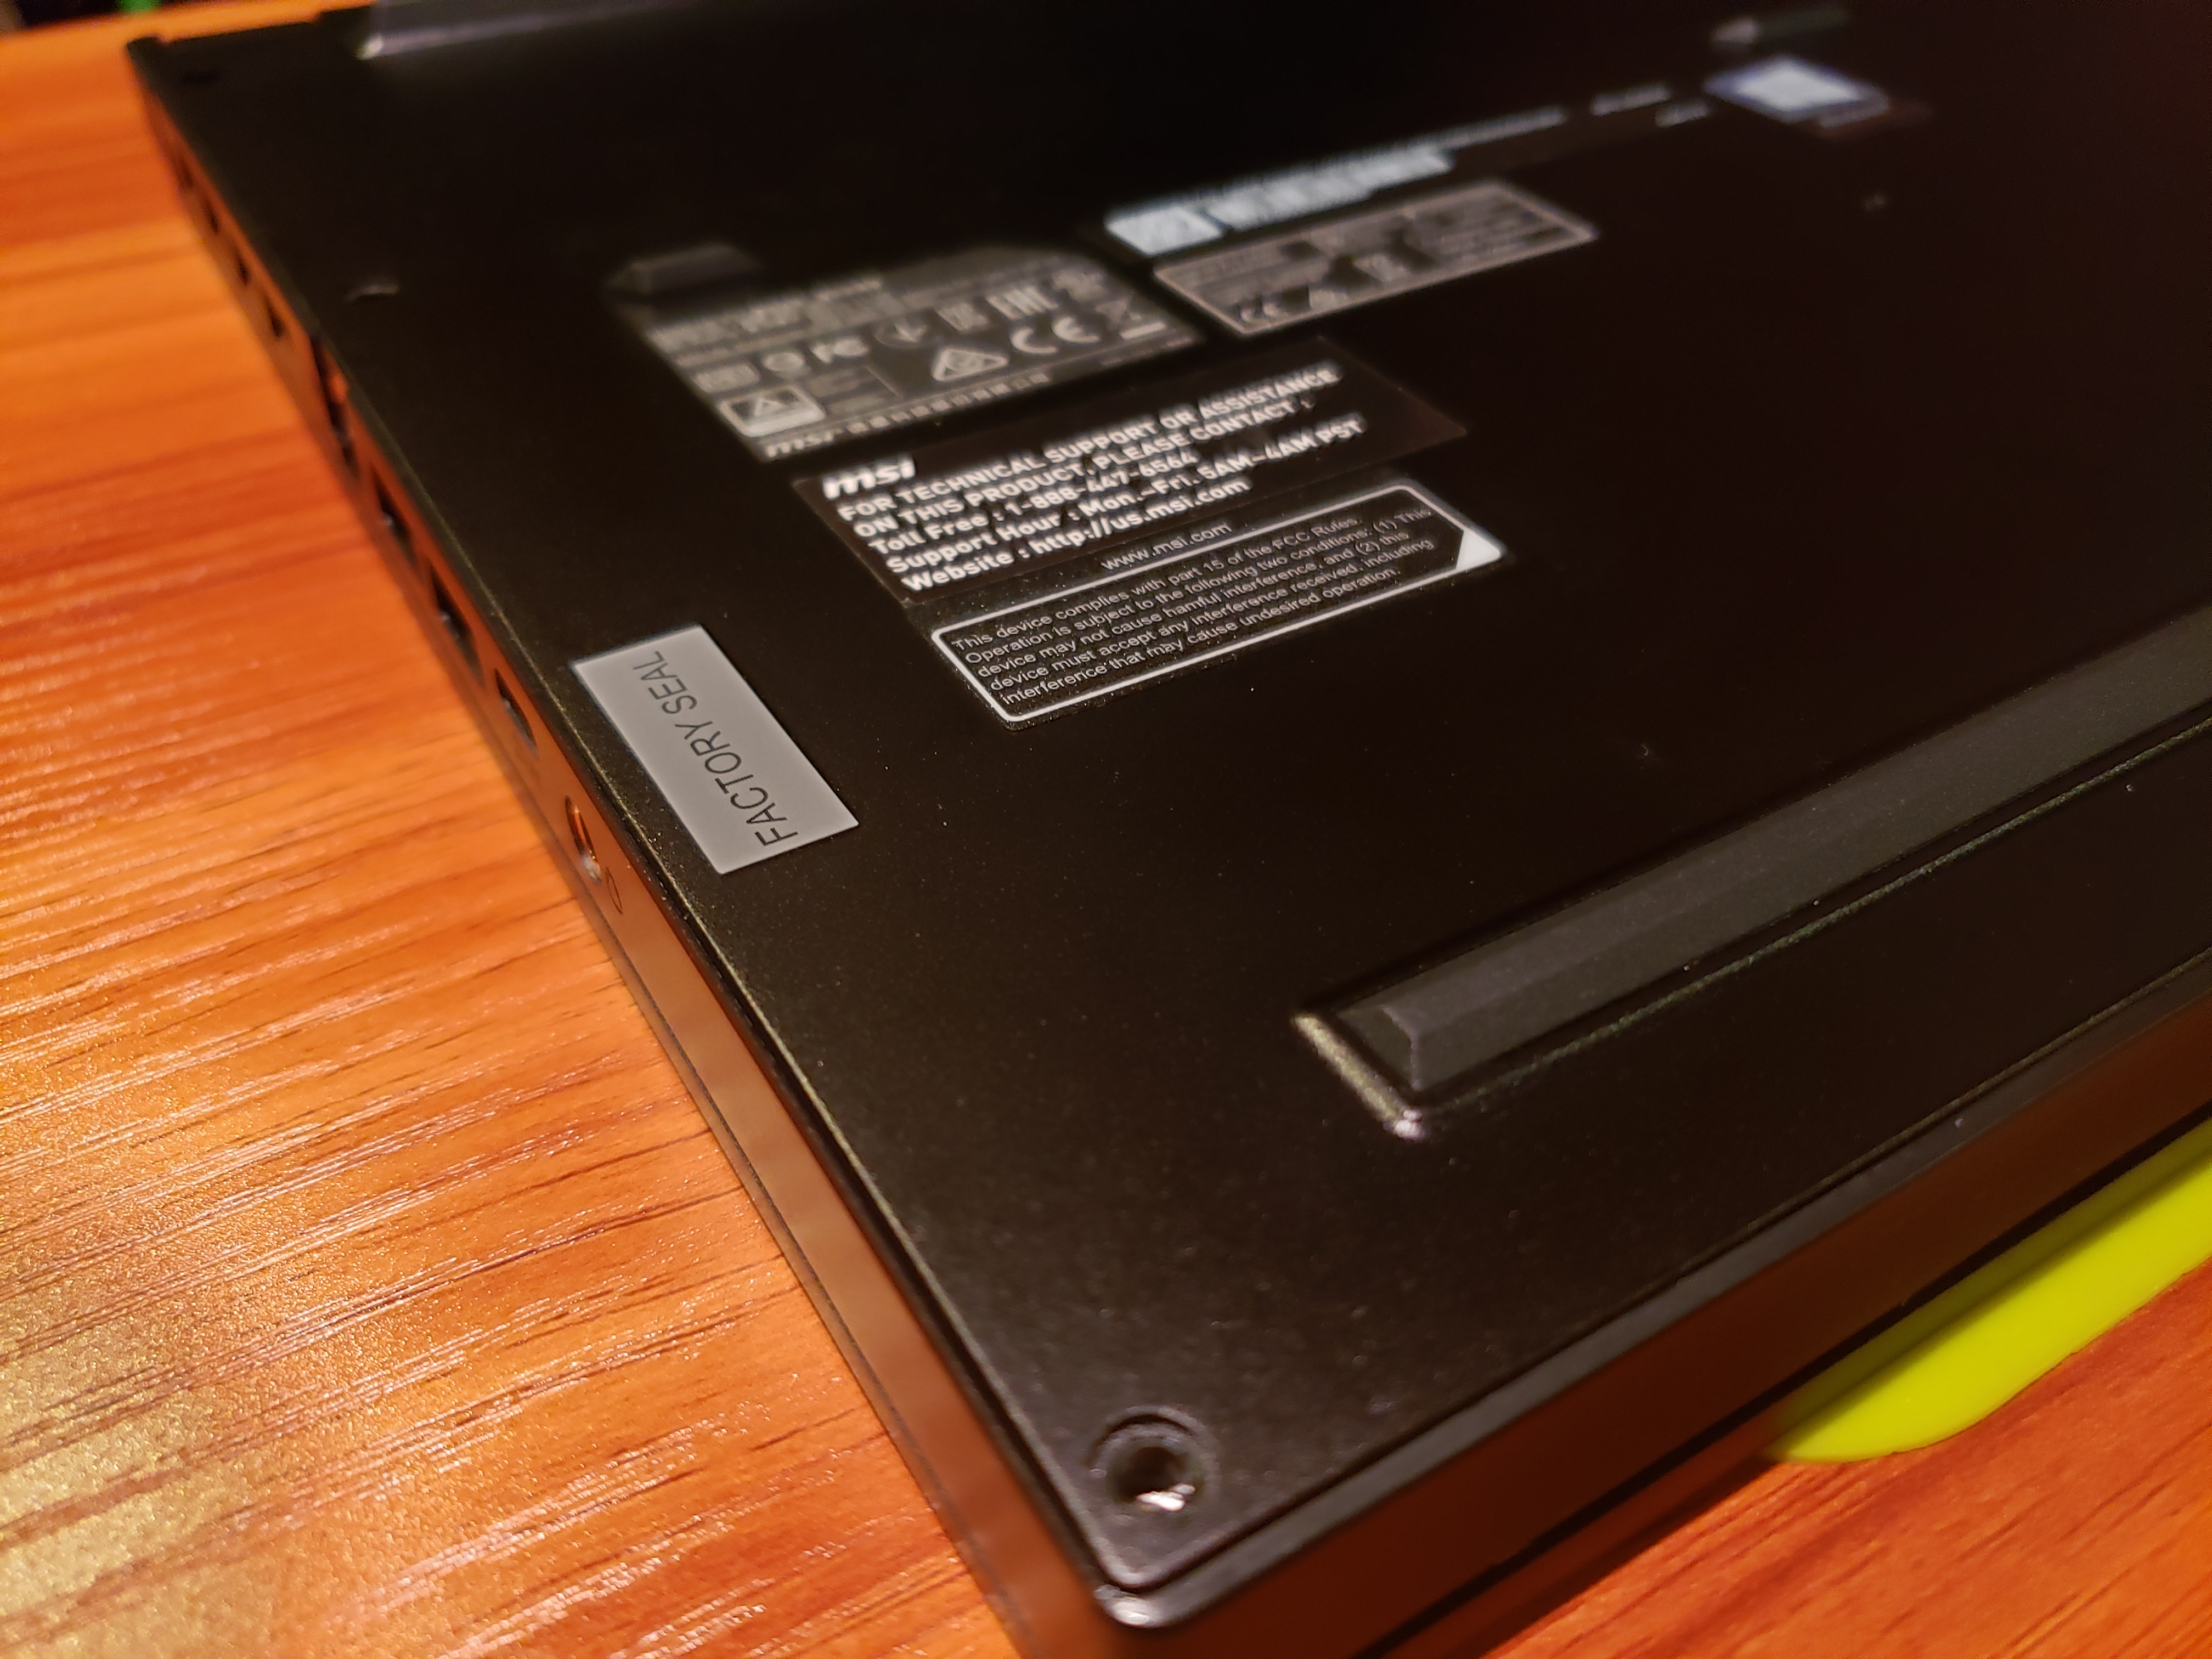
The process is quite straight-forward. First, obviously, turn the laptop off. Then flip the laptop upside down (I put a rubber mat underneath to avoid any scratches), take care of all the screws at the perimeter, and finally “peel” the bottom lid from the case.
This step requires a combination of some patience and the right amount of force. And maybe a “bone tool” or another piece of plastic to stick between the base and the lid. There are many small latches that hold the lid tightly in place, even after the screws have been removed, so we need to “pop them off”.

For reference, here’s a handy video showing the disassembly:
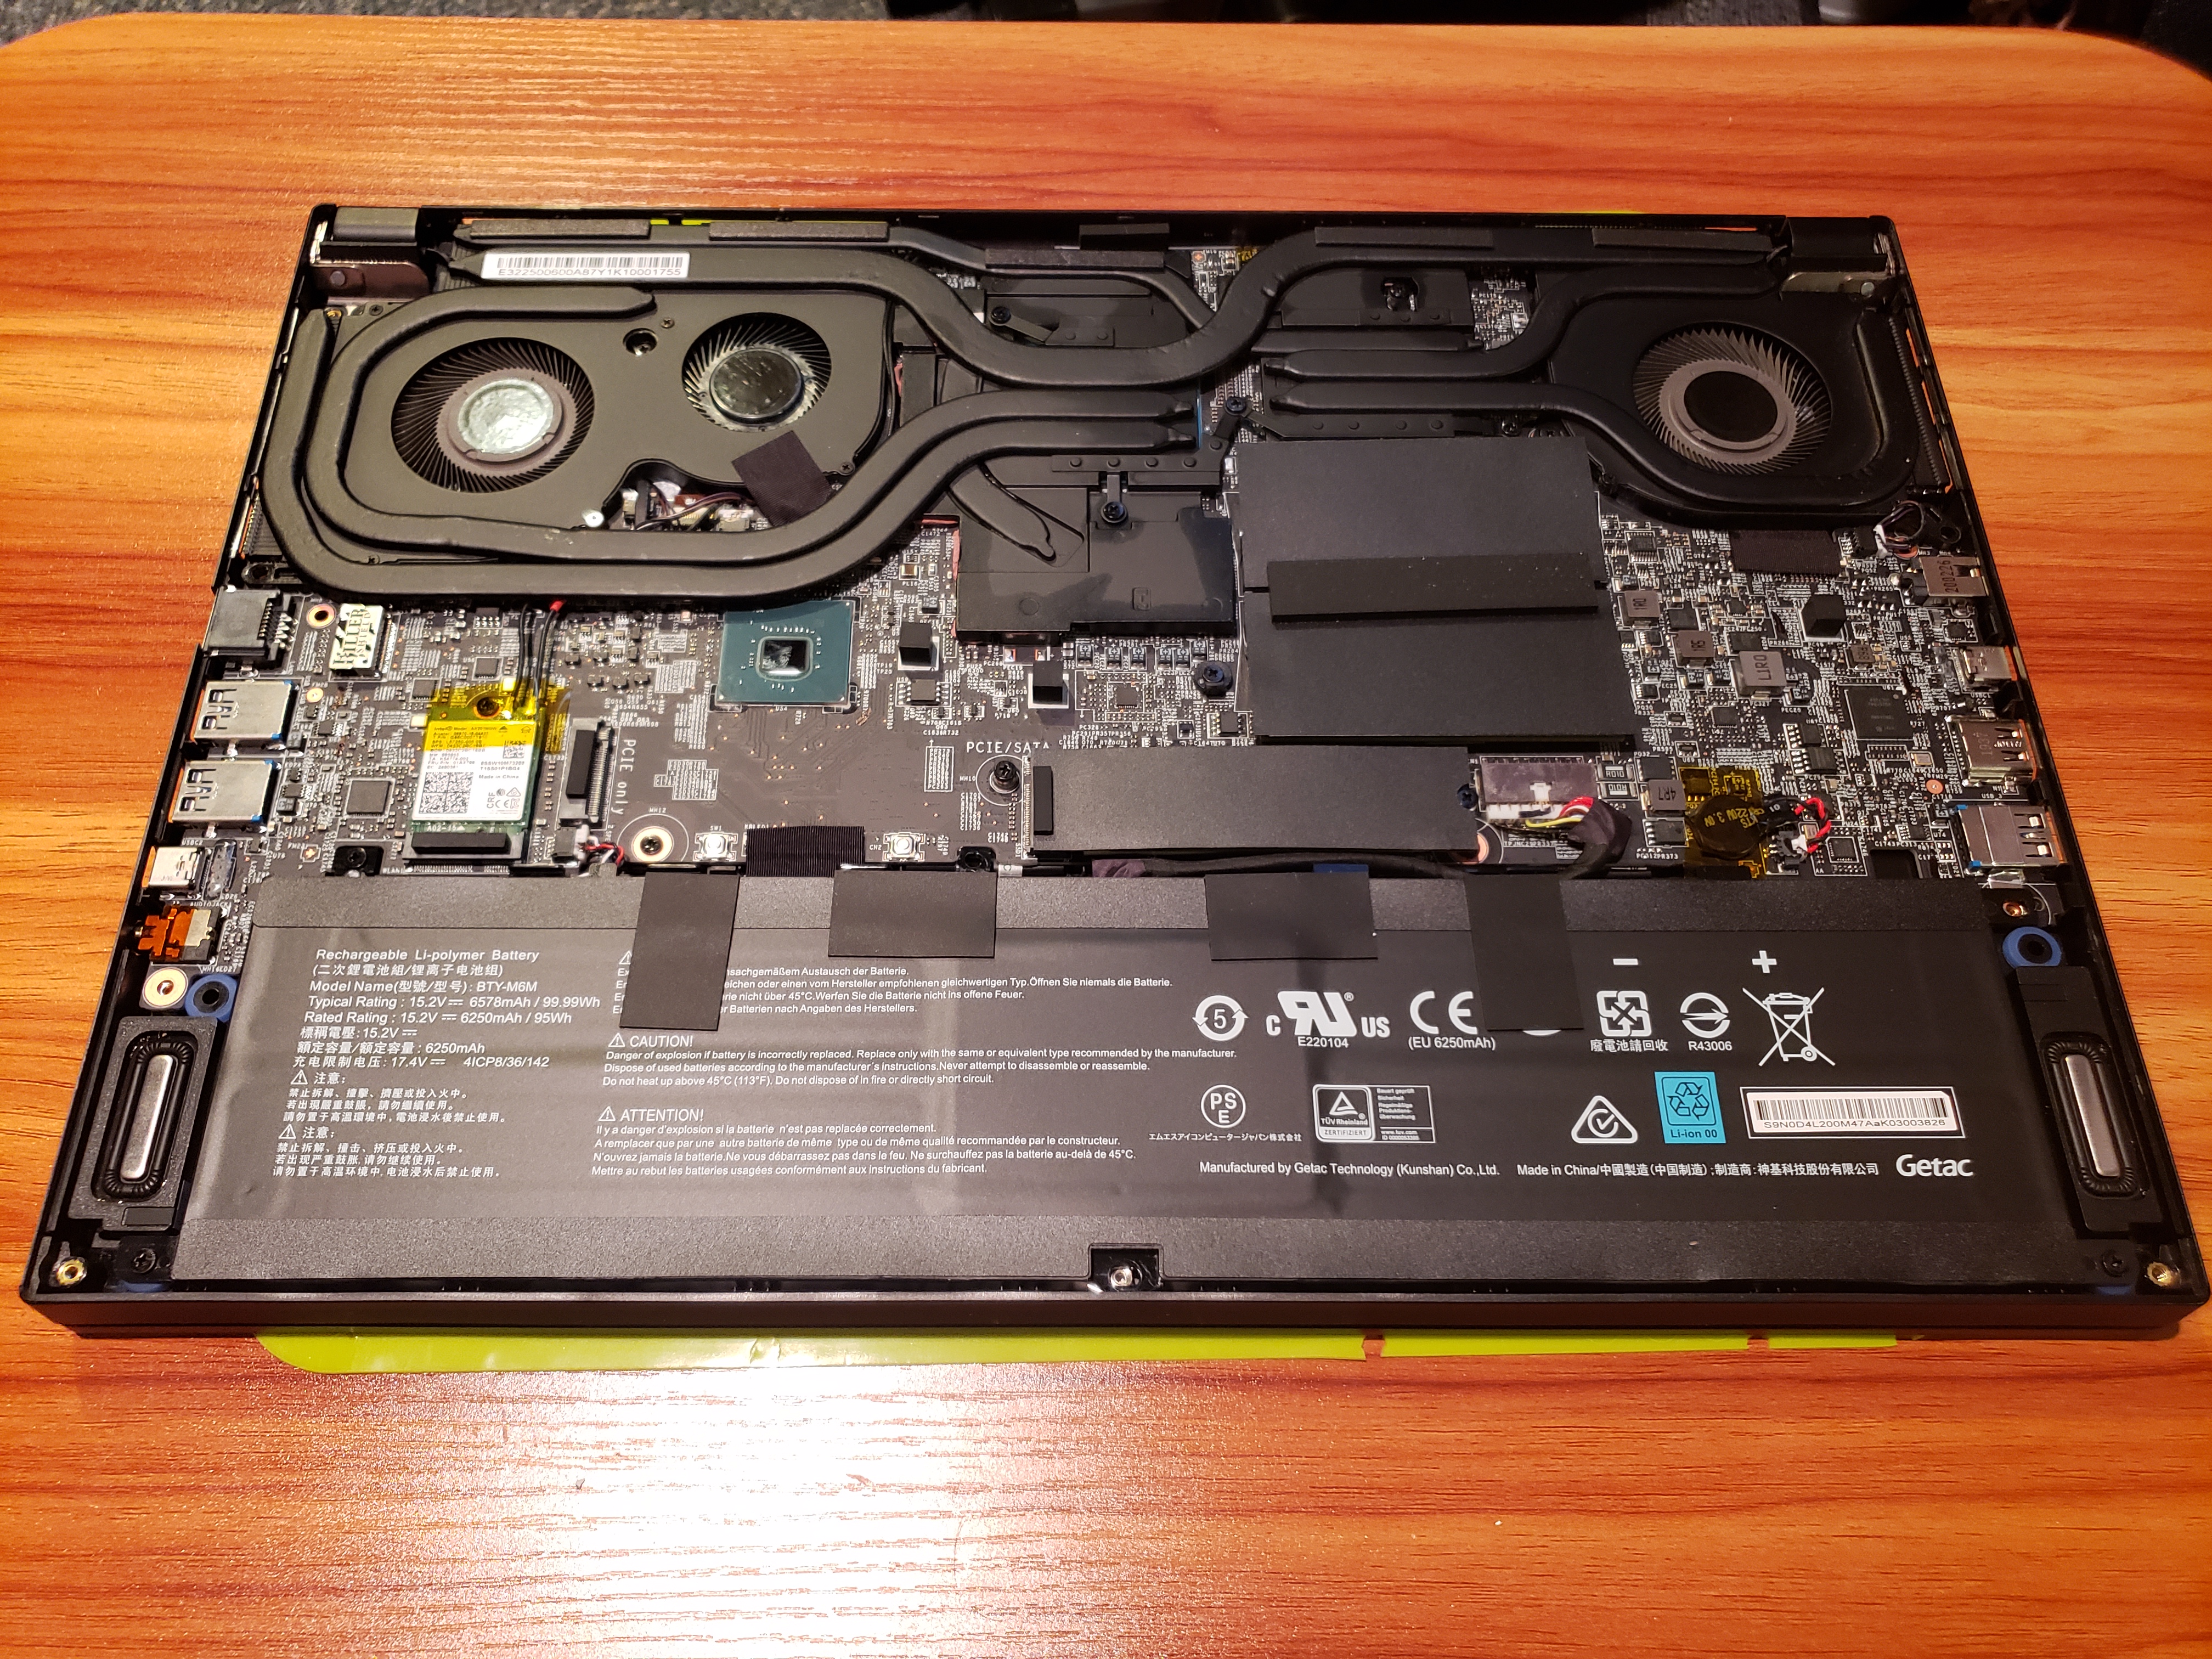
If you had the laptop for some time, this is a great opportunity to clean it – dust off and remove any debris found inside. Lots of dust collects inside, can block the vents and quickly lead to overheating and throttling (decreased performance). And it’s always netter to clean it thoroughly after opening, than just blindly blast compressed air inside.
Adding new drive
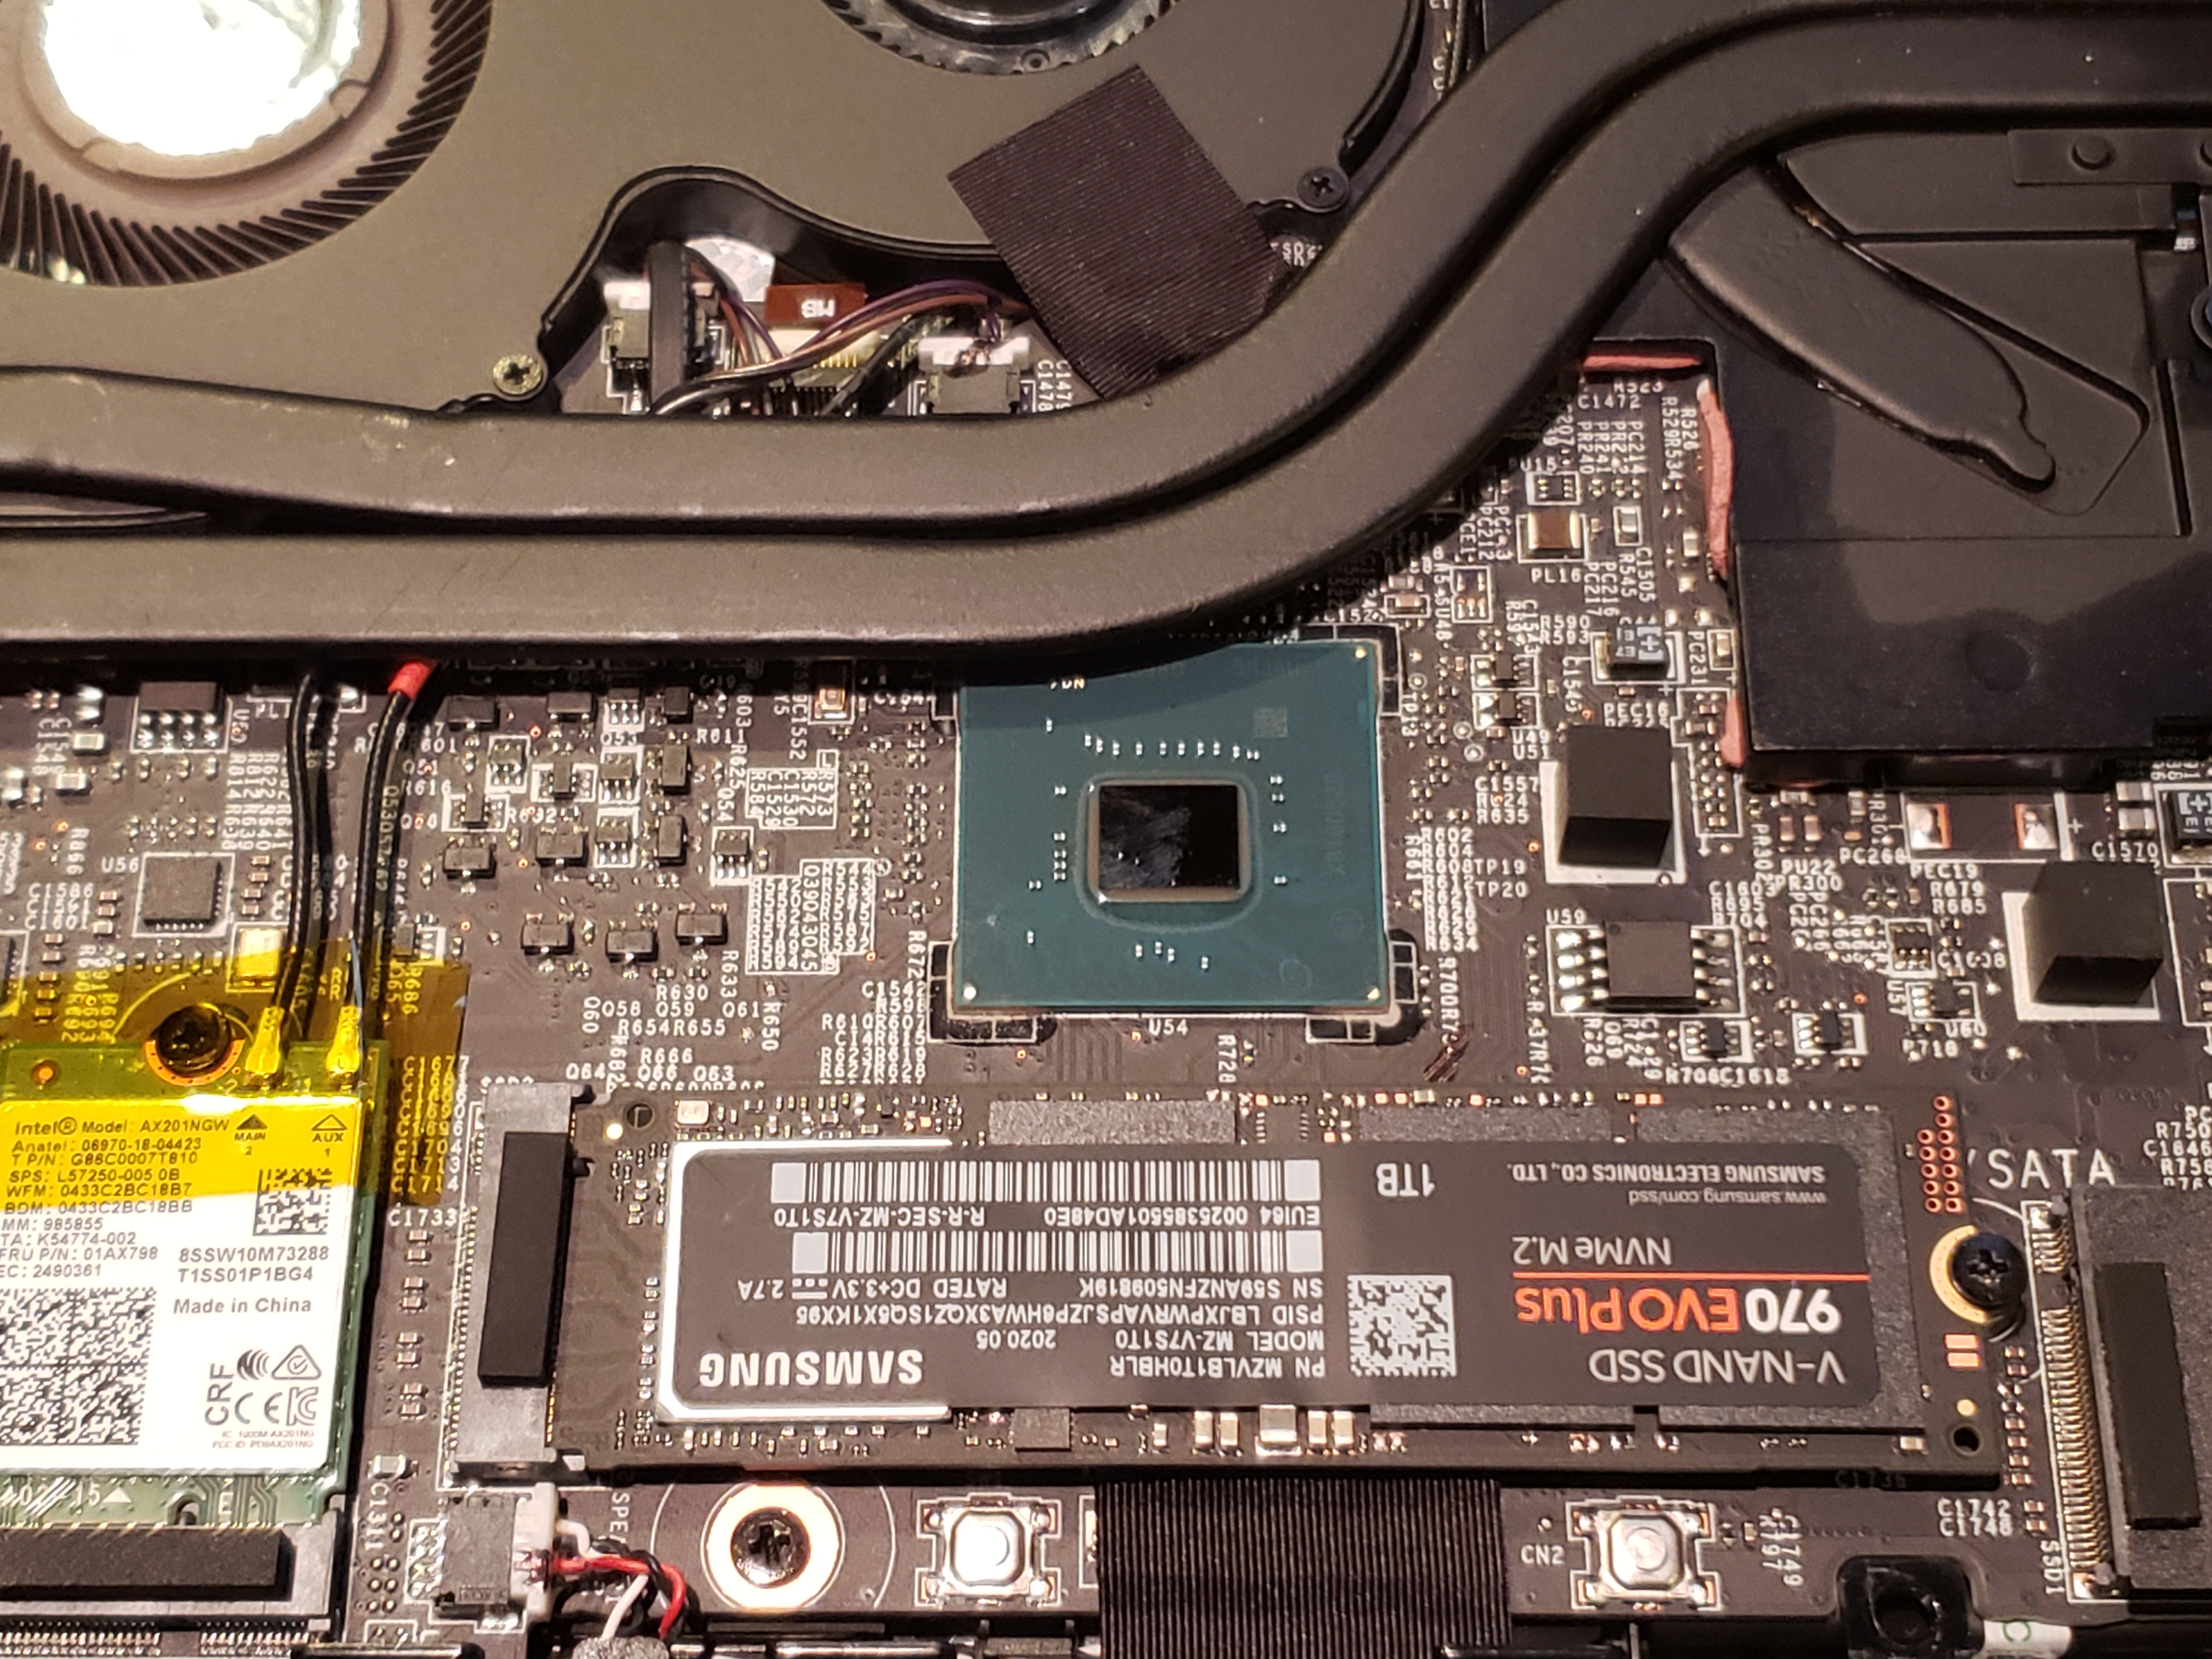
And if things are looking good, and you’re here to also add storage, just undo the protective piece over the M.2 port, pop the drive in, secure it with a screw and put the cover back on. Note that when inserting the drive, do so at an angle (I’d say about 30 digress between the drive and the motherboard underneath).


Afterwards, put the back cover back on, ensuring alignment of all the latches, and push it to lock into place. Do not apply force until you’re sure it’s perfectly aligned – the tolerances are quite small, which makes for well-fitting and sturdy constructions, but we want to avoid making any damage that could lead to the case not looking like new.
Upon booting into the OS, make sure to use Disk Management tool to prepare the drive. You can just press Win+R and type in “diskmgmt.msc”.
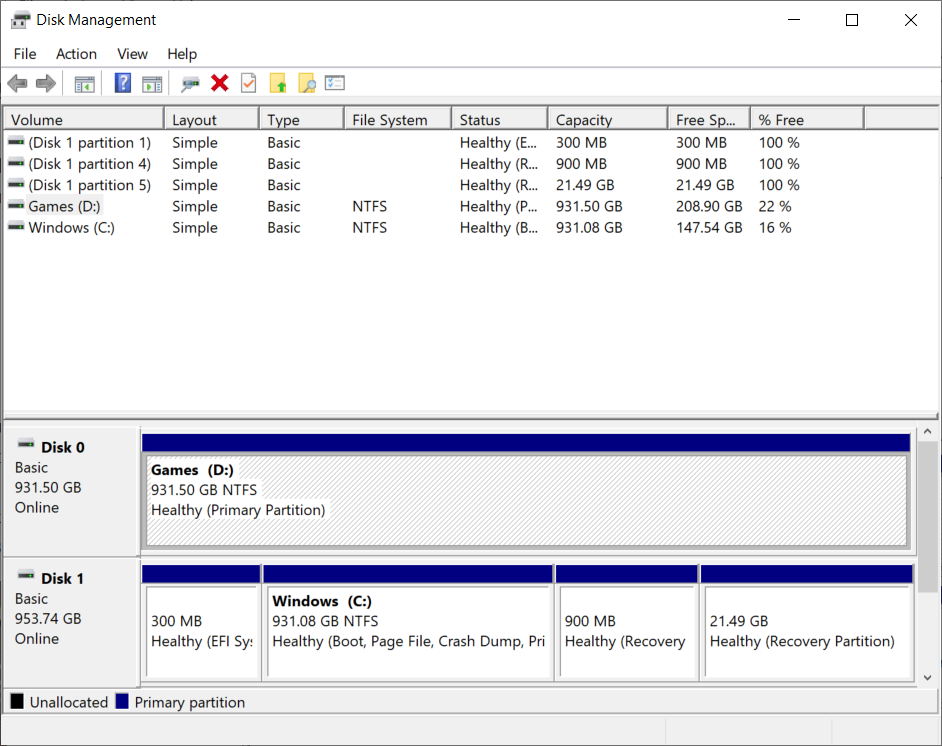
And good to go! Now go fill it up with your favorite content 😉
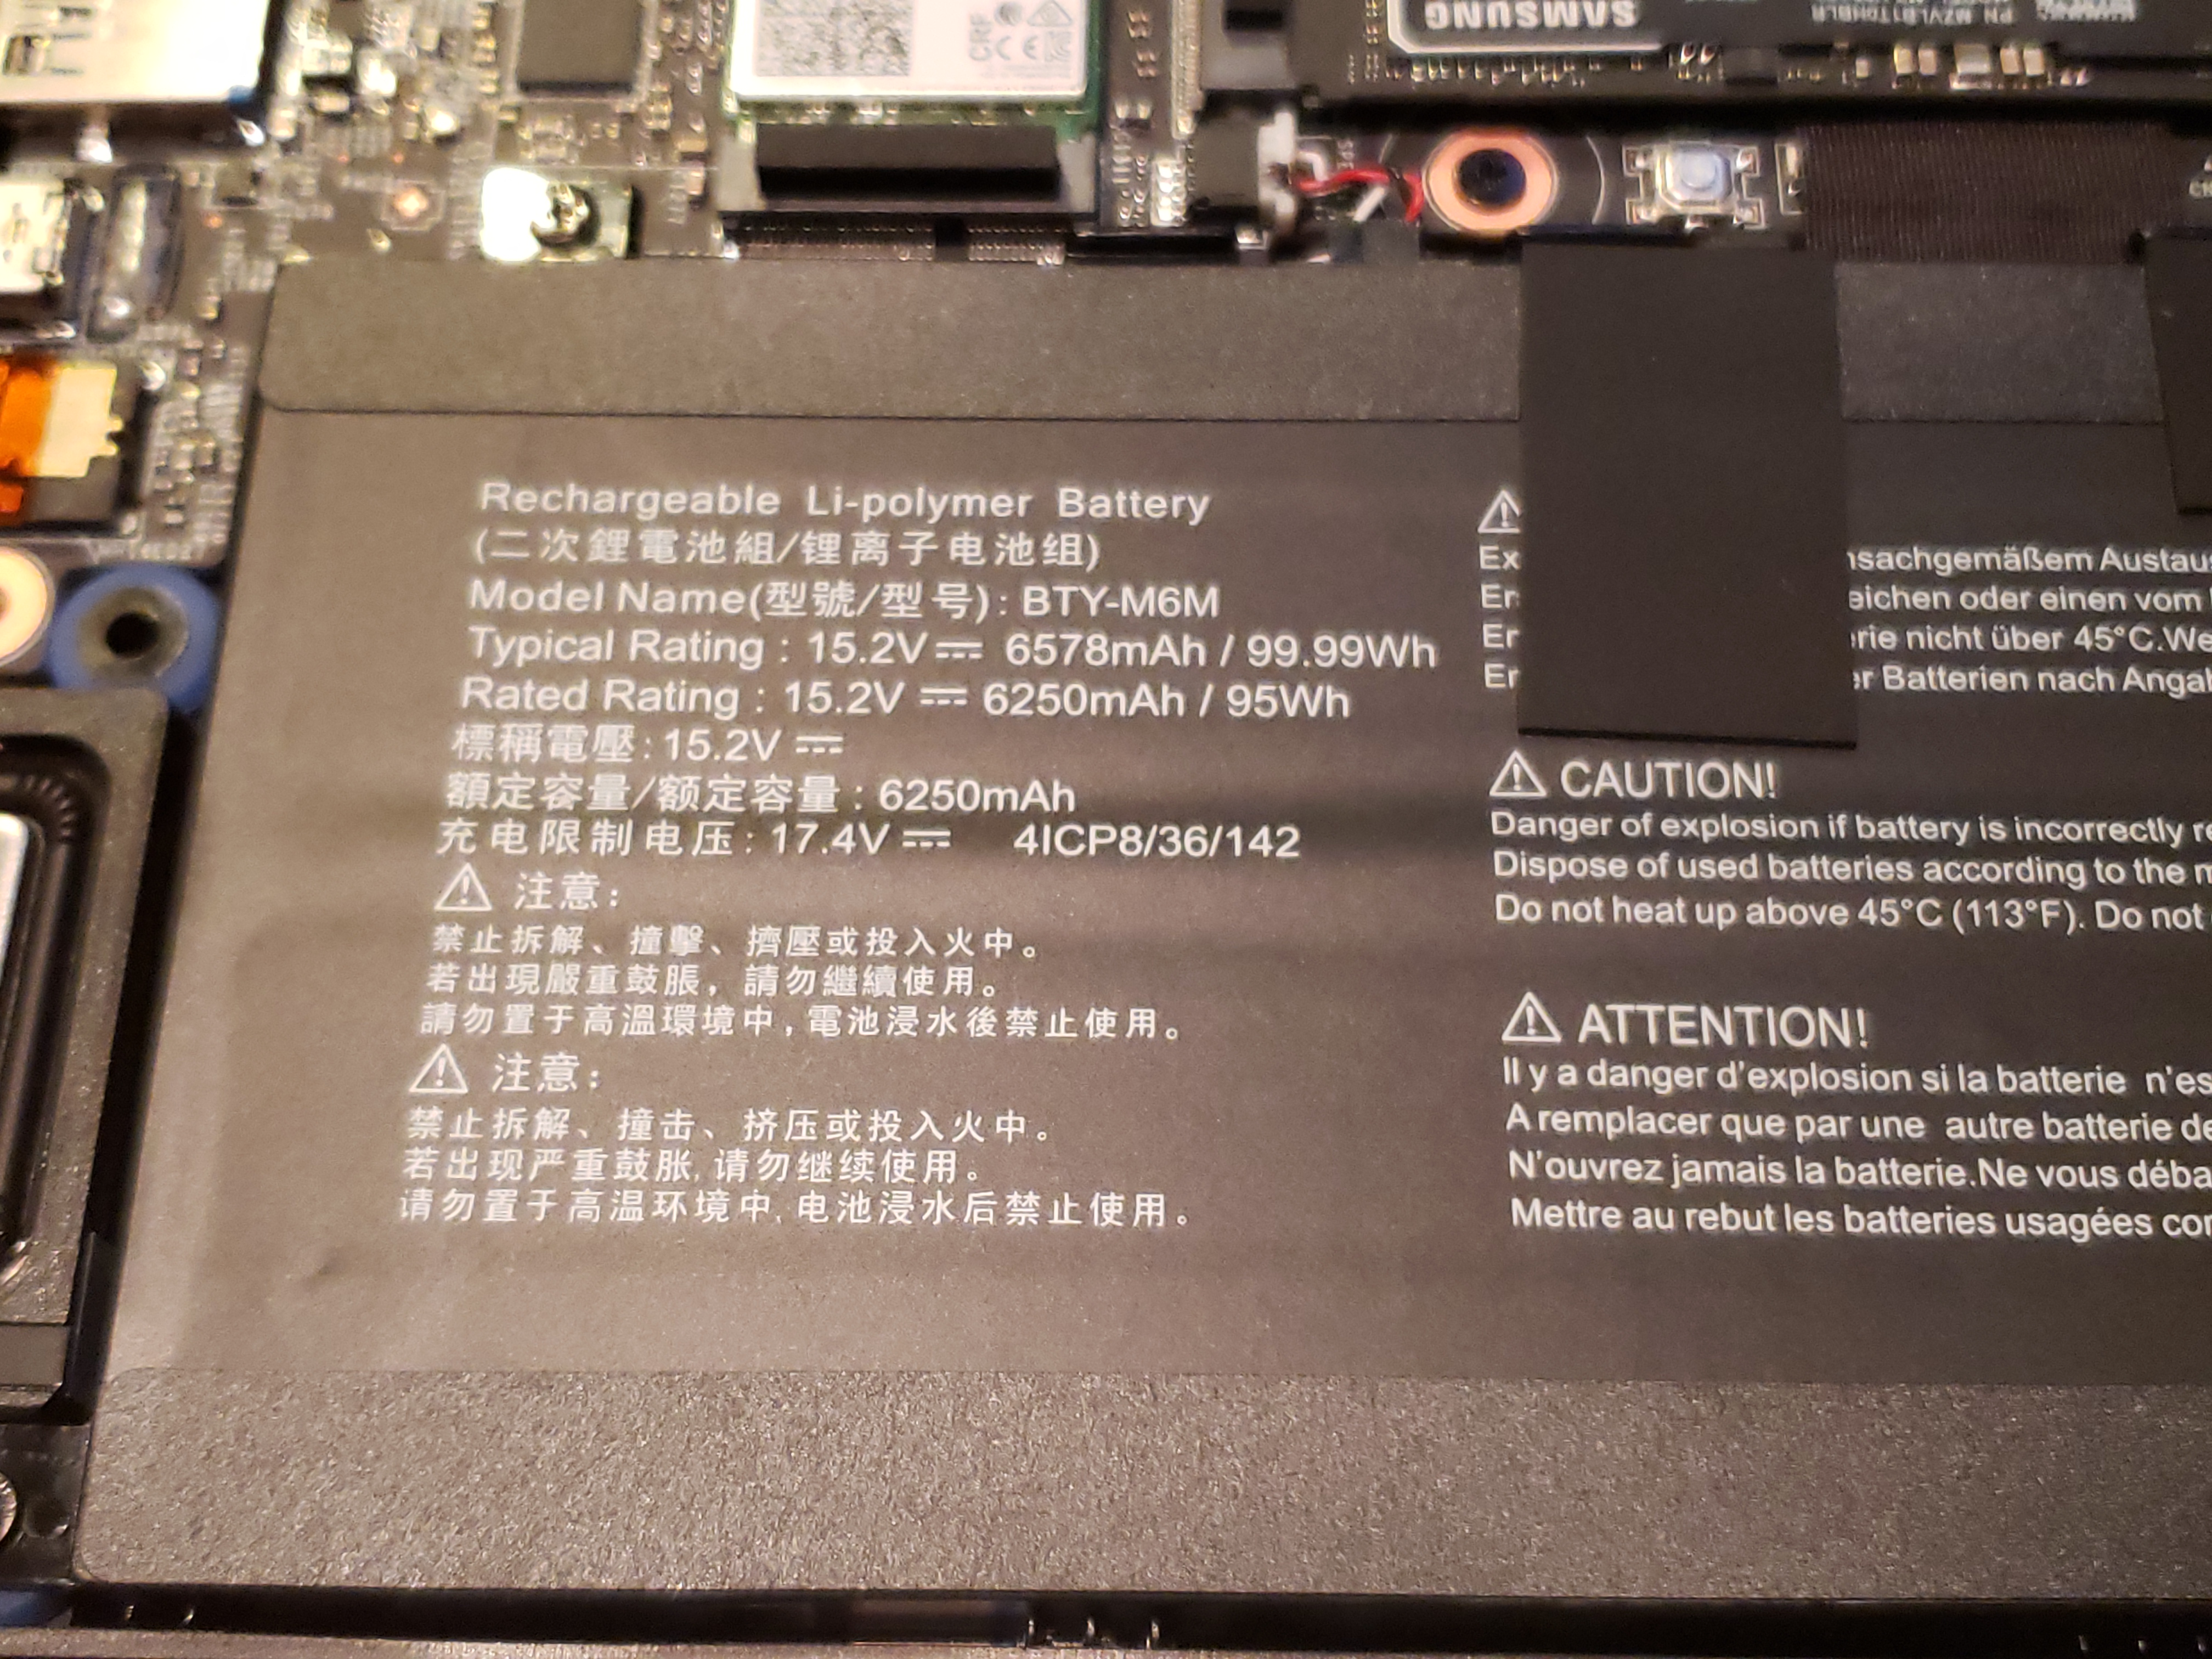
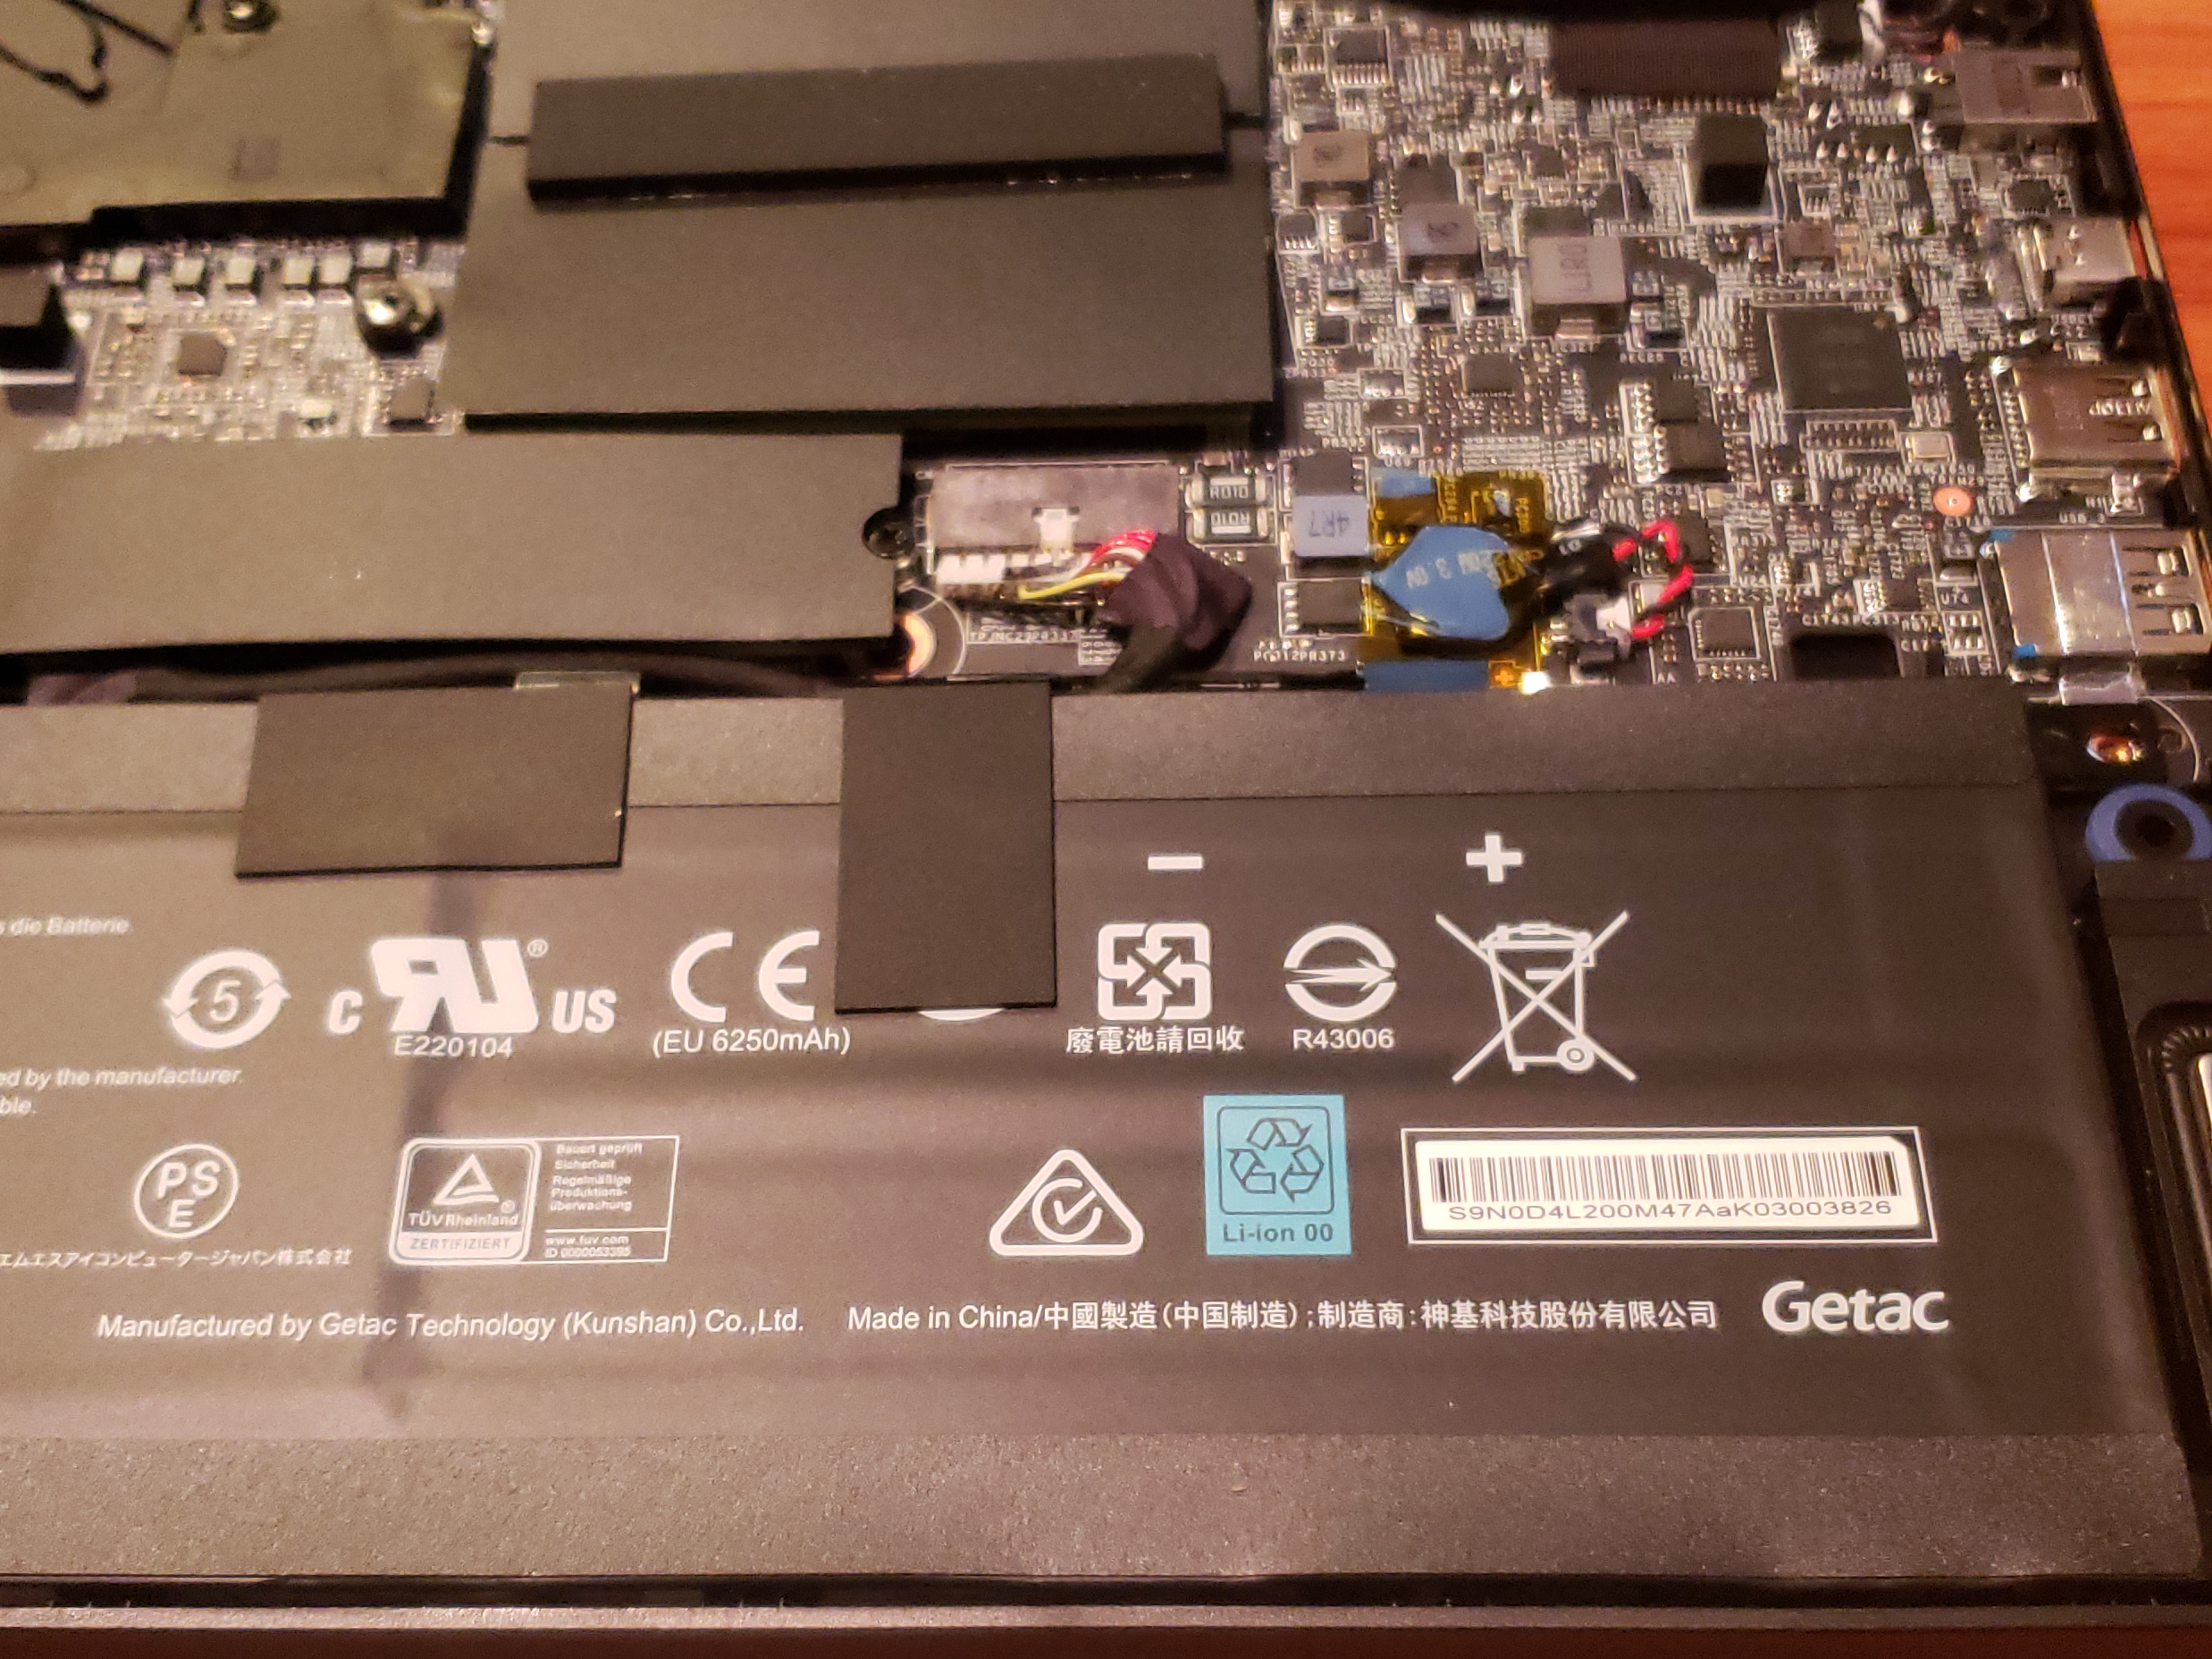
I also took this opportunity to take photos of the battery, in case I ever want to replace it wit ha new one. Back in the days, I had a Compal FL90 (anyone remember those?) – that was a laptop that I used all through my University days. The battery in it was removable, and there was an optional larger capacity one, which would give extra hour or two, at the cost of protruding a bit more in the back. I always considered that a fair trade, and the convenience of doing a battery swap on the go (with a system shutdown nonetheless) was much appreciated during those days where classes required me to be at the University campus for 12 hours. But I digress 😉 Here are the close-ups of the battery:
Alright, time to go install a game or two on the new drive and relax after day at work… 🙂


Leave a Reply